How to Accept Donations in WooCommerce

Whether you want to run a fundraiser and contribute to a specific cause, or you simply need a bit of help and support for your own eCommerce business, donations are a great way to go. By far, one of the best and most convenient ways to do so is to set up donations directly on your website. Lots of other individuals, businesses, and organizations are already using their online platform to ask for donations and raise funds for their specific needs. And if you own a WooCommerce-powered store, you can easily do the same and accept WooCommerce donations on your site with the help of the right plugin.
This time around, we are going to show you how to easily accept donations in WooCommerce using two different plugins. But first, we will talk about some of the possible reasons why you might need donations in the first place.
Make sure to read on as we cover:
eCommerce WordPress Themes
View Collection


There are many different reasons why you might want to set up donations on your eCommerce site. For example, if you’re just starting your online store, you might need to use a bit of support from your potential customers. So, you might as well invite them to leave a tip to help get your eCommerce business off the ground. Alternatively, you might also want to use your business for a good cause and throw a fundraiser to help specific people or groups in need.
Say that you are running an online pet shop and you want to raise money to help a local animal shelter. Or, you might be selling clothes with eco-friendly materials and also want to raise some money to help support a local ecology project. Either way, whatever your specific motivation or cause, using your website to ask for donations is one of the most direct and efficient ways to go about it.
While there are different ways to accept donations on your eCommerce site, probably the most straightforward method is to add a “donate” button. You can place this button anywhere you want on your site. For example, you can place it on your product pages and get people to donate when browsing through or buying a specific product. You can also add this button to your cart and/or checkout pages so that customers can quickly donate as they are completing their purchases.
With that said, let’s see how you can set up donations on your WooCommerce site and add donate buttons using the help of two different plugins. The first plugin will allow you to insert a simple donation button which you can then customize further to fit your specific needs. On the other hand, the second plugin will allow you to insert a PayPal donate button to accept your donations. Let’s dive right in.
To seamlessly accept donations on your online store, we recommend that you use a WooCommerce plugin called Woo Donations. This plugin can be used entirely for free and comes with a few different options that will allow you to adjust the look of your donate button to fit your requirements. Your visitors will be able to specify the amount they wish to donate with ease. In addition, you will be able to use a non-shippable product and show it on your cart and checkout page, or set up a specific product from your product list as a donation.

There is also the pro version of the plugin (available at $29) that contains some advanced features, like the ability to display custom price donation, use a donation request popup, set stick donation button, and plenty more.
After installing the plugin and activating it, you should go to the plugin’s Settings page located in WooCommerce >> Donation.
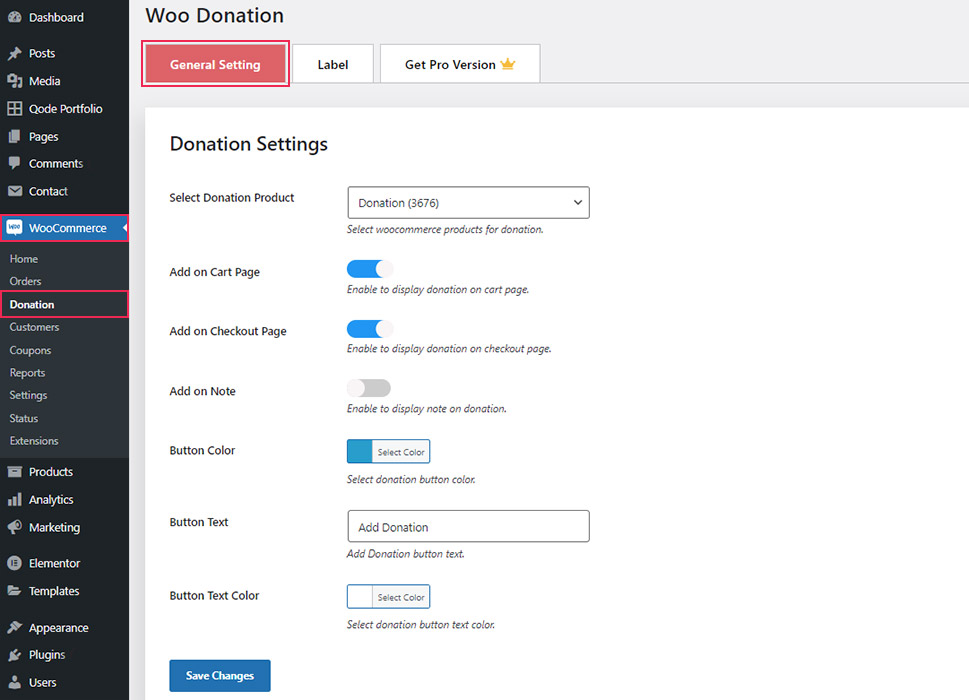
The General Setting tab contains options that allow you to customize the way you want your donation element to be displayed on the product, cart, and/or checkout pages.
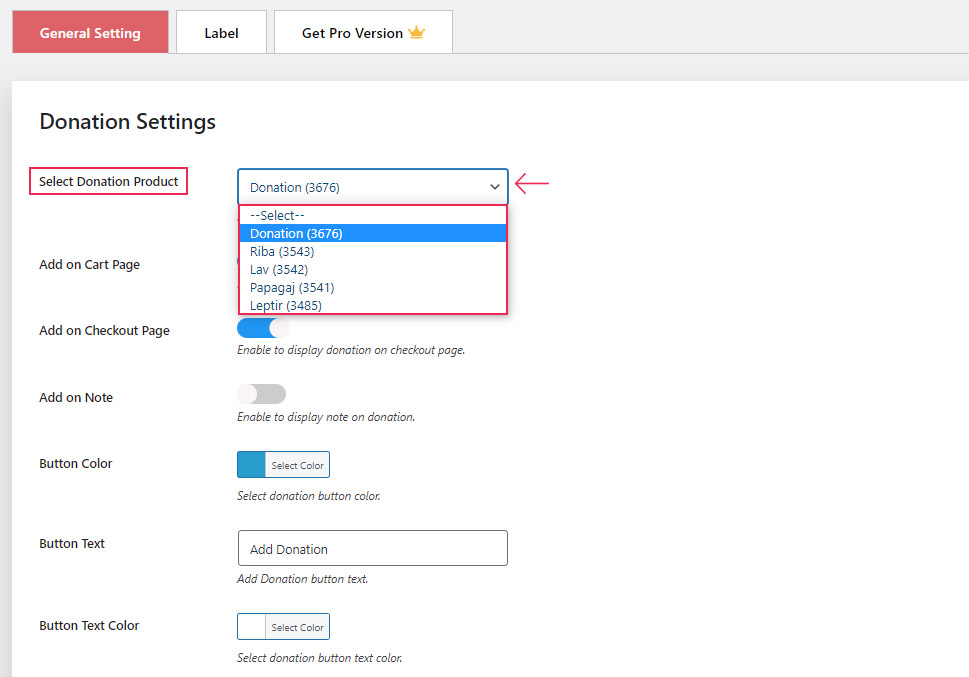
First, you will be able to select the product you want to add your donations to. You will notice there’s also a default product called Donation that has been added to the list of products automatically. You can either select that product or any other product of your choice.
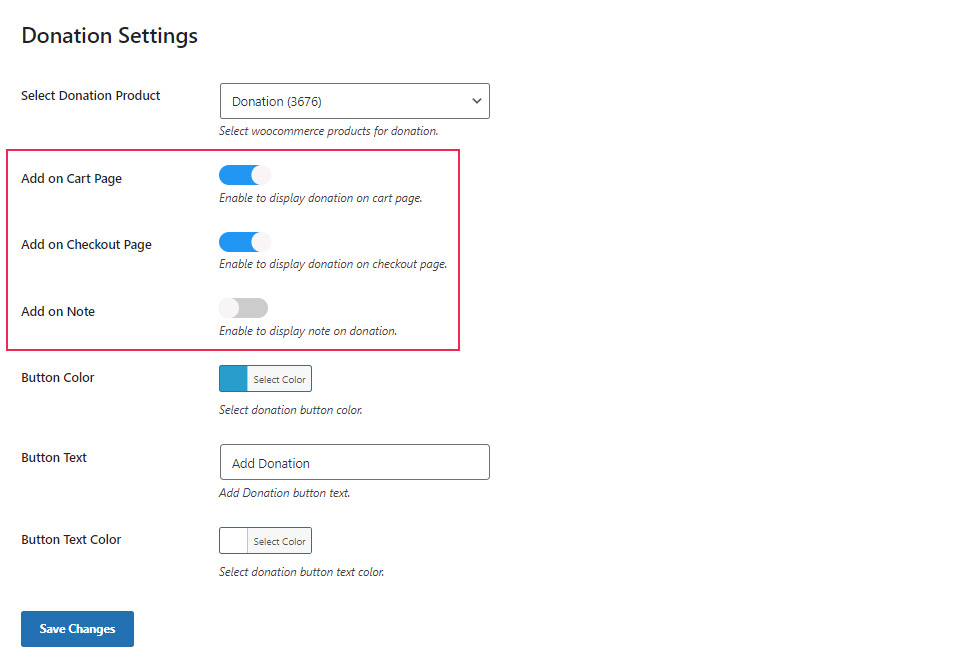
Next, you can enable donations to show up on the Cart and/or Checkout pages of each product, and even enable the display note on your donations.
If you want, you can also set the color of your donation button, change your button text (it says “Add Donation” by default), as well as the button text color.
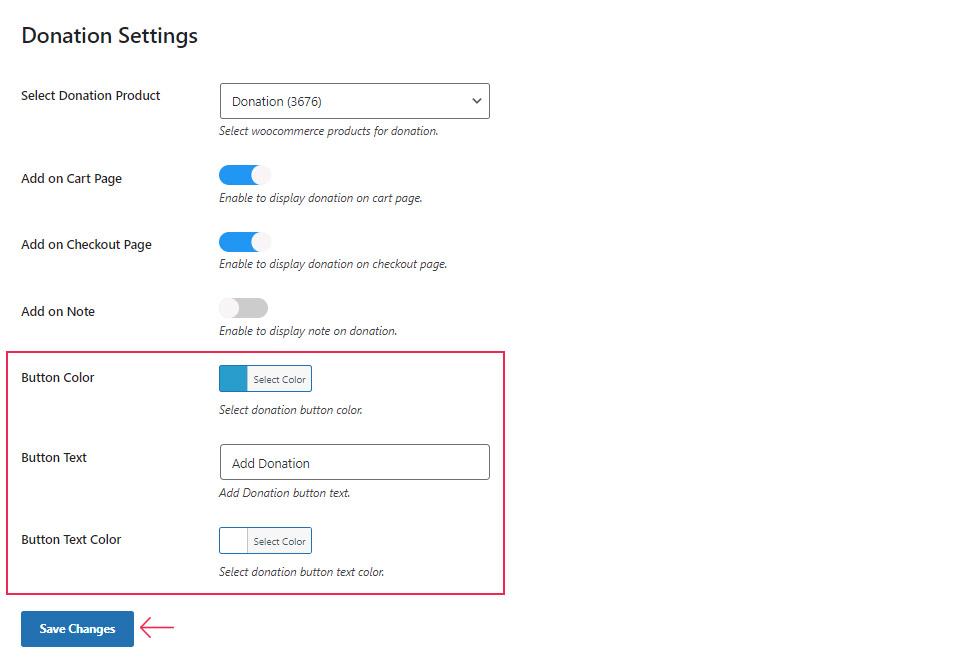
Make sure to hit the Save Changes button when you’re done with adjusting your settings.
There’s also the Label tab where you can adjust a few other settings related to the donation label. These include the donation form title, amount placeholder text, and note placeholder text.
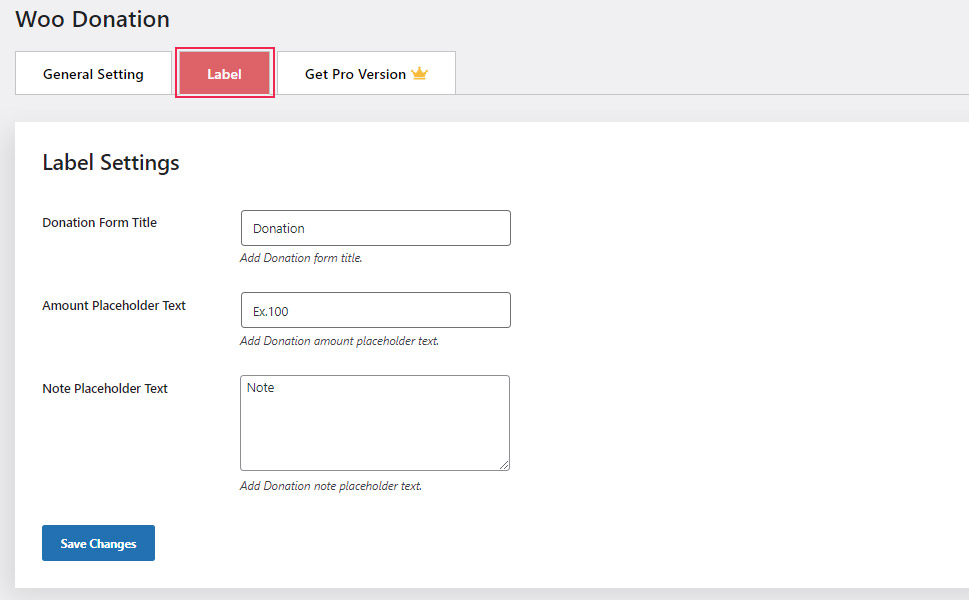
Once again, click on Save Changes once you are finished.
Here’s an example of what your donation button can look like on your cart page.

Another practical way to enable donations on your WooCommerce site is to do so with the help of a PayPal donate button. After all, PayPal is one of the most commonly used online payment gateway services in WooCommerce and in general, so integrating PayPal with WooCommerce is as easy as it can get. You can do this using one of the available PayPal WordPress plugins, like WooCommerce PayPal Checkout Payment Gateway.
Afterward, you can simply use a plugin called PayPal Donations to add the PayPal donate button.

This plugin will allow you to add a PayPal donation to your WooCommerce site in no time, either by using a shortcode or in the sidebar through a widget.
After installing and activating the plugin, you should access Settings >> PayPal Donations to configure the plugin’s settings.
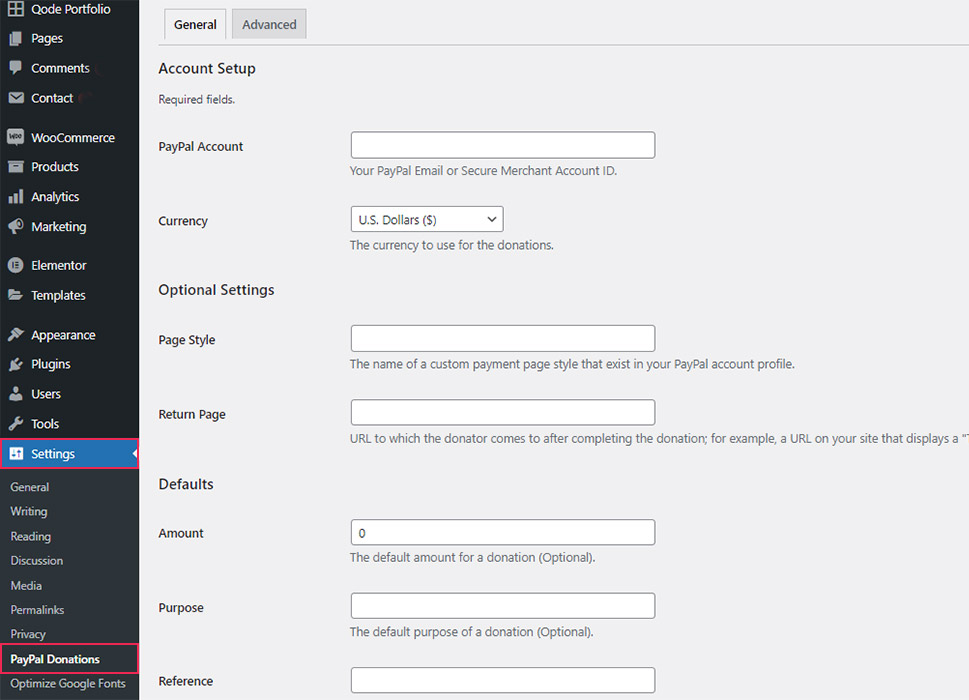
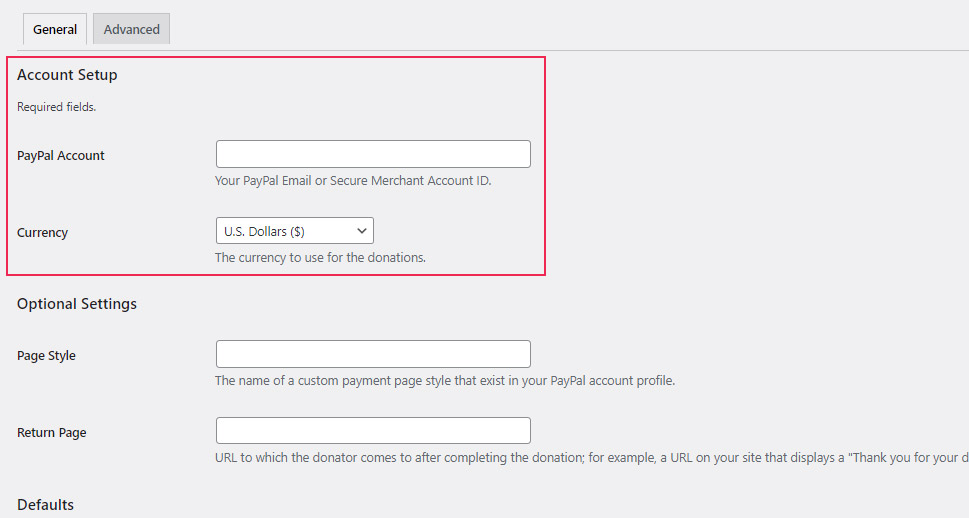
In the General tab, you should insert your PayPal email address or the merchant account ID. You should also select the desired currency. There are 25 different currencies you can choose from.
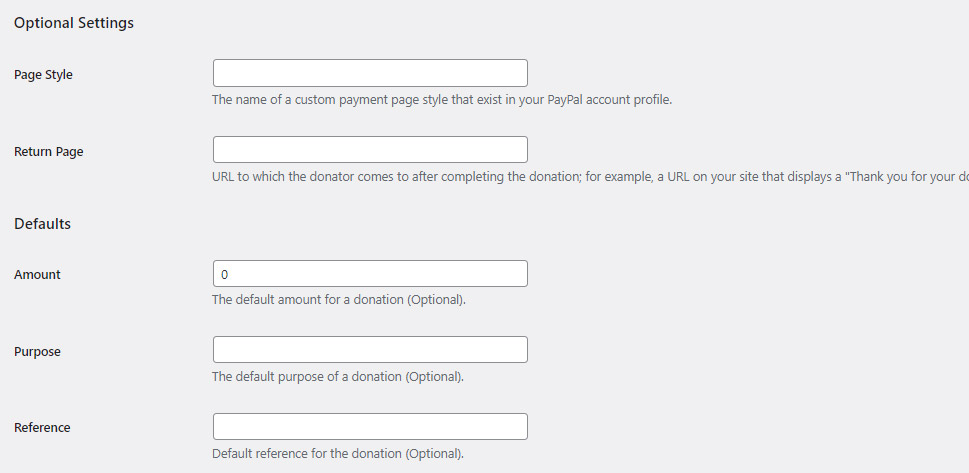
The Optional Settings and Defaults sections will allow you to adjust your options in even more detail. Some of the options include the ability to set the default amount, define the default purpose of your donation, as well as a default reference.
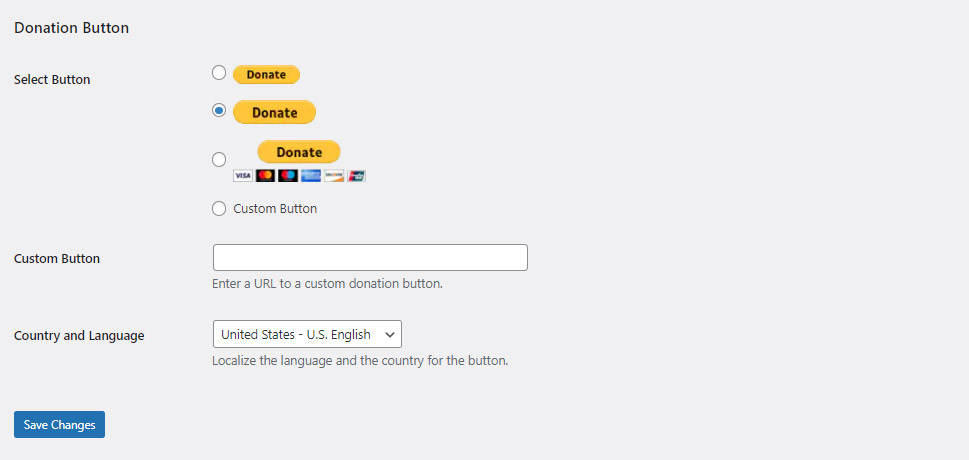
Finally, you will get to choose from a few different button styles that you want to be shown as your PayPal donate button. You can pick from three default styles or insert the URL of the custom donation button. In addition, you will get to select the country and language to localize the button.
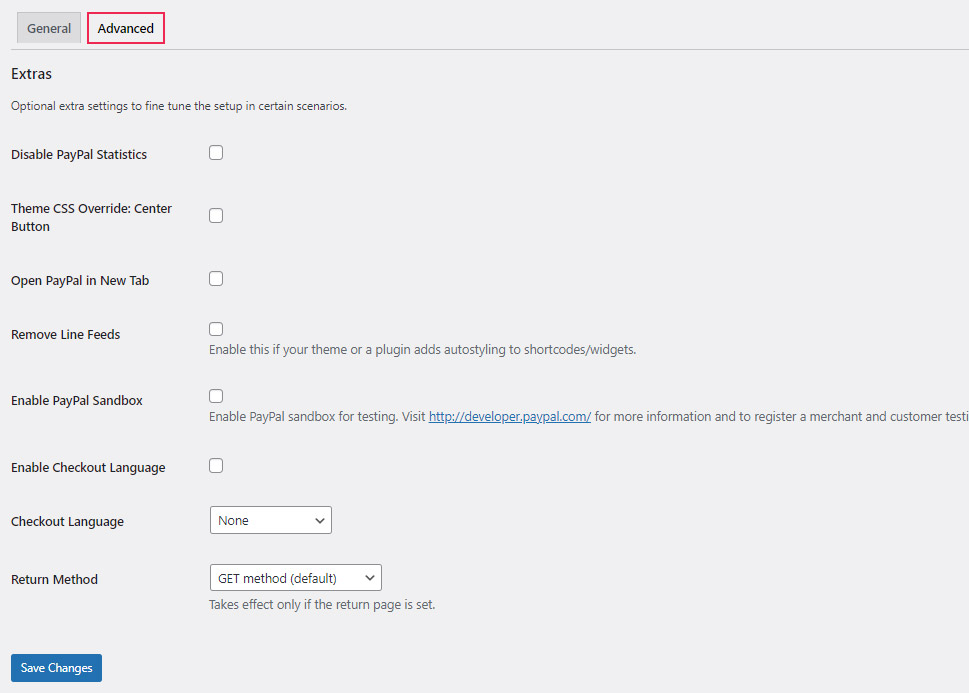
The Advanced tab contains a few other useful options that will let you configure the settings of your donation button even further. These include the option to disable PayPal statistics, open PayPal in a new tab, enable (and select) the checkout language, and so on.
Make sure to hit on Save Changes once you’re done with adjusting all the settings according to your preferences.
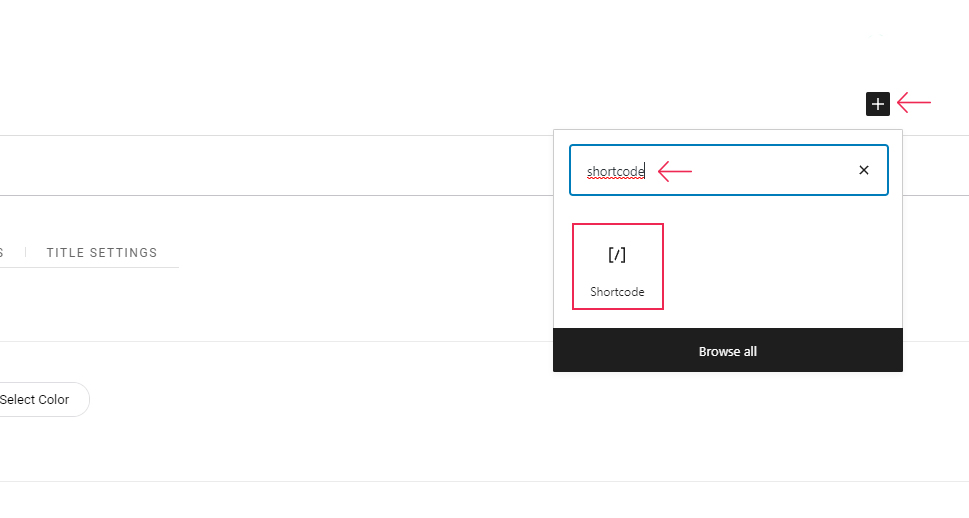
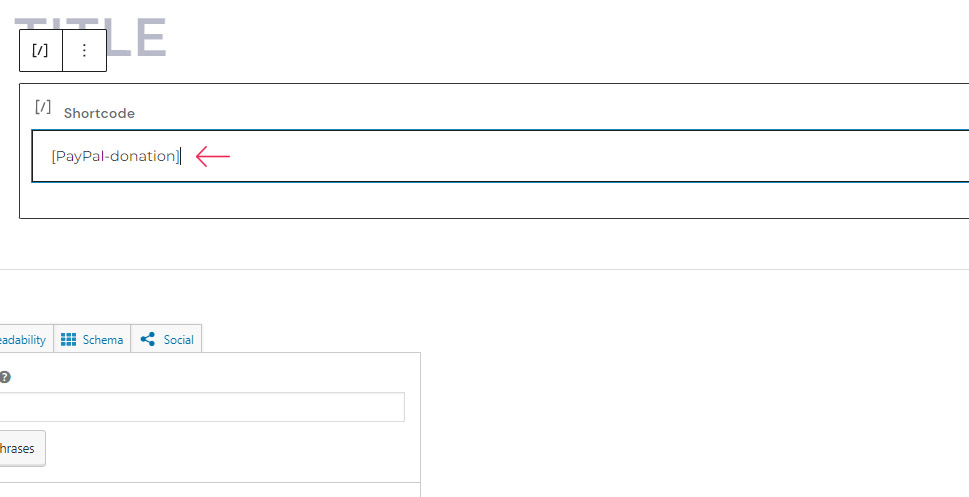
Once you finish configuring the plugin’s settings, you can proceed to add the PayPal donate button anywhere you want on your WordPress site. To do this on any page or post, you just need to insert the [PayPal-donation] shortcode to your page/post edit. For Gutenberg, you can hit the plus (+) button to find and add a shortcode block.
Then simply add the [PayPal-donation] shortcode and update/publish your page or post.
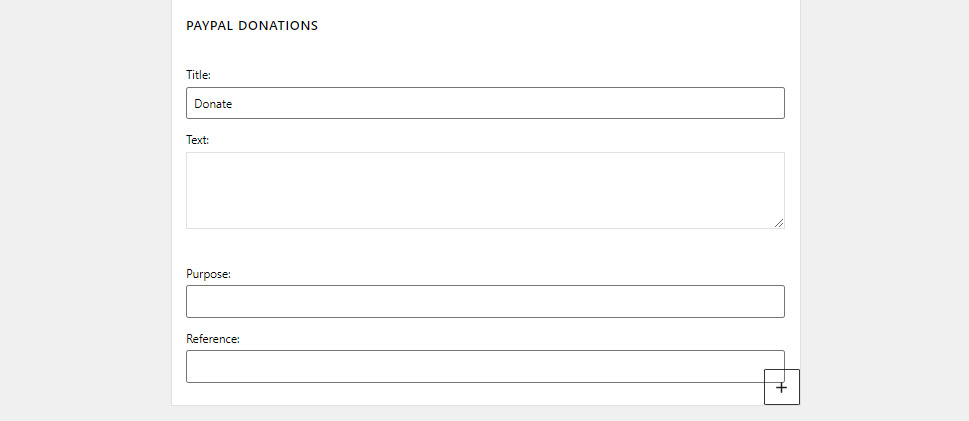
Alternatively, if you want to add your button in any widget area, you can do this by accessing the block widget editor. Head to Appearance >> Widgets and find the PayPal Donations widget. You can do this by using the Add block (+) button at the top and then clicking on it and dragging it to the desired widget area. Or, you can find the widget by hitting the “+” button located at the bottom of the widget area you want your widget to be added to. Once you do this, your button will be inserted into the specified widget area automatically. You will be able to insert your widget title, add any additional text, as well as define your purpose and reference.
Update your changes and you’re all set.
In Conclusion
And that completes our guide on how to accept WooCommerce donations. Regardless of your specific purpose, setting up donations in WooCommerce is quite simple if you use the help of the right plugin. If you want to have the ability to add a customizable button to your cart and/ or checkout pages, or even include your button with specific products, then the simple but powerful Woo Donation plugin will do the trick for you. On the other hand, if you’re already using PayPal to accept payments and want a more classical approach, we suggest that you go for the second plugin on our list and use it to add a simple PayPal donate button anywhere you want on your site. We wish you the best of luck with your cause!
