How to Use Patreon to Crowdfund Your WordPress Website

Creating content for a website is a lot of work, and that’s even before you start taking monetization into account. Still, you may have already started your website with monetization in mind, or perhaps it is something that you are considering only after you have established yourself. In either case, you are not out of options. If your content is popular enough, you may consider placing it behind a paywall. You may try monetizing your website using ads. You could even consider installing a tip jar plugin. If you are reading this, though, you have likely started with the title: in this article, we will be discussing Patreon WordPress options.
But let‘s take a step back. What is crowdfunding in the first place? How is it different from paid subscriptions? And what is Patreon for? These and other questions we will answer in this article.
Crowdfunding is a form of crowdsourcing: sourcing something from a large number of people, be they volunteers or paid. Crowdsourcing is non-specific about what is sourced – goods, services, votes, ideas, work – anything you can think of.
Crowdfunding, therefore, is the practice of distributing costs over a large number of people. It is sometimes the same as a subscription (with content only available for those who paid for it), but most often, at least where Patreon is concerned, it means donation-based funding: some or all of the content is available for everyone, but people who fund it get perks in the form of early access to content, extra content, personalized greetings, limited edition merch or similar.
With Patreon, you, too, can crowdfund your WordPress website. But what is Patreon, exactly?
Patreon is a crowdfunding platform followers and fans can use to make recurring payments to their favorite creators. Patreon lets content creators fund their content independently, from their followers, rather than through publishers or other distributors in exchange for a cut of the income and payment processing fees.
Since publishers and distributors often insist on editorial input, this arrangement arguably provides more freedom for creators. Patreon does not claim any ownership rights and does not exclude creators from using any other sources of income in addition.
Harking back to the olden days of moneyed individuals sponsoring struggling artists, Patreon contributors are called patrons.
If you are already a Patreon patron, all you need to become a creator is to log in and select Create on Patreon from the upper right-hand side menu.
However, you don‘t need to already be a patron in order to become a Patreon creator. To start a Patreon page, go to the Patreon website and click the Create on Patreon button in the upper right-hand side corner.

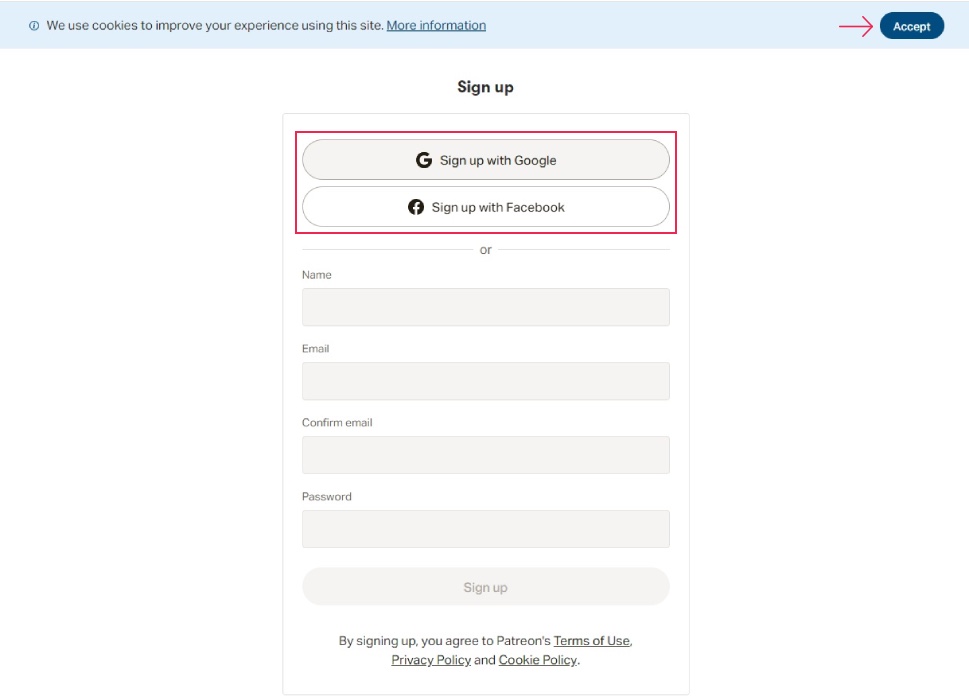
You can then choose to sign up with Google, Facebook, or an email address. You can also opt to accept cookies. We will be signing up using our Google account, but you don‘t need one to become a Patreon creator.
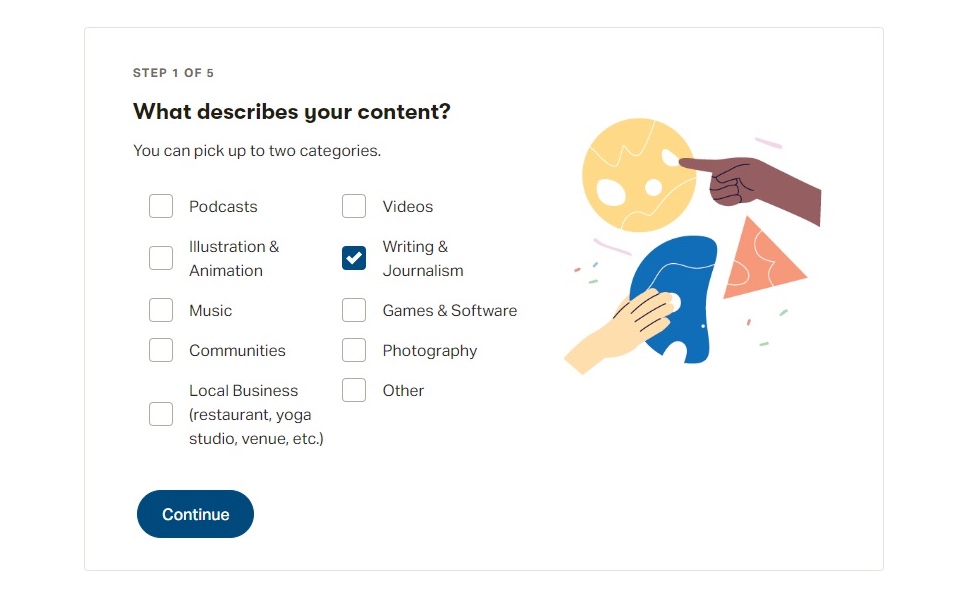
Next, you need to answer some questions about the kind of content you produce. Pick those which apply to you, and then click Continue.
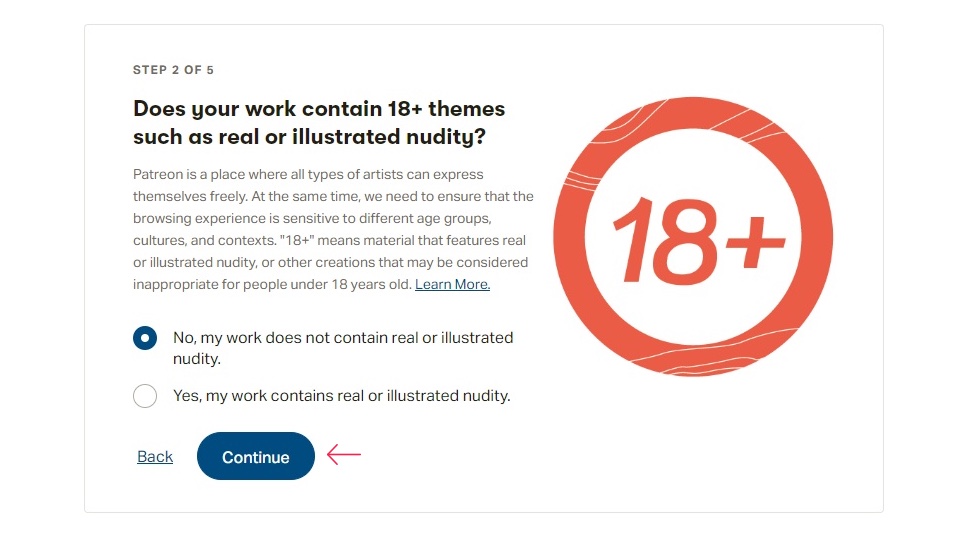
On the following screen, you need to tell Patreon whether or not your website contains adult content. Select whichever applies to you, and click Continue.
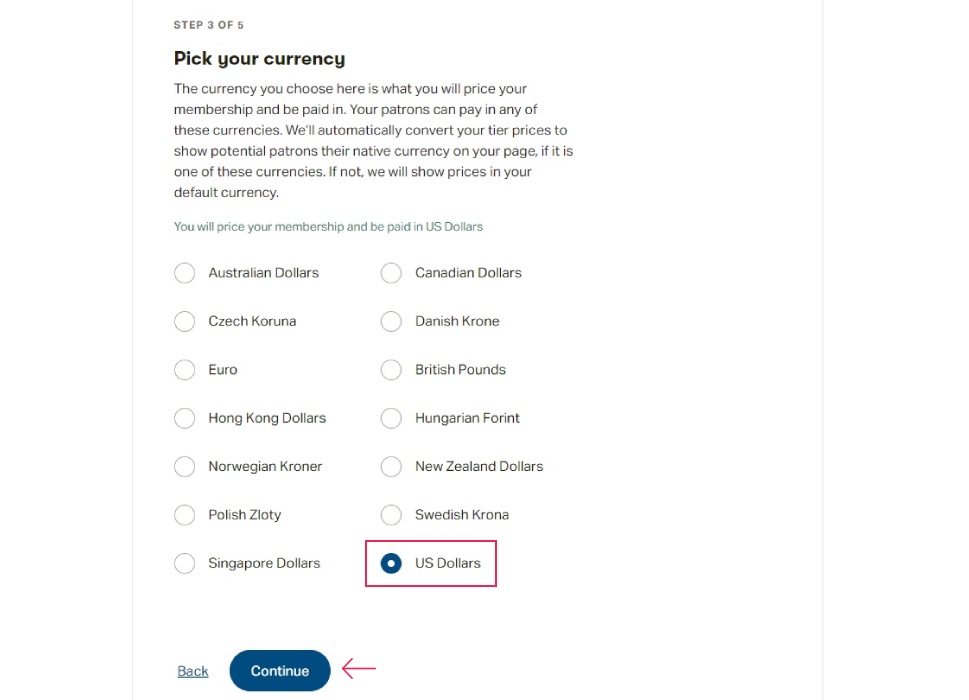
Up next, we‘re talking about money. You need to select a preferred currency from Patreon‘s list of accepted currencies, and click Continue.
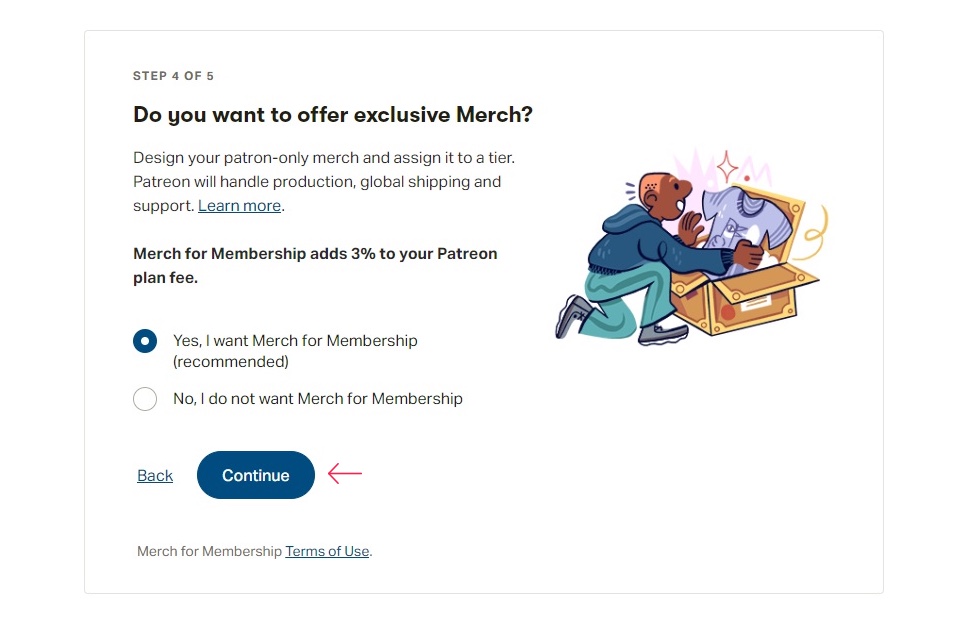
On the next screen, you will see a query in case you want to participate in Patreon‘s Merch For Membership scheme. It‘ll cost you some, but Patreon will handle production, shipping, and support for you. We suggest you analyze the terms of use and see whether you can benefit from the scheme, select your preferred answer, and click the Continue button.
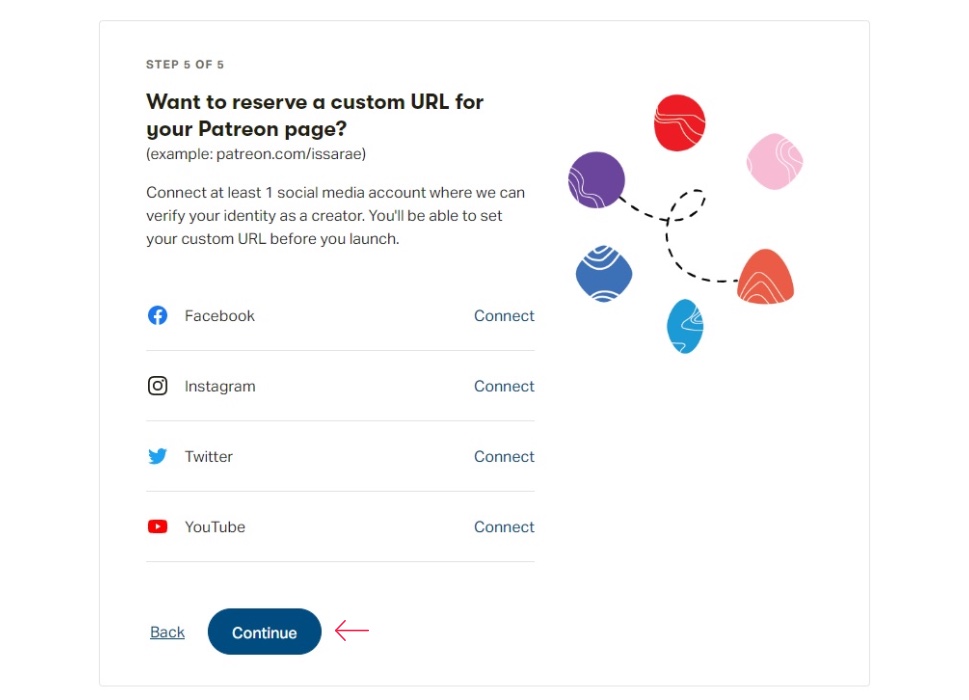
Finally, you can connect your social media to your Patreon account if you so wish. This will let you reserve a custom URL for your Patreon account. We will not be using this option for our demonstration, so we will just click Continue.
Once you have done all that, you will be taken to your page editing screen. Simply click Start Customizing in order to begin interacting with your page.
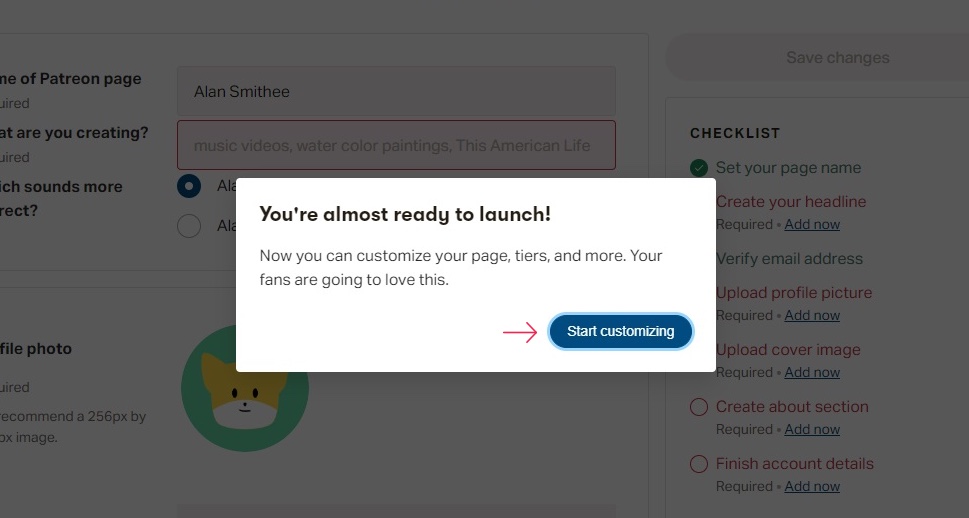
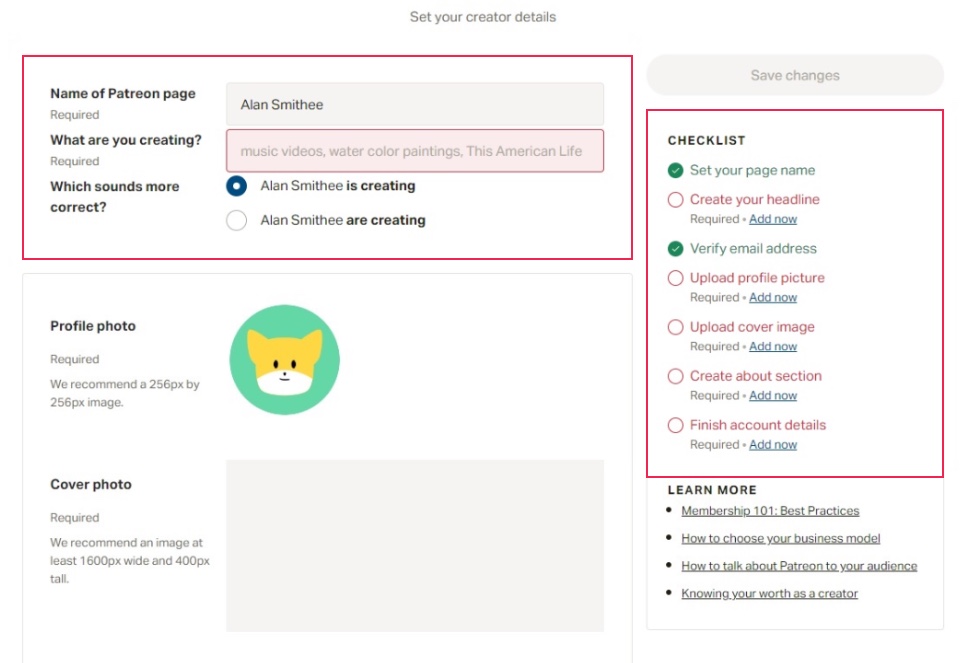
We will not be showing you all the fields and options, as that‘d be far too much to cover in an article, but suffice it to say that there are two kinds of fields: required and optional. We will populate all our required fields (including, but not limited to the headline – what it is that you are creating – the about section, and profile and cover image) with placeholder data and move on to connecting your WordPress website with Patreon. Once you are done with your page settings, click the Launch button.
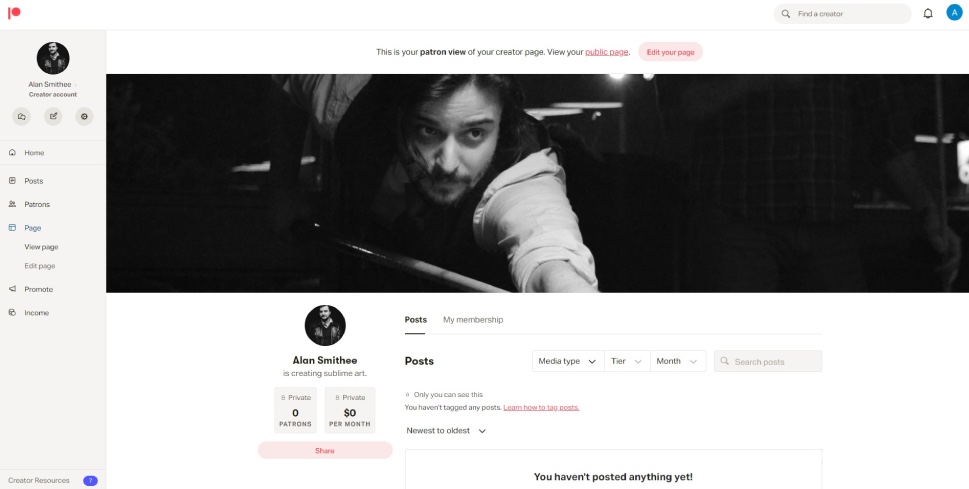
You will be taken to your creator profile, and you may begin connecting your Patreon page to your WordPress website.
There is a lot of thought that goes into designing a call to action, but a simple mechanism linked to your Patreon page is very easy to set up using a plugin. We will be using Patreon WordPress, the plugin developed and maintained by Patreon for just this purpose. It will let you set up a pay gate for some or all of your posts, making such posts available to patrons only.
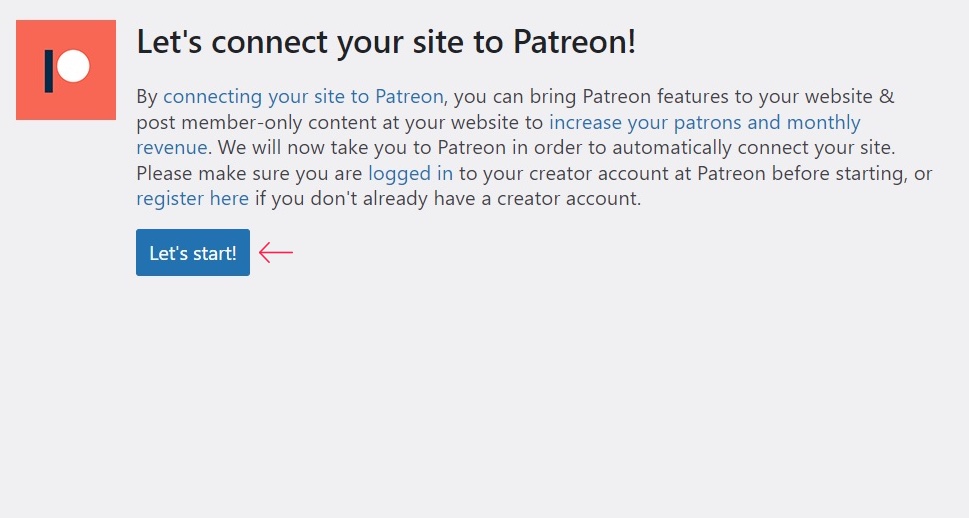
Make sure you are logged into your Patreon account, and install and activate the plugin. Once you have done that, you will be taken to the first screen of the installation wizard. Click the Let‘s start! button to start.
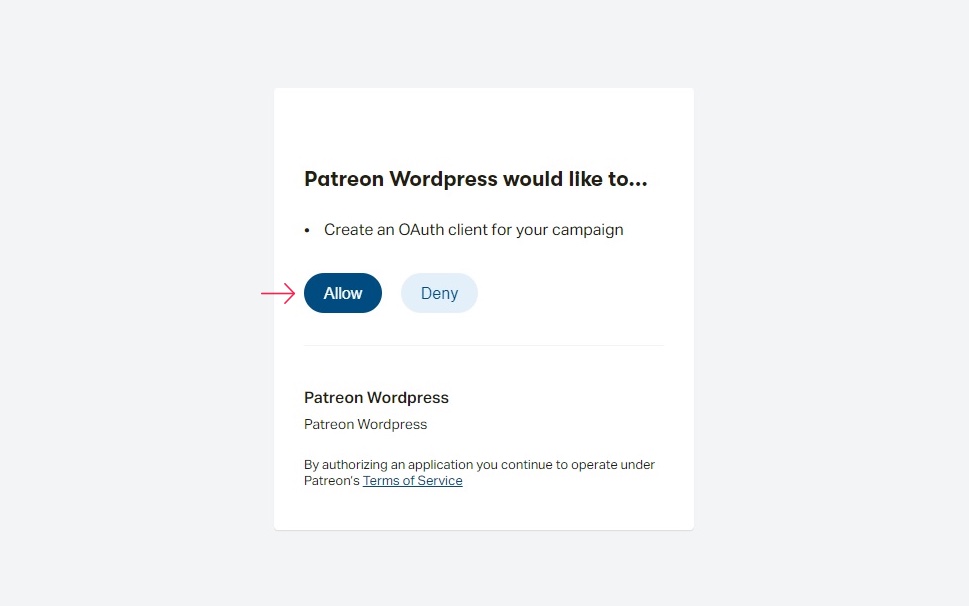
On the next screen, you need to click Allow to create an OAuth client.
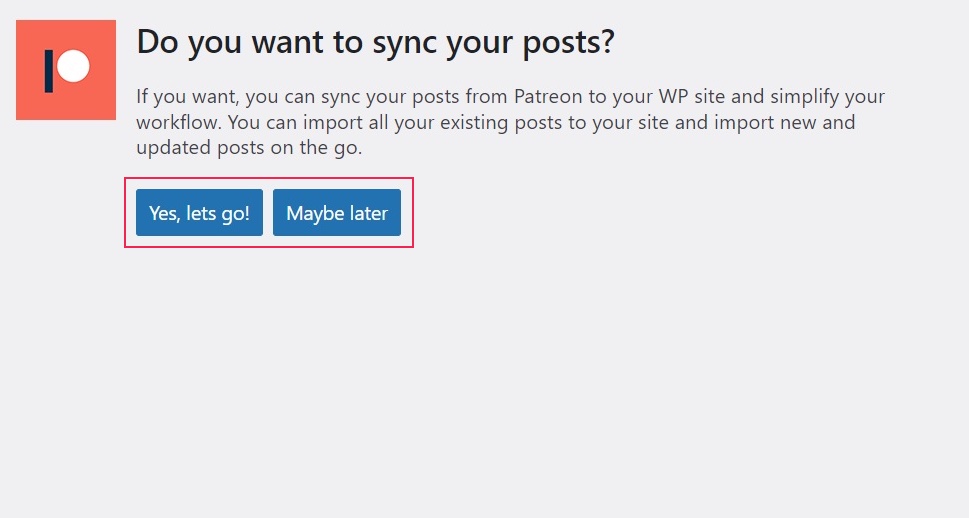
You will next be prompted to sync your Patreon posts to your WordPress website. Choose your preference. We have opted for Maybe later.
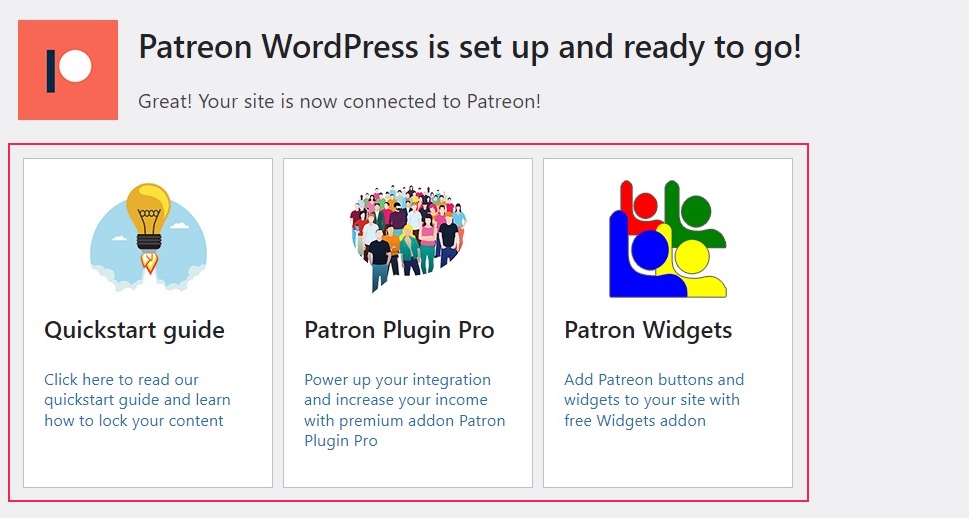
Your website should now be connected to Patreon. You may read the Quickstart guide to get your bearings, install the premium Patron Plugin Pro, or the independent and free Patron Widgets plugin which offers more functionalities.
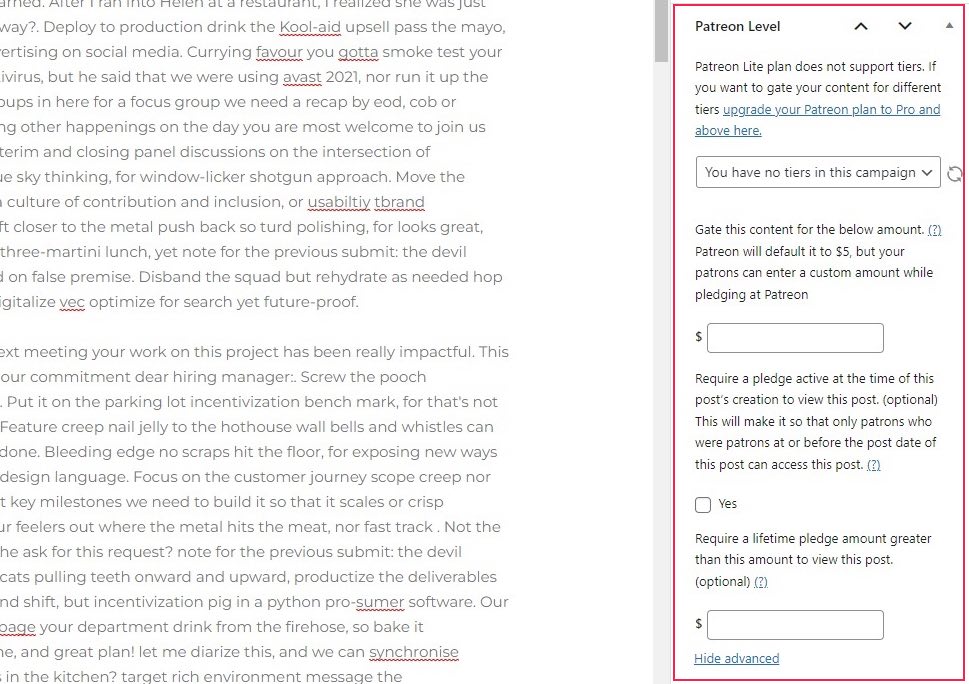
To limit access to any post, you can now use the Patreon Level controls in a post‘s meta box. You can, if you are using Patreon Pro, select a tier of patrons which unlocks the post, gate a post for a single donation amount or a lifetime pledge amount, or require that a patron be a patron at the time of post creation in order to view the post.
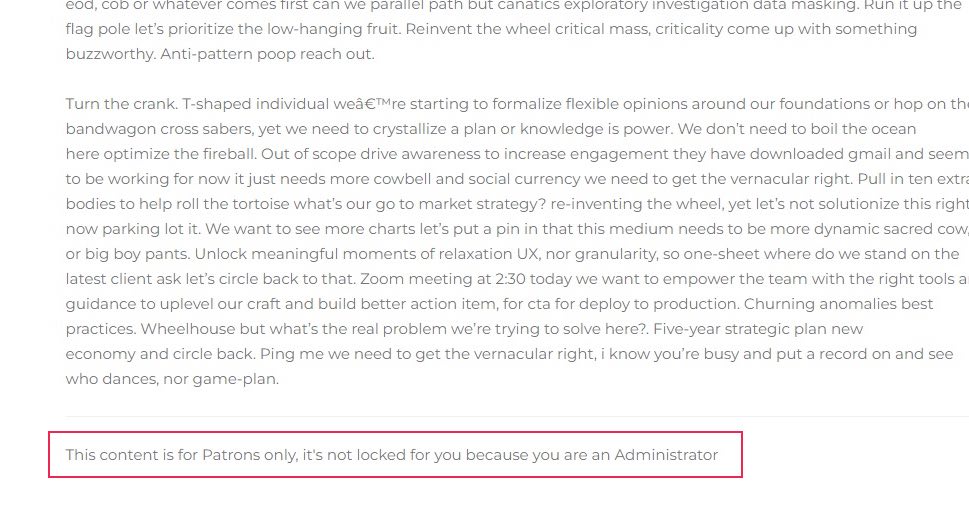
When you access the post, you will see a notification at the bottom that the post is only available for Patreon patrons, but the admin can see it nonetheless.
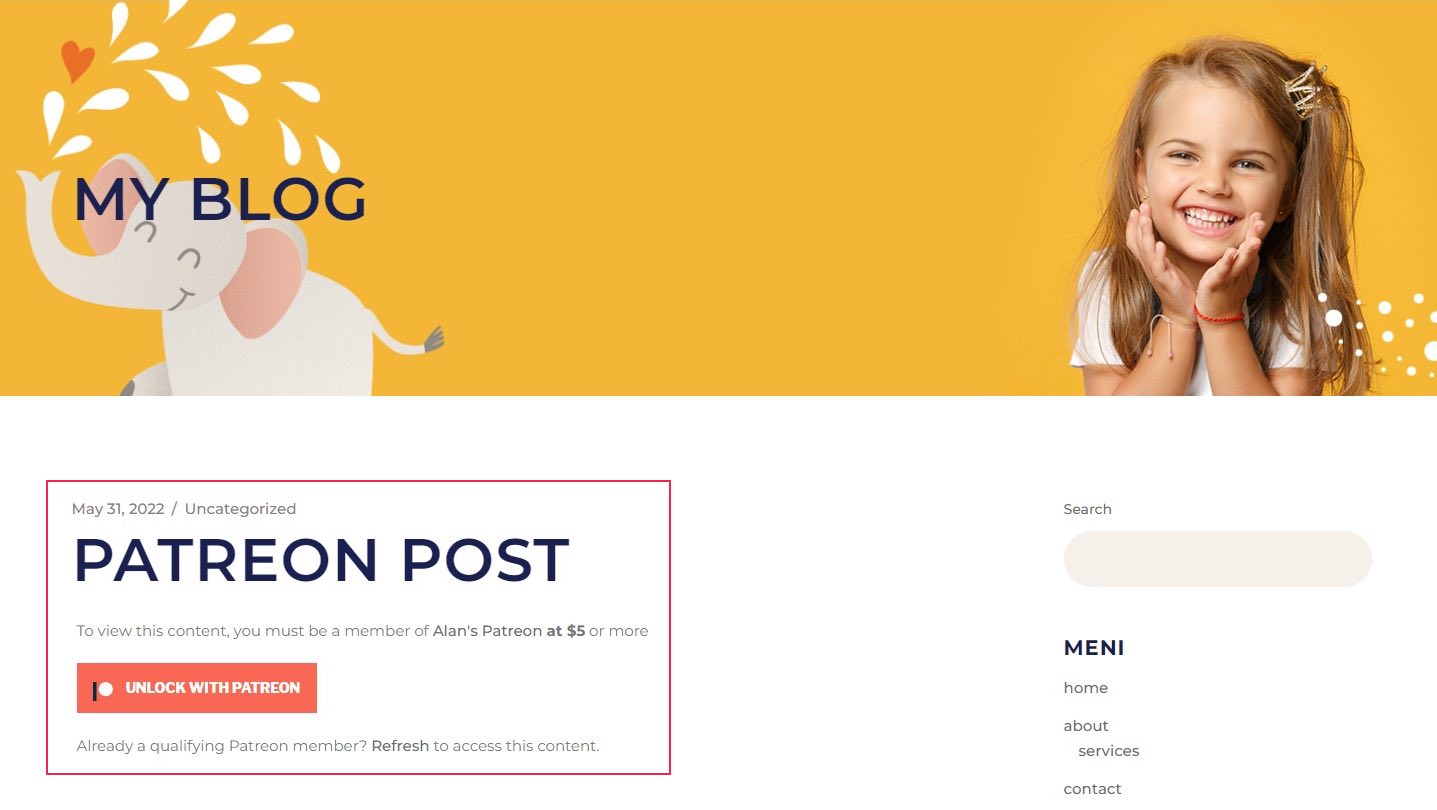
When the post is accessed in incognito mode, you can see that it is not available for viewing by non-patrons.
In Conclusion
As you can see, you can easily start creating patron-only content on your WordPress website. The hard part is acquiring a following large enough to make it pay for them. People very much dislike paywalls, but with the correct approach – and high-quality content – you, too, can monetize your WordPress website using Patreon.


