How to Set Up Recurring Payments in WordPress

If you are conducting any kind of business online, you probably bill your users for your goods or services. Good business practices are often about establishing lasting relationships, and this often means multiple or recurring purchases, each of which requires billing and collecting. If you are selling a service or a regular supply of goods which requires you to bill your buyers with any frequency (say, a monthly subscription), you will find that, as your business grows and you take on more and more customers, billing takes up more and more time which could be put to better use. Setting up WordPress recurring payments is a way to automate invoicing your buyers and saving you a lot of time and effort.
In this article, we will show you how to use a free plugin to set up recurring payments for whatever goods or services you are using your WordPress website to sell.
Here’s what we’ll cover:
Qode Themes: Top Picks
View Collection


The main benefit of setting up your account to receive recurring payments is saving time. Instead of sending each of your buyers, users or subscribers invoices for each interval, for instance, you can automate this process and invoice them monthly. They can in turn set up their accounts to pay you automatically, instead of addressing each invoice in person as it arrives. This way, a recurring payment setup saves time on both ends.
The online services which recurring payments would most benefit are subscription services, such as news websites and online magazines. Similarly, maintenance services, such as building and garden maintenance businesses, may opt to charge a monthly rate instead of a per-job price. But even new media, such as podcasts and individual creators, can benefit from a subscription model.
The more you automate, the more you reduce the slog of simply doing business – your customers will appreciate it.
There are any number of premium options for you to set up recurring payments. We have elected to show you a free way to do it – all you need is a PayPal account and a free plugin. A word of warning: a PayPal account itself is free, but it does apply a transaction fee in case you are receiving money for goods and services.
The plugin we have chosen is WordPress PayPal. Of course, the prerequisite to using this plugin is a PayPal account. Once you have installed and activated the plugin, navigate to your plugin settings page by selecting WP PayPal > Settings from the left-hand side menu on your WordPress dashboard.
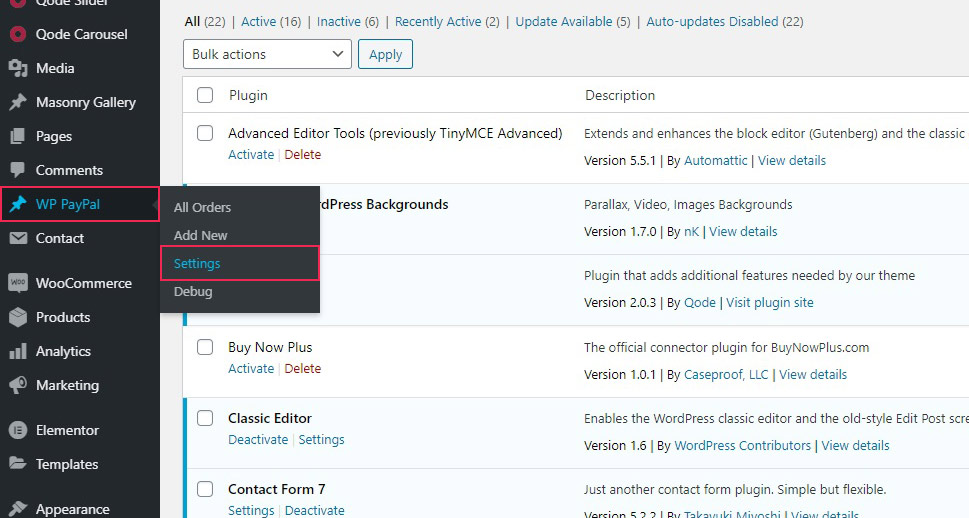
Once there, you will find the plugin’s few options.
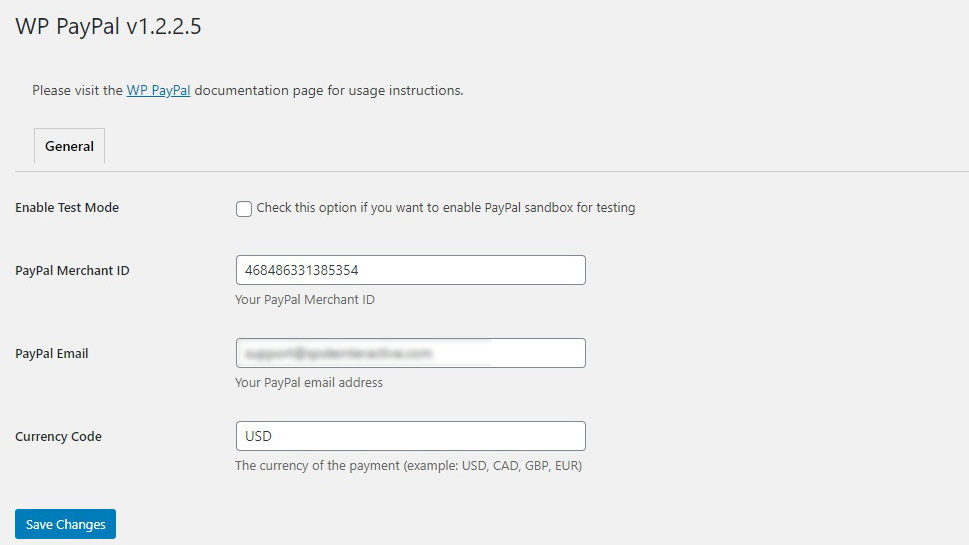
Firstly, there is the Enable Test Mode checkbox. You can mark this box if you want to run some tests using the PayPal sandbox functionality. This way, you can check whether your setup works using a simulated transaction between a simulated buyer and a simulated seller.
Next down are your PayPal data. You need to enter your PayPal Merchant ID and your PayPal E-mail so that the plugin may connect with your account.
Finally, there is the Currency Code. The default is USD, for US Dollars, of course, but you can use any of the PayPal-supported currencies.
Once you have everything ready, all you need to do is Save Changes.
Now, this plugin supplies you with shortcodes for PayPal buttons you can use. You can find these shortcodes and their parameters on the plugin’s WordPress.org page. If you are looking to set up a recurring payment, you want the subscription button shortcode. The default version of the shortcode is:
[wp_paypal button="subscribe" name="My product" a3="1.00" p3="1" t3="M" src="1"]
This shortcode will set up a subscription button for “My product”. To configure this button, you need to change its shortcode. As is, a sale using this button means a recurring subscription for the price of 1.00 of your set currency, recurring, for one month.
The a3 parameter defines the price. To change the price, simply enter an amount up to two decimal spaces instead of 1.00.
If you want this payment to recur, the src parameter needs to be set to 1, as it is by default.
The t3 parameter is the period of recurrence for the payment. You can set it to D for Days, W for Weeks, M for Months and Y for Years.
The p3 parameter is the number of periods of recurrence for which the payment recurs. Its range of allowable values depends on the t3 parameter, and it is 1-90 for Days, 1-52 for Weeks, 1-24 for Months and 1-5 for Years.
Detailed instructions for the use of these parameters can be found on the developer’s website.
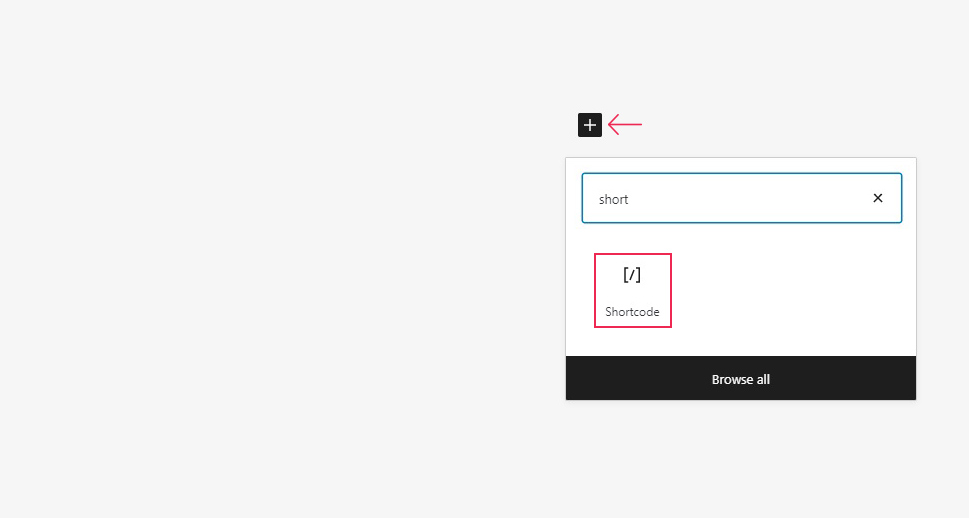
We will now place this button onto a page. You can, of course, place your shortcode wherever you like. First, we will create a new page and click the plus sign to add a shortcode block.
We will then simply populate the shortcode block by pasting the shortcode, and then save our changes.
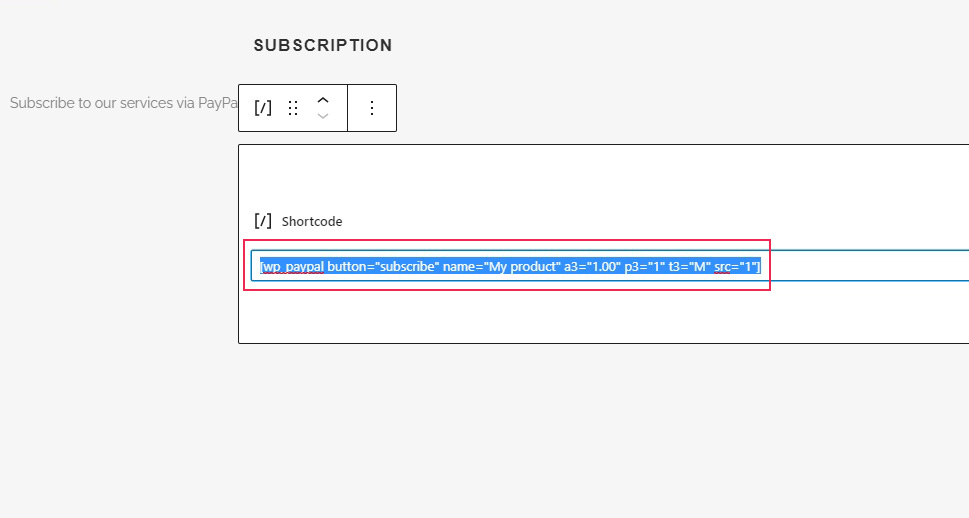
And our page is ready to accept paying subscribers.
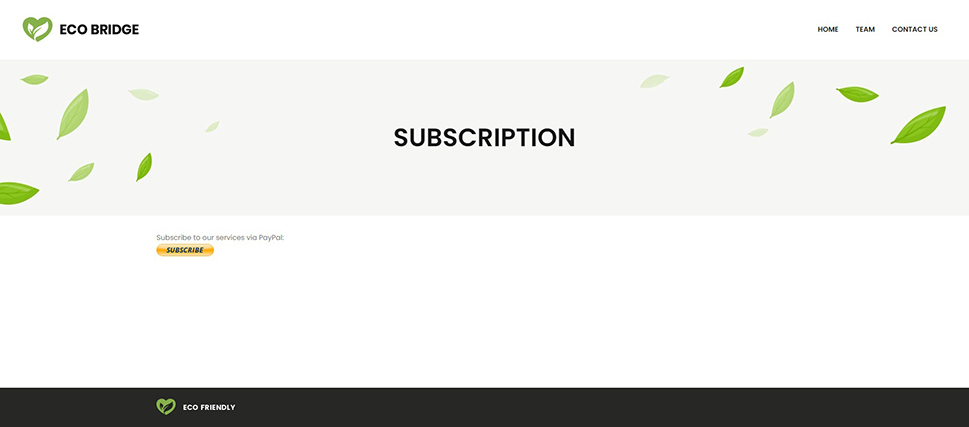
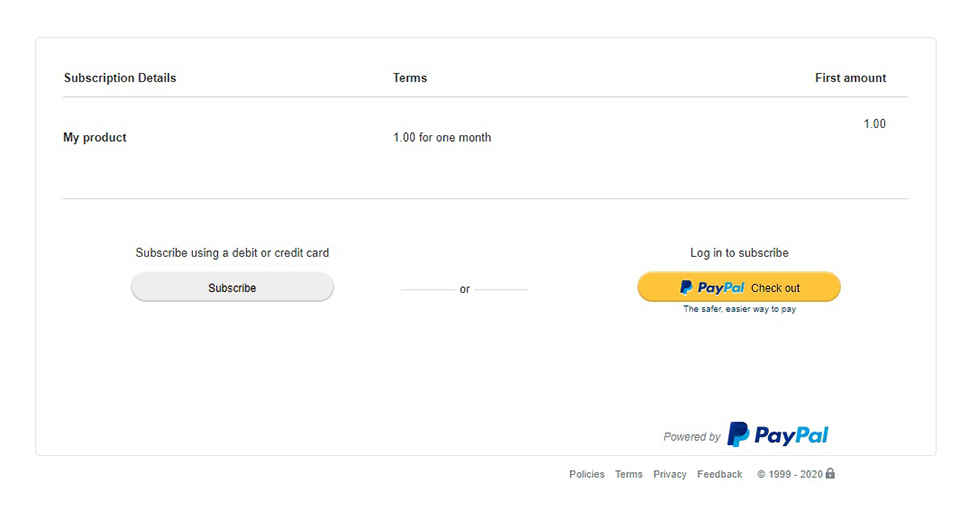
Clicking the Subscribe button will lead you to the (simulated, in our case) PayPal checkout, where your users can review the subscription they selected.
You can, of course, customize the button in several ways.
For instance, we strongly recommend you change the placeholder “My product”. To do that, you need to change the shortcode’s name parameter. Simply replace My product with whatever you want to call your subscription. You can generate multiple types of subscriptions this way, as each shortcode you use generates a different button. That way, you can, for instance, offer discounts to subscribers who subscribe for longer periods of time by offering them a better deal, or create subscriptions for multiple products or services on the same page, using a single plugin.
If you want the PayPal checkout to open in a new tab, you can do it using the target parameter, by adding target=_blank to your shortcode.
And if you want to change the look of the button itself to better suit your website‘s design or style, you can do that by adding the button_image parameter to the shortcode. Simply paste button_image=”XXXXXX” within the shorcode’s brackets, taking care not to disturb any of the other parameters, where you will of course swap the XXXXXX for the URL of your custom button image.
There are more parameters you could add to this shortcode which might be useful to you, but they go beyond the scope of this demonstration. The developers of the plugin have outlined them on the plugin’s WordPress.org page, and you can test them in PayPal‘s simulated environment to make sure that they function to your satisfaction.
GiveWP
GiveWP is an excellent plugin created primarily for allowing WordPress websites to set up and accept donations. The plugin has an addon designed specifically for recurring payments, with flexible recurring options, advanced reporting features, support for multiple gateways and built-in subscription management. The addon is well-documented and easy to set up, and currently costs $149/year.
WP Simple Pay
Just as its name suggests, WP Simple Pay is a straightforward and intuitive plugin designed for quick and easy payments. However, that doesn’t mean it lacks advanced features, and recurring payments are right among them. Setup is simple and convenient, and in addition to recurring payments, you also get over 10 payment methods, landing page builder, custom amounts and secure payment processing. Recurring payments are available with the Plus Plan, which currently costs $99/year.
Payment Button for PayPal
If you want your recurring payments to be done via PayPal, the Payment Button for PayPal is just the plugin for the job. This free plugin lets you add a PayPal Buy Now, Add to Cart and Donation or Subscription buttons, and subscriptions are basically recurring payments. The payments can be made daily, weekly, monthly or yearly, and you can accept any currency that is supported by PayPal.
Paymattic
Paymattic is a plugin for adding a Stripe checkout to your shop, and it stands out for the sheer number of integrations it comes with. You can connect with over 5000 tools via Zapier, create email lists with MailChimp, integrate Slack, secure your forms with Honeypot and manage subscribers via WP User Registration. All this comes with the free version but for recurring payments you’ll have to use Paymattic Pro, with plans starting at $4.99/month.
Woo Subscriptions
And what can be a better solution for WooCommerce-powered websites than an official Woo extension? Woo Subscriptions allows your visitors to subscribe for your services and pay weekly, monthly or yearly. It integrates with over 25 payment gateways, and supports manual renewal payments, automatic rebilling on failed payments, renewal notifications and much more. This is a reliable, robust and streamlined addon that will certainly help you manage your recurring payments with ease. The addon currently costs $19.92/month.
In Conclusion
As we have shown, setting up WordPress recurring payments is easy and needn’t cost you a penny beyond transaction fees. If you are running a subscription service or a paywall-protected service, you can automate billing and avoid pestering your buyers, subscribers and/or tipsters with repeated invoicing and payment requests. And setting the whole thing up takes little to no shortcode parameter adjustments and virtually no time at all. If your business could benefit from it, there’s no reason not to try it.
If for whatever reason the tool we used doesn’t suit you, feel free to explore the other options we mentioned, and if you’re already using one we didn’t mention, let us know about it in the comments!
