How to Publish Paid Content in WordPress with a Paywall

Oh, the dreaded paywall, that thing that’s keeping you from getting just the piece of content you wanted to see at the exact time when you needed it the most. But even in situations that are not life or death or whatever drama you like to play out, that page that comes up and says you don’t have access to the content you wanted to see sure is a nuisance.
Look at it from the other side, however, and the paywall morphs from a problem into its opposite – a solution. Instead of relying on ads for monetization and chasing ad-blocking website visitors, the ability to put a paywall between the content on your WordPress website and the potential reader seems like a much more elegant solution.
If you’re interested in publishing content on your website and putting it behind a paywall, don’t worry. We’ll show you:
When you strip it to its core, a paywall is a figurative wall you put in front of a website visitor and you keep it there until the visitor has paid you some money. This practice of selling subscriptions or limited permits is a form of access control, where you get to set the rules your visitors will have to abide by if they want to see what you’re hiding behind that wall.
Although they’re slightly similar, a paywall and a subscription service are different from a membership setup. You don’t get members by putting up a paywall because you’re not creating a club — you’re doing your darndest to monetize the content in a climate that’s simply too comfortable with thinking well-written words should be free. So while both deal with access, the membership and the subscription are still slightly different.
Blog & Magazine Themes
View Collection


As a model to extract funds from readers, putting up a paywall is a popular one. That’s not the best thing you could say about it by a long shot, but it’s still worthy of mentioning. Paywalls are popular. Let’s see if we can figure out why.
One of the things that publishers who run paywalls would say is that they are a more reliable source of revenue than ads. The paywall doesn’t even have to be that successful to outperform ads you’d place on the website. On top of that, a paywall will serve as a strong signal that whatever is behind it is worth reading, which can boost your authority, finally providing you with a consistent source of revenue.
But all the above can happen only if you have great content. Paywalls don’t work on mediocre websites, and they also don’t work on websites that want quick growth. Having a paywall will slow your website’s growth down, no matter how many qualified readers it brings you. And finally, you should know that there’s no such thing as 100% behind-the-paywall content. It’s going to leak. There will be hacks. Your content will amuse or shock or educate those who haven’t paid for the privilege.
Now that you know what you have in store if you decided to separate your content from your audience with a paywall, let’s see what might be the best way to do it. Many website subscriptions, membership, and monetization solutions are paid-for software you won’t find on WordPress.org.
While it makes sense to spend money to make money, you should always make sure that your paywall/subscription/membership software doesn’t cost you more than it’s making you. And, most importantly, you should make sure that it supports the type of paywall you want to build.
You can get creative when building a paywall. Your visitors can enjoy a nice read one moment, only to have a huge reminder that they should be subbing a moment later — like the New York Times does.
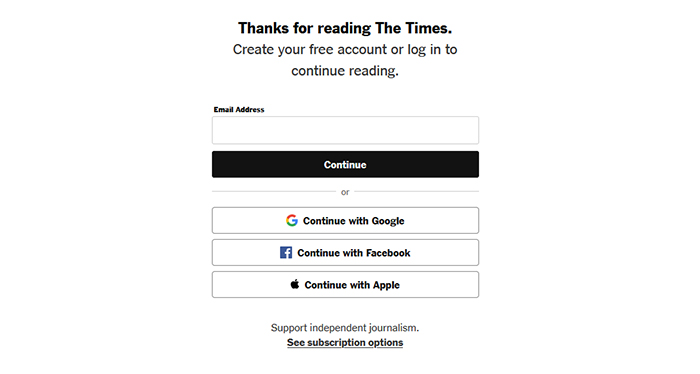
Then, if they go to see the subscription options, they’ll be taken to a nicely designed page that pitches them the couple-of-bucks-a-week subscription model.

But will they be able to read that article? No, they won’t. On your website, however, you can decide to give readers several articles they’ll be able to view for free before they have to pay anything. Or, you can have everything except the name of the website behind the paywall.
You’ll need a website, some content, and of course a plugin. In the sea of plugins that will act as the virtual bouncer for your website, we’ve chosen the Leaky Paywall for WordPress, a scrappy plugin that will give you a quick tour of the paywall options you’ll have at your disposal. So let’s go ahead and install and activate the plugin.
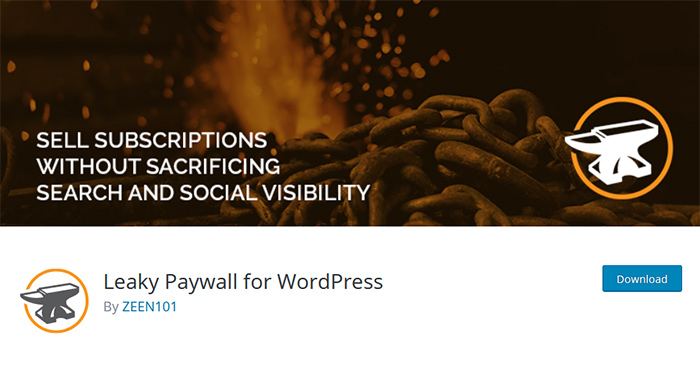
Leaky Paywall is a free plugin with plenty of paid-for addons that extend its functionalities. As soon as you install the plugin and activate it, you should head over to Leaky Paywall > Settings to set up the various pages the plugin will have you add to your website. You’ll get to choose the look for the login page, subscribe cards, register form, profile, and confirmation page. Any choices you make will be easy to add to your website via a provided shortcode.
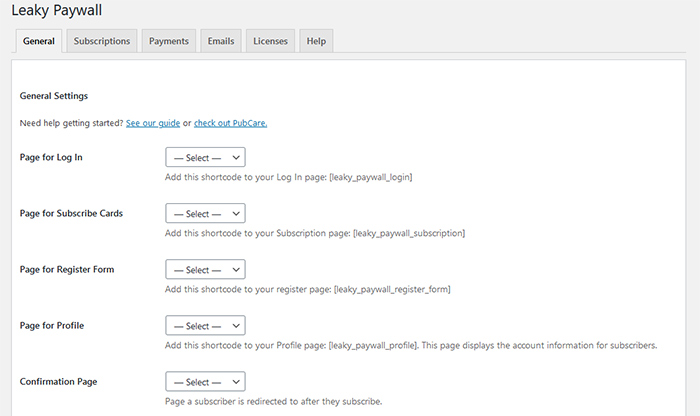
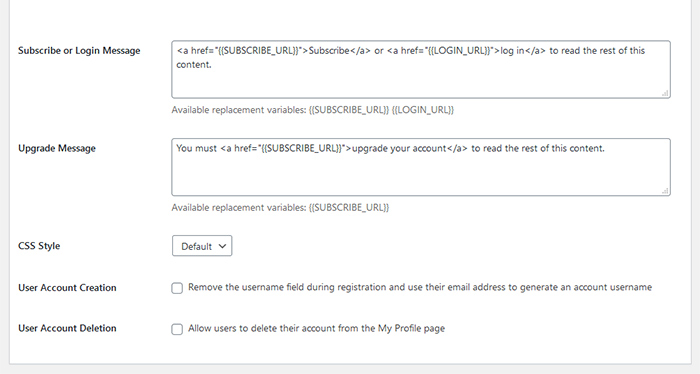
The same settings will allow you to write a subscribe or login message, an upgrade message, as well as choose the CSS style you want to use. Finally, you’ll be able to set whether you want the users to use their email addresses as usernames, and whether to allow them to delete their accounts.
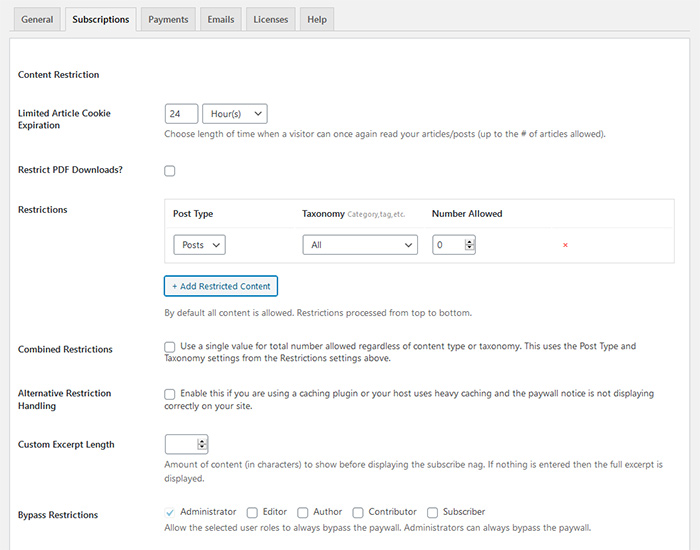
Moving over to the Subscriptions card, you’ll see the reason why you came to the plugin in the first place – content restriction rules. You can restrict PDF downloads, set up cookie expiry so that your visitors can only read your content for a certain amount of time, set up several allowed articles or posts or any other taxonomy, and even decide how many characters the users will see before the subscribe nag strikes.
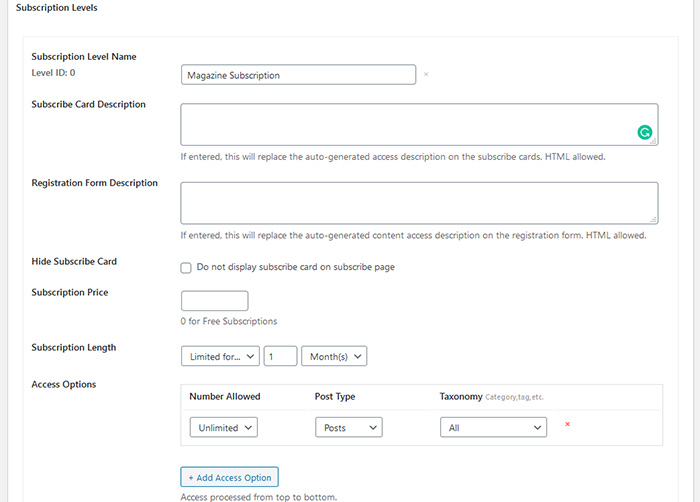
This card is also where you set subscription levels. By default, you only have one and you can get more by buying an addon. Either way, you’ll be able to set the name of the subscription, its price, lengths, and access options.
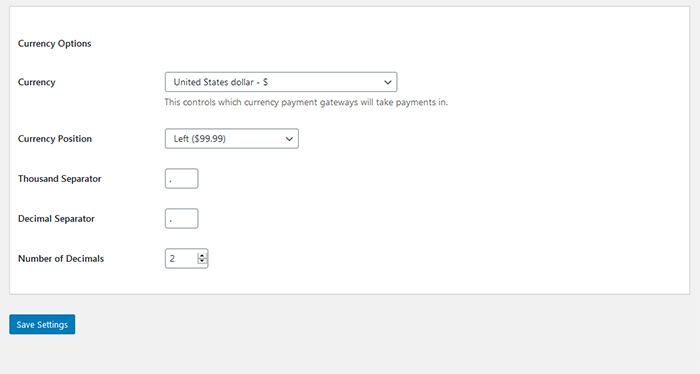
The plugin supports Stripe and PayPal payment methods, and you’ll be able to set up and edit both in the Payments card. Apart from setting up payments, you’ll also have currency options to set.
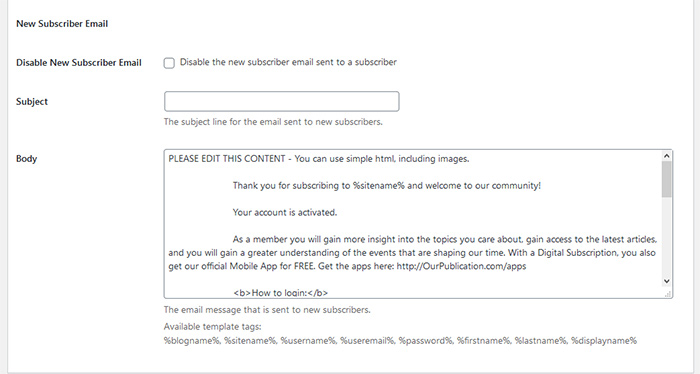
Finally, the email card lets you add the email addresses you’ll be using to send out emails to new subscribers, as well as reminder emails. You don’t have to send these emails — you’ll have a toggle that will allow you to disable them. But if you’d like to, you can, and you can customize what they say, too.
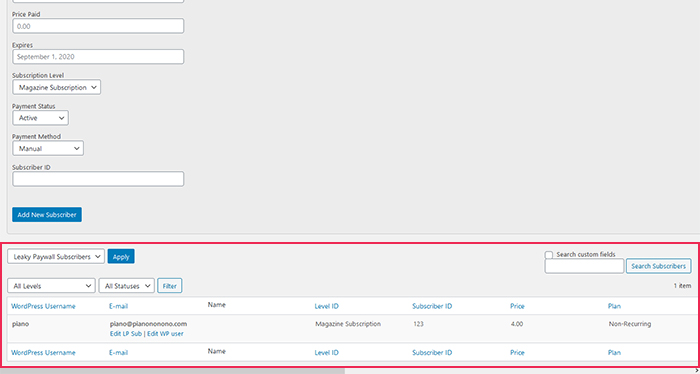
In the subscriber options of the Leaky Paywall menu, you’ll have the opportunity to manually add subscribers and see a full list of the people who’ve subscribed to your website.
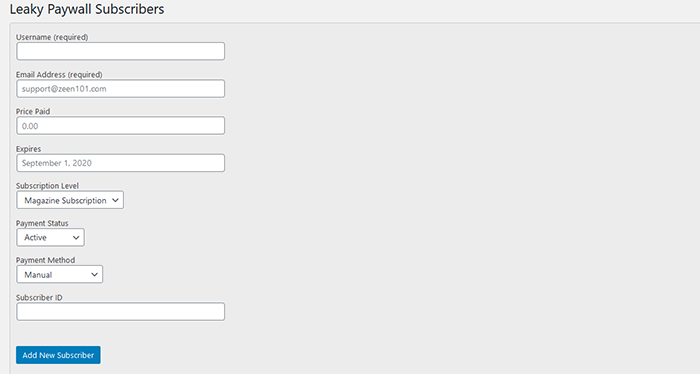
You can add any number of new subscribers this way. All will show up in the subscriber list below.
With that, you’ve done as much as the free version of the plugin lets you. If you’re interested in adding new functionalities to it, you can always check the add-on library. Either way, you’ll have everything you need to put your content behind a paywall.
In Conclusion
Let’s be honest here for a moment – good content costs money to produce. It would be completely unrealistic to believe that someone will keep on hammering on that keyboard day and night without any form of compensation, just so that they could populate the internet with yet another article.
It’s about passion, sure, but it has to make financial sense, too. One of the ways publishers, bloggers, and authors can take care of that part of content production is by putting a paywall in front of their content. It’s more than fair, it can be very effective, and with the right plugin, it’s very easy to set up.
