How to Control Frontend Block Visibility and Show/Hide Specific Blocks in WordPress

It’s undeniable that Gutenberg has brought significant changes to the text editor interface of WordPress ever since it was first introduced in late 2018. The Gutenberg block editor works by using blocks that allow users to edit their pages and posts in various creative ways, helping their content appear more attractive and user-friendly in the process. Aside from having access to many premade blocks from the get-go, there are also many third-party Gutenberg block plugins out there one can use to expand Gutenberg’s potential and capability even further.
With all that being said, there may be times when you want to control your frontend WordPress block visibility, or rather, prevent certain blocks from appearing on your site’s frontend. Say that you have a block on your site that displays your company’s working hours and you want them to be visible to your visitors only at times when your business is actually open. Or, you have a website that requires users to subscribe and pay for a membership to have access to specific content. Or, you may simply want to show a time-sensitive offer. These are just some of the instances when the ability to show or hide specific blocks may come quite in handy.
Fortunately, there is a WordPress plugin called Block Visibility that will allow you to pick the blocks you want to be hidden on your site’s frontend as well as control how they are hidden. This plugin comes with a bunch of personalization options you can use to also turn your existing blocks into so-called conditional blocks. This means that you will be able to make your block-based content appear on your site under certain conditions.
So, without further ado, here’s how you can easily use the Block Visibility plugin to get full control of the block visibility on your WordPress site and truly improve the way you run and market your business as a whole.
Qode Themes: Top Picks
View Collection


Configuring the Block Visibility Plugin
As we mentioned, the Block Visibility plugin will allow you to easily control the visibility of blocks on your WordPress site as well as select who will or won’t be able to see them and under what conditions. Some of the plugin’s options include the ability to schedule the time and date when you wish to show or hide specific content, hide or show blocks to specific user roles, or people who use specific screen types.
The best thing about all this is that you don’t need to use any code to do it. You simply need to create your content using the Gutenberg block editor, select your preferred visibility conditions using the plugin’s intuitive options, and certain blocks will be shown or hidden on your frontend right away.
What’s also great about the Block Visibility plugin is that it is made to work with any block out there, including default WordPress blocks and the new block-based widgets, as well as third-party blocks.
The plugin can be downloaded for free from the official WordPress repository. But if you want to have even more options at your disposal, you can also upgrade to the premium version (with the pricing starting at $49 per year). Among the premium features are the ability to show or hide content based on your block’s location, an extended date-time functionality, and WooCommerce integration, among others.
After you install the plugin and activate it, you can head to Settings >> Block Visibility to configure your plugin’s settings.
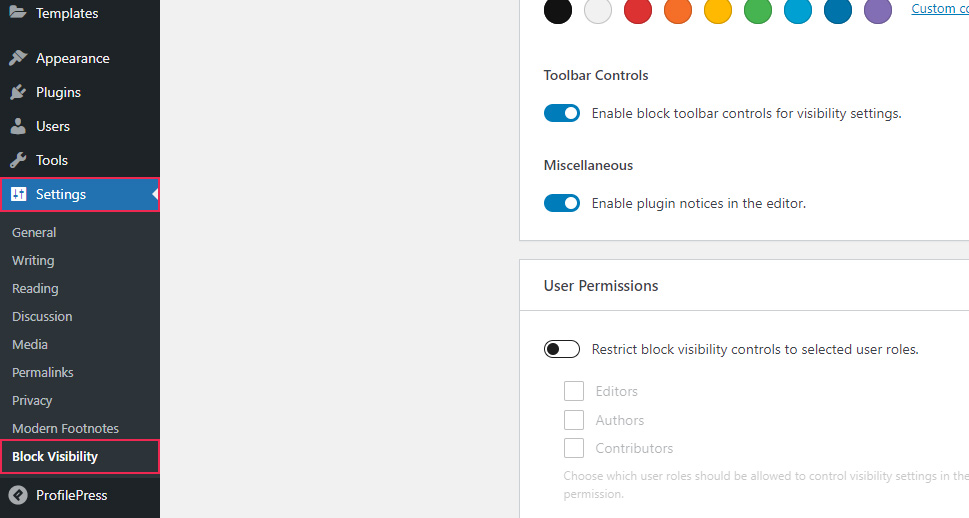
Once you’re in the General Settings tab, you will first be able to access the Block Editor section.

Here you will be able to set things like default available visibility controls (according to date and time, screen size, and user role), toolbar visibility controls (basically allowing you to use visibility controls directly within the block’s toolbar), and enabling of plugin notices in the editor.
The User Permissions area will let you select users that will be allowed to control visibility settings in the block editor. Keep in mind that you can select editors, authors, and contributors, while administrators will always be able to use these settings.
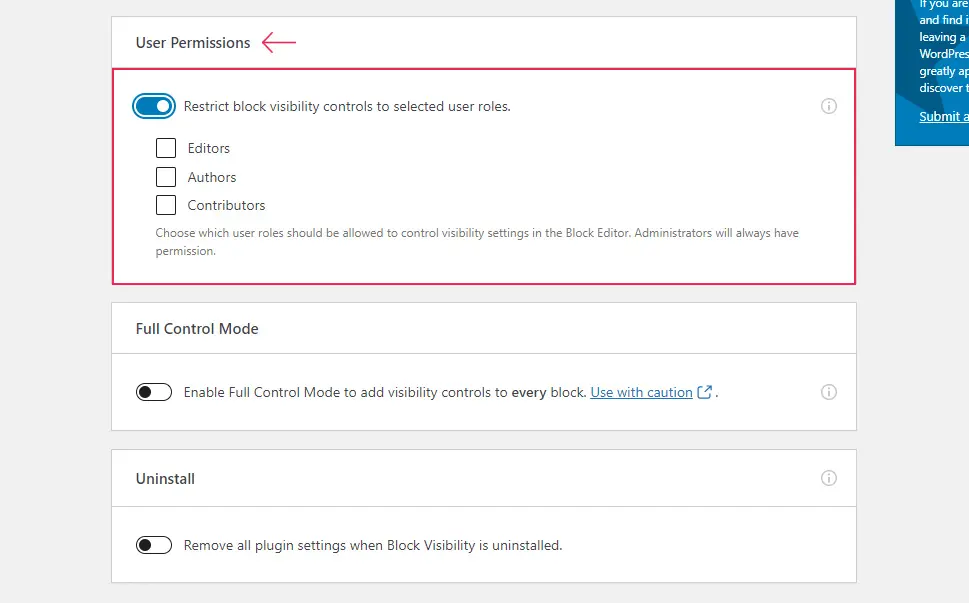
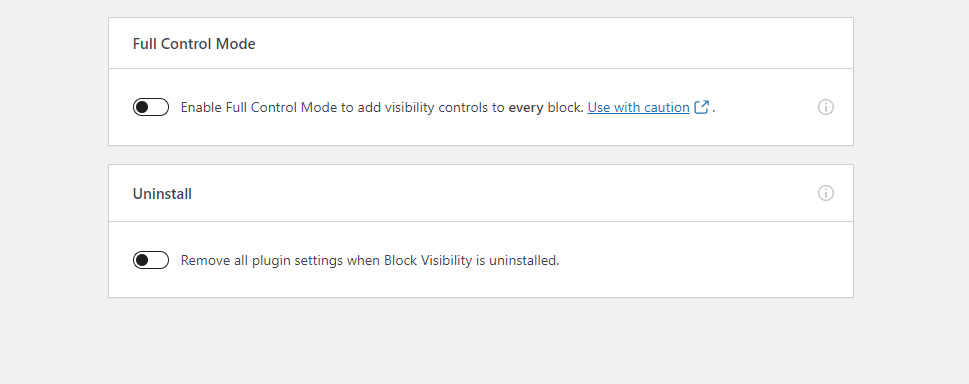
You will also be able to switch on the Full Control Mode and add visibility controls to every block, as well as enable the option to remove all plugin settings in case the plugin is uninstalled.
Next, the Visibility Controls tab will allow you to configure all visibility controls you have at your disposal in full detail and determine how you want them to function. Keep in mind that these settings will override all other controls.
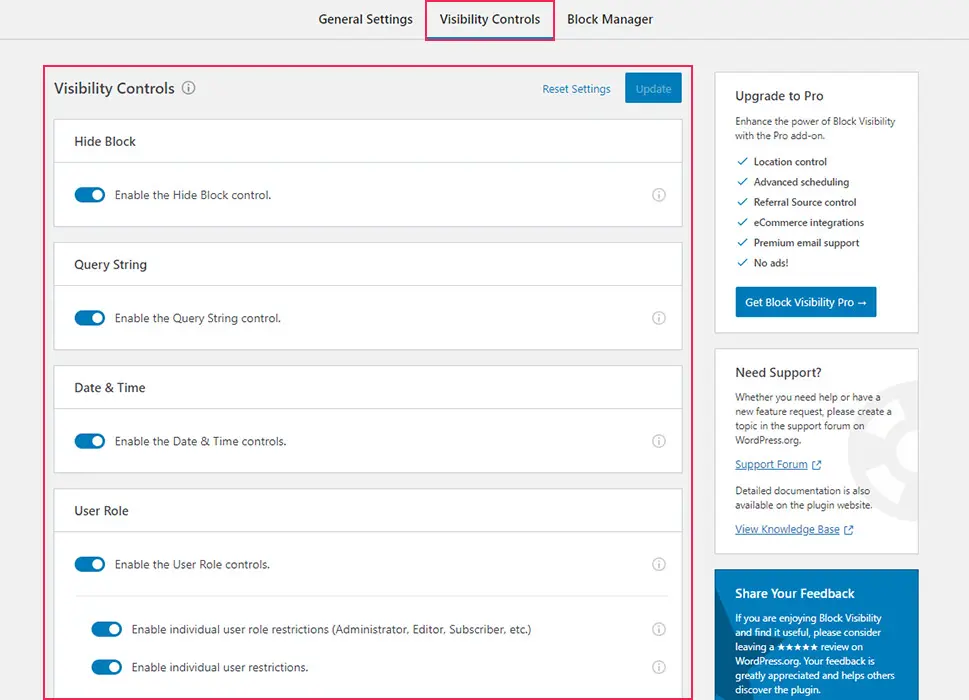
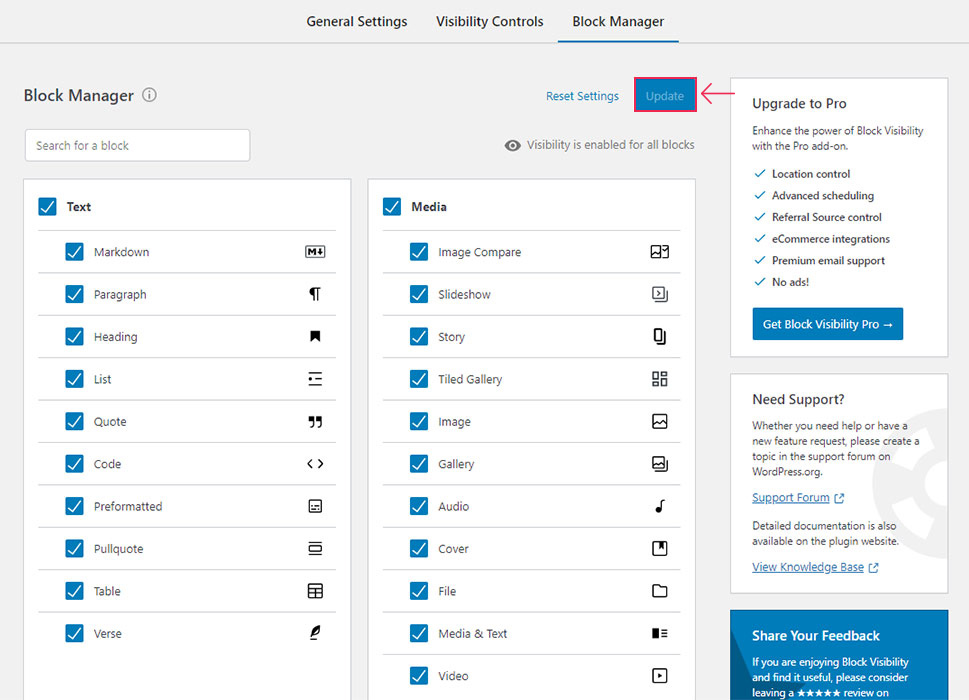
Finally, the Block Manager tab will allow you to manually disable visibility controls for each available block. You will see that all blocks are divided into different groups, such as Text, Media, Design, Widgets, etc. Feel free to enable and disable block visibility according to your preferences.

Once you’re done with configuring all the settings, make sure to hit the Update button located at the top.
Then, you can go to your page or post and select blocks you want to be hidden from your frontend.
Using the Block Visibility plugin to Show and Hide Blocks in Gutenberg
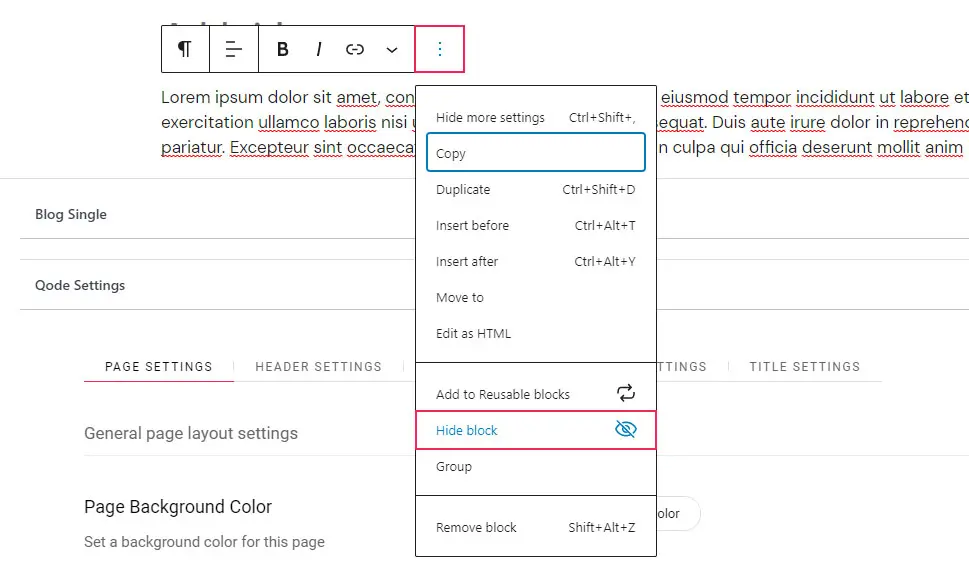
There are two ways to hide a block within the editor. To use the first one, you should go to the backend of your page/post, select the block you wish to hide, and then click on the “Options” (three-dotted) icon. Then, select the Hide block option.
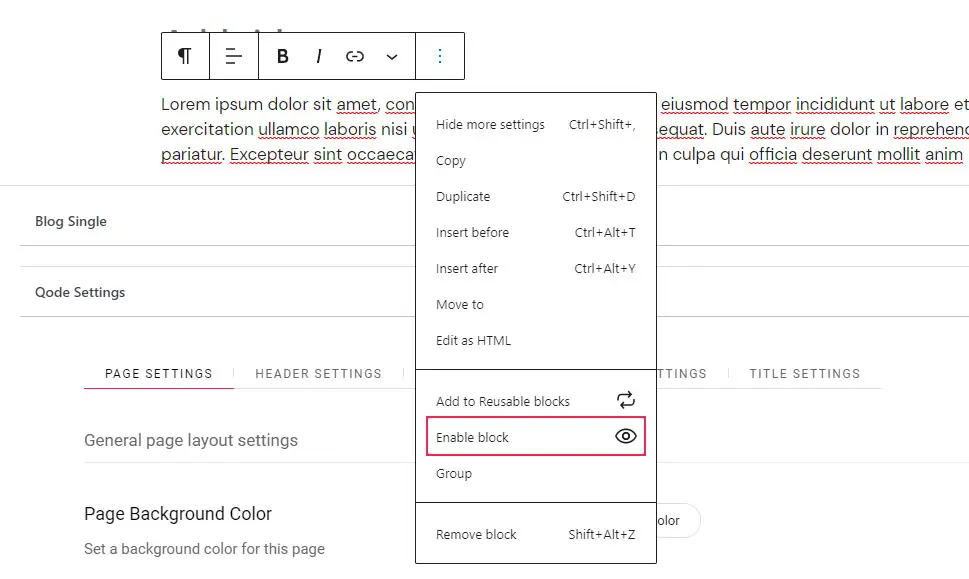
You can simply click on Enable block to undo this.
The other way to hide the block also allows you to use a few other advanced options. These options will help you determine the conditions under which your block will be hidden. To do this, you should use the Block tab on the right side of the screen and click on the Visibility panel to expand it.
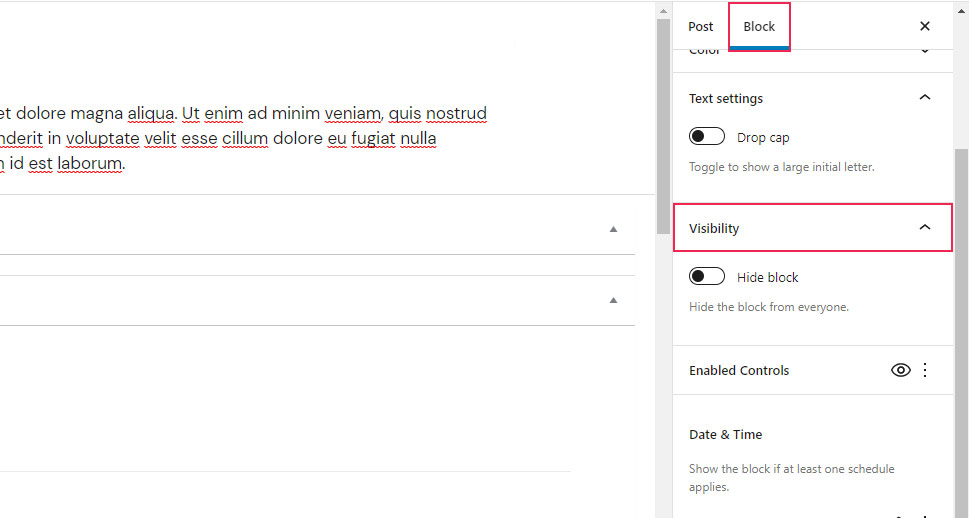
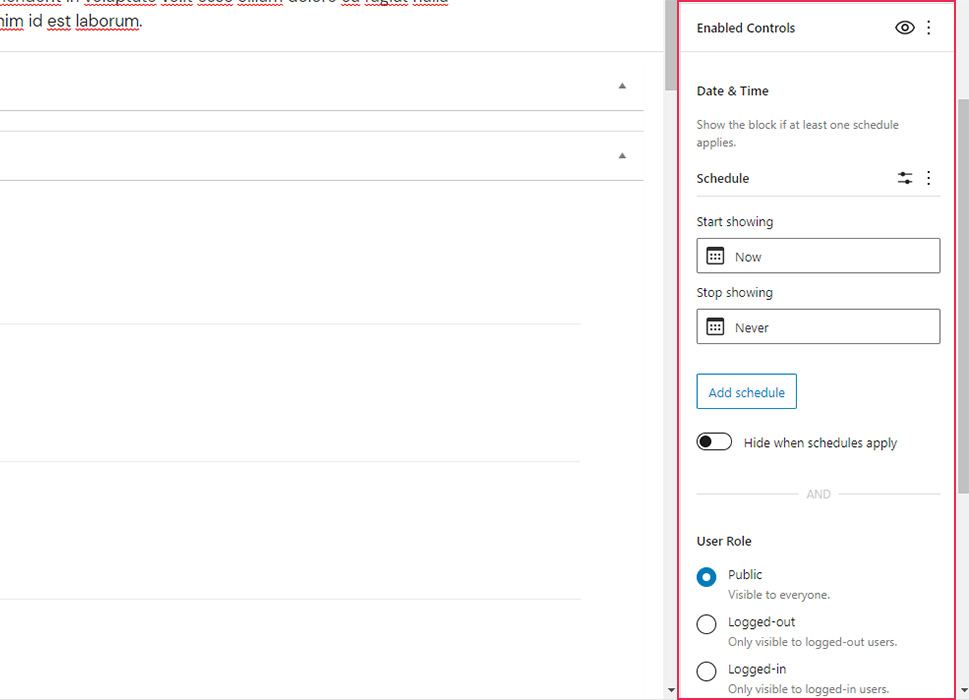
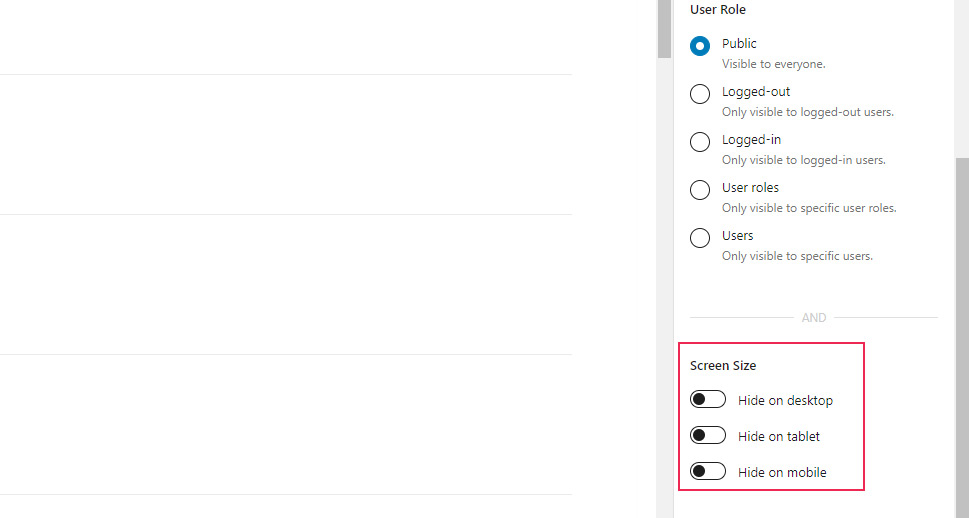
It will reveal the “Hide block” button, as well as a few other useful options. These include the ability to switch specific controls on or off within the block itself, the ability to schedule the time when you want the block to start and/or stop showing, and to select a user role that will be able to see the block. You can make the block public (visible to everyone) or you can set it up to be visible only to logged-in users, logged-out users, specific users, or specific user roles.
If you haven’t disabled the screen size option in your settings earlier, you will also be able to determine the screen sizes the block will be visible on. You can hide the block for desktop, tablet, and/or mobile.
Make sure to hit the Publish/Update button once you’re done with setting up your block visibility options.
Conclusion
If done right, hiding specific blocks on your WordPress site can help enhance the user experience of your website visitors and even improve the way you present and promote your business online. No matter if you want to create time-sensitive offers or want to encourage users to subscribe to have access to exclusive content, the Block Visibility plugin will help you do all that, and then some. Once you successfully configure the plugin using its comprehensive but intuitive set of options, you can go to a specific page or post and start determining which blocks you want to hide. You can also select users and/or user groups that won’t be able to see specific blocks, select the date and time when these blocks are visible (and not visible), and plenty more. Just make sure to follow our instructions carefully, and you will be able to easily create dynamic content on your WordPress with this practical plugin in no time.
