A Complete Guide for Setting Up WooCommerce Wishlist and Quick View
If you decided to use WooCommerce for your WordPress-powered online shop – congratulations, you’ve made an excellent choice. WooCommerce takes care of all the functional capabilities a shop might need, covering all the details that really make the difference when it comes to e-commerce UX. And if those don’t come out of the box, they can easily be obtained through addons. Today we’re going to talk about two particularly useful addons – Wishlist and Quick View, and show how you can set them up for your shop. Here’s what we’ll be covering:
eCommerce WordPress Themes
View Collection


Ever found yourself in a situation where you have a wedding to attend, and you have absolutely no idea what present to buy for the happy couple, only to find out that – what a relief! – they’ve compiled a list of items they would like to get from their favorite shop? In just a couple of clicks, your dilemma is solved, the gift is purchased, all thanks to the wishlist feature provided by the website. This functionality can come in handy in other situations too, and it’s not just limited to buying gifts for others – people love adding items to their own wishlist with the intention of perhaps purchasing them later, when it’s more convenient or when they can afford it.
In any case, it’s a terrific feature that your visitors will appreciate, and anything that makes things easier for your visitors is always beneficial for your shop’s bottom line, in terms of traffic, rating and, eventually, sales.
The Quick View feature, on the other hand, improves your site’s UX by allowing the users to get additional info on the product they’re interested in right then and there, without actually having to navigate away from the page where it’s listed. Sometimes, a visitor may not be interested in a product enough to actually go to its individual page, but if you allow them to view the product closer on the same page, it may be just the thing that will push them towards a purchase.
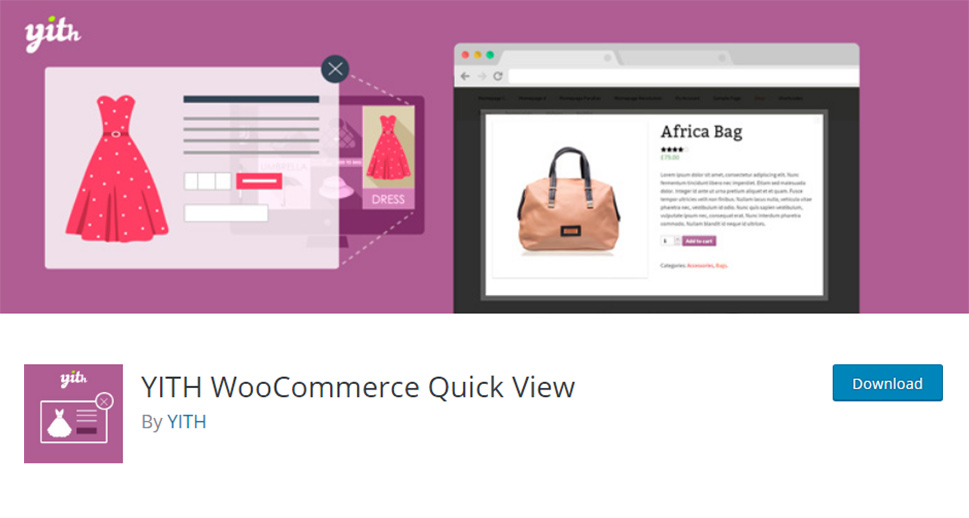
Both Quick View and Wishlist can be added to your WooCommerce shop using plugins. The YITH WooCommerce Quick View and YITH WooCommerce Wishlist can be installed individually or as part of the excellent YITH Essential Kit for WooCommerce, a collection of plugins covering everything from Ajax search, zoom and infinite scrolling, to order tracking and waiting lists. And if you’re using one of the Qode Interactive online store themes, you’ll be happy to hear that they come with YITH WooCommerce Wishlist and Quick View compatibility.
Because these two plugins provide such useful capabilities and can really make a difference when it comes to e-commerce conversions, we’ve decided to cover their setup and use in detail.
First and foremost, to be able to use YITH plugins, you need to have your WooCommerce plugin installed and set. If you need any help with putting together your store, we have an in-depth WooCommerce tutorial you can consult.
Once your WooCommerce plugin is installed and set up, you can go ahead and install your plugins. If you are using one of the Qode Interactive WordPress themes that come with YITH plugins, you don’t have to add or download the plugins, just install and activate all the plugins that come with your theme, and you are good to go.
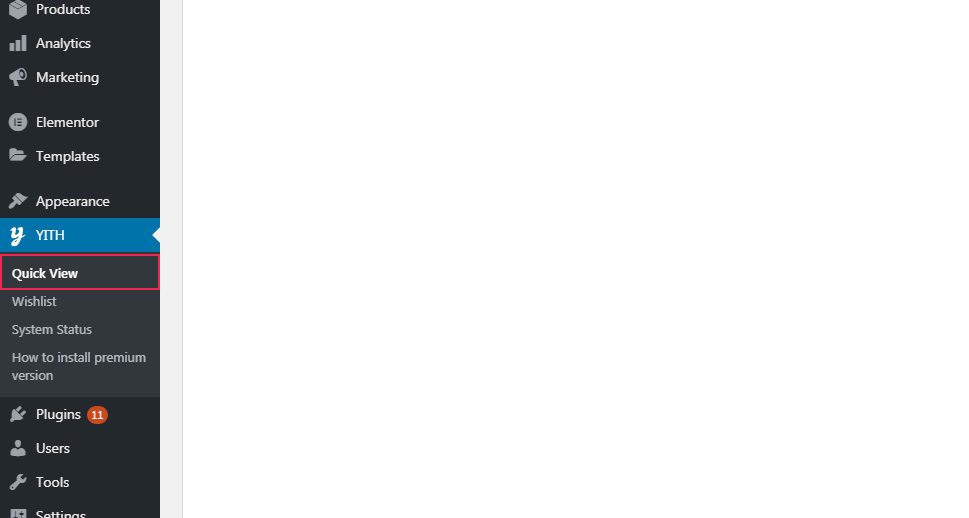
After installation and activation, you will find a new option called YITH in your WordPress admin panel on the left.
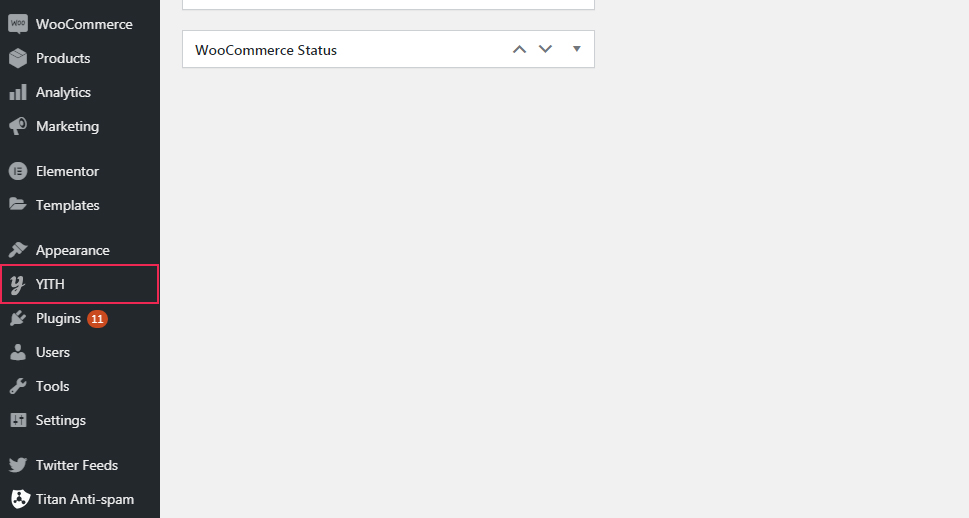
Click on it to discover all the YITH plugins you have installed. In our case, there are just two of them – Quick View and Wishlist, along with the system status option and a guide for installing the plugin’s premium version (more on those later).
We’re now going to go through each of the plugins individually, showing you how to set them up and use them, starting with the Wishlist.

In online shops, the wishlist feature, however “minor” it may appear compared to some other functionalities, can actually prove extremely useful for boosting both your traffic and your sales. A wishlist can serve as a reminder for potential future purchases, it can be shared with friends and family looking for gift ideas, and can be an overall promotional vehicle of your products. It can be shared on social media and other channels, improving your traffic and promoting your brand. Overall, it’s a feature that brings plenty of benefits and is very simple to set up.
Let’s now take a closer look at the options the YITH plugin brings for setting up a wishlist.
When clicked, the Wishlist section contains four tabs, and we’ll go through each of them to show you the possibilities. We’ll be using our Aare – Furniture Store WordPress Theme to show the preview of available options.
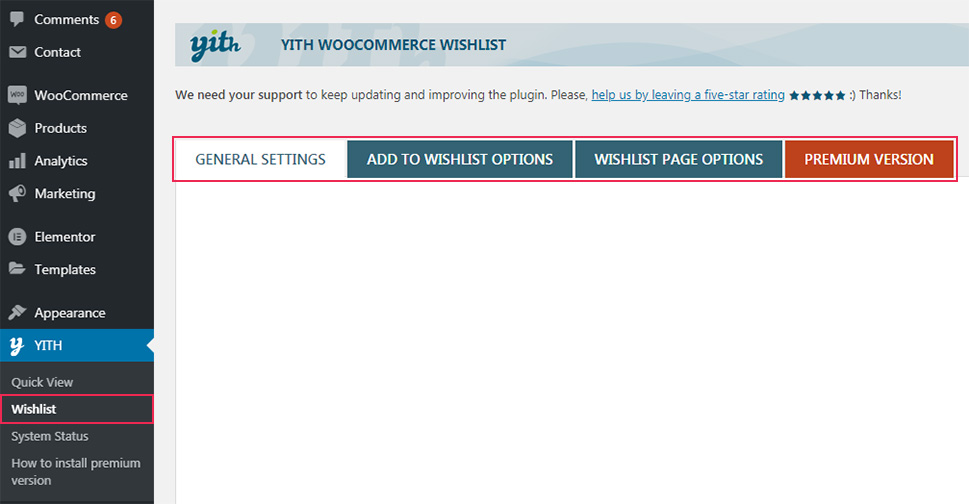
General Settings
The first thing under the General Settings tab is the option to enable AJAX loading.
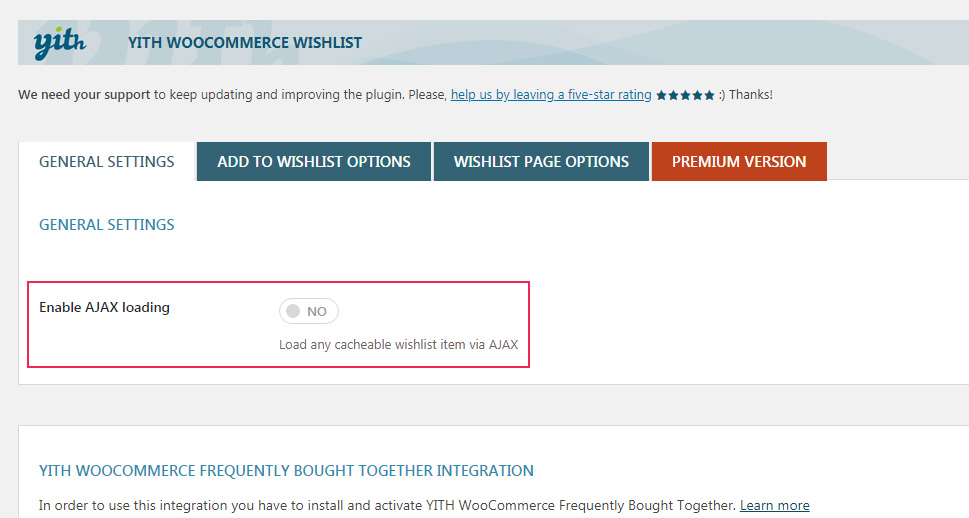
This option is good for improving your website’s speed. If you enable it, it will retrieve server data for cacheable items via AJAX without reloading the whole page. While the visitor is on the specific page, your site will load only the visible content. It will certainly make the loading faster. To enable it, simply switch the Enable AJAX loading toggle to YES.
Under the same tab, YITH offers you to consider enabling a slider in your wishlist, containing linked products.
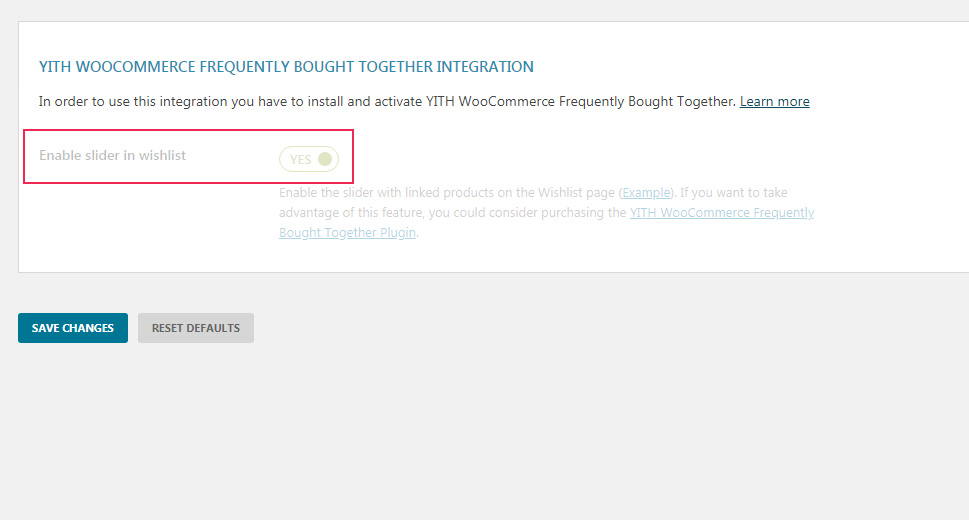
To be able to use it, you need to install and activate the YITH WooCommerce Frequently Bought Together plugin. This option, once enabled, will actually suggest items that are usually bought together to your potential customer, thus, potentially increasing the sales.
Add to Wishlist Options
The second tab contains the available Add to Wishlist options, controlling the way your wishlist will look and work.
General Settings
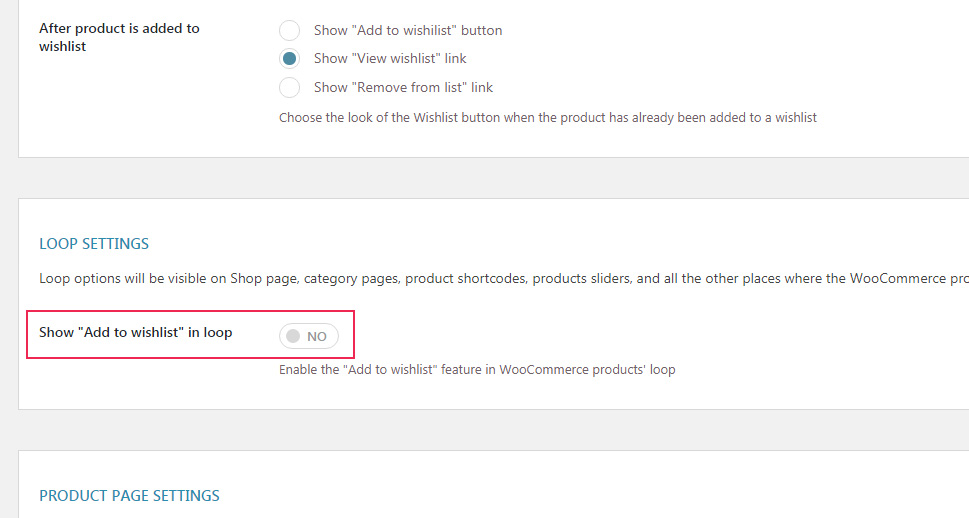
The first thing here is to set what you want to display, or more precisely, where you want to direct your customer, once a product is added to the wishlist. You can choose between a Show “Add to wishlist” button, Show “View wishlist” link and Show “Remove from list” link.
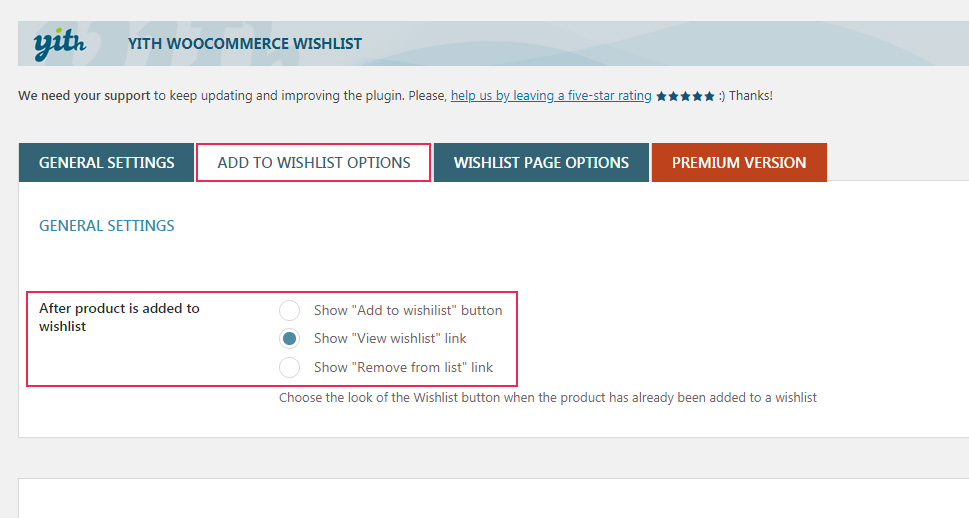
We will set this to Show “View wishlist” link – the customer will be able to check the wishlist and the products it contains.
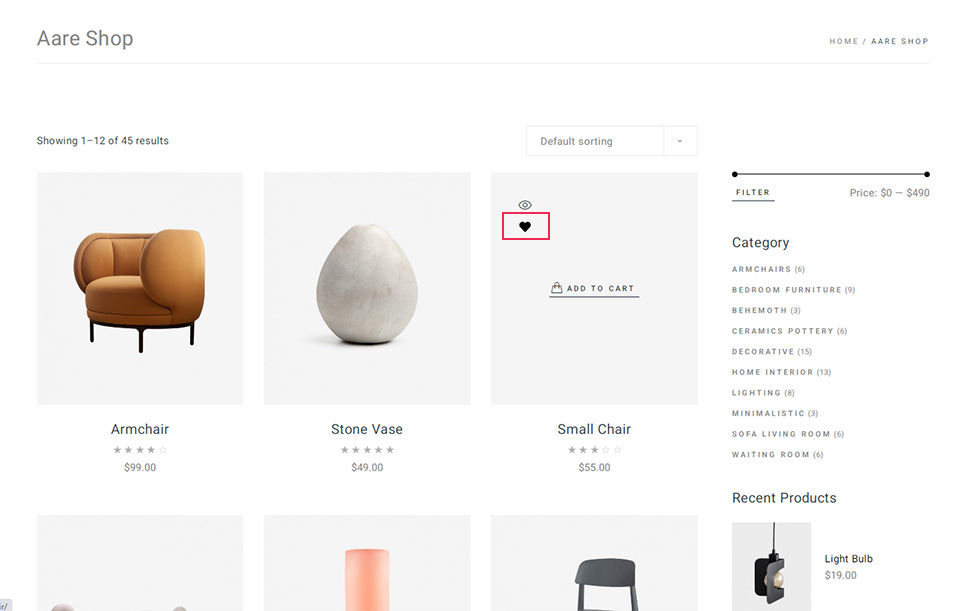
Here is what the Add to Wishlist button looks like before a product is added:
When the customer adds the product to the wishlist, it will change to this:

You can, of course, go with one of the other available options here – whatever works best for you.
Loop settings
Next, you can set whether you want the Add to Wishlist option to show in the loop or not. What this means is that if you have your products displayed as a slider or carousel, you can keep this feature turned off while the loop is running.
Here is the example from the Aare theme with a slider, and it doesn’t have an Add to Wishlist option.
Product page settings
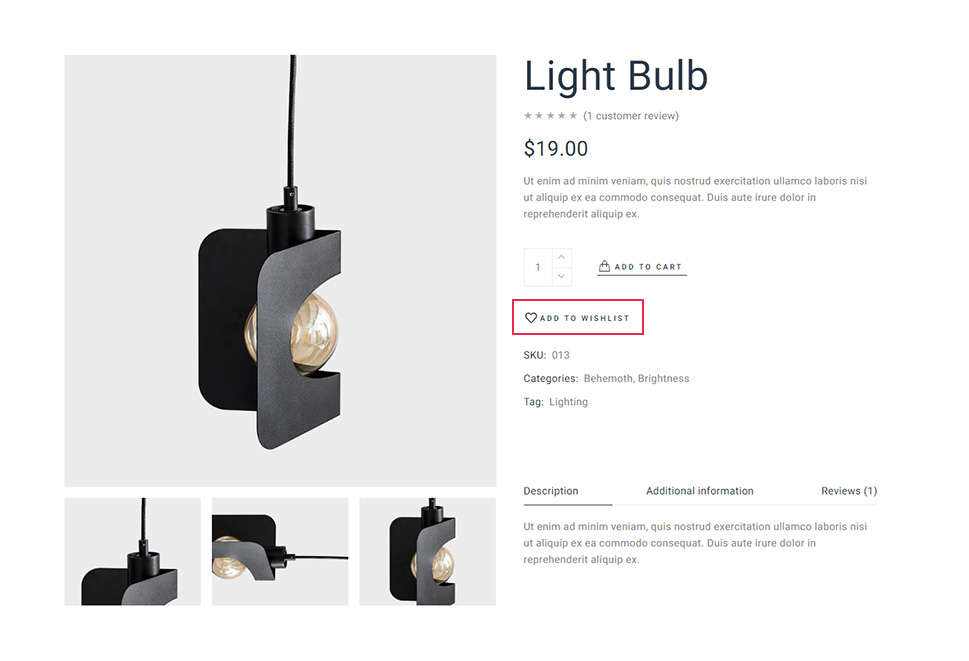
Now you can decide on the position of your add to wishlist button on your shop single. There are a couple of options – After “Add to cart”, After thumbnails, After summary and Use shortcode.
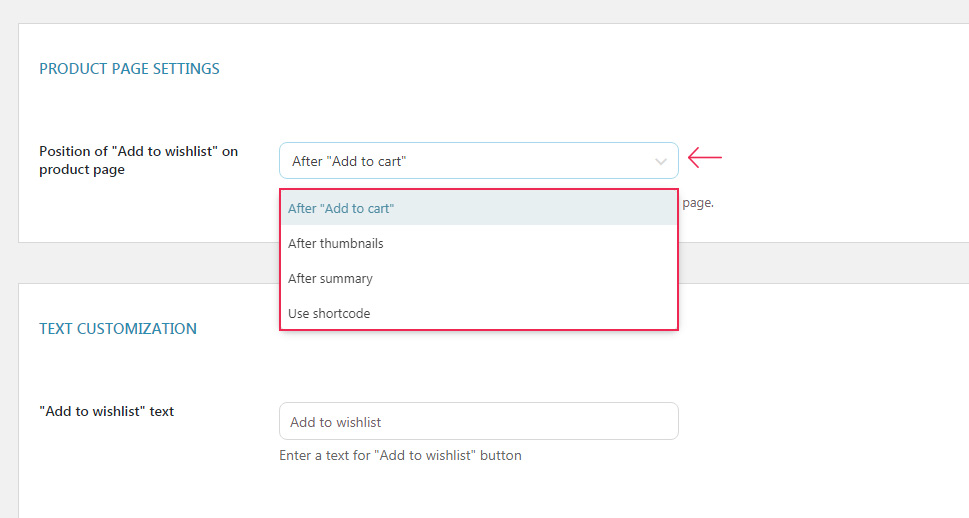
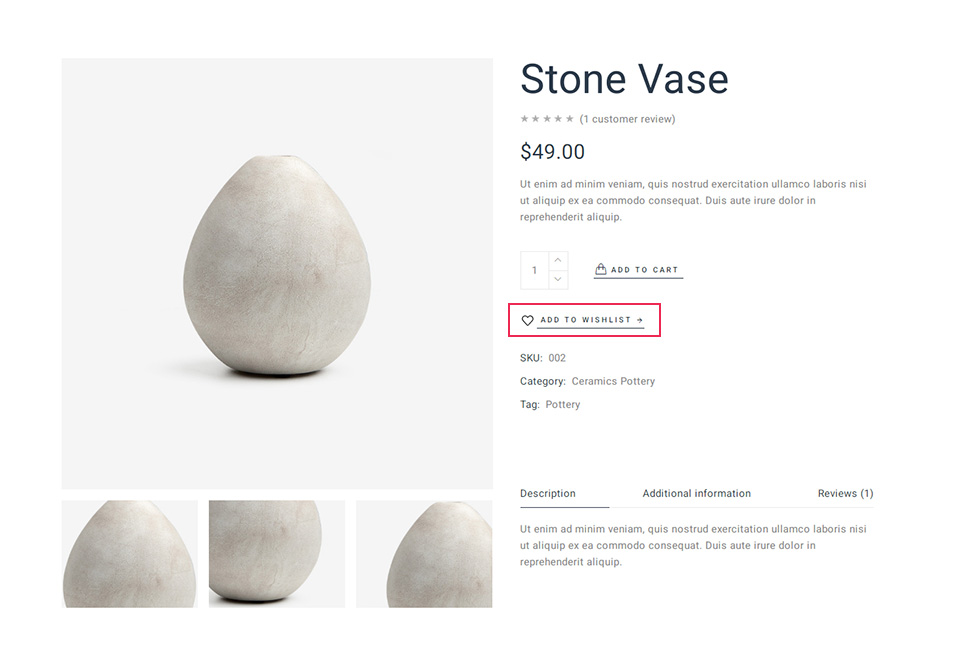
We opt for After “Add to Cart” button. As you can see on our product single, its position is under the add to cart button.

Text customization
Furthermore, you can customize the text that appears on the page. It’s always important for any kind of informational text to be straightforward, so you shouldn’t experiment with that text too much. You can just keep it simple as the default one is. For our Aare theme, we kept the text that the YITH plugin suggested. But if for any reason you want to change it, you can easily do it by entering the different text into the respective fields.
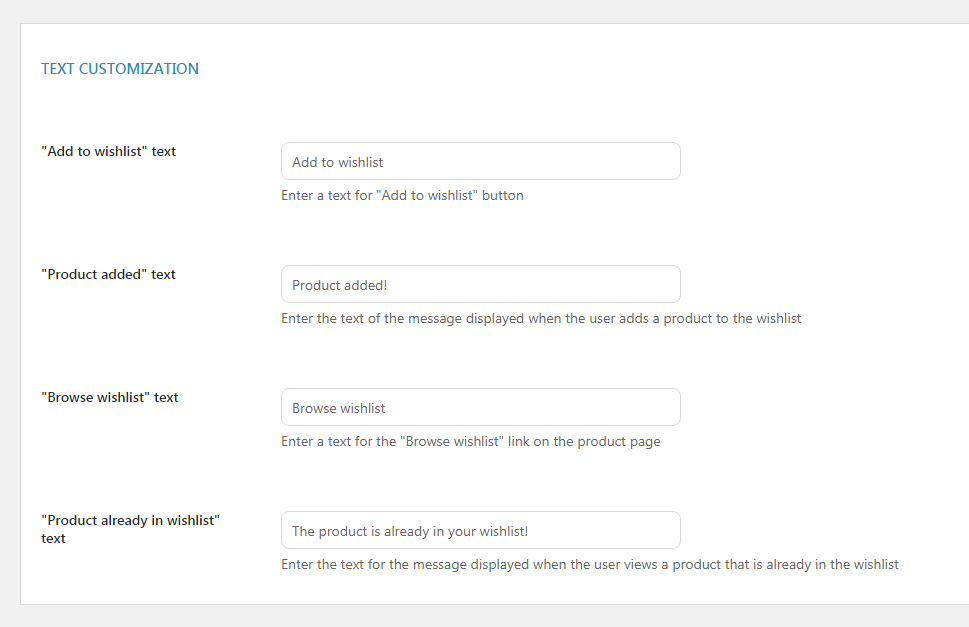
Add to wishlist button is initially displayed, and, again, here is how it looks on Aare’s product single.
Once the potential customer adds the product to their wishlist, “Product added!” message appears.
After that, “Browse wishlist” text displays and your website’s visitor can check the whole list by clicking on it.
If can customize the message in case a user tries to add a product that is already in their wishlist. In our case, thanks to the theme settings, the heart icon will bi filled with full color on the product list page if the product has already been added.
On the other hand, on the specific single page for that particular product, the visitor will know that the item is already on the wishlist, as there will be the “Browse wishlist” button.
Style & Color Customization
The final setting under this tab is for customizing the appearance of the wishlist button. The first option is to use linked text (anchor) instead of the actual button.
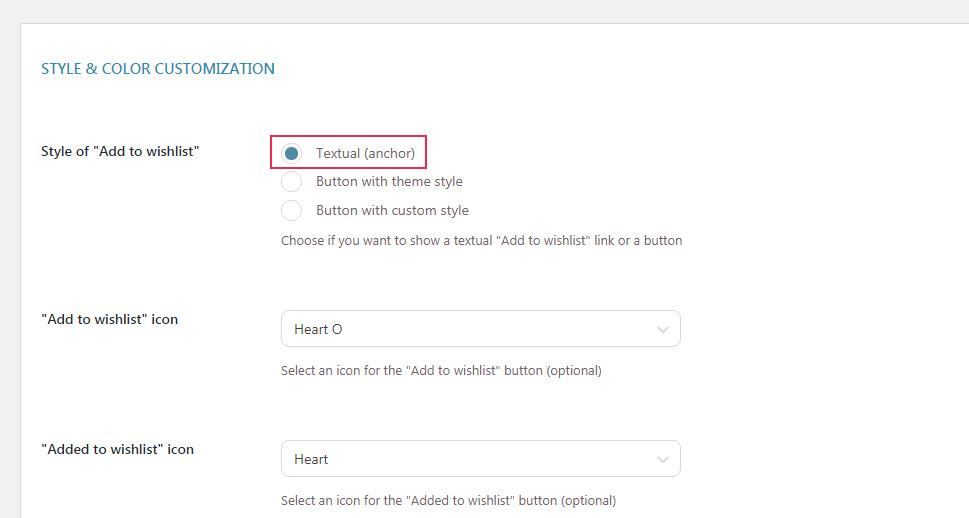
This is the setting used in the Aare theme and it looks like this:
If you opt for the second option, it will be displayed as a button styled as per the theme’s settings.
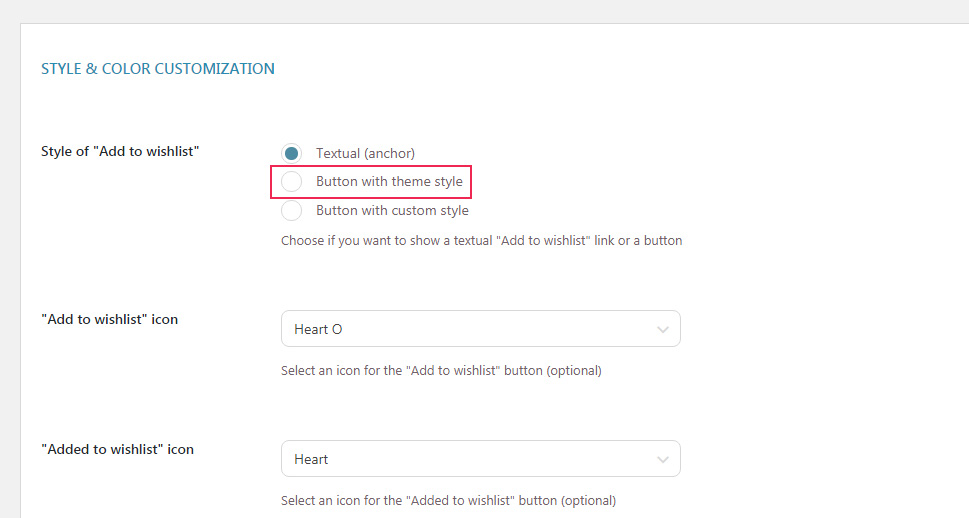
If you choose this option, the button will look like any other default button on your website.
The final option for the “Add to wishlist” is to display it as a button with custom style. If you opt for this one, it will be shown as a button which you can customize to your needs, following your website’s style.
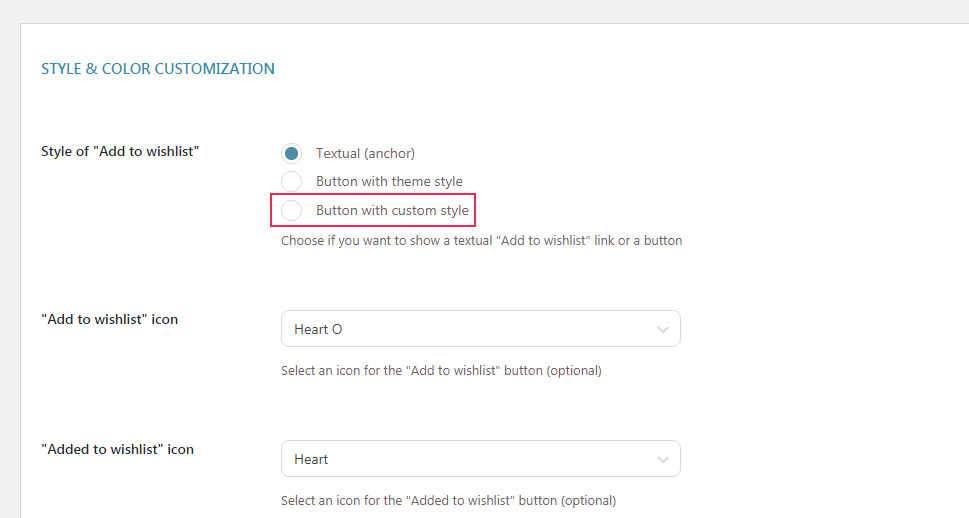
When you select this option, the additional settings for the custom button style appear. You can define Background, Text and Border color, as well as the hover color for these.
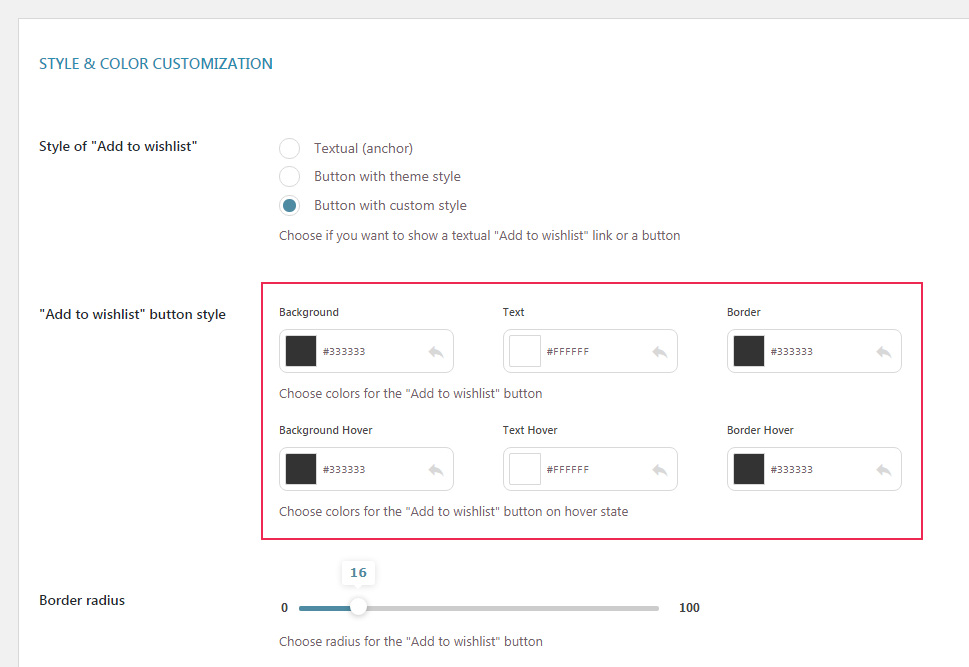
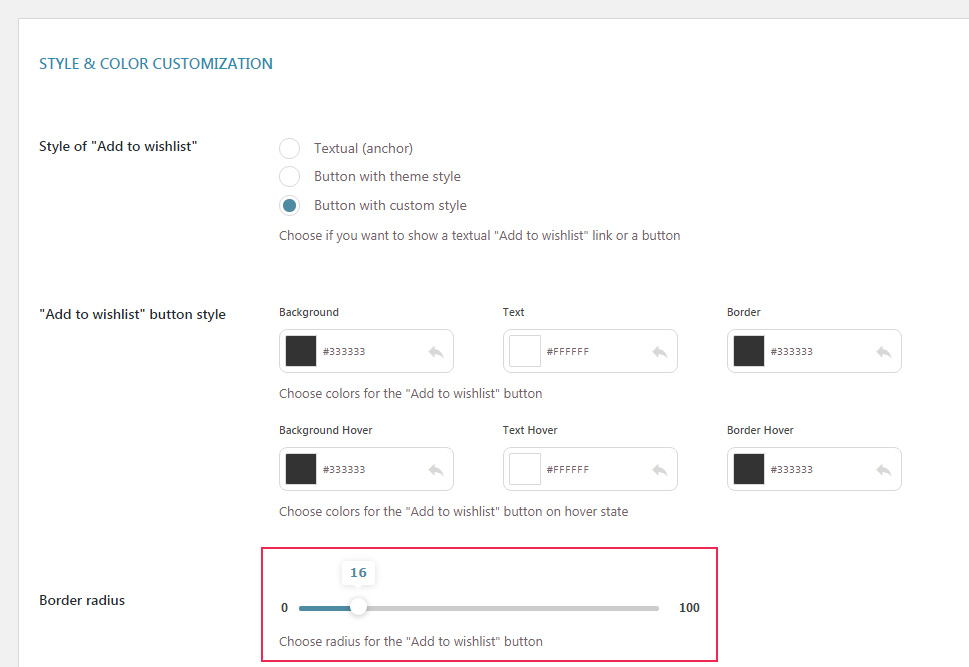
Furthermore, if you want your button to have rounded edges, you can determine the radius of the curves. You can choose from 0 to 100, where zero means no rounding at all, and higher values mean rounder angles.
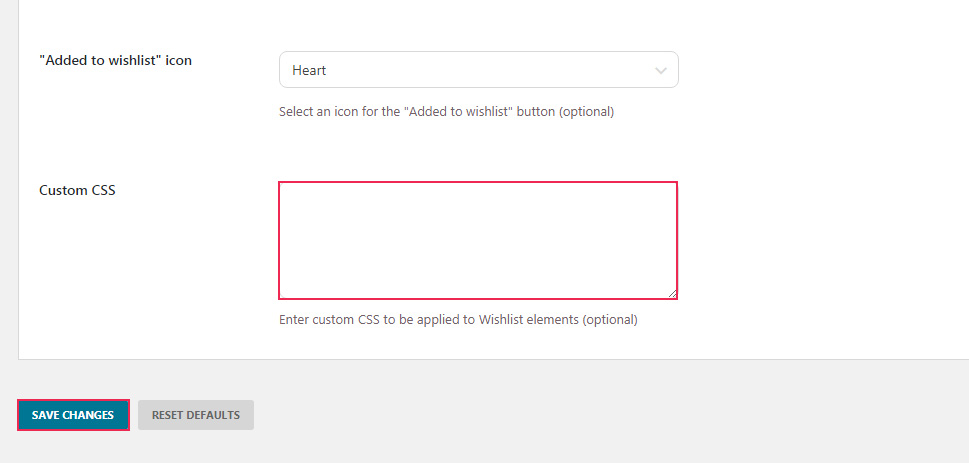
After defining the wishlist text appearance, you can change the icon next to it. The default is the heart icon. But if you feel like changing it, you have here a couple of options available to choose from the dropdown.
You can also change the filled icon that appears when a product is added to the wishlist.
Additionally, if you know your way around CSS, you can add your own code into the respective field. This option gives you an opportunity to customize your wishlist style even more and create your own design. After you are all set, don’t forget to press the Save Changes button.
Wishlist Page Options
This is the last tab for the free version of the YITH Wishlist plugin. Here, you are able to define everything related to your wishlist page.
Wishlist Page
As we mentioned earlier, in order to have a wishlist in your online shop, you need to have a page for it first. You can choose a premade page from the dropdown, or add your own, by creating a blank page, naming it and then choosing it from the dropdown.

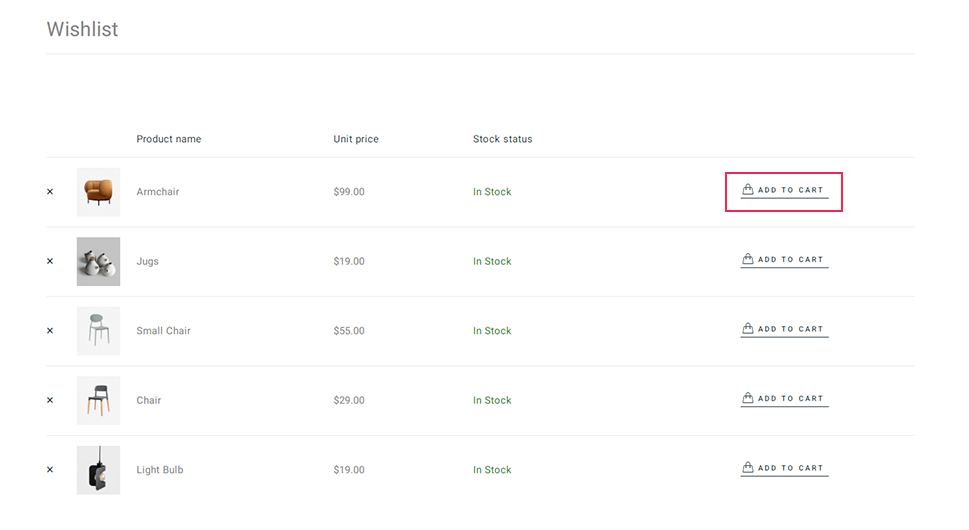
With the Aare theme, the premade wishlist page looks like this:
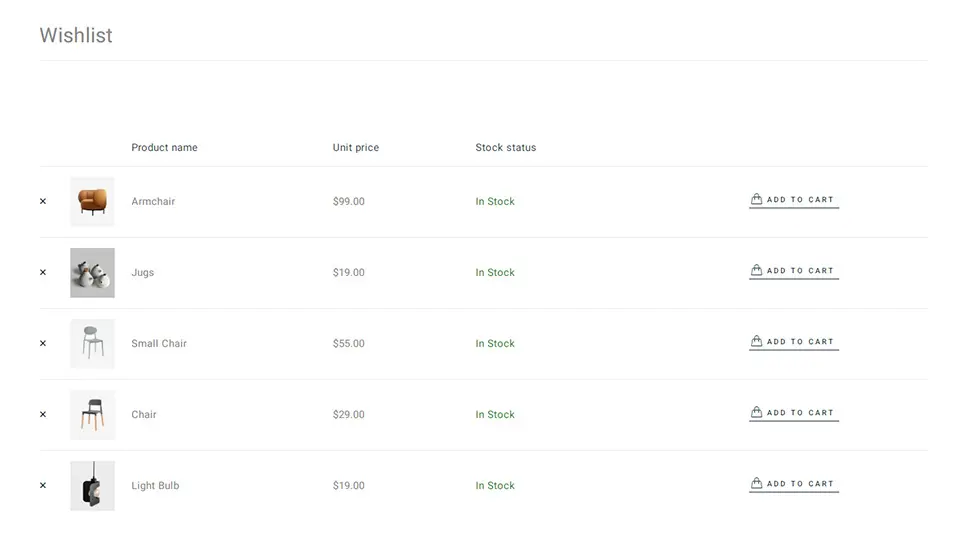
Wishlist Detail Page
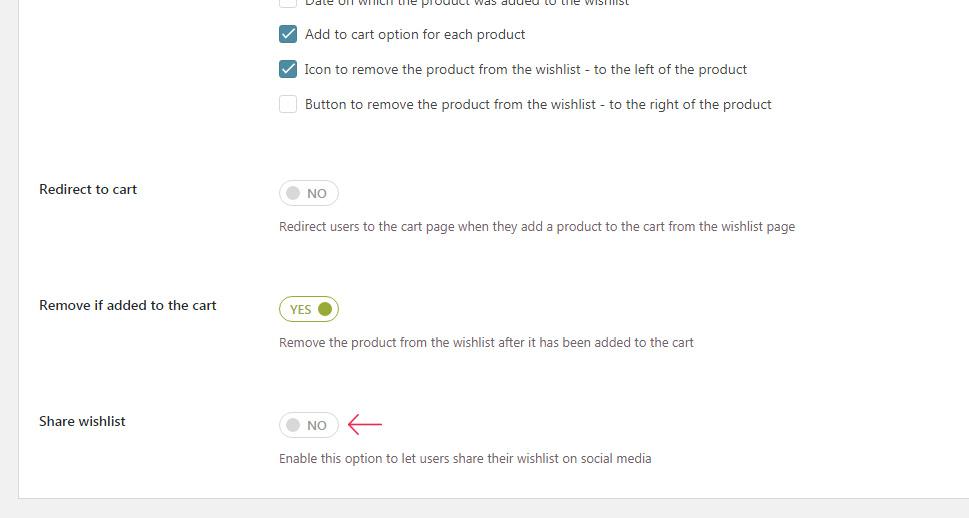
In addition, you can decide what information you want to display on your store’s wishlist – variations, price, stock, date when the product was added, “add to cart” for each item, as well as options for removing the product from the wishlist.
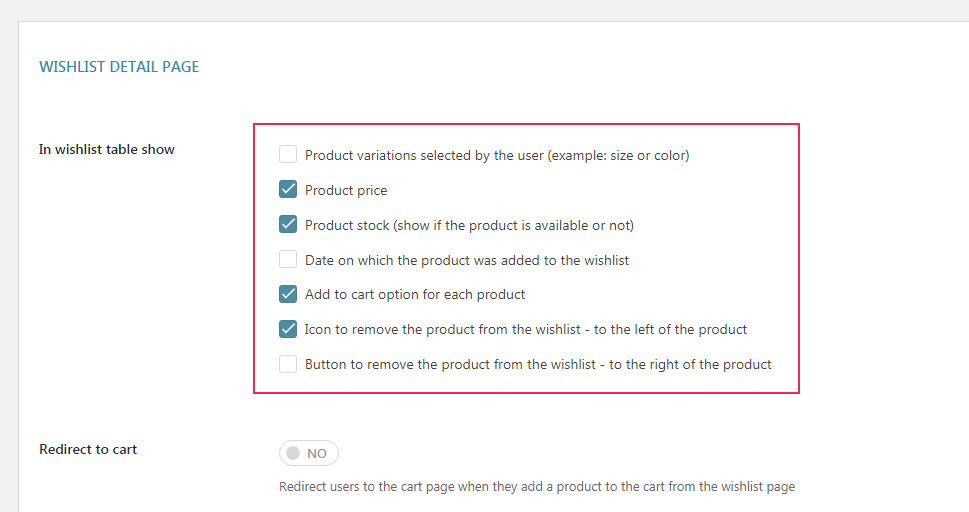
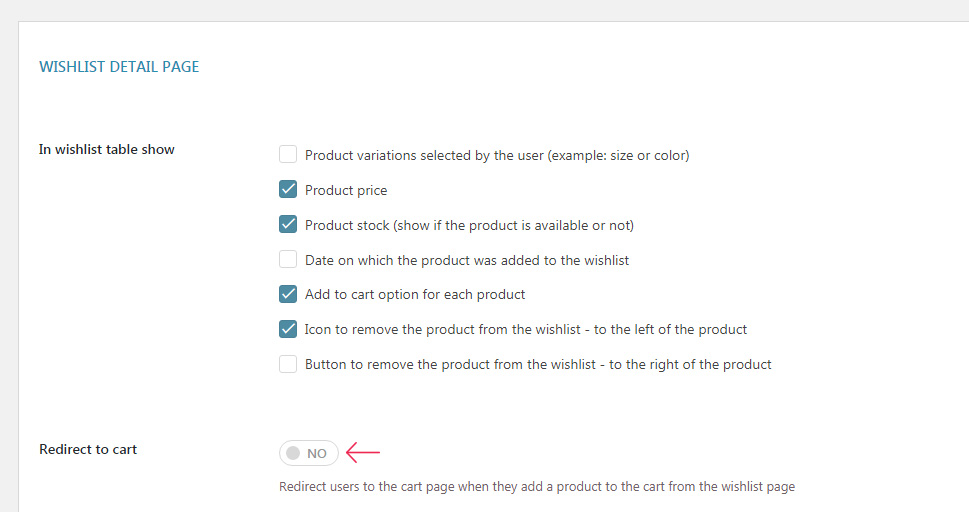
Once a user adds to cart a product from their wishlist, you can have them redirected to the cart page, if you want – just switch the toggle to “Yes”.
It can also be a good idea to set the option to remove a wishlist item from the list once it has been added to the cart.
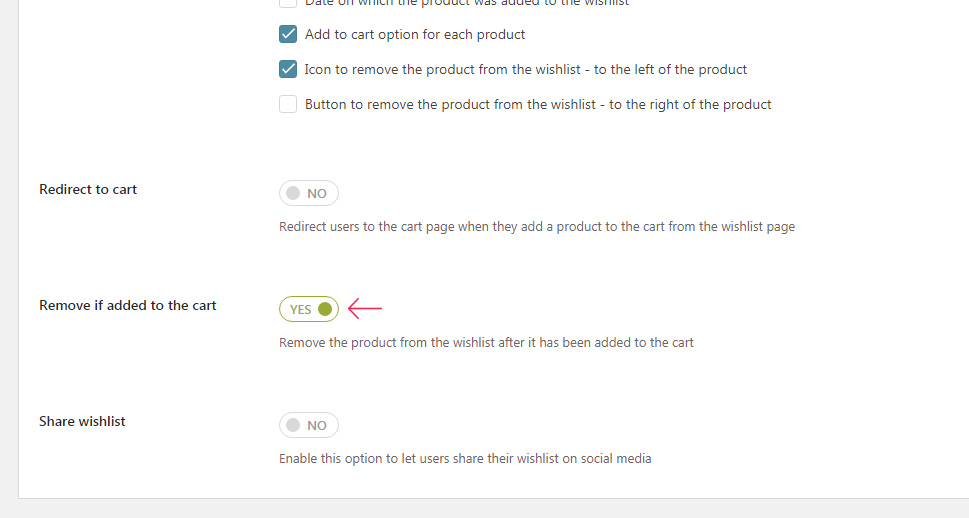
Another option here is to enable wishlist sharing on social media. This is a neat option both for your site’s traffic and visibility, and for the customers, in case they want to offer their friends a chance to buy them a desired product for a special occasion, such as weddings, baby showers, and so on. To enable it, simply switch the toggle to “Yes.”
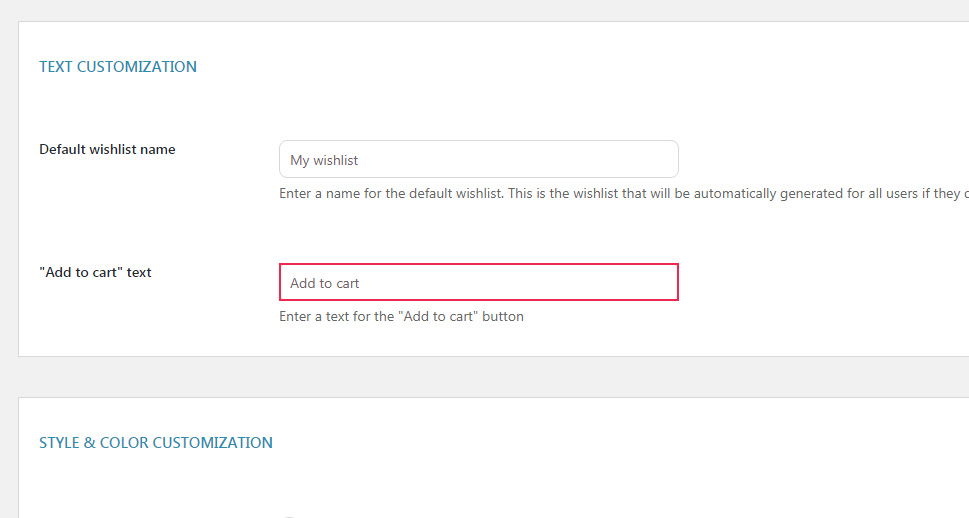
Text Customization
Under this setting, you can define your default wishlist name. If your users don’t create a custom one, the one you enter here will be automatically displayed.
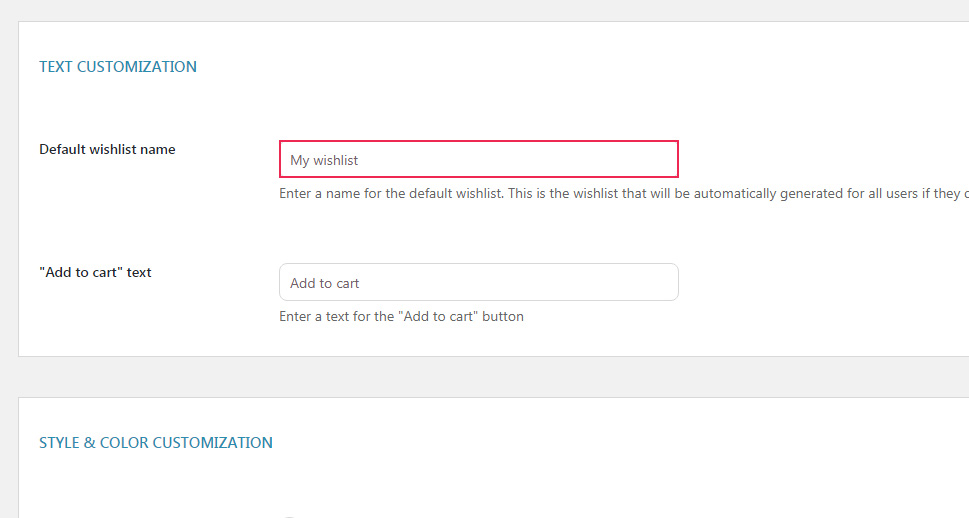
In addition, you can add custom “Add to cart” text for the button on your wishlist page.
Style & Color Customization
Here, you can customize the style of the “Add to cart” button that appears on the wishlist page. The options are the same as the ones for the “Add to wishlist” button we discussed above.
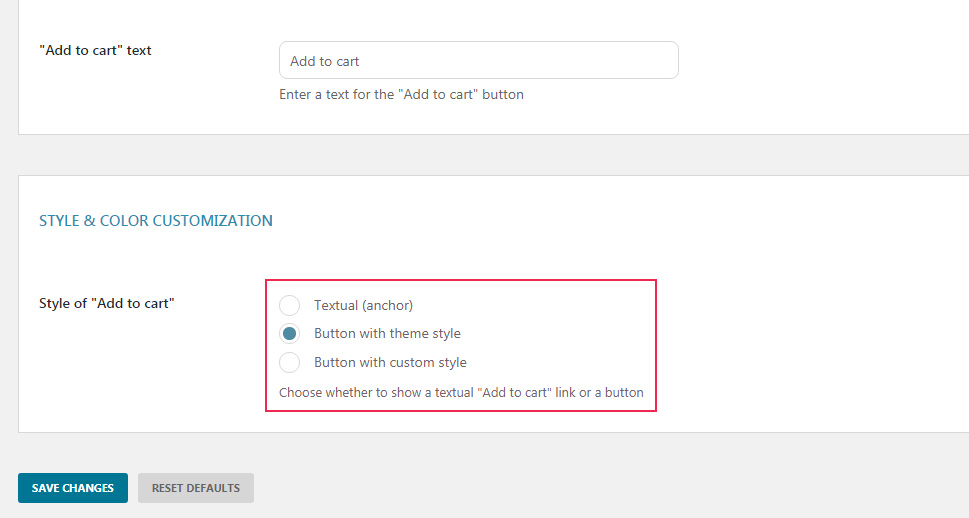
Again, we went for the theme’s default button, and here’s what it looks like on the page:
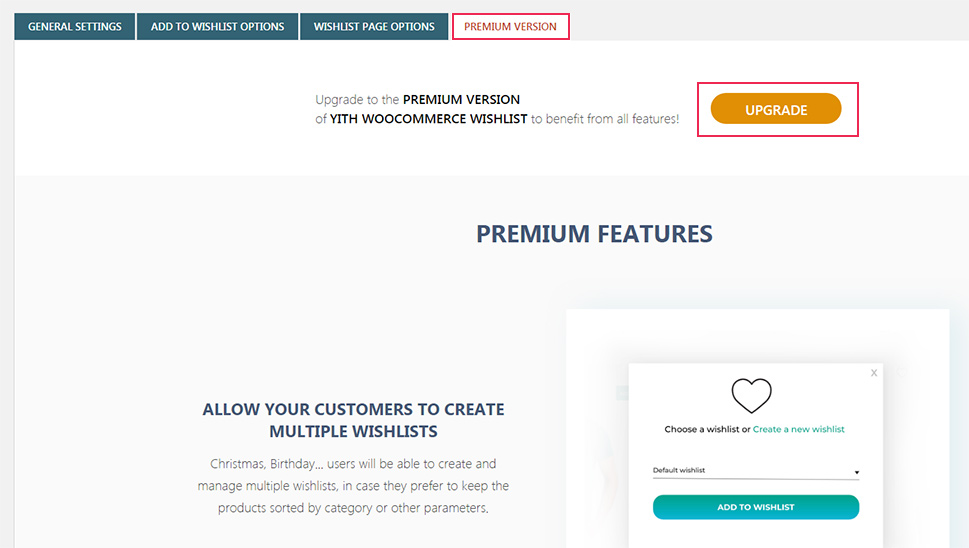
Premium Version
The last tab for the YITH Wishlist plugin is the Premium Version tab where you can upgrade your free plugin to get some more great features, such as allowing the users to create multiple wishlists, allow registered users to search and browse registered wishlists, enable or disable the wishlist feature for unlogged users, send promotional emails to users who have added a specific item, and much more. To get these options, just click on Upgrade. Note, however, that you can set and customize a fully functional wishlist feature with the free version too, as we saw just now.
You already know how important speed is for the success of any website, and in e-commerce, this is perhaps even more true. Customers want to be handed what they need quickly and efficiently and don’t want to waste their time going back and forth through your shop in search of what they need. Bounce rates are a serious problem with many online stores, and one of the proven tactics for solving it is to introduce a Quick View feature to your products.
What this feature does is it allows users to check the details of a product right there on the product list – without having to navigate to the separate product page, and then go back to the product list or whatever page they started from.
The Quick View option is usually displayed as an icon on the shop list, next to each product. In Qode Interactive’s Aare theme, it looks like this:
Once the user clicks on the icon, the pop up window opens with all the info about your product. There is the item’s name, rating, price and a short description. Your customer can add it to cart by pressing the Add to cart button, which is also displayed within the pop up.

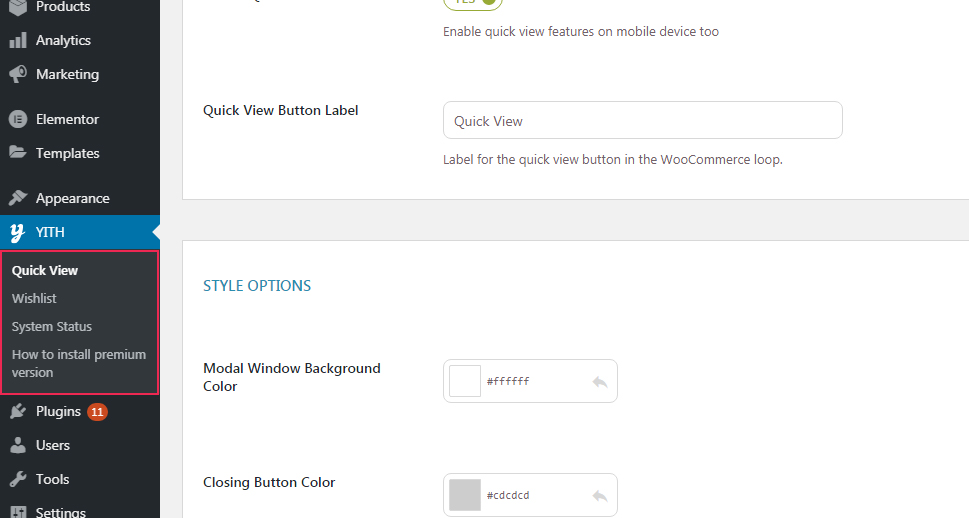
Let’s now take a look at available Quick View settings. In your dashboard menu, navigate to YITH and choose Quick View.
There is only one tab for the free version of this plugin and it’s called Settings. Since the pop up is already predesigned and its style depends on theme style, there aren’t that many customization options available. Let’s see what we have.
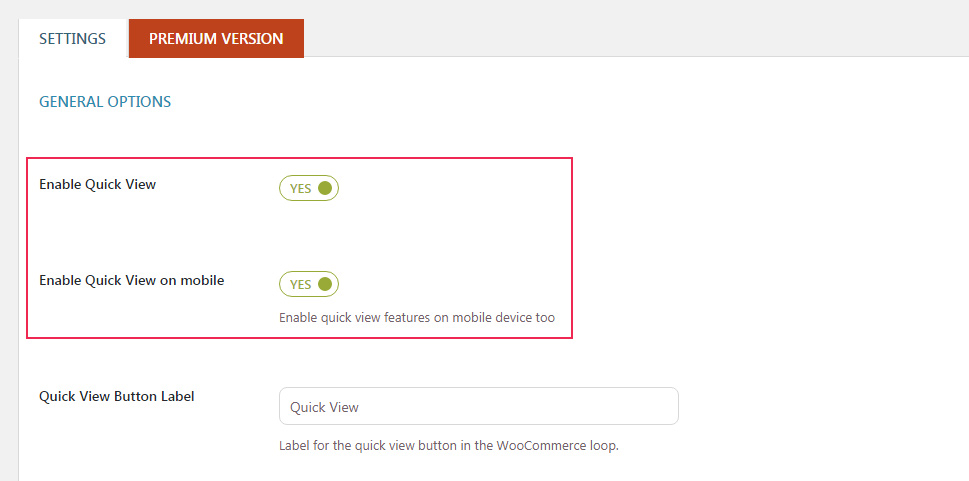
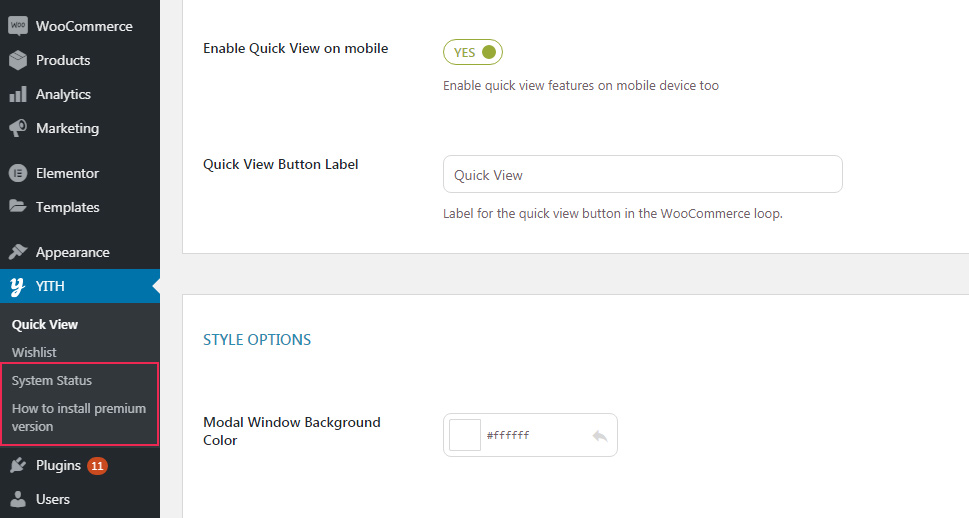
General Options
Here we have only three options – the first one is to enable the Quick View popup and the second one is to enable (or disable) it for mobile screens. Many e-commerce admins turn the popups off on mobile devices to ensure better user experience.
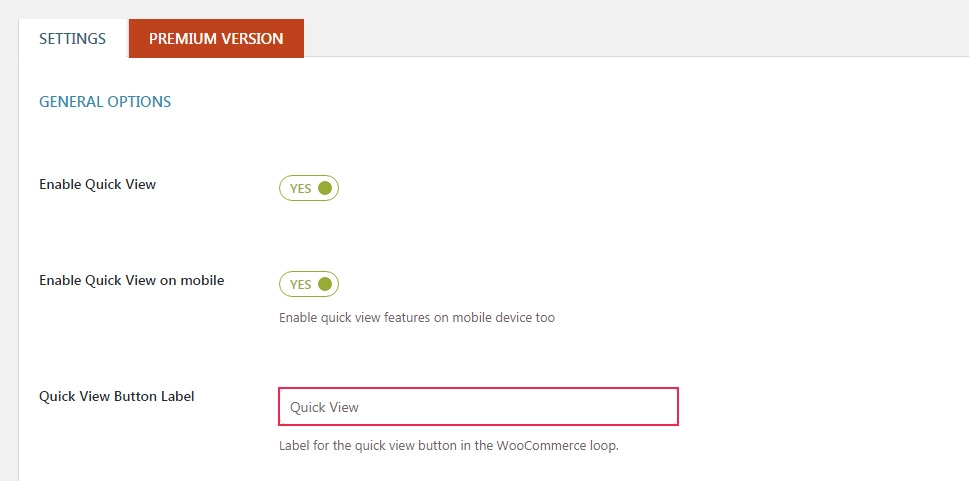
The third option here is for the Quick View Button Label. The text is displayed in the WooCommerce loop, and it can be changed easily by entering a different text into the respective field.
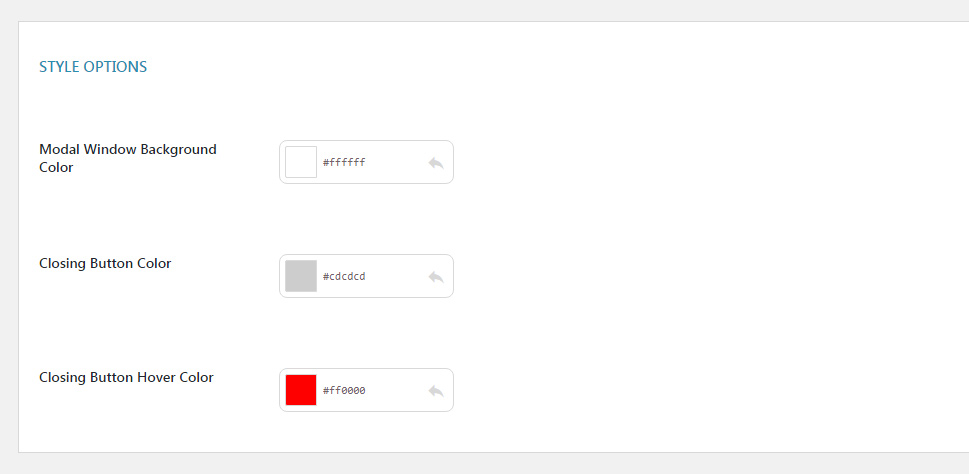
Style Options
For the style options, you can decide on the color of your modal (popup) window, the color of the closing button and the hover color for the same button.
And that’s it for the options in the free version of the plugin.
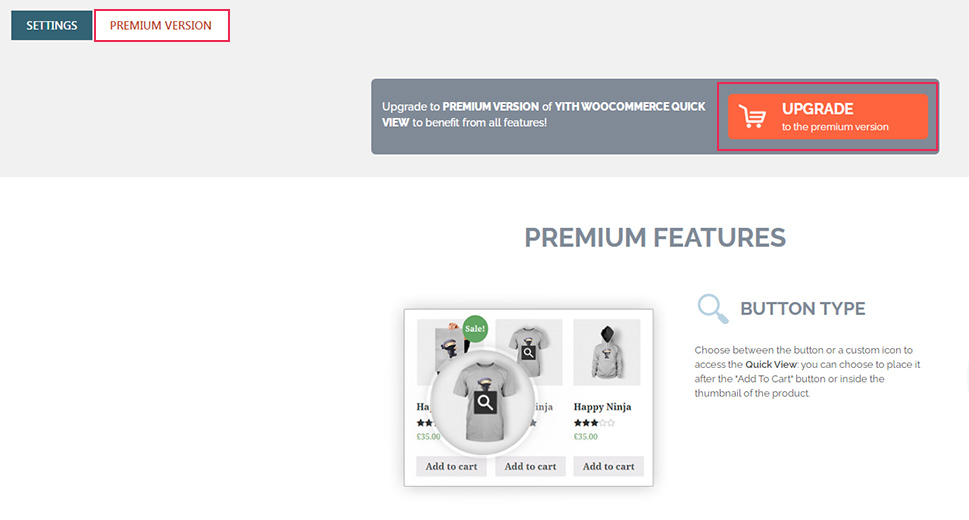
Premium Version
YITH Quick View plugin also has its premium version, with options such as lightbox, product navigation within the popup, cascading view, icon positioning options, popup opening effects, and so on. You can easily upgrade your free version here but, again, we feel like the free version will do just fine for your needs.
Additional Features
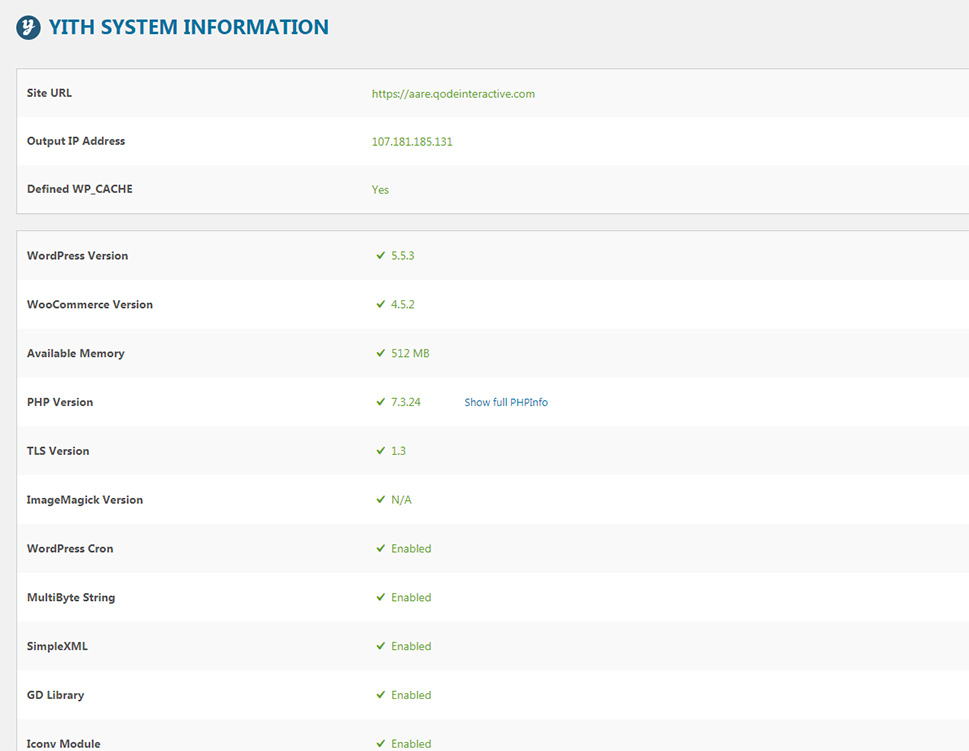
All YITH plugins come with two additional features – System Status and “How to install premium version”.
System Status gives you some useful information like Site’s URL, Output IP address, Defined WP_CACHE, WordPress Version, WooCommerce Version, Available Memory, etc.
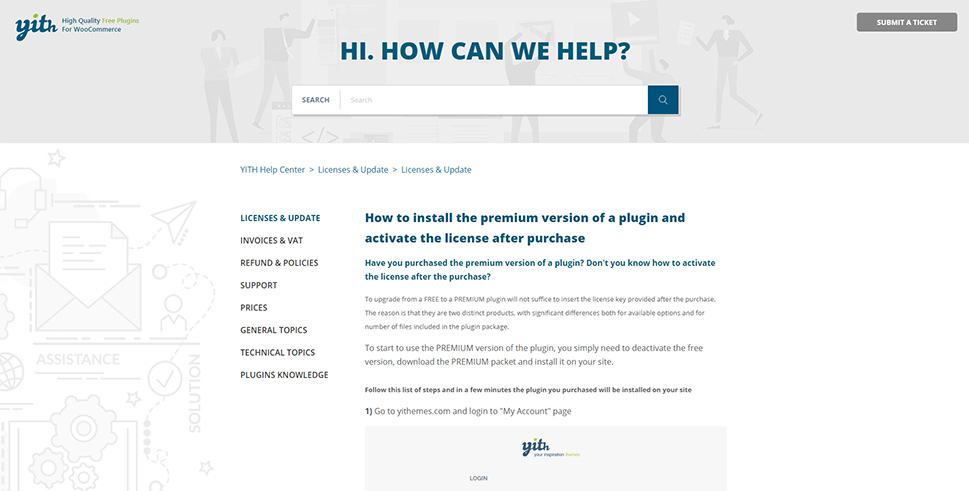
The “How to install premium version” option contains instructions for upgrading your free version of this plugin to the premium one. When you click on it, it redirects you to YITH support and their step by step guide.
In Conclusion
As we saw, the Wishlist and Quick View features can really make a difference for your online store. By allowing the customers to create collections of the items they’re interested in, you not only increase the chances for a sale, but you also boost both your traffic and your brand’s online visibility. The Quick View feature, on the other hand, will help you with customer retention and keep your bounce rates at bay by providing your visitors with a more streamlined user experience. Fortunately, both are super-easy to add to your store thanks to the excellent YITH plugins and our detailed tutorial.
