How to Add Autocomplete Search in WordPress

When using a search engine like Google, there is a high possibility that you will be offered some search suggestions before you’re even done with entering an entire search query. This is called an autocomplete search, a great feature that can quickly help users find what they’re looking for and save them much valuable time in the process. In turn, this can only contribute to their overall user experience and make it more likely that they will stay on your website for longer.
Now, WordPress does come with the ability to add a search functionality by default, and, depending on the theme you’re using, you may even be able to insert it into many different areas of your site and add a search bar to your WordPress menu, for example. However, when it comes to features such as WordPress search autocomplete, you need to use a WordPress search plugin that specifically offers the autocomplete function.
This time around, we will show you how to easily implement this practical feature into your WordPress site and make the searching process much more convenient for your visitors. Without further ado, here goes.
Qode Themes: Top Picks
View Collection


Adding Autocomplete Search in WordPress With a Plugin
As we’ve already mentioned in the beginning, to add the autocomplete search function to your WordPress site, you do need to install a plugin that supports this feature. One such plugin is Ajax Search Lite – it’s a freemium plugin that you can use to add a live search bar to your site. Aside from having access to Google’s autocomplete feature, you will also be able to add your search box to any page, post, or custom post type, use custom filter boxes (checkbox filters) for categories and post types, and more.

There is also the pro version of the plugin (available at the price of $36) that comes with some additional advanced options. These include the ability to search in the category, tag, and date filters, search in comments, have access to 4 different layouts and over 100 different themes, etc.
Installing the Plugin and Setting Up the Autocomplete Options
After installing the plugin and activating it, go to Ajax Search Lite (available in your admin dashboard) and find the General Options tab. Then, navigate to Autocomplete & Suggestions.
Once there, you will see that the Autocomplete search option is switched on by default. The same goes for the Google search keyword suggestions option.
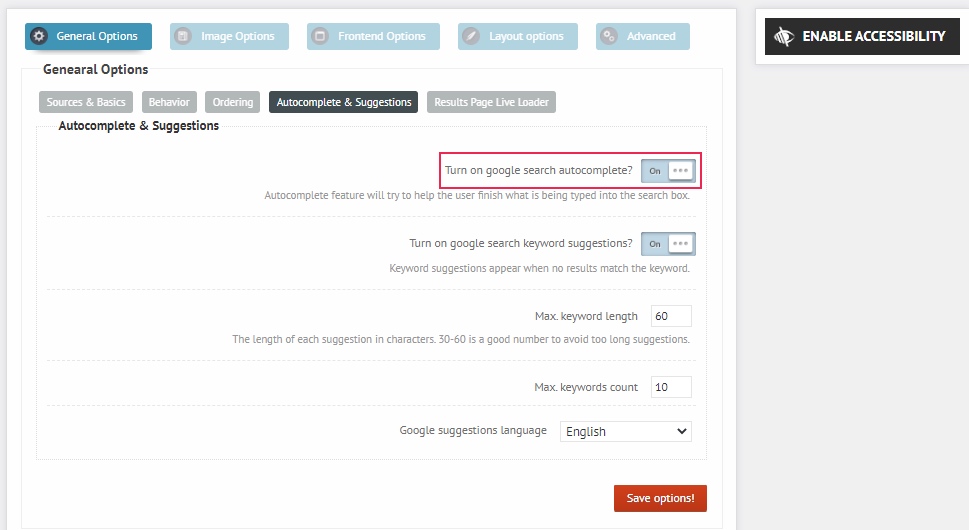
There are a few other options you can set here, like the maximum keyword length, maximum keywords count, and the language of Google suggestions.
Make sure to hit the “Save options!” button once you’re done.
In case you want to determine which types of content will show up in your autocomplete results, make sure to visit the Sources & Basics tab. You will be able to choose anything from navigation menus to custom CSS and templates. Moreover, you will get to do all this using the help of a neat drag & drop feature.

In addition, you can set the plugin to allow (or not allow) search in title, permalinks, post excerpts, custom fields, and so on.
There are many other useful settings available, such as Image Options that you can use to decide whether you want to include images in search results, Layout Options (to fully customize the look of your search box and its results), Advanced Options, and more.
For more info on all these options and to learn how to use this practical plugin in more detail, we suggest that you check out our article on how to add AJAX live search in WordPress.
Adding the Autocomplete Search Box to Your WordPress Site
Once you adjust all the settings according to your preferences, it’s time to add your Ajax autocomplete search to your site.
To do this, you first have to copy the “Search shortcode” (available right above the plugin’s options).
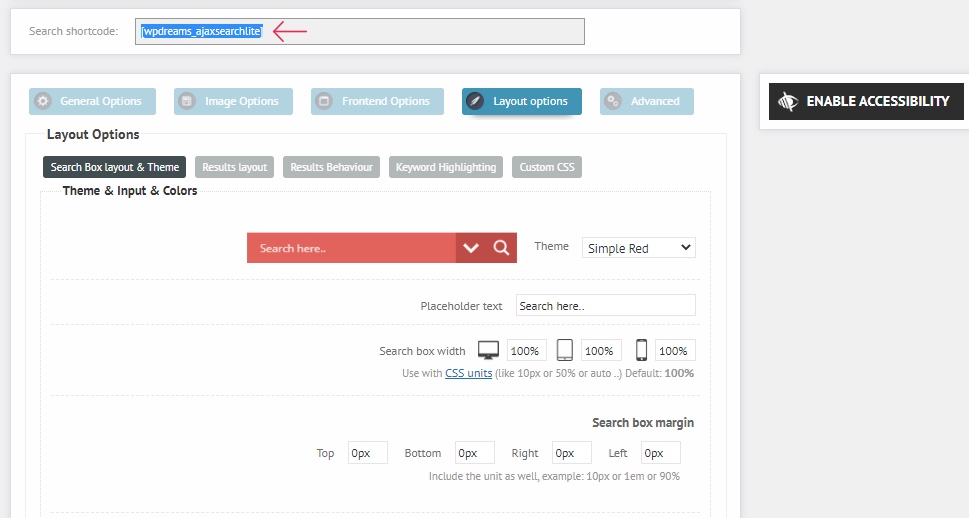
After you copy this shortcode, you should head to the page/post you want to add your search to.
Then, find the shortcode block using the (+) or “Add block” button.
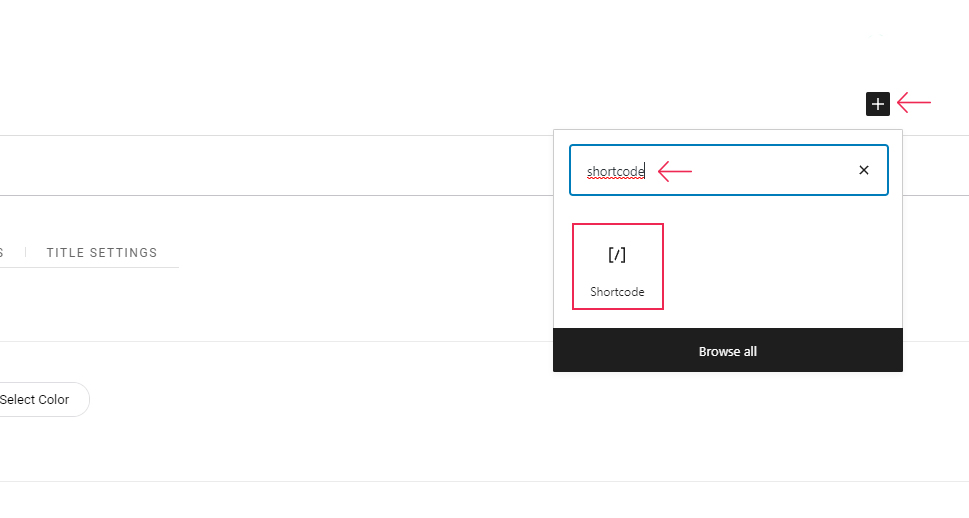
Simply paste your shortcode into the block, and you’re all set.

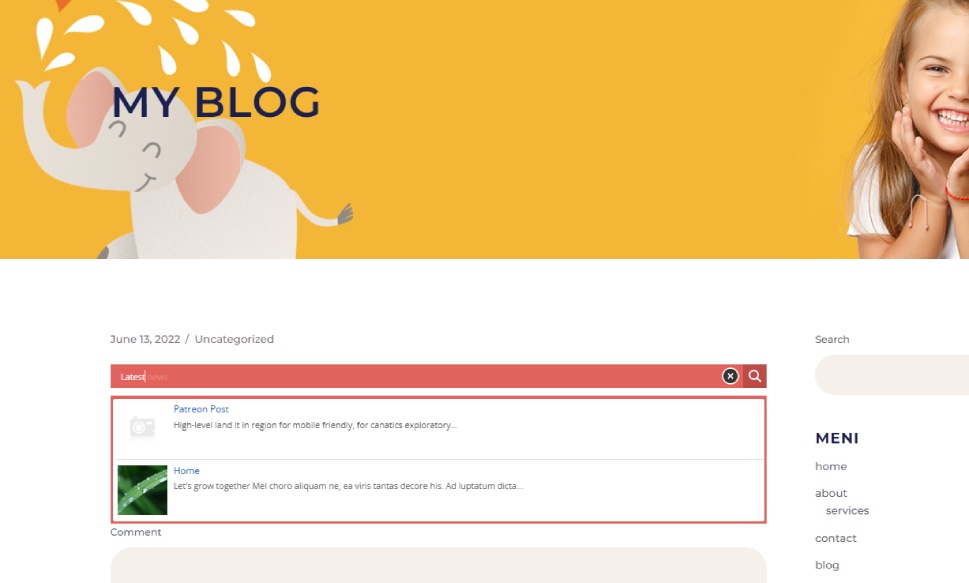
Make sure to Publish/Update your page/post, and then go ahead and see what your autocomplete search looks like live.
This is what our autocomplete search bar looked like once we started typing in our keyword.
Autocomplete Search – Best Practices
Last but not least, it might be a good idea to also mention some of the best practices you should consider when implementing autocomplete search into your site. Here are some of the ways in which you can make your autocomplete search look more visually compelling and user-friendly as a whole.
-
Add borders or shadows. Applying this strategy can help users who perform searches on your website stay focused on the search at hand and not get distracted by any other elements. All you need to do is add some sort of border or shadow between the autocomplete search box and the rest of the content to make a better distinction. You may even want to cast a shadow over the entirety of your site (except for the search box itself) to let users focus better.
-
Limit the number of autocomplete suggestions. While it may seem like a good idea to show tons of suggestions, this isn’t necessarily the most user-friendly approach. To keep users from becoming overwhelmed, try limiting the number of suggestions to around 10 on desktop, and no more than 6-8 on mobile.
-
Accentuate the predictive part of suggestions. Generally speaking, there are two main components in each autocomplete suggestion – the part the users typed in (i.e. “dresses”), and the suggested part that has a goal of making their search complete (i.e. dresses “for wedding”, dresses “for prom”, etc.). To help users recognize the suggestions faster and pinpoint whether they match what they need, it might not be a bad idea to emphasize these suggested parts in some way. For example, you can put them in bold or italics (or both).
-
Keep things simple. Even though it is completely fine (and even recommended) to distinguish your autocomplete search for the rest of your website design, you shouldn’t go overboard when it comes to adding the elements themselves. After all, the main goal of your search is to help users find what they need quickly and with ease. So, it’s always better to keep things simple and minimalistic than to overcrowd your search with too many design elements (like unnecessary icons, paddings, images, etc.).
In Conclusion
The autocomplete search feature can greatly contribute to the overall user-friendliness of your site as it lets users find what they need quickly and effortlessly. With the help of the right plugin, adding autocomplete search in WordPress is as easy as it can get. We suggest using a plugin like AJAX Live Search for this task as it comes with a wide range of autocomplete and other live search options and allows you in-depth customization of the look and function of your search. Plus, the autocomplete option is already available with the free version of this plugin, so you won’t have to pay any money to add this practical option to your WordPress site.
