The Ultimate Guide to the WordPress Theme Customizer
Even if you’ve only just heard of WordPress, you probably know it is built around the tenet of inclusivity: the internet is for everyone, and everybody should be able to make a website whether or not they have any coding knowledge at all. With WordPress, it is true.
To help non-coders find their way around creating a website, WordPress uses ready-made layouts called themes. The design and production of premium themes is an industry we are proudly a part of, but there is also no shortage of free themes to choose from. A theme, though, is just the scaffolding. A single theme can be used for thousands of websites and yet each website made with it can be completely unique.That‘s what the WordPress theme customizer is for.
The WordPress theme customizer is a set of tools which anyone can use to make tweaks and corrections to the look and feel of a WordPress website with ease.
This is what we’ll be talking about:
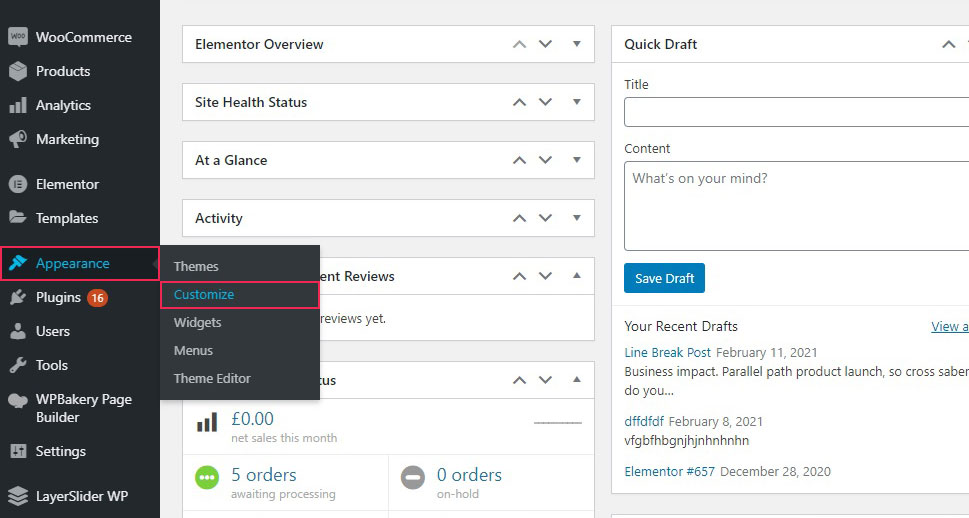
The WordPress theme customizer is a default feature of WordPress. If you‘ve completed a WordPress installation, you have installed the customizer, too. And while you can use it to customize absolutely any theme, some of them add new features and options, including whole new panels, to the customizer: your results may vary, but each theme’s customizer will likely have all the basic options. You can reach the WordPress theme customizer by navigating to Appearance/Customize from your WordPress dashboard.
The customizer‘s main functions have a lot to do with how your website appears to your visitors: colours and images, widgets, menus, and icons: all of these can be accessed and manipulated using the WordPress customizer. What‘s more, this is where you can add CSS, or cascading style sheets, to your website. These are pieces of code which are mainly to do with your website‘s appearance, but have other functions as well.
Qode Themes: Top Picks
View Collection


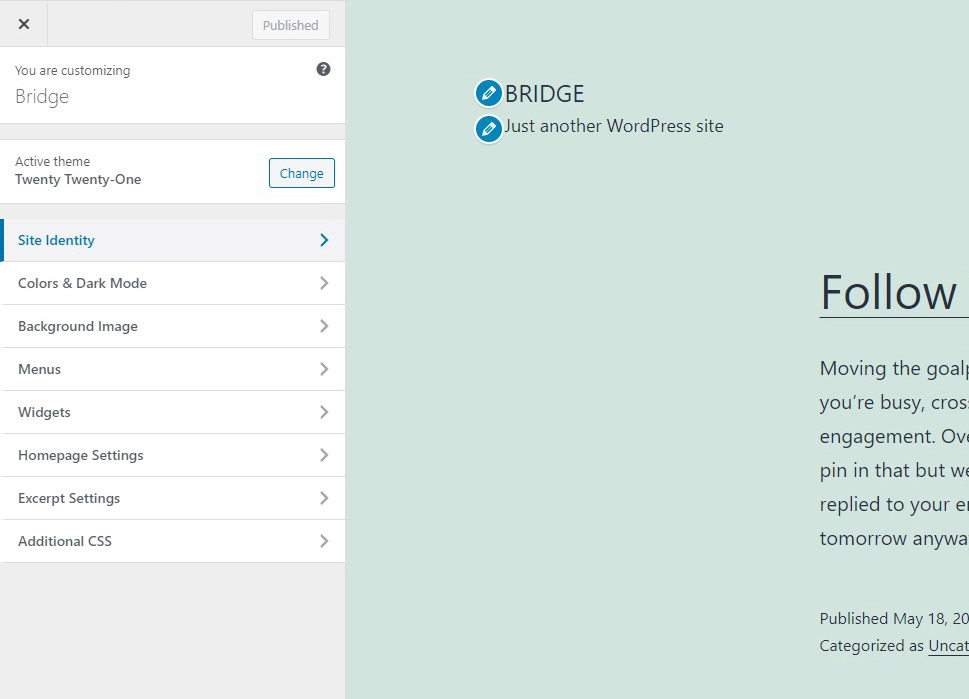
In this ultimate guide, we will go over all of these options using the latest WordPress‘s default theme: Twenty Twenty-One. Once you have navigated to the customizer using your WordPress dashboard, you will see that it has a number of sections in the left-hand side menu. You can also see the preview of your website to the right of it. This is where you can review the changes you make in real time.
You can choose which element or function of your theme you wish to customize by clicking on it in the left-hand side menu. If an element has an edit (pencil) icon next to it, you can click on it to edit that element instead of finding it through the menu.
At the top of the menu, you will find the Publish button. If you have made any changes to your website using the customizer, they will not be immediately visible to your visitors unless you Publish them. If there are some changes which need saving, the button will be blue and read Publish. If all your changes have been published, the button will be grey and read Published.
Further down, you will see the title of the website you are customizing – in our case, Bridge – and the active theme, which you can see is Twenty Twenty-One. This is also where you can install a WordPress theme in case you want something other than the free – though fully functional – default theme.
There are a lot of options, and many of them are very well annotated, which means that even a new user will find their way with relative ease. Still, for the sake of convenience, we will take you through the menu options one by one.
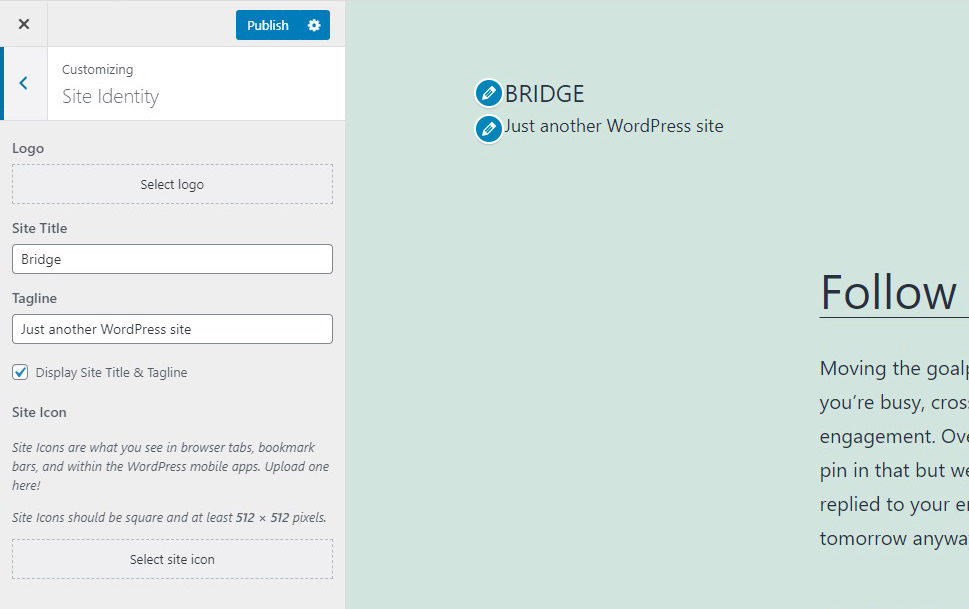
Clicking on the Site Identity section will reveal some basic options to do with what some immediate impressions you can make with your website.
The two text fields are for the Site Title and the Tagline. You can call your site however you like, and you can also use whichever tagline you like. You can leave both fields blank, or you can uncheck the Display Site Title & Tagline box if you don‘t want to use these. WordPress‘s default for the Tagline is Just another WordPress site, and we didn‘t change that for this demonstration.
This is where you can also manage some of the basic elements of your website‘s visual identity: the Logo and the Site Icon. Clicking on Select logo/site icon will lead you to your Media Library, wherefrom you can select an image or upload one. The logo may or may not appear anywhere on your website – it doesn‘t, on ours – but the site icon (or favicon) appears in browser tabs, bookmark bars, and mobile apps. The current recommended size is 512×512 pixels.
If you don’t have a favicon already, bear in mind that there are plenty of favicon generators for WordPress which you can use.
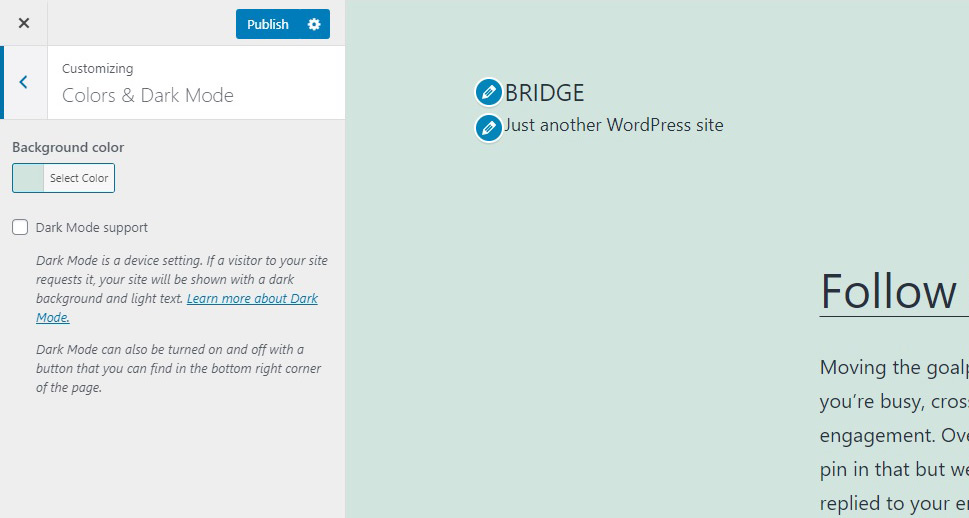
Clicking on this section reveals the Background color control. This is where you can choose the color of the background of your website either from the picker or by entering the hex code.
The Dark Mode support checkbox, when checked, automatically optimizes the colours of your website in those cases your visitors use dark mode for viewing your website.
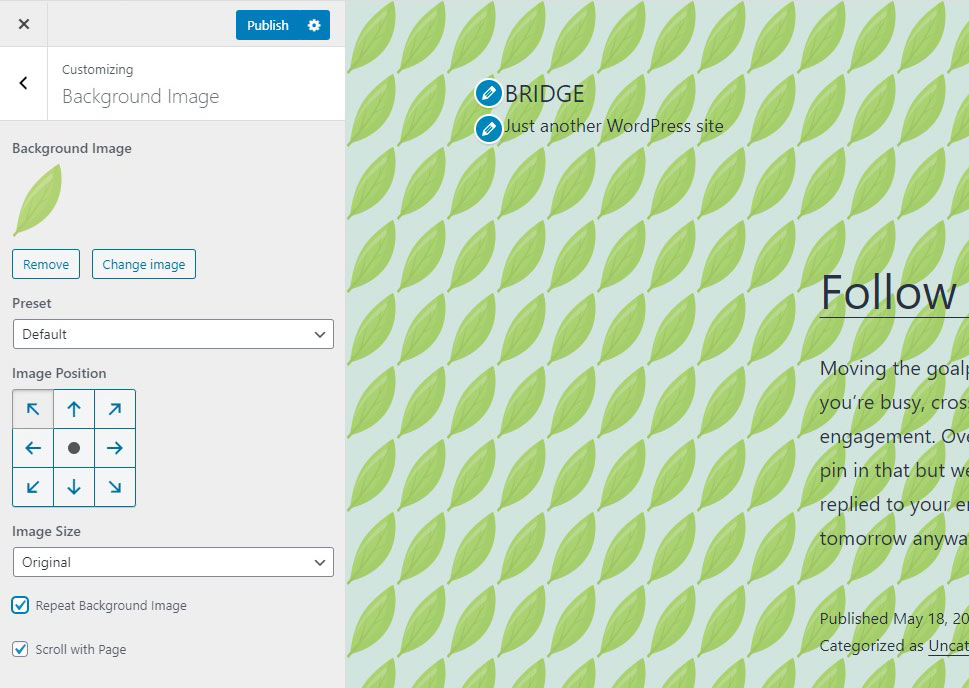
In case you don‘t want a solid colour background to your website, the Background Image panel is where you can add a background image from your Medial Library or upload one. Once you do that, you will find the image settings, which you can use for various effects you wish to achieve.
In case you decide to add a background image, we have gone into great detail on your options and available settings.
In the Menus panel, you can create menus and control their behaviour and placement on your website. This is where you can make new menus by clicking on the Create New Menu button.
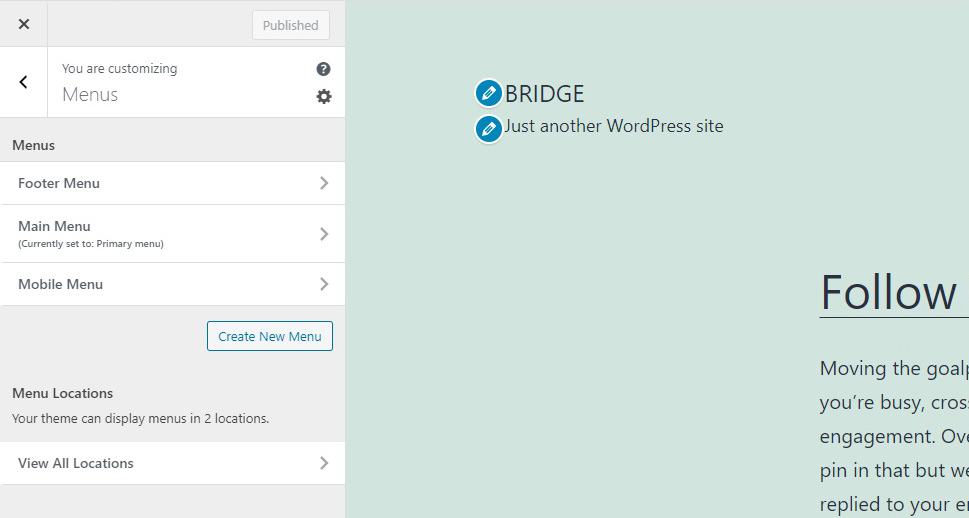
Clicking on any menu you might have on your website will reveal the items your visitors see when they access the menu. You are also able to Reorder and Add Items to each of these menus from this area.
You can use the Menu Locations options to control where the menu appears and the Menu Options checkbox to automatically add new pages to any particular menu. This is useful in case you want to allow your visitors easy access to your most important pages without having to add them manually to a menu.
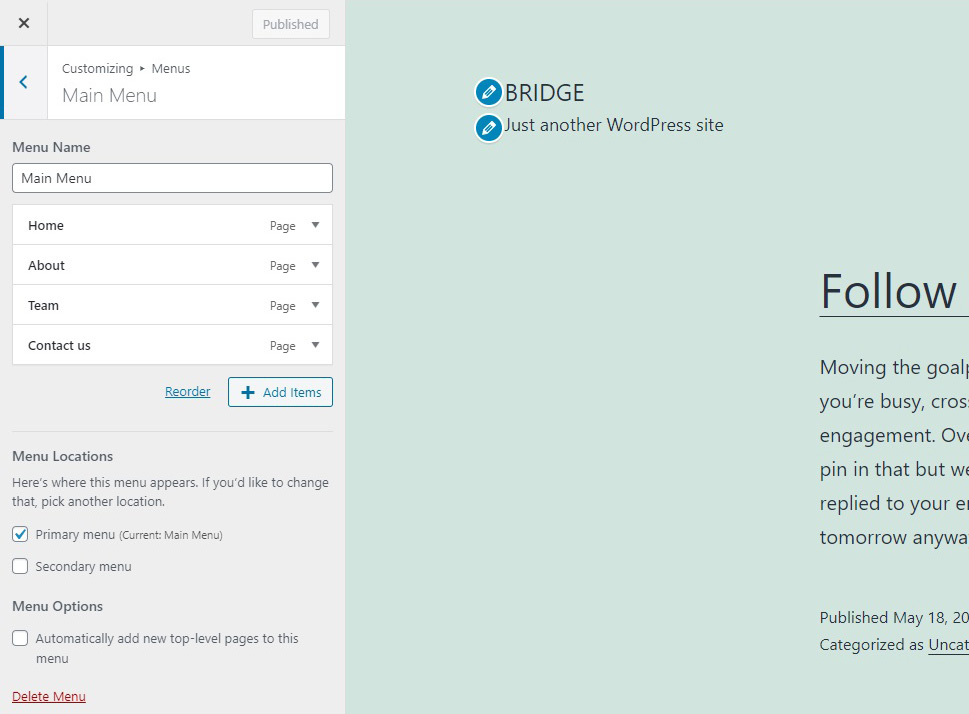
Clicking on the Create New Menu button will lead you to a screen where you need to name your menu and place it on a chosen menu area of your website (or choose not to, in case you want to use it in a general widget area). Once you have named your menu, clicking Next here will allow you to add items to it.

Finally, clicking on View All Locations in the menus section will let you place your menus on locations provided by your theme. Menus can be located in menu locations or in widget areas, but this panel will only give you access to theme-designated menu locations.
Clicking on the Widgets panel will give you access to the widget areas your theme is using. The number and layout of your widget areas will depend on the theme you are using.
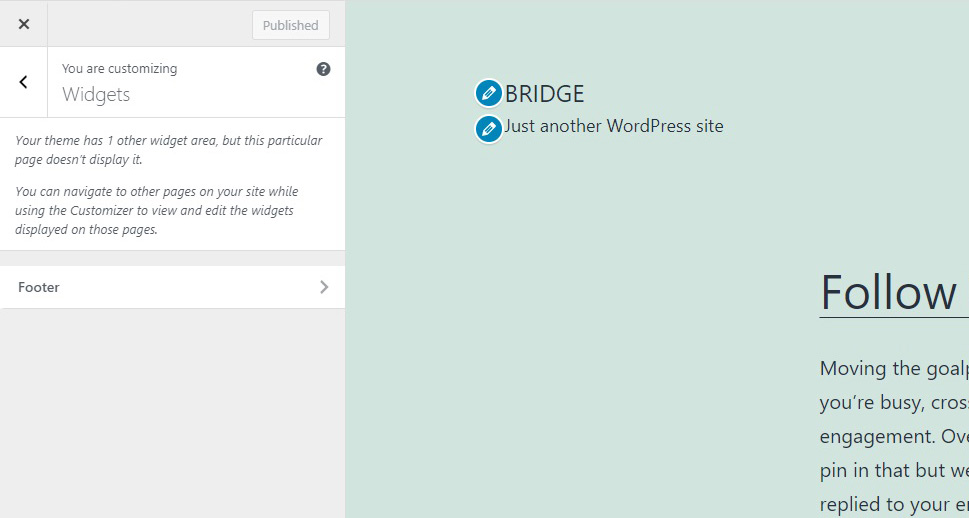
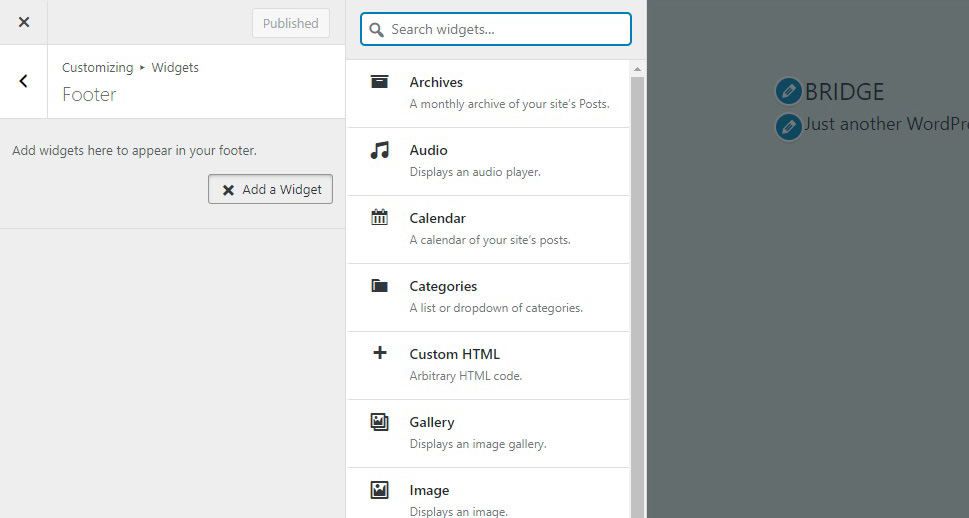
Clicking on any widget area (the single Footer area in our case) will allow you to Add a Widget to said area. Clicking the Add a Widget button will show you a searchable list of available widgets.
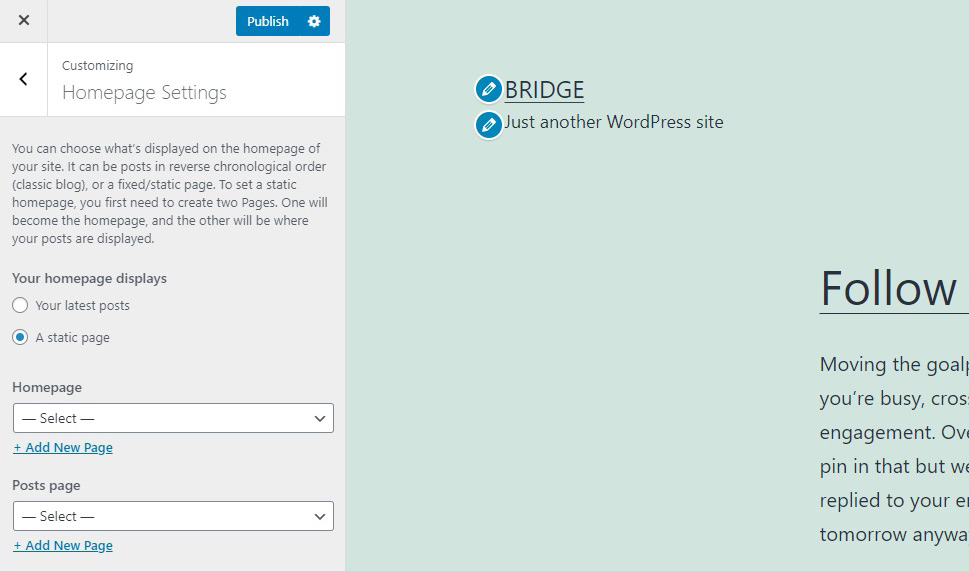
Your Homepage is typically the first part of your website a visitor will see. You can set it up to display your latest posts, or you can set it up as a static page, in which latter case you need another page for your posts.
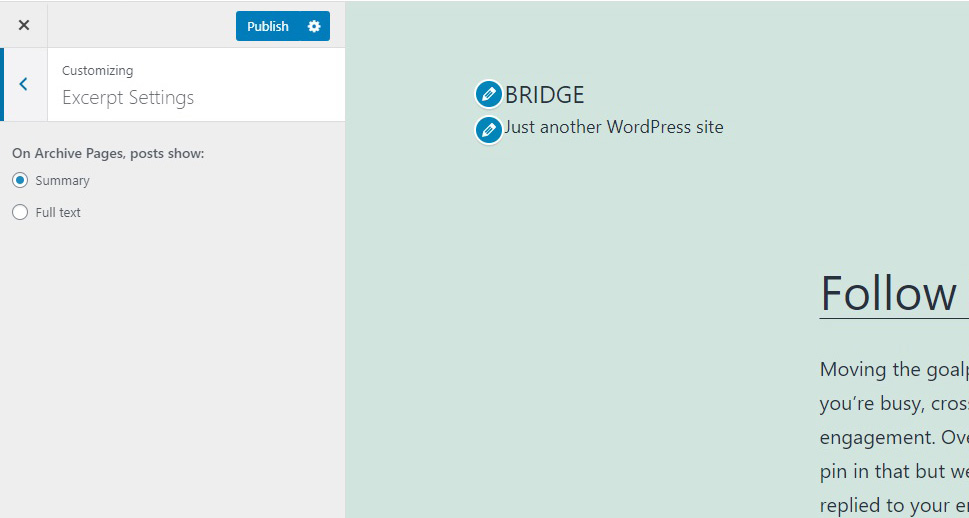
The Excerpt Settings panel concerns the behaviour of the main body of your posts on your posts pages, including your Homepage. Set to Summary, it will display a Continue reading link for your posts. If set to Full text, it will show the entirety of your posts.
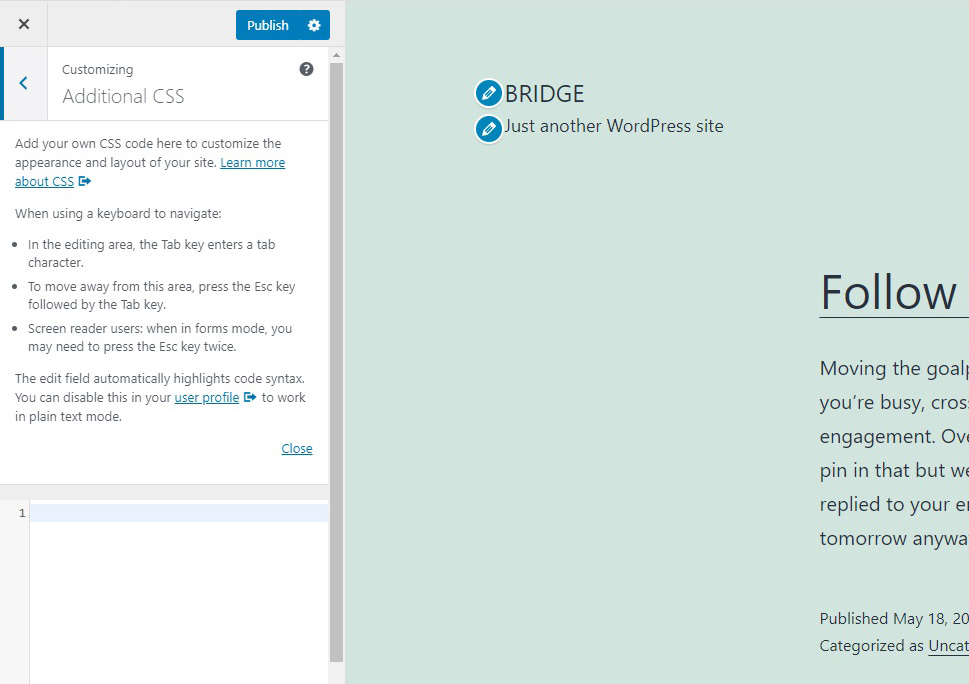
Finally, we have the Additional CSS panel. CSS stands for cascading style sheets, and is basically code for modifying the visual style of your website, but it can have other uses, too.
The main box is where you add your code. CSS has a literally unlimited number of functions. We have previously used it to change line and paragraph spacing, disable text selection, indent paragraphs, change font size, and for various other aesthetic and utilitarian functions.
In Conclusion
As you have seen, it is not an exaggeration to say that WordPress comes with nearly unlimited options, even without you paying for a single piece of software. But even among the unlimited options, we find common functionalities, and that is what WordPress Theme Customizer is for. Simply install WordPress and your chosen theme and get to work building a website from the ground up and tweaking it until it‘s just so.
