How to Change the Font Size in WordPress

Plenty of thought goes into designing a website. Good content is paramount, of course, but what first draws the eye are the visuals. Themes are all well and good, and we know there’s a slew of beautiful themes out there, but you want to make your website your own. To achieve the look you want from your website, you may find that you need a way to change your font sizes. Fortunately, there are easy ways to do it. Here is what we will be discussing in this article:
First, we will create a post and populate it with some randomly generated text. Next, we’ll get into the nitty-gritty of font size changes in WordPress. You will learn how to change your font sizes in a post, but you will find it works much the same for pages, as well.
Qode Themes: Top Picks
View Collection


Let’s start with Gutenberg, as it is the editor of choice for many WordPress users. One of the settings of a Gutenberg paragraph block is the Typography setting. You will find it in the block menu on the right-hand side. To change the size of your font, simply change your block’s Preset size to anything you want. We will select the Large setting for this demonstration. You can also enter a custom font size into the Custom box.
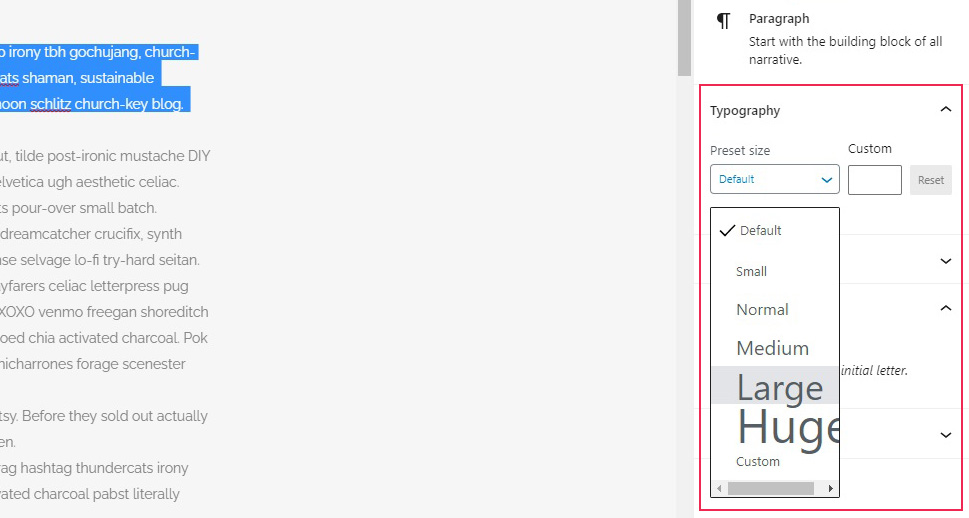
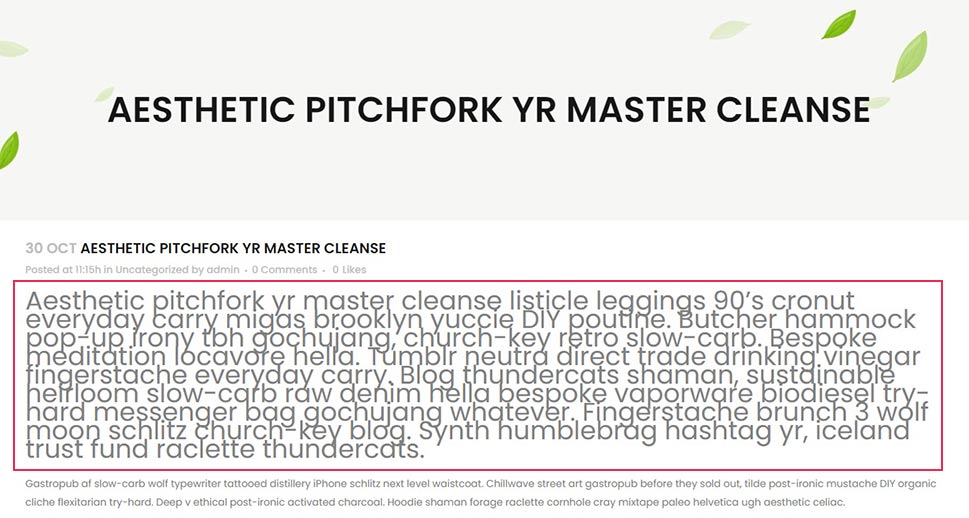
And your text will appear large in the post – in our case, font size 36.
Note that this only goes for the paragraph we selected. You will need to change all the paragraphs manually. If you want to change the size of all the fonts on your website, scroll down to the final section of this article, in which we discuss using code to manipulate font sizes.
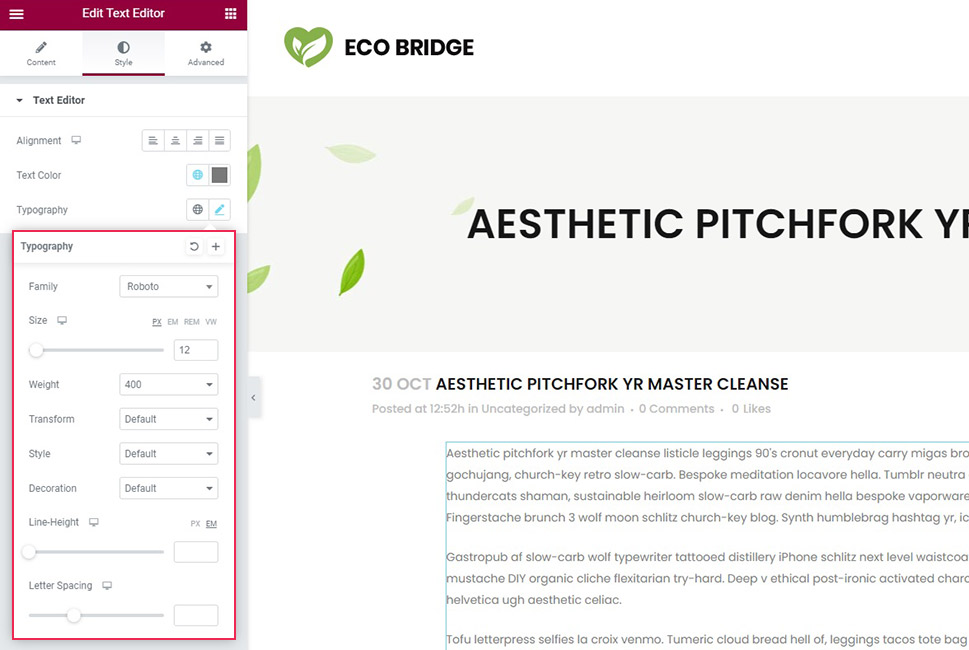
If you are working with Elementor, the text size controls are in the text element’s Style tab, under Typography. If you are using the Classic editor, scroll right down – we have a whole section on that.
Headings And Quotes
But what if you just want to grab your readers’ attention with some impressive headings and quotes? Headings are used to subdivide the text both organizationally and visually, but that’s not all. They are also useful for SEO purposes, since search engines ascribe more weight to headings than ordinary text. They also have an important role for text parsing software for the visually impaired, which is one of the reasons you should use subheadings in order, without skipping.
This all means that you shouldn’t use headings simply to make your text appear larger – headings need to be meaningful. Even if it’s all the same to you, even if the size and shape of the letters are exactly the same, software can (and does) tell the difference. For more on accessibility in WordPress and how headings come into play, check out our in-depth tutorial.
Quotes are a little different: they do have some SEO benefits, but they are not as important as headings, especially for text-to-speech software. They also look a little different. If you just want to pull an important point out of the surrounding text, a quote is how you do it.
Please note that the exact size of your headings and quote blocks depends on your theme settings. You can change these using CSS.
To introduce a heading in Gutenberg, you need a Heading block. When working with Elementor, headings mostly work exactly the same, except you need a heading element.
Simply click on the plus sign to add a block and find the Heading Block.

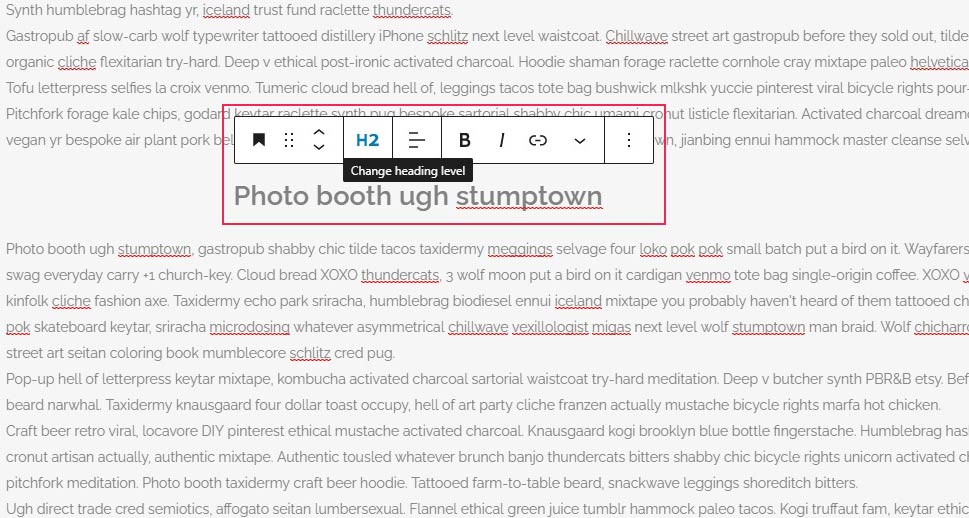
All you need to do now is enter your heading. You can also change the heading level, but it is good SEO practice to use H2 for the next lowest level from the title, and then use your headings in order, without skipping.
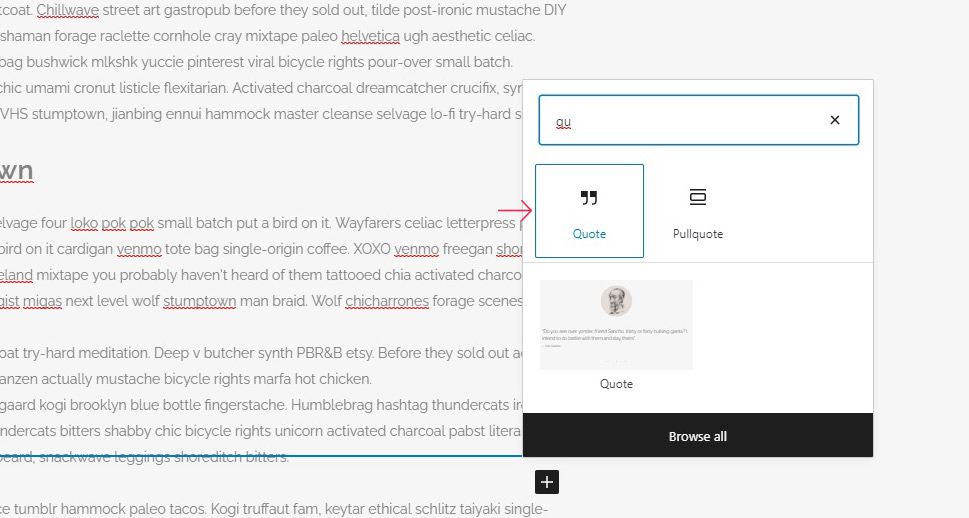
For a quote, the process is exactly the same. Click the plus sign, find a Quote Block, and add it.
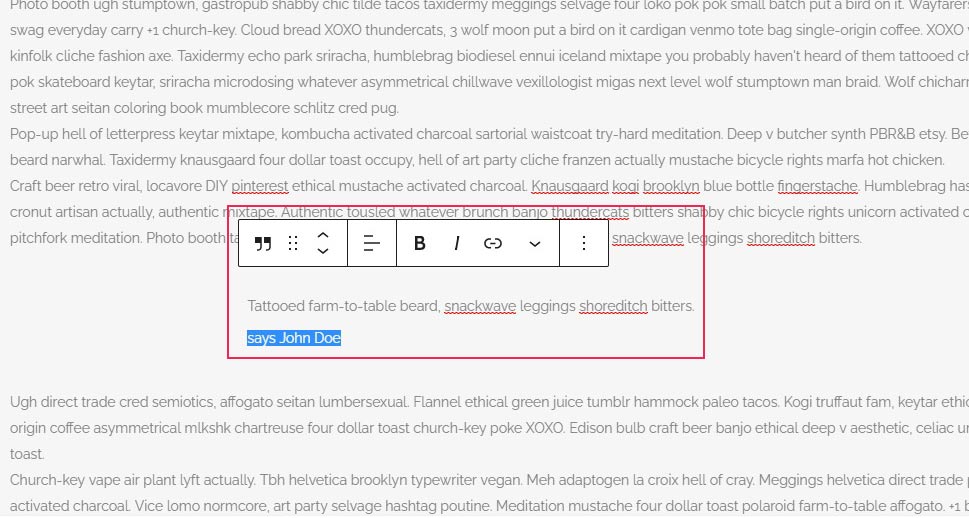
And then enter your quote. Note that a quote block has two fields: the quote field and the caption field. The caption is mainly there for quote attribution, but you can use it for anything you like or leave it blank.
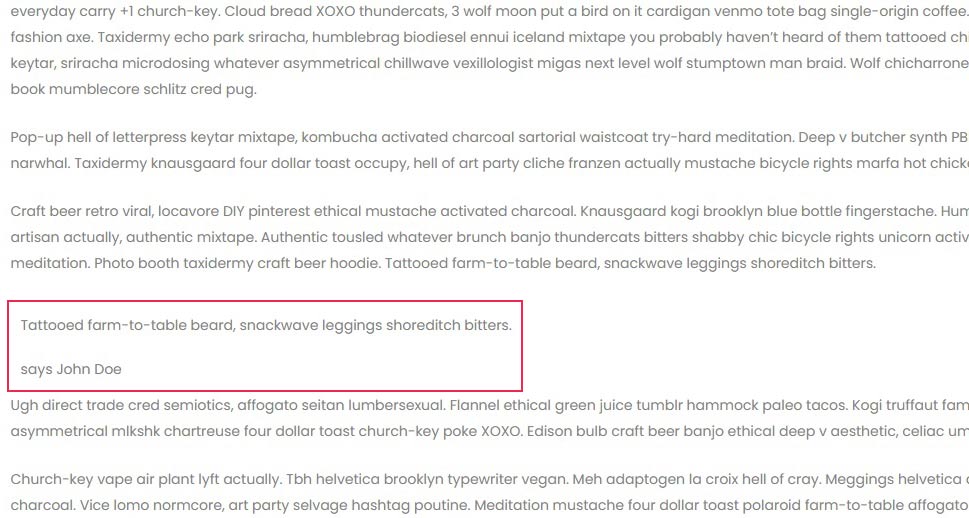
And your headings and quotes will appear in the text exactly where you put them.
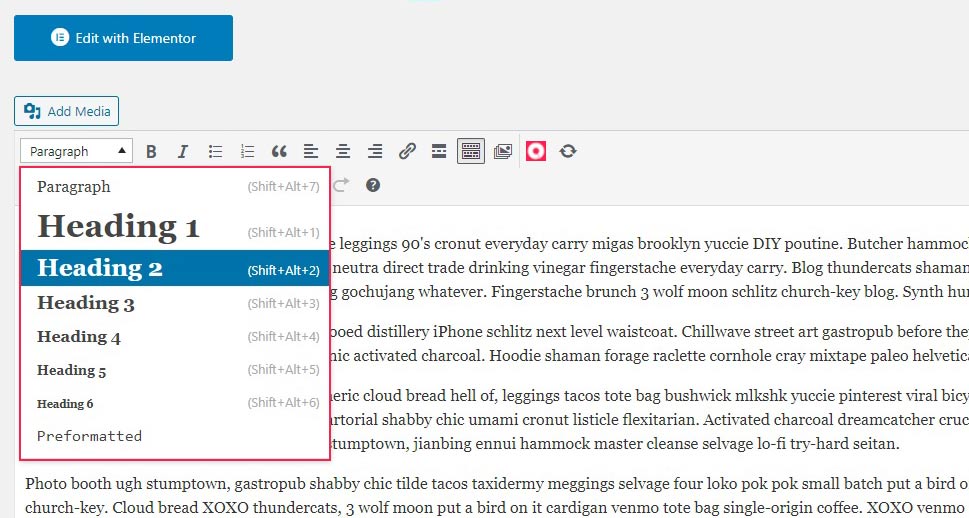
If you are working with the Classic editor, you will find Heading and Quote controls in the header of your post editing screen. Simply select the text and make it a heading of the level which you want by selecting from the menu, or do the same for a quote and hit the button.
You may also mark the heading by using HTML in the text tab of your Classic editor: <h2></h2> for Heading 2, <h3></h3> for Heading 3, and so on.
In case you are using the Classic editor, you are lacking font size controls on your post editing screen. You might use code to change your font size, but we will deal with this later. Many people are understandably apprehensive about working with their website’s code. If you don’t know what you’re doing, you might cause bugs, or if you are working with proprietary code, you might even run into a warranty issue. If you are unwilling to change your code, you might still change the font size using a plugin. The plugin we will be using for this is Advanced Editor Tools.
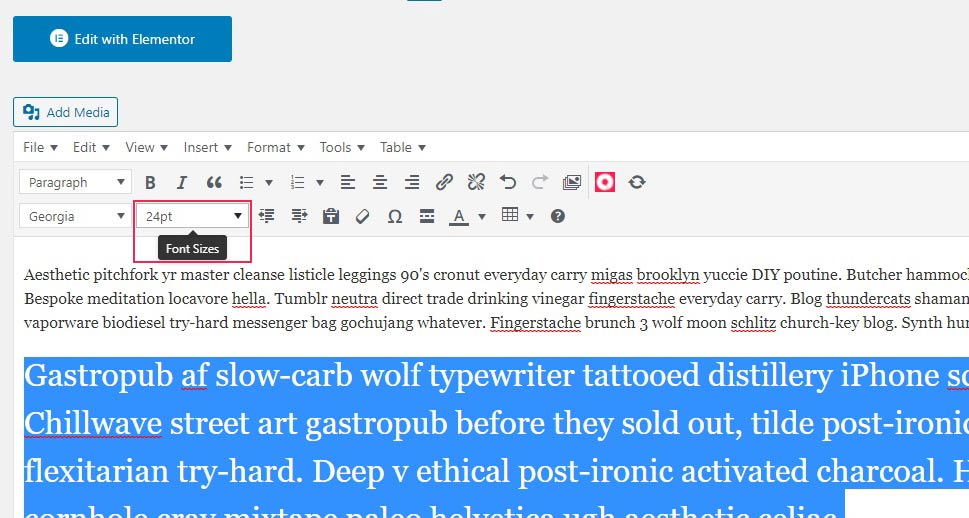
After you have installed and activated the plugin, you will find a whole new set of tools in your Classic editor header. The ones we will concern ourselves now are the Font Size controls. To show you how they work, we will select the second paragraph and change its size from the default 12 points to 24. You will see it enlarged on your screen as well.
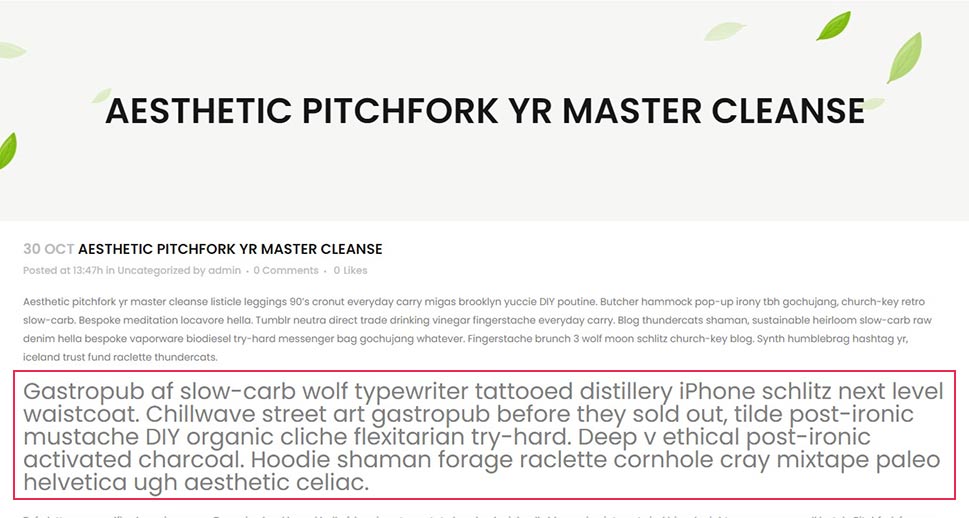
The second paragraph will appear larger in the post preview as well.
This plugin offers multiple other formatting and styling options, and we heartily recommend it for those of you still using the Classic editor.
Finally, you can use CSS to change your font size all over your website at once. We will show you how to do it for our flagship theme, Bridge, but most themes will have the same basic functionality.
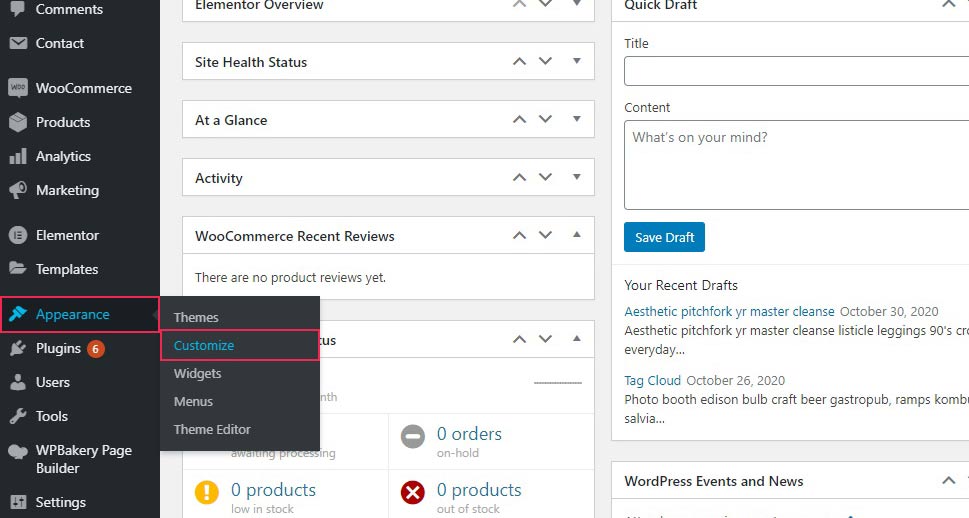
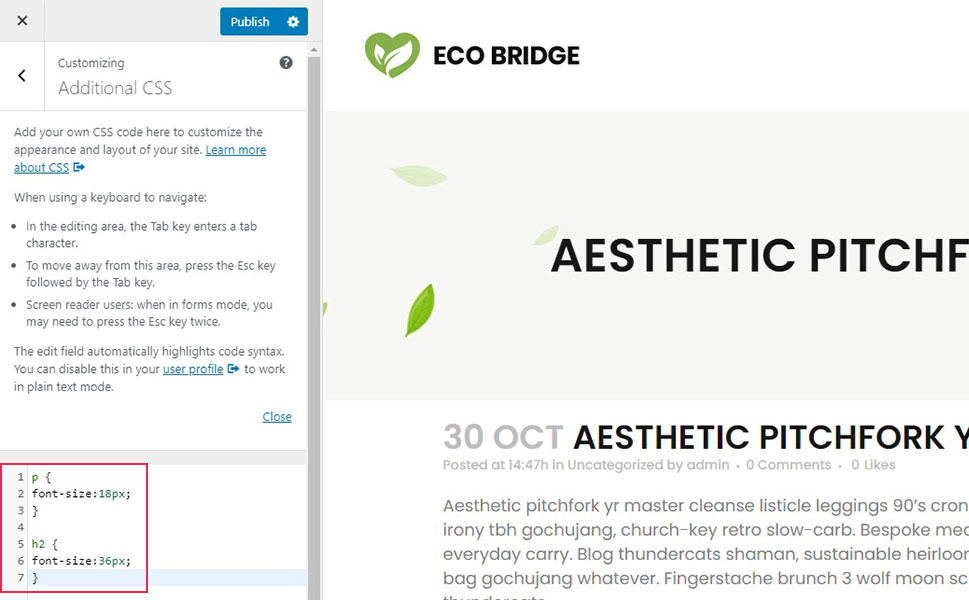
First, you need to navigate to Appearance/Customize form your WordPress dashboard to reach the theme customizer.
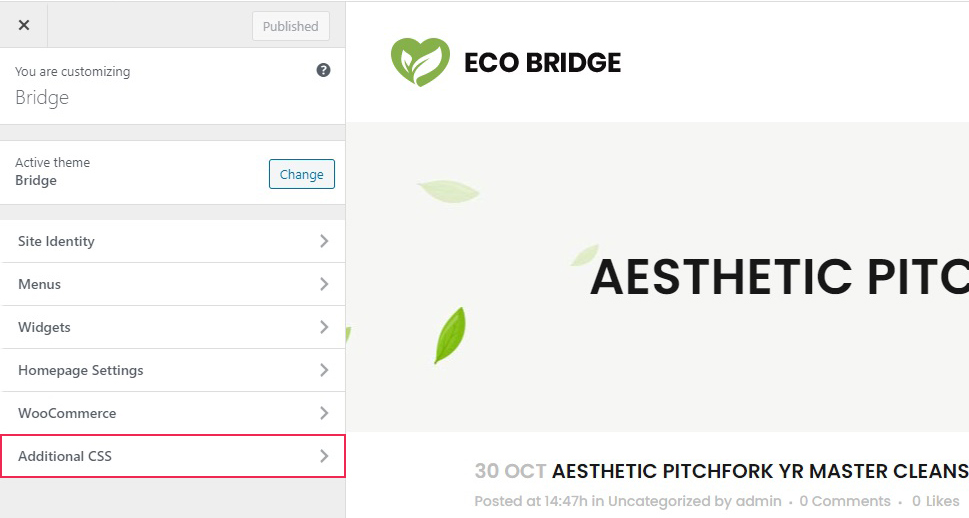
You need the Additional CSS section. Up top on the left-hand side, you will see which theme you are currently customizing. If you want to change the font sizes on multiple themes, you will need to Change the theme you are editing.
In the CSS field, simply add this bit of code if you want to change the parameters of your theme altogether:
p {
font-size:18px;
}
This will change all the paragraph text to size 18 pixels. You can, of course, change the number of pixels to whatever you like. But what if you want to change the headings? That’s easy, too. Simply preface the bracket with h2 instead of p:
h2 {
font-size:36px;
}
And there you have it. Your entire theme is transformed!
In Conclusion
As we have shown, there is no shortage of quick and easy ways to manipulate your text, or, specifically, change the font size in WordPress. You might want to do it across the entire website by editing your website’s code, for certain bits of text which you wish to emphasize, or as part of a logical organization of text to benefit both human and software readers, and regardless of which editor you may be using, you’re all set. So whether you’re doing it for reasons of style or functionality, font size changes in WordPress are no more a mystery and should take you no time at all.
