How to Fix the “The Link you Followed has Expired.” Error in WordPress

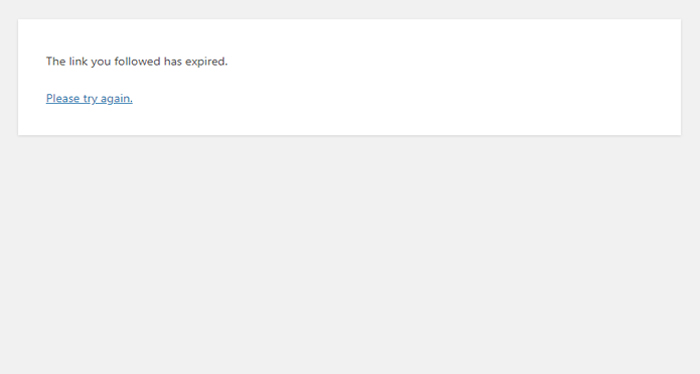
The link you followed has expired is a very common error in WordPress. It can appear when you try to upload a WordPress theme or install a new plugin via the WordPress dashboard. This error usually occurs when the file you are trying to upload is bigger than the default upload and execute values set by WordPress.
In this article, we will show you how you can troubleshoot this error in just a few steps.
What Causes the Link You Followed Has Expired Error to Appear?
WordPress hosting companies have a group of default settings that limit the size of a file you can upload via the WordPress admin dashboard. So, if you try to upload a theme file that is bigger than the default limit, the error with The link you followed has expired will appear.
You can easily find out what the maximum allowed file size for upload is. Open the WordPress dashboard and go to Media > Add New; there will be a note under the Drop files here field that lists the default WordPress file size limit for upload.
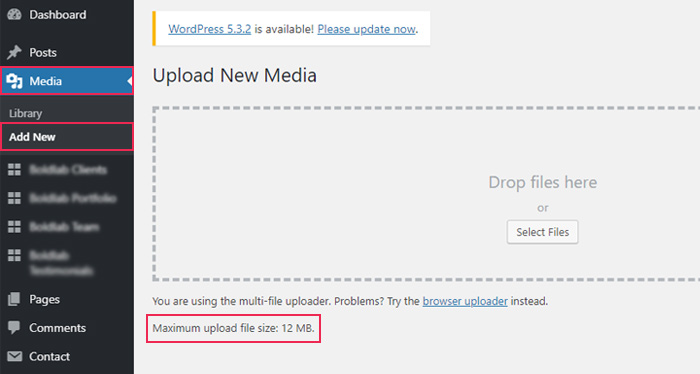
These default values vary depending on what kind of hosting plan you have. Specialized WordPress hosting providers can set up to 128MB as the maximum upload size limit. However, with smaller, shared hosting packages the default limit is much lower. Therefore, this restriction can prevent you from uploading more exacting themes and plugins.
Even if you have a decent upload limit on your installation and hosting, if the maximum execution time is limited and its value is too small, WordPress still won’t be able to upload larger and more demanding files. In these cases, you will get a notice for The link you followed has expired error.
In earlier WordPress versions (up to version 4.9.5, to be exact) instead of The link you followed has expired appearing, when you tried to upload a file that exceeded the limit, you would get an Are you sure you want to do this?
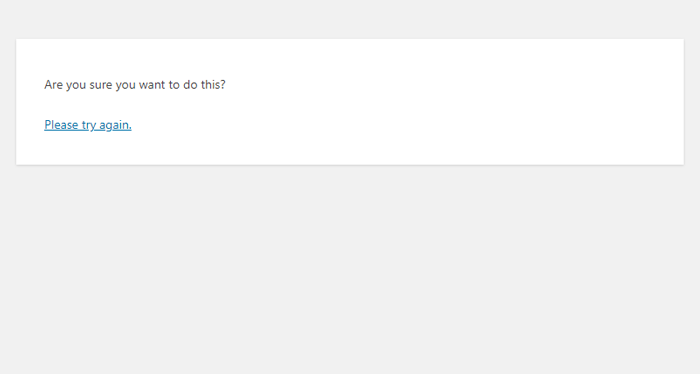
Both present as extremely vague notifications and make it difficult to quickly determine the cause of the error. However, you can troubleshoot either of these errors using the same approach.
How Do You Solve This Error?
The easiest way to remove The link you followed has expired error is to increase the PHP resource allowance on your server. The resources you need to address are:
-
max_exectution time
-
upload_max_filesize
-
post_max_size
-
max_input_vars
-
memory_limit
There are several ways to do this, and we will walk you through them so you can choose the one that best suits your hosting plan.
Before we proceed, since these processes require you to edit core WordPress files, so we strongly advise you to make a backup of your website or at least back up specific files you will be editing.
Increasing Resources via the .htaccess File
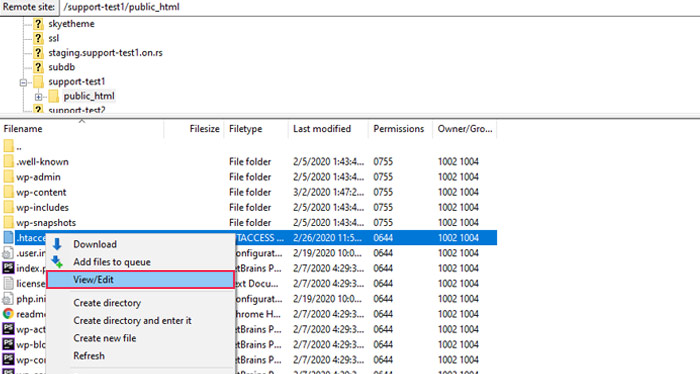
This method involves editing the .htaccess file from your WordPress installation. You can do this by connecting to the server via FTP or by logging into your hosting account and using cPanel’s File Manager.
We’ve chosen to use FTP and the FileZilla software to connect to the server, so we will show you the steps you need to take utilizing them. To start, you need to connect to your server and access your WordPress root directory. In the public folder find the .htaccess file then select View/Edit from the dropdown.
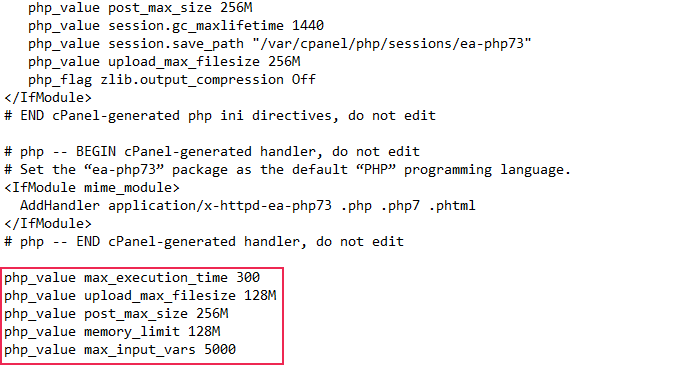
The file will open in your preferred text editor. Go to the end of the file and simply add the following code:
php_value max_execution_time 300
php_value upload_max_filesize 128M
php_value post_max_size 256M
php_value memory_limit 128M
php_value max_input_vars 5000
Then save the changes you’ve made to the file and upload it back to the server to overwrite the old one. After that, you can check if the error is resolved.
Qode Themes: Top Picks
View Collection


Increasing Resourced via the php.ini File
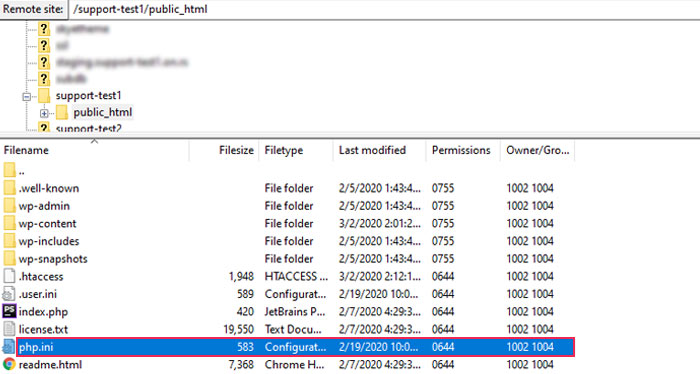
Another way you can eliminate The link you followed has expired error is by increasing your PHP resources. This is done by creating or editing a php.ini file. First, make sure that there isn’t a php.ini file already present in your site’s public_html folder on the server. You can check this by logging into your hosting account and using the File Manager option in cPanel or by using FTP.
In the screenshot below, we accessed the folder using an FTP client and found there was a php.ini file there already.
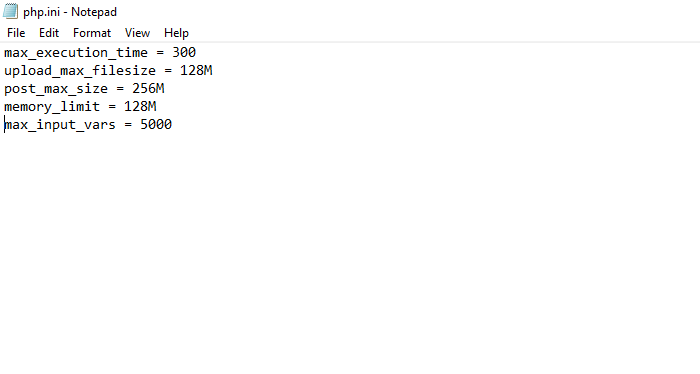
In that case, all you need to do to increase default values is add a couple of lines of code to the php.ini file.
max_execution_time = 300
upload_max_filesize = 128M
post_max_size = 256M
memory_limit = 128M
max_input_vars = 5000
You can do that by opening the file for editing in your preferred text editor and pasting in the code above. Your php.ini file should resemble the screenshot below.
When you’re done, save the file and upload it back to the server to overwrite the old one.
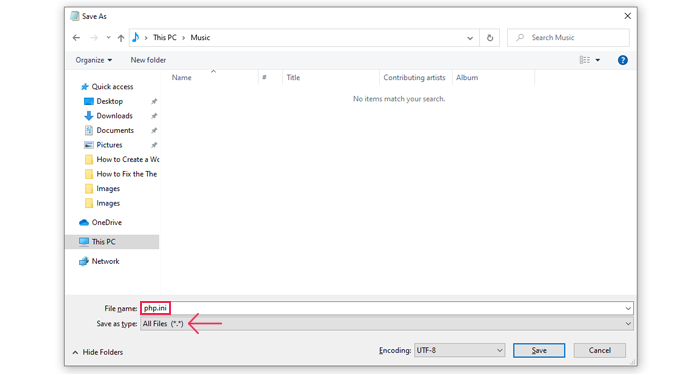
However, if you didn’t find an existing php.ini file on the server, you can create a new one on your computer. Just open a blank file in your preferred text editor and enter the PHP values that need to be changed, the ones shown in the code above. Then save the file as php.ini, and set All Files as the file type.
Once you’re done, transfer the php.ini file you just created to your server via FTP or the File Manager option in cPanel. After that, check to see if the error is resolved.
Additionally, there is another way you can change the default values to resolve The link you followed has expired error. It’s done via cPanel alone. Most hosting providers let you directly configure and edit an ini file using cPanel. Please note, we’re using cPanel for this explanation, but if your web hosting control panel looks different, you can check for a similar option or consult with your host provider.
Once you’ve logged in to your hosting account, you need to find the MultiPHP INI Editor located in the Software section and open it so you can proceed to change the PHP resources.
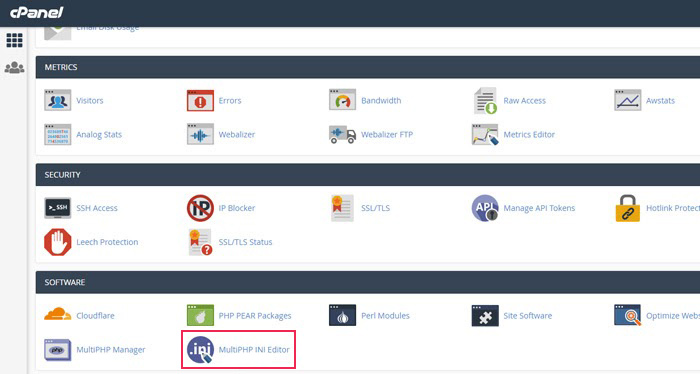
By opening the MultiPHP INI Editor, you will be shown a window where you can configure PHP settings directly. Then just enter new values in the fields under Settings and click Apply to finish.
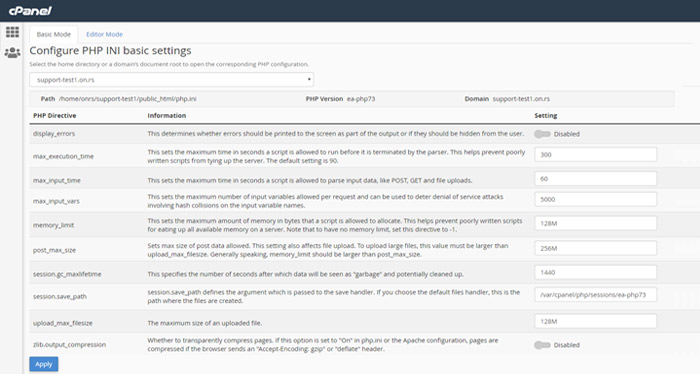
After that, check to see if the error is resolved.

Final Thoughts
Using these methods to increase PHP resources should solve the problem of uploading large files via the WordPress admin panel. And in doing so, you will also fix The link you followed has expired error. As good practice for the future, we advise you to use FTP for larger file uploads as it makes the job much easier.
Having said that, if you’ve tried all the fixes we’ve suggested, and the error persists, you should contact your hosting provider for more information. Certain shared hosting providers have set file upload restrictions that you won’t be able to change on your own, so don’t hesitate to request their help with troubleshooting this issue.
