How to Manually Back Up Your WordPress Files

When you’re developing your website, it is extremely important to regularly backup files on your server. This enables you to easily get your last working site’s version up and running in no time if anything unexpected happens. The backup process can be automated with the help of various plugins or server options, but it can always come in handy to know how to do it manually.
Since your website files are located in the File manager console on your server, first you have to access the cPanel. Not all servers use the cPanel, so if you are not sure which platform your hosting package is offering, contact your hosting provider for more information.
Before you start with the backup process, create a new folder on your computer. To keep things organized, we recommend that you adhere to the following naming pattern: prefix “backup”, the name of your website, and the date of this particular backup.
Backup Files Using cPanel
After you log into cPanel, navigate to the File Manager settings in the dashboard.

In the File manager, locate and open the folder public_html. If there is more than one domain on the server, mark the folder with the domain name of the website you want to backup. Right-click on it and select Compress.

You can also find the Compress option in the File Manager’s toolbar. By selecting the Compress option, you’ll open the window that contains additional settings.

Tick off the zip archive option, enter the name of the file and then click on the button Compress Files(s).
The compression duration depends on the size of your files. The end result will be a zip file. Download it from your server and save it in the folder you previously created for backup files.

If you want to copy individual files rather than the entire folder, click on the first file in the folder to mark it. Holding the SHIFT button on your keyboard, scroll down and select the last file you want to mark. Right-click on the selected files and click on Compress:

You’ll open a new window where you’ll select the zip archive option to compress files. Enter the name of the zip file and the name of the server folder where you’ll save it. If you don’t specify the location, a new folder with the zip file name will be automatically created:

If you follow the instructions, the end result will be a zip file marked with the date when the backup was performed.

Download the zip file to your computer, and place it within the folder you previously created for this purpose. It is recommended that you delete the backup file from the server after the download so you don’t use up space unnecessarily.

Qode WordPress Themes: Top Picks
View Collection


Backup Files Using FTP
You can backup your files following similar instructions using an FTP client. An FTP Client (File Transfer Protocol) is a useful software that enables the connection between the website’s server and your computer.
For FTP connection, we will use FileZilla software, one of the most popular and practical FTP clients. You’ll find the details about your FTP connection in the FTP account section on cPanel.
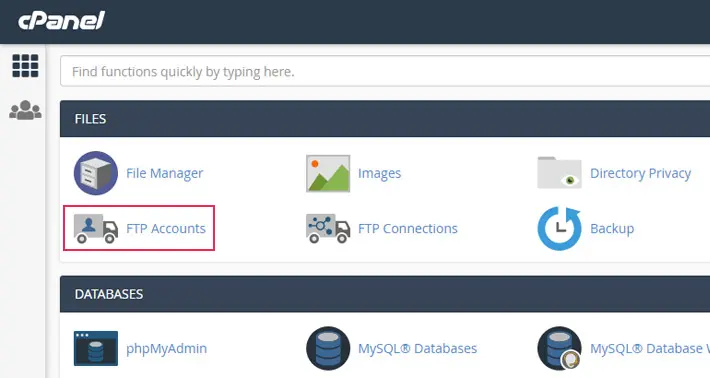
If you cannot find these details, you need to contact your hosting provider.
When you log into your server using an FTP account via FileZilla, you will see two panels:

In the left panel you’ll find a local site, which is your computer. The right side will display a remote site, in this case, the live server you’re connected to.

In the remote site section, you’ll see public_html, otherwise known as the root folder, where you’ll find all the WordPress files. In the local site section, navigate to the folder where you want to save the backup files from the server. Select the first file you want to mark. Scroll down holding the Shift button on your keyboard to mark all the files you want to select. Click and drag these files to the left panel.

This way, you copy all the selected files from the server to your computer.

If you want, you can copy individual files by dragging each of them from the live server to your computer. For instance, you can move only the most important files: wp-content, .htaccess and wp-config.php.

If you want to create a complete backup of your website, you also have to backup your database. The database saves and stores all the changes to your site. Just like with the file backup, database backup can be done manually or using plugins, tools, and server options.
Final Thoughts
Using this tutorial, you can easily create a backup of your site’s files, without any additional tools and plugins. Backing up your files regularly will help you prevent any unwanted data loss in case anything unexpected happens to your site.
