How to Integrate WooCommerce and Quickbooks

If you’re using WooCommerce to power your online store and you’ve also mastered the basics of this popular eCommerce platform, then you’re probably aware of the sheer practicality and scalability it possesses. Aside from allowing you to completely manage your products and sales, WooCommerce also offers the ability to handle your shipping and inventory, choose and manage different payment methods, and plenty more. Still, when it comes to taking care of accounting in WooCommerce, it’s best to look into one of the available third-party services instead. QuickBooks is one such service that will help you easily keep track of your expenses and also handle things like creating and tracking invoices, keeping track of your income, scanning receipts, and the list goes on. So, connecting WooCommerce to QuickBooks might be the best way to quickly and effectively handle all aspects of your eCommerce business. But the question is – how do you do it?
While there is no direct QuickBooks integration available for WooCommerce, there are some plugin options you can use to connect the two platforms. This time around, we will show you all the steps necessary to integrate WooCommerce with QuickBooks using the Zapier automation service. In the end, we will also mention a few other services you can use if you need more advanced sync options.
We will cover:
eCommerce WordPress Themes
View Collection


Before we begin, we should also mention that there are two different ways to connect WooCommerce with QuickBooks: using one-way or two-way data transfer. The one-way data transfer simply transfers information from one app to the other, while a two-way data transfer allows you to move data both ways (as its name indicates).
There are plugins that offer both options, and which option you will choose depends on your specific requirements. For example, if you only need to keep track of your sales and income, then the one-way data transfer is more than enough. But if you also want to sync WooCommerce and QuickBooks completely (so that you can handle things like product, inventory, customers, and orders on both platforms at the same time), we recommend going for two-way data transfer. In that case, as the option we will be showing you today uses one-way data transfer only, you can skip to the bottom part of the article where we mention a few other plugin solutions that offer the option of two-way data transfer for the WooCommerce QuickBooks integration.
Zapier works by using Zaps, or small integrations meant to connect two different systems. These Zaps typically consist of a trigger and an action. A “trigger” can represent, say, a new order in WooCommerce, while an “action” can be creating a QuickBooks sales receipt. In other words, Zapier will make it possible to connect WooCommerce and QuickBooks sales so that every time a new order is created on your WooCommerce store, a QuickBooks sales receipt is automatically created (including the order information) as well.
If you are using Zapier for free, you will be able to use five Zaps and are also limited to 100 automated tasks a month. In the case of our example, each order transferred from WooCommerce to QuickBooks represents one task. To get access to more Zaps and even more tasks, you should look into one of the available pricing plans (starting at $19.99 a month for 20 Zaps, 750 monthly tasks, and plenty more features).
In addition, you should keep in mind that you need to have the WooCommerce Zapier plugin (an official WooCommerce integration that can be purchased for $59) installed on your WordPress site to connect Zapier and WooCommerce properly.
Finally, in case you don’t have a QuickBooks Online account already, you should note that the pricing plans available may vary from country to country. For example, if you live in the US, your Simple Start plan (ideal for small businesses) starts at $12.50 a month – though you do have the ability to try a 30-day trial for free.
With that being said, let’s take a look at how you can connect QuickBooks and WooCommerce with the help of Zapier.
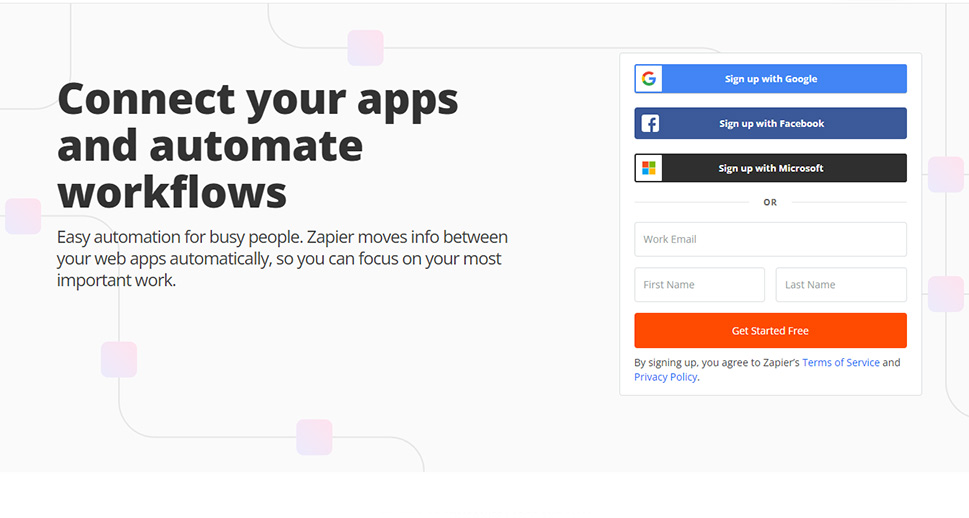
First things first, you need to sign up for a Zapier account. As there is the possibility to use Zapier completely for free (with some limitations that we mentioned above), entering your name, email address, and password will be enough for a head start.
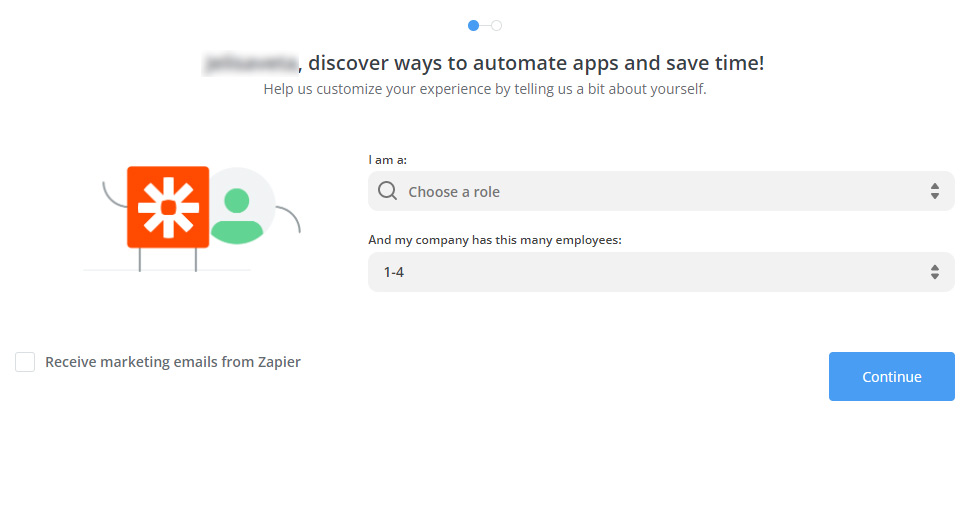
Also, choosing your role/occupation and selecting how many employees your company has will help further customize your experience while using Zapier.
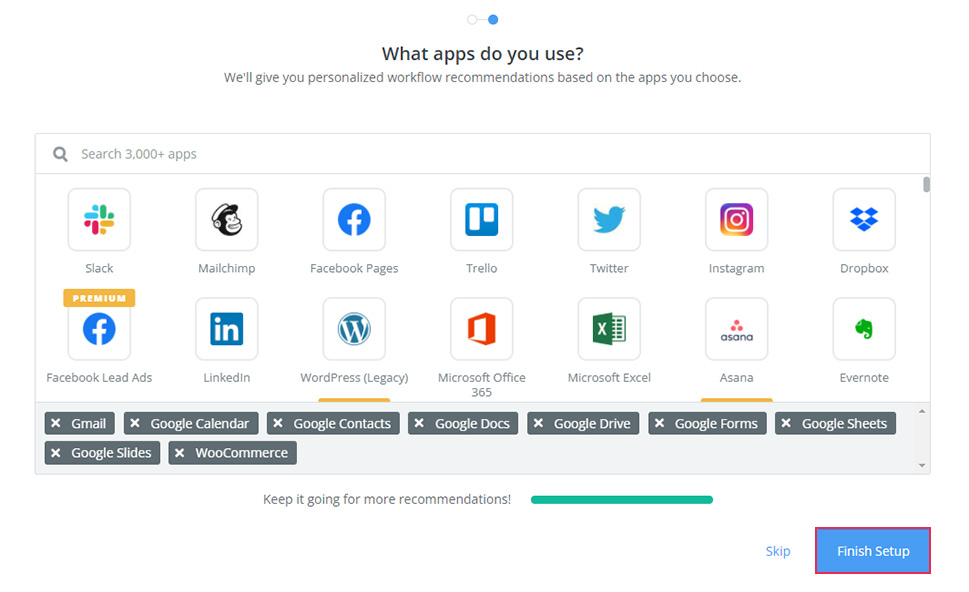
Next, Zapier will give you some personalized workflow recommendations to help save your time during the process of automating your tasks.
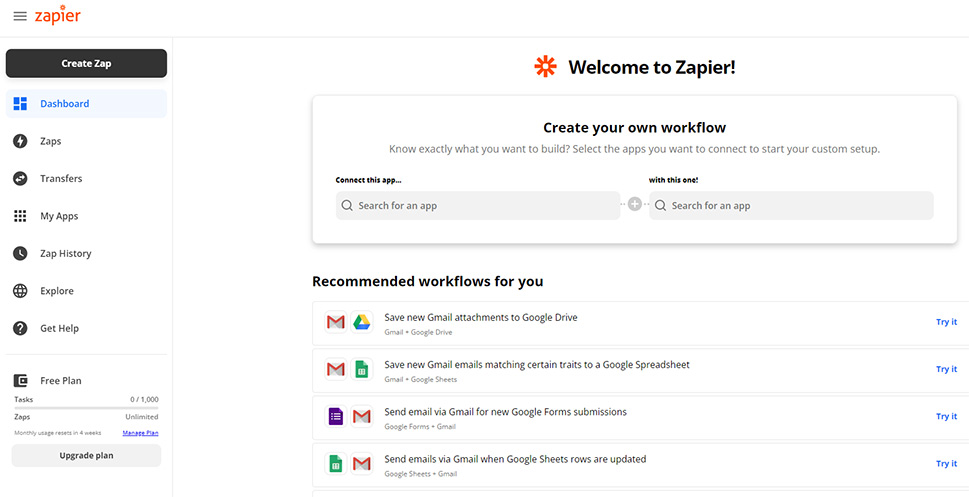
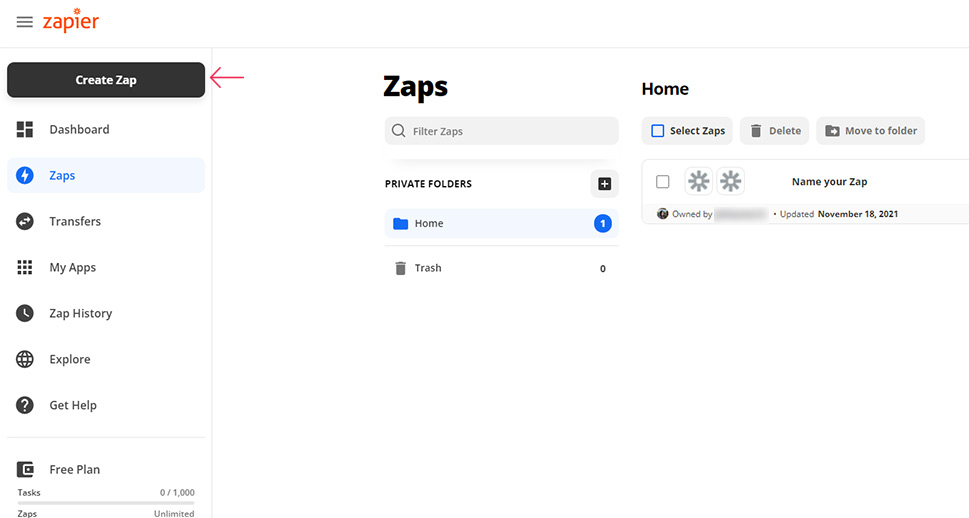
After you finish your setup, you can finally go ahead and create your first Zap by hitting the Create Zap button.
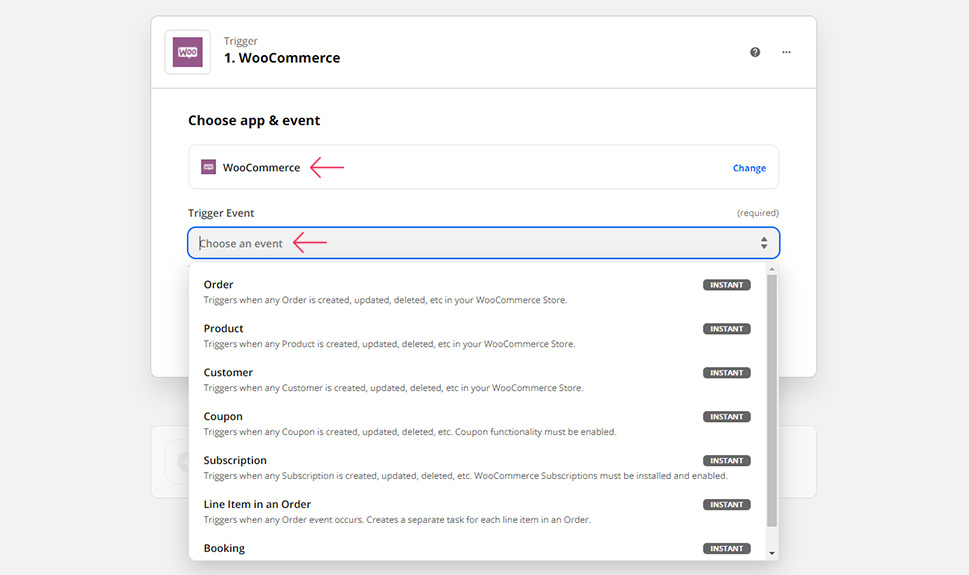
Then, you need to select the app you want to use (in this case, WooCommerce) and then select your trigger right afterward. This can be an order, a product, a customer, a coupon-based trigger, and the list goes on.
We will use the order-based trigger for our example.
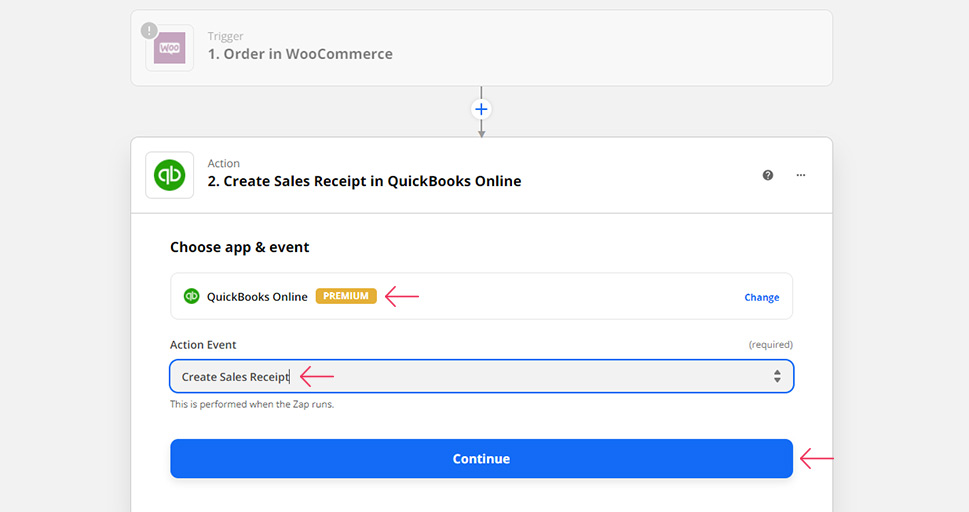
Next, you need to select the action that will be performed every time a trigger occurs, as well as the app that will perform said action. In this case, the app you should select is QuickBooks Online, while the action would be creating a sales receipt, for example. Thus, every time a new order occurs in WooCommerce, QuickBooks will create a receipt according to the order.
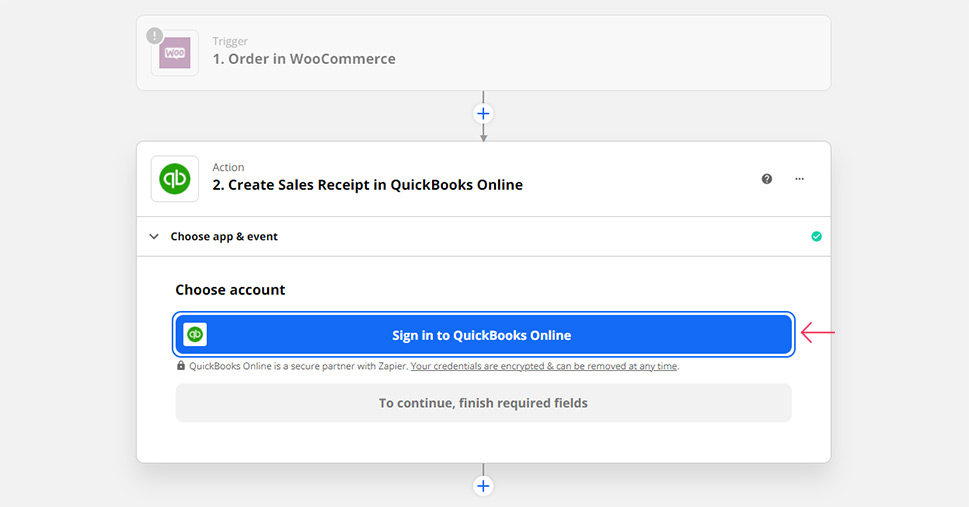
Finally, you need to log in both to your WooCommerce and QuickBooks accounts to finish the process.
If two-way data sync between WooCommerce and QuickBooks is something you may need for your eCommerce business, then we suggest looking into services like MyWorks or Webgility.
With MyWorks, you will be able to trigger two-way sync between QuickBooks and WooCommerce, and also use both QuickBooks online and desktop versions. In addition, you will be able to sync things like transaction fees and payments, show QuickBooks invoices in WooCommerce, and have full control when it comes to mapping (linking) your WooCommerce and QuickBooks data.
If you need to connect more than one store to your QuickBooks account, we suggest trying out Webgility. This platform will allow you to easily optimize your product listing, inventory, orders, automate tax sync across multiple locations (which is quite useful if you are selling in multiple countries), easily share access with your accountant, and more.
MyWorks service pricing starts at $39 a month (for up to 1000 orders a month), while the Webgility pro plan is available at $47 a month for the same amount of orders (the prices for both services are available if you’re billing annually).
Conclusion
Even though there is no direct WooCommerce QuickBooks integration, you still have a few great plugin options at your disposal that will allow you to quickly and effortlessly connect the two services. There are both one-way and two-way data transfer options available. If you are fine with only using QuickBooks to take care of things such as your income, sales, and expenses, and if you receive less than 100 orders a month, then using Zapier to connect WooCommerce with QuickBooks using a one-way data transfer will be just fine for you. For full sync of your data that goes both ways and the ability to keep track of things like products, inventory, orders, and so on, we recommend that you look into other options, such as MyWorks or Webgility. So, you just have to pick the option that best fits your budget and your overall business requirements, and you’ll be all set.
