How to Enable Comments with Images in WordPress

Comments are great for driving engagement around your content, which is why you should always strive to find ways to get more comments on your WordPress blog. Needless to say, allowing users to upload images in their comments will help you do just that, and then some. Adding this useful functionality can make your blog appear more fun and visually appealing in general, which can encourage more people to comment on your posts and help you build a sense of community around your blog. Just look at some of the popular social networks like Twitter or communities on Reddit – the use of images in the comments has definitely made these places look more lively and attractive to the masses.
Moreover, depending on the type of website or blog you run, images can be quite practical as they can also help users communicate their questions better. For example, users can post their screenshots in the comments to ask you how to solve any specific issue they may have.
So, if you want to create this kind of environment on your WordPress site or blog and allow users to freely upload their images in your comment section, you’ll be happy to hear it’s quite easy to do with the help of a suitable plugin. We will show you all the steps needed to enable comments with images with a free WordPress plugin, so make sure to stick around.
Qode Themes: Top Picks
View Collection


Allowing Users to Add Images in WordPress Comments With the DCO Comment Attachment Plugin
If you want to allow users to upload their own images to their comments in WordPress, then the free DCO Comment Attachment plugin might be your best bet. The plugin is completely free to use and, apart from images, it also allows you to upload other file types, such as videos, audios, PDF documents, and so on. In addition, your blog visitors will be able to embed YouTube video links as well as links from any other social media networks, like Facebook, Twitter, etc.
We should note that all attachments that come from comments will be uploaded to your WordPress Media Library. Once the comment is deleted, the attachments will be automatically deleted as well.
You should install the plugin and then activate it. The good news is that you don’t need to do anything more after that, as the plugin pretty much works right out of the box – you can go right ahead and see how the plugin works. To do this, you can simply visit your website’s post and then scroll down to the comments section.
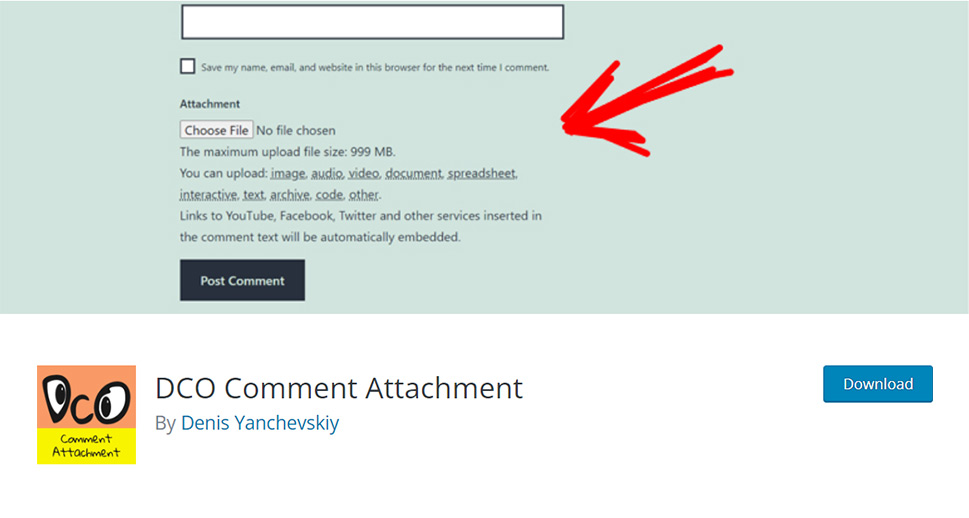
You should be able to see the button right below the Comment box called “Choose File”, as well as the list of files available for upload (image, audio, video, document, etc.).
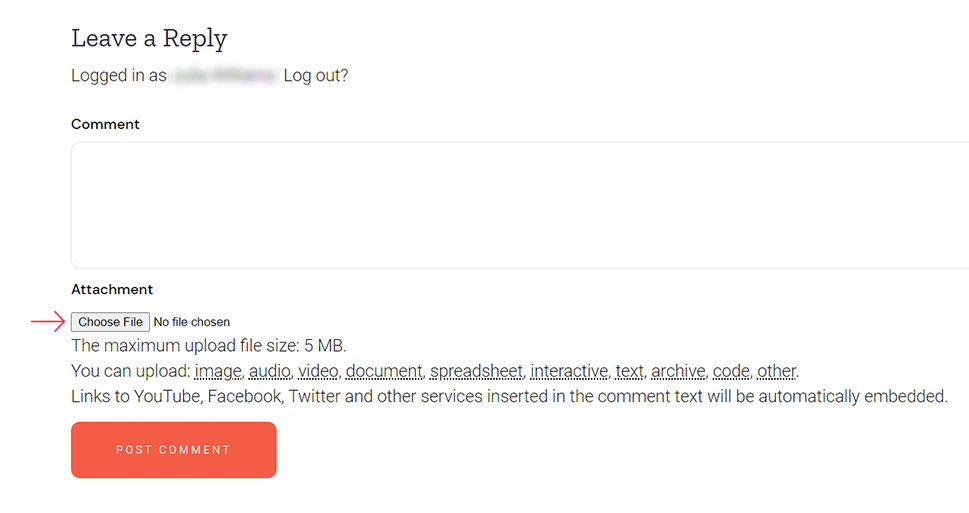
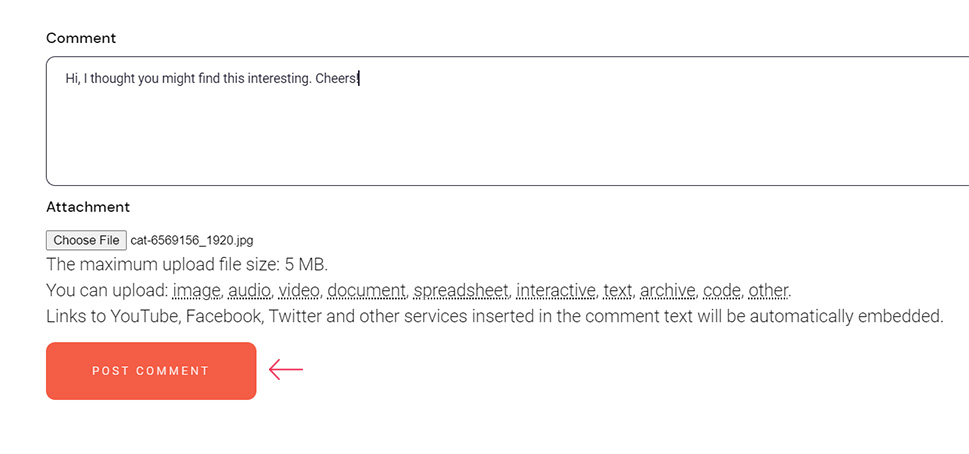
Simply hit the Choose File button and add the image with a supported JPG or PNG file type. Then, once you’re done with writing your comment, hit the Post Comment button.
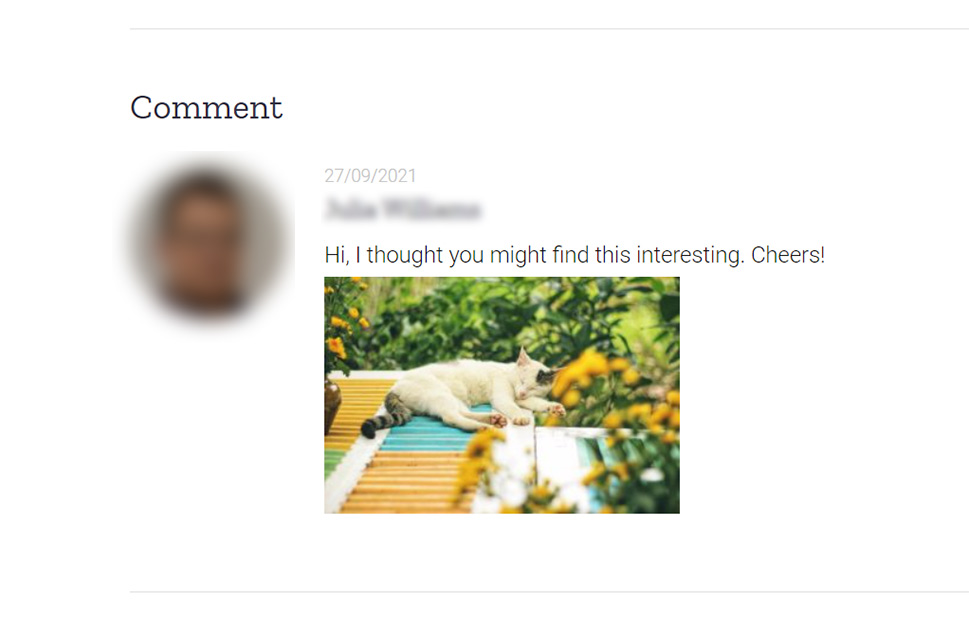
Now, you should be able to see your comment along with the image you’ve uploaded.
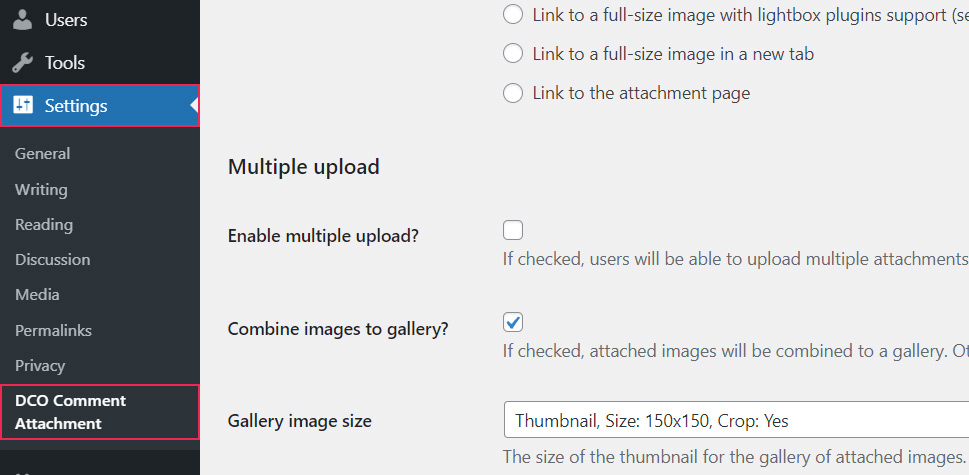
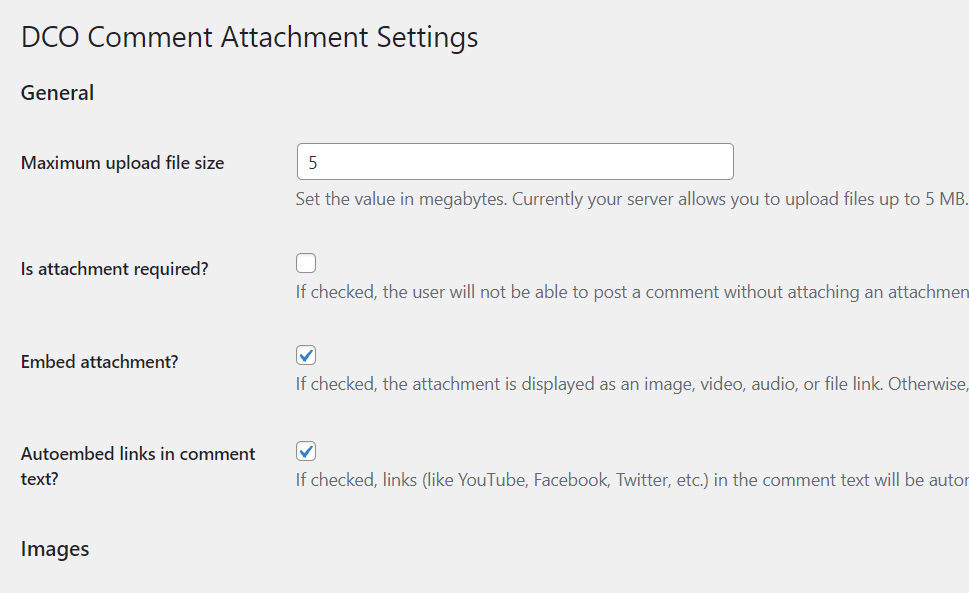
Another thing you can do is adjust your plugin settings so that they fit your specific preferences. To do this, you should head to Settings >> DCO Comment Attachment.
Once there, you will be able to change your maximum upload file size, mark the field that will allow users to comment only if they also upload the attachment, auto-embed links in the comment text, etc.
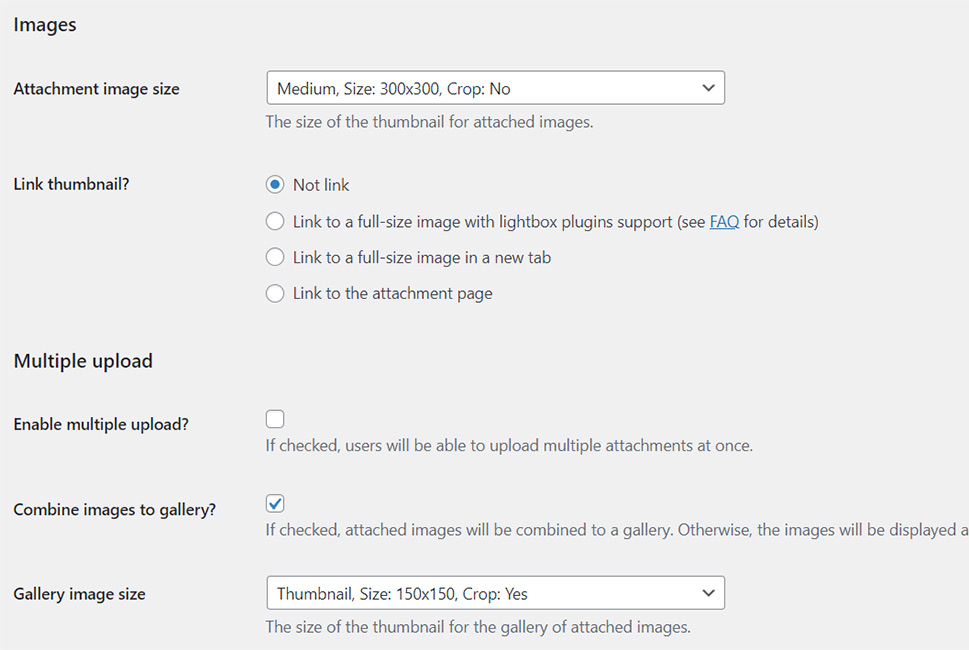
Another thing you can adjust is the attachment size of your image. You will also get to include (or not include) the link to a full-sized image, enable multiple uploads and set the gallery image size.
There’s also the Permissions section that will allow you to enable and disable different file types, including image, video, and audio files, documents, spreadsheets, and the list goes on. There may be some file types that simply don’t hold any significance for your type of blog or business, so you can easily disable them here if you don’t need them. Of course, which files you want to disable is completely up to you.

Finally, there are a few other settings you can adjust at the bottom, like deciding whether the ability to upload attachments will be available to all users or logged-in users only. Among other settings, you also get the ability to manually moderate comments with attachments (if you enable this setting, all comments with attachments need to be approved by you first before they appear on your site).
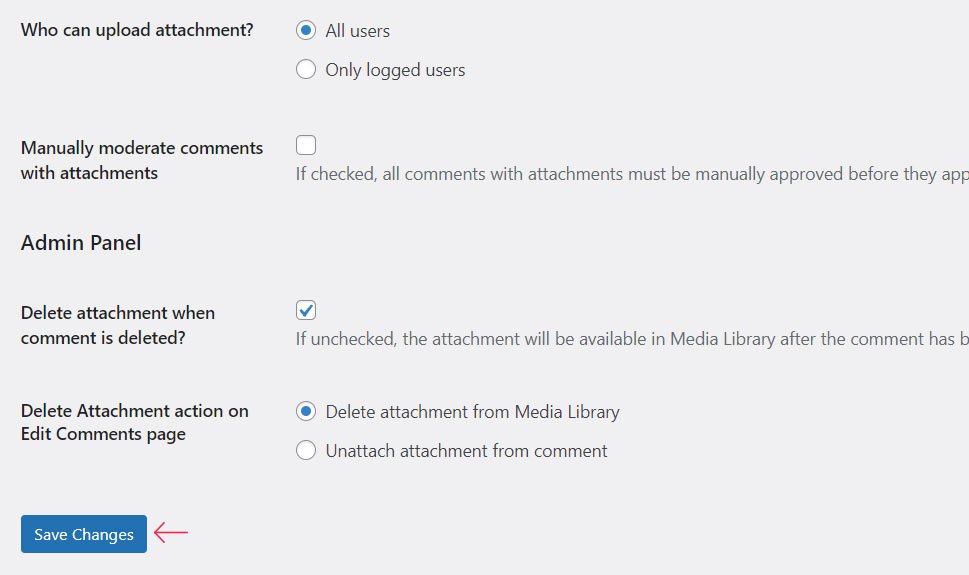
Don’t forget to hit the Save Changes button once you’re done with configuring your plugin settings.
If you want, you will also be able to view and modify each comment along with their attachments directly from the backend.
You can do this by clicking on Comments in your WordPress dashboard.
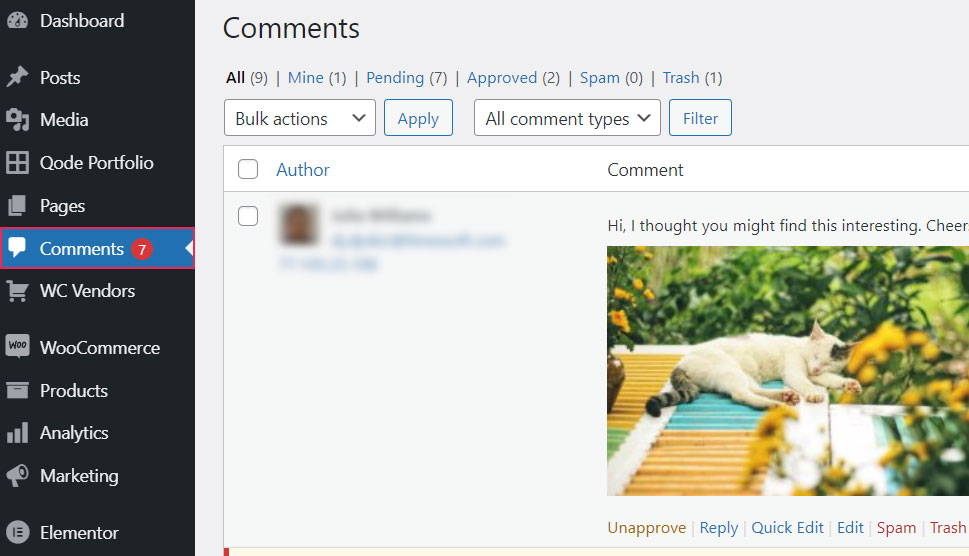
As you can see, the comment with attachments is visible on the Comments screen. If you want, you will be able to do things like view, approve/unapprove, edit and delete the comment (and/or its attachment) and mark it as spam.
In Conclusion
As you could see from all the steps above, enabling comments with images in WordPress is as simple as it gets. If you use a free plugin like DCO Comment Attachment, you practically won’t have to configure any settings at all and can simply use the plugin as it is right after installing it. That being said, you will still have access to some practical plugin options that will allow you to adjust things like attachment image size and disable specific file formats you may not need. What’s also great about DCO Comment Attachment is that it enables the upload of other file formats such as videos and documents. All in all, we definitely recommend looking into this plugin if you want to give your visitors the ability to use multiple attachment options in your comments.
