How to Create and Schedule WooCommerce Coupons

Adding coupons to your eCommerce store is an excellent opportunity to capture the attention of potential customers and eventually turn them into regular buyers. Everyone loves a good deal after all, and coupons will allow you to offer all sorts of discounts and limited-time offers to your online store that will only help you win over the loyalty of your customers in the long run.
Being one of the most powerful and flexible eCommerce plugins for WordPress around, WooCommerce comes with some great features and functionalities that will let you build a fully professional online store. And this also includes the ability to create and add coupons to your online store out of the box.
This time around, we are going to show you how you can easily create coupons for your WooCommerce store by using its default coupon functionality. And if you want to get your customers to anticipate any particular date by making special offers at specific times (like for a holiday or Black Friday, for example), we will show you how to easily schedule any of your coupons as well.
eCommerce WordPress Themes
View Collection


Creating a Coupon in WooCommerce
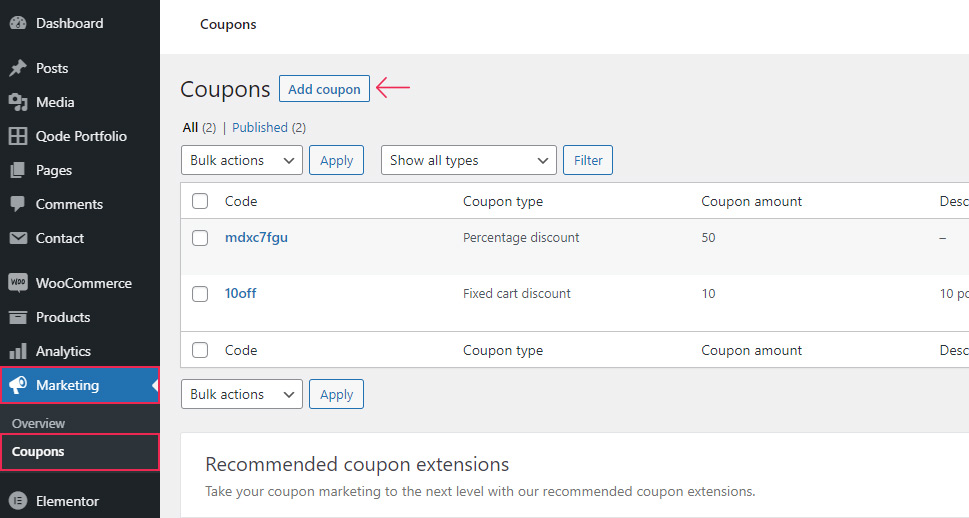
To add a new coupon in WooCommerce, you should head to Marketing >> Coupons located in your WordPress admin dashboard and then click on “Add coupon”.
You will then be able to add your coupon code (or generate a random one by clicking the “Generate coupon code” button) and description.
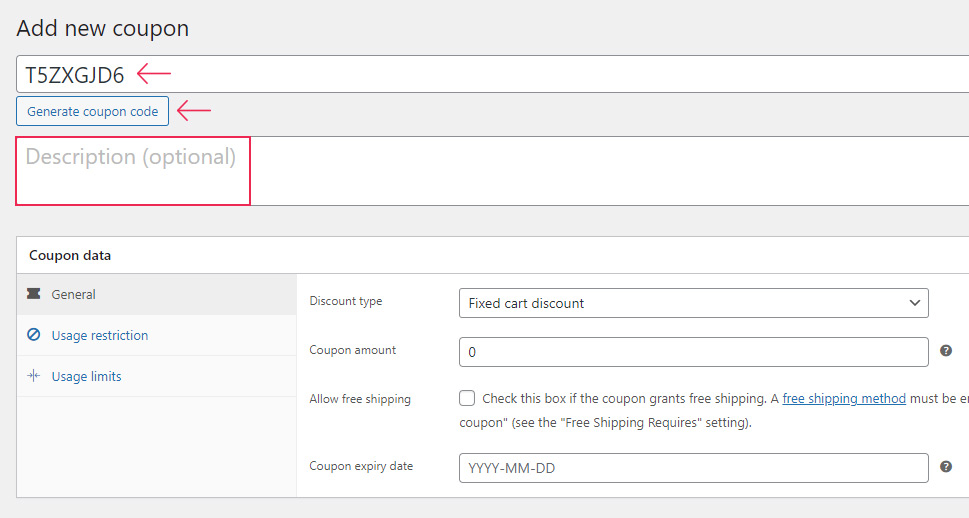
Next, you will be able to use the Coupon data metabox to set a few important options. You will have access to three different tabs – General, Usage restriction, and Usage limits.
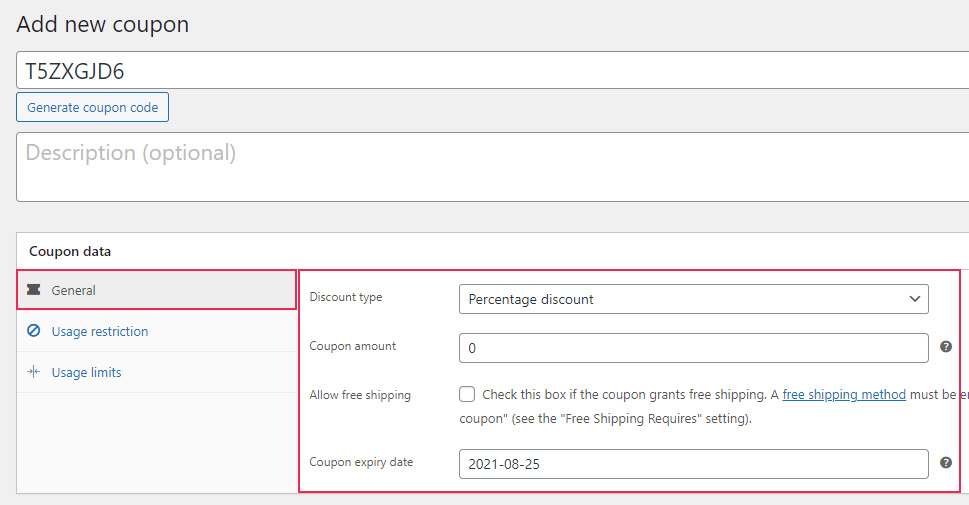
In the General tab, you will be able to set things like the discount type (percentage discount, fixed cart discount, and fixed product discount) and set the coupon amount (this will determine the value of your coupon). You will also be able to allow free shipping and set the coupon expiry date. The latter option will make your coupon expire on a date of your choosing, at midnight.
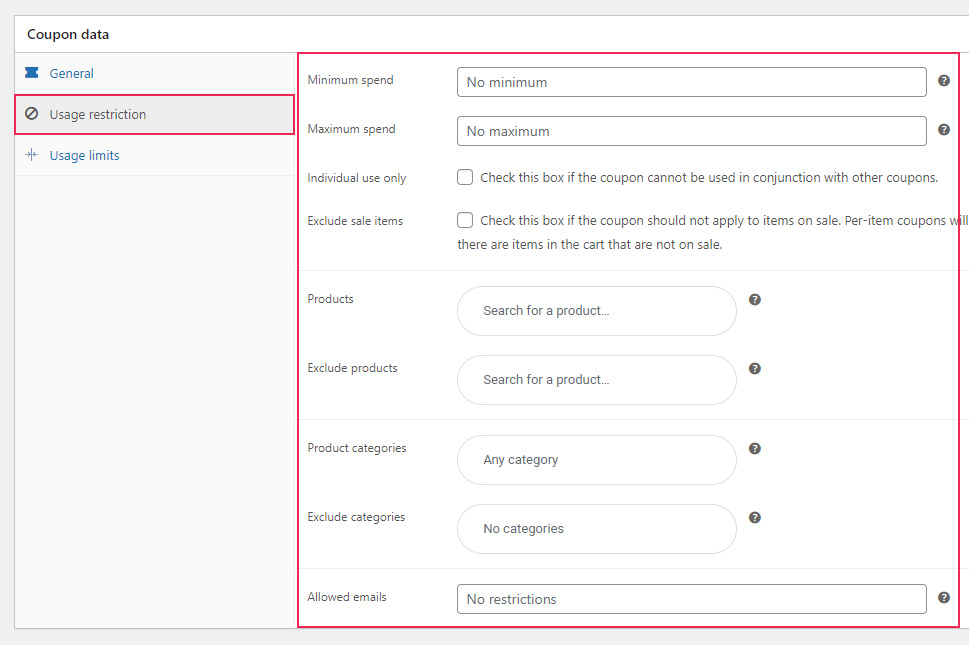
As its name suggests, the Usage restriction tab allows you to set certain restrictions related to your coupon. You will be able to add a minimum and maximum amount that users need to spend before they can use the coupon, include and exclude the products your coupon will (or will not) be applied to, include and exclude any product categories, and so on.
Finally, the Usage limits tab allows you to add a few more limits to your coupon. This includes the number of times your coupon can be used, the maximum amount of items in cart the coupon applies to, and the number of times a coupon can be used by a single user.
For more details on how to create coupons in WooCommerce, we recommend that you also check out our comprehensive WooCommerce tutorial.
Scheduling Your Coupon
In their essence, coupons actually represent a new post type in WordPress. This means that if you want to schedule your coupons, you can simply apply the same scheduling capabilities to them as you would to any WordPress post.
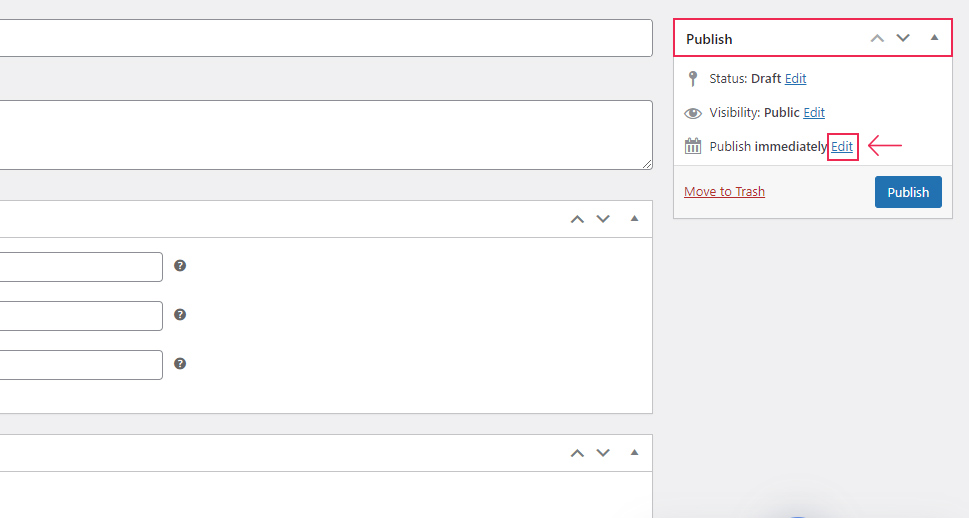
To do this, you need to use the Publish metabox located in the top right corner of your screen. Hit the Edit button next to “Publish immediately” to change the publishing date of your coupon.
Once you do so, a few additional fields will appear, allowing you to set the date and time when you want your coupon to be published.
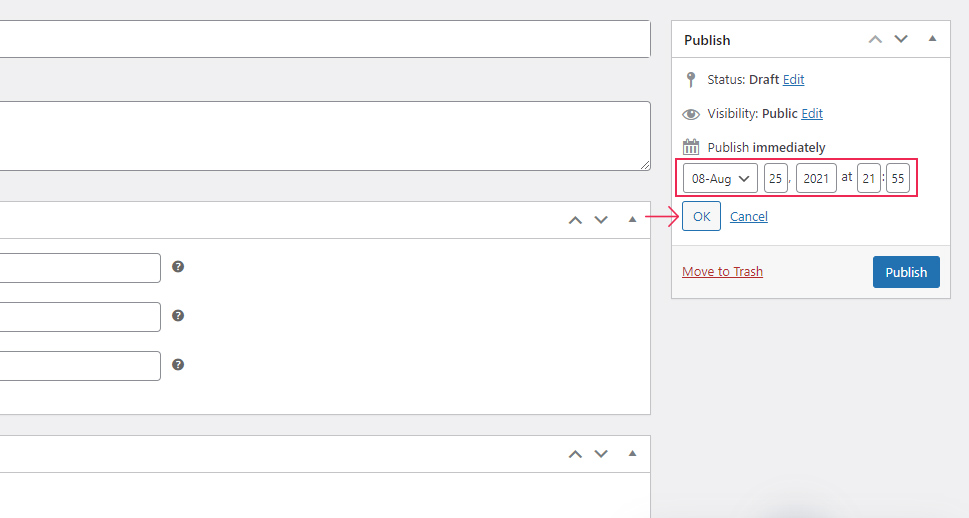
Hit the OK button. You will instantly notice that your “Publish” button is now called “Schedule”.
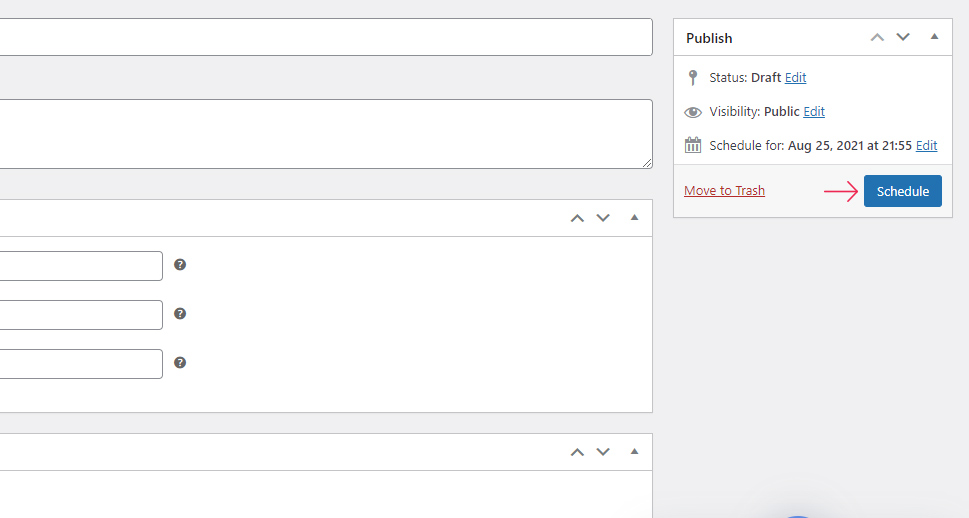
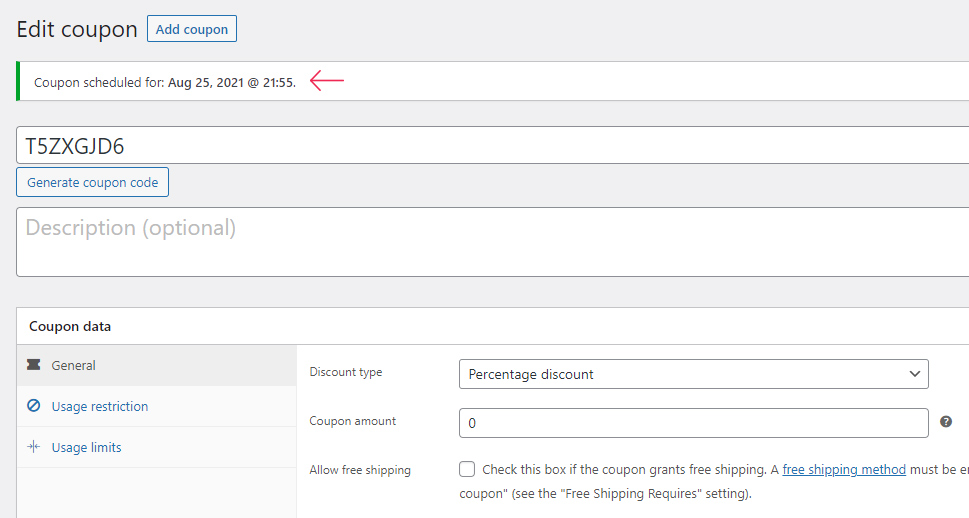
Make sure to click on the Schedule button and that’s it – you’ve successfully scheduled your coupon. It will be published automatically and become available for your customers at your preferred date.
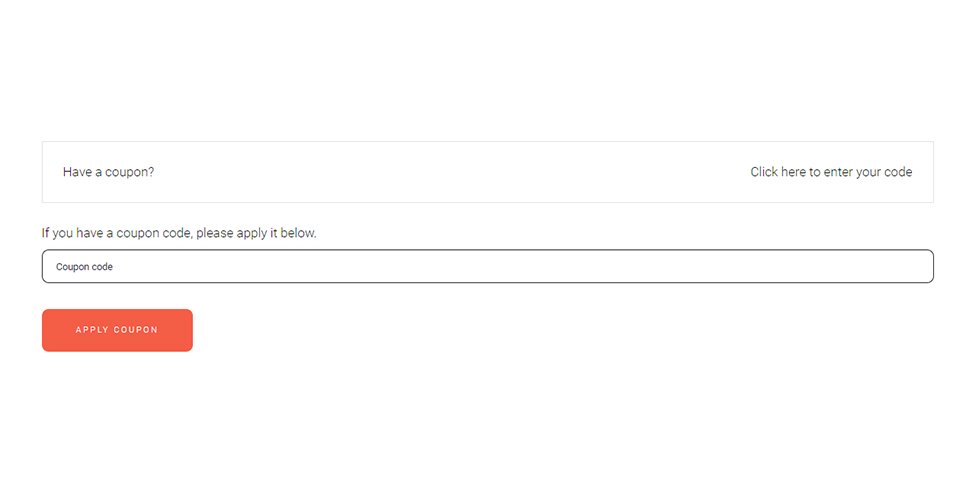
Also, once your coupon becomes active, your customers will be able to use your coupon and enter its code after they access your Checkout page.
Finally, the only thing left for you to do after adding and/or scheduling your coupon is to promote it. There are multiple ways in which you can promote coupons, like adding popups (there are some great popup plugins out there that will be able to help you out), send them out using email marketing, etc.
If you ask us, however, we recommend using the Smart Coupons WooCommerce extension. This extension fits with the built-in coupon functionality quite nicely and allows you to market your coupons in only a few clicks. You will be able to send your coupons via email, automatically generate coupons when someone buys a product, embed coupons on any page of your site, add custom messages, and plenty more.
Alternatively, you can also use one of the available coupon code plugins. There are both free and premium options available, but if you’re on the budget, we suggest trying out the free version of the Smart Coupons for WooCommerce plugin. It offers neat customization features to go along with the original WooCommerce coupon functionality, allows users to view coupons from the My Account page, and lets you easily insert your coupons into any page or post with shortcodes.
Conclusion
As you can see from the steps we presented above, creating coupons in WooCommerce is as simple as it can get. The best thing about it is that you don’t need to install any plugin to do so – you can simply use the native WooCommerce coupon functionality instead. And if you want to incorporate your coupons into a specific marketing campaign and get your customers truly excited about any upcoming sale you have planned, you can easily schedule your coupons with the default WordPress scheduling feature.
