How to Connect WooCommerce and Google Sheets
Google Sheets is one of those handy and flexible Google tools that every serious WordPress owner should consider having in their arsenal. Due to its highly customizable nature, Google Sheets can be used for managing and tracking all sorts of data – from employee tasks and schedules all the way to invoices and store orders. So, if you’re using WooCommerce to run your online store, it’s highly recommended that you utilize the power of Google Sheets and connect it to WooCommerce.
By connecting Google Sheets with your WooCommerce store, you will be able to have a complete overview of your order and customer data in real time. The WooCommerce Google Sheets integration includes sorting and filtering different order and customer data by location, order id, order status, payment method, and plenty more. Plus, your team members won’t even have to log into your WordPress site to keep up to date with the most important happenings in your store. All you have to do is share a link to your Google Sheet of choice and they will have access to all the relevant data in no time.
Earlier, we showed you how to easily embed Google Sheets on your WordPress site. This time around, however, we will talk about how to connect your Google Sheets and WooCommerce. We are going to use the help of a WordPress plugin and explain the entire process step-by-step, so make sure to stay tuned.
eCommerce WordPress Themes
View Collection


Connecting WooCommerce and Google Sheets Using the Help of a Plugin
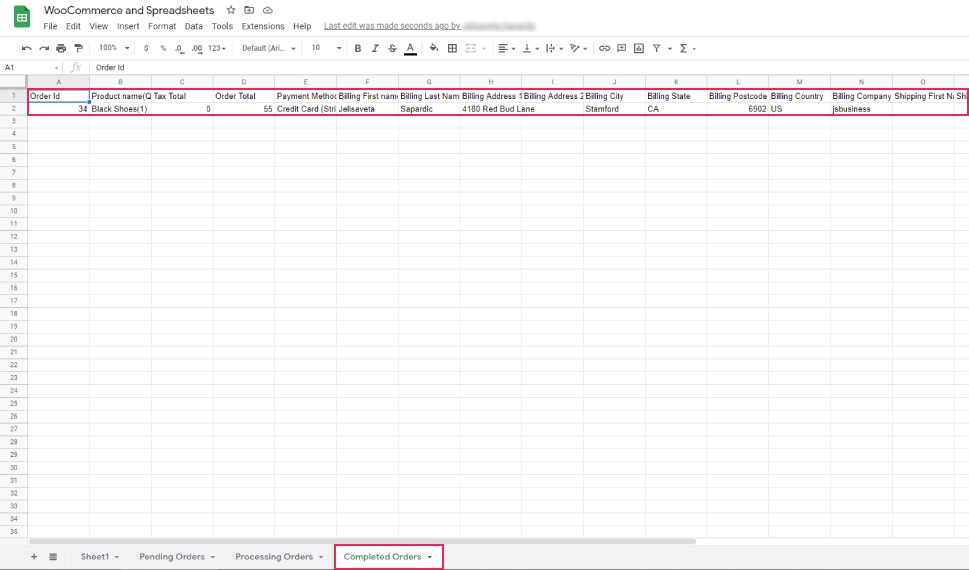
If you plan to connect WooCommerce and Google Sheets quickly and efficiently, there is a great plugin that will help you do just that. The plugin called WooCommerce Google Sheet Connector will allow you to create a bridge between the two in a way that creates a new row in Google Sheets every time a new order is placed on your WooCommerce store. The sheet will contain all the available order details and it will be moved to the appropriate Google Sheet tabs according to the status of said order (on hold, completed, pending, etc.). Then, each dedicated tab will contain order information for separate customers, including data such as order id, shipping and billing addresses, order total, payment method, and so on.

There’s also the ability to upgrade to the pro version of the plugin (starting from $29) and have access to some advanced features. These include the ability to create an entirely new sheet directly from the plugin settings, manage and synchronize existing orders, products, and users, add background row color in an odd and even manner, and plenty more.
With that said, let’s see how you can use this plugin to easily connect Google Sheets and WooCommerce and have complete management of your order and customer data.
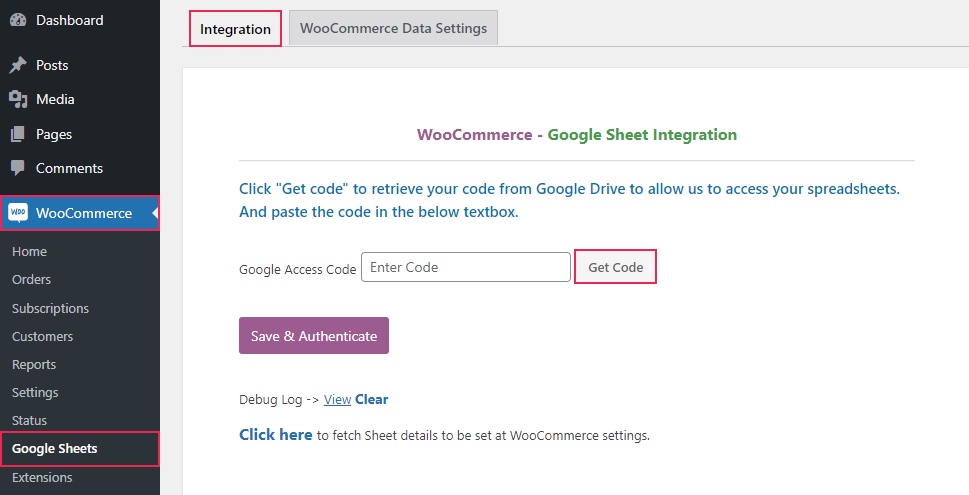
After installing the plugin and activating it, you should click on WooCommerce >> Google Sheets. Then, choose the Integration tab. Once there, you will see the field to insert the code from Google Drive that will allow you to get access to your spreadsheets. You should hit the Get Code button to retrieve it.
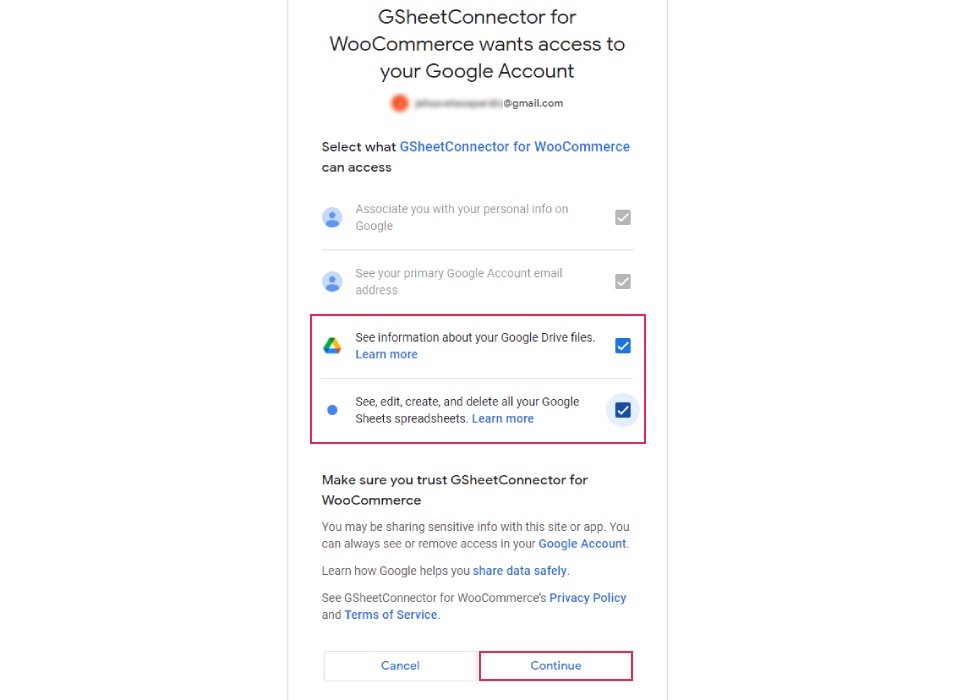
This will cause the new window to open with a message letting you know that “GSheetConnector wants to access your Google account”. Make sure to check the two available fields (as seen in the picture below). Then, hit the Continue button.
You should copy the authorization code that will show up on the next screen.
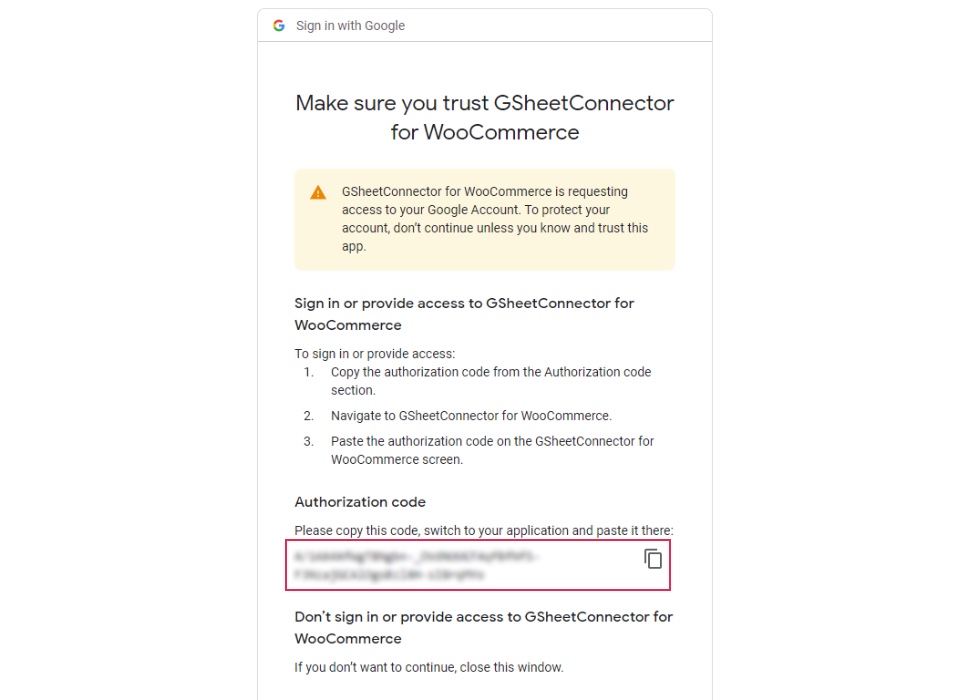
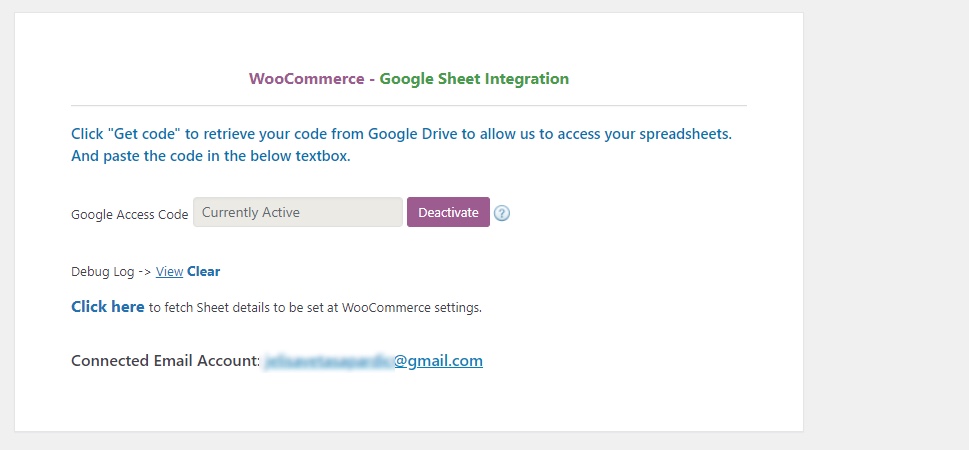
After copying the code, you need to go back to your WooCommerce Google Sheets page (on your WordPress site) and paste the authorization code into the “Google Access Code” field. Finally, click on Save & Authenticate.


You will now see that there’s a message in the Google Access Code field that reads “Currently Active”. This means that your site is now authenticated with Google and you can proceed to connect with Google Sheets.
Navigate to the WooCommerce Data Settings tab (in WooCommerce >> Google Sheets) and select the desired Google Sheet Name. You will be able to choose your file from the dropdown.
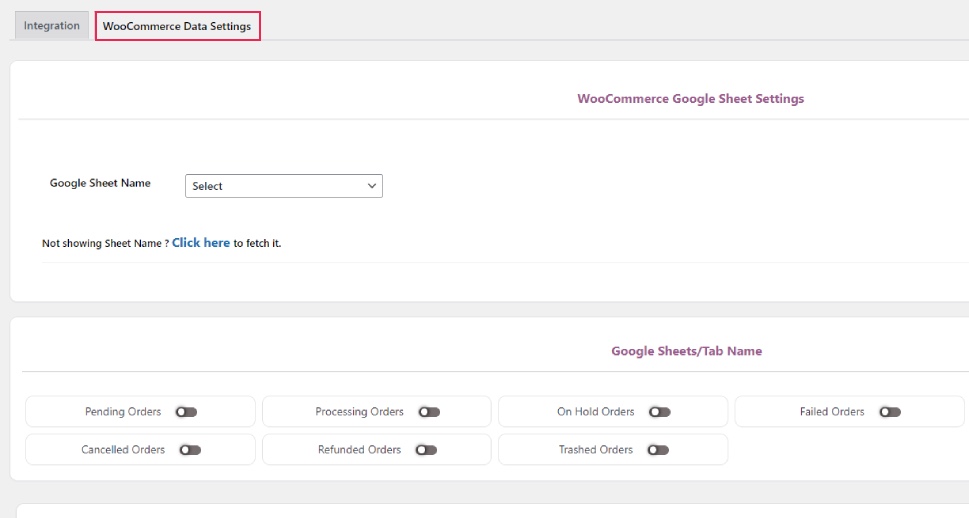
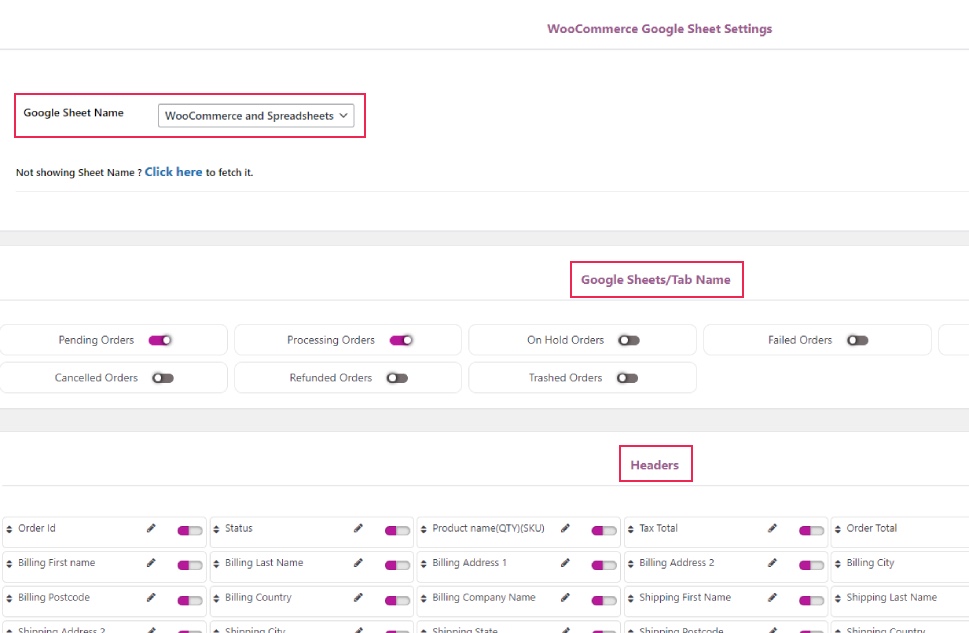
Then, you can proceed to select (or unselect) the specific sheet tabs (pending orders, processing orders, etc.) you want to appear in your Google Sheet. You can also do the same for many different headers, such as Order ID, Status, Order Total, Payment Method, Billing First (and Last) Name, and the list goes on. There’s a toggle switch right next to every sheet tab and header that you can turn on or off according to your preferences.
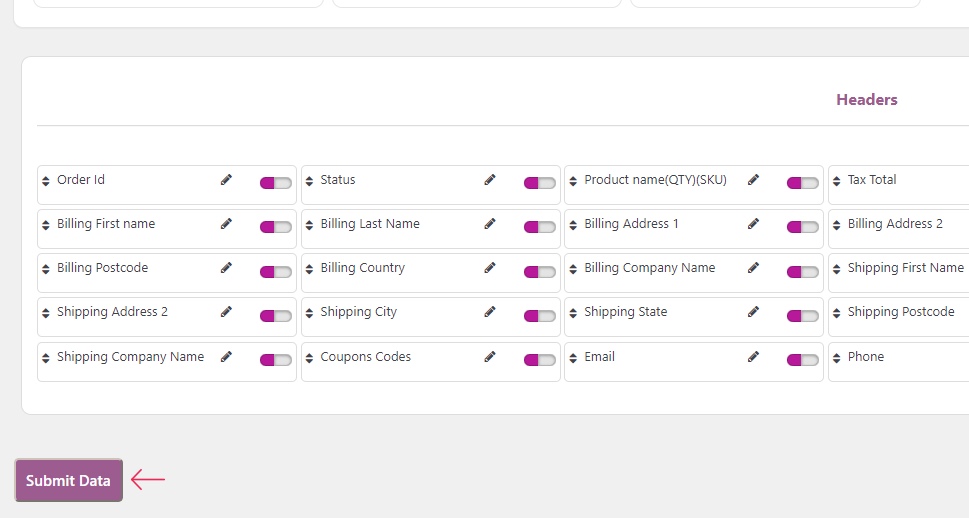
Once you’re done, hit the Submit Data button.
Last but not least, make sure to check if everything is working by going into WooCommerce test mode and “ordering” your product of choice. Then, you need to select a specific order status i.e. Processing, On Hold, Completed, and so on). After that, go to your Google Sheet in question and see if the info about the selected order status has appeared in the sheet.
Wrapping Things Up
And that completes our step-by-step tutorial on connecting your WooCommerce-powered store with Google Sheets. If you make sure to use this popular and convenient Google software when running and managing your store, you and the rest of your team will always be able to access all important files and information related to your customers and orders in no time.
We highly recommend using the WooCommerce Google Sheet Connector plugin for this task. Not only can this plugin be used entirely for free, it’s also quite easy to handle, allowing you to manage specific sheets related to your WooCommerce orders with ease and also enable or disable specific data directly from your WordPress dashboard. Just make sure to follow the instructions above when attempting to connect WooCommerce with your Google Sheets, and you’ll be all set within minutes.
