How to Easily Set Up WooCommerce Test Mode for Your Shop
Regardless of the industry you’re in or the type of business you own, testing different elements and functions of your site using various testing tools is crucial to ensure that its performance and the overall user experience are nothing short of top-notch. Of course, your WooCommerce-powered store is no exception to this rule, which is why we highly recommend performing the WooCommerce test mode before you make your eCommerce business go live.
Say that you fail to test out your payments and orders before you start running your eCommerce store. If you don’t do this, you can put your business under some serious risks, like customers not being able to place their orders properly or even failing to proceed to the checkout and make online payments altogether. Needless to say, this can seriously undermine your online shopping system and have a direct and negative impact on your sales, your profit, and your business reputation as a whole.
For this reason, we’ve decided to show you how you can easily set up a WooCommerce test mode on your site using the free Stripe extension. In addition, we will show you how to simulate a payment using the test mode, and also demonstrate how you can test your refunds in WooCommerce. Make sure to stay tuned as we cover:
eCommerce WordPress Themes
View Collection


One of the best ways to set up a test mode on your WooCommerce store is to use the help of the free payment gateway extension – which is exactly why Stripe was also our choice for this tutorial.
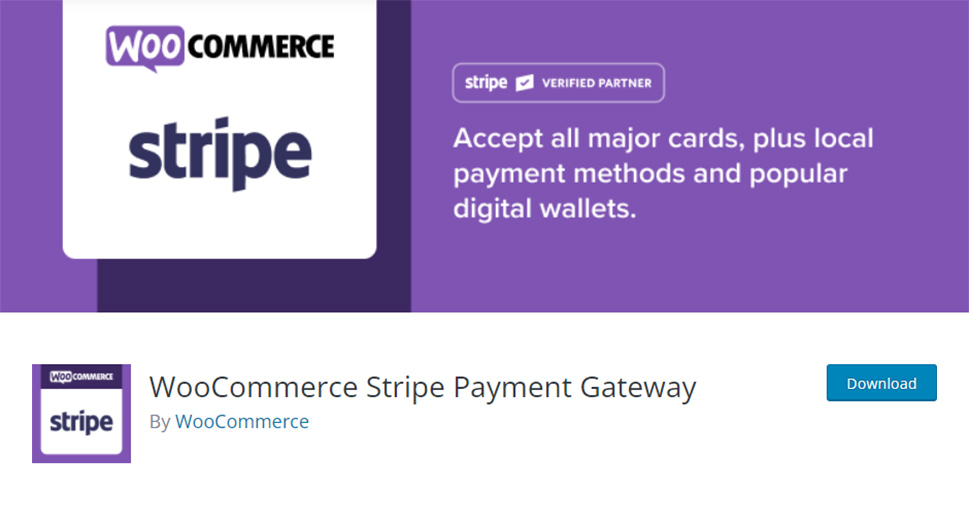
If you don’t have the Stripe extension installed and set up on your WooCommerce store already, now is a perfect time to do so. After installing the plugin and activating it, you need to go through the process of connecting your Stripe account to your WooCommerce store. This process is pretty straightforward – you just have to follow the instructions that pop up on the screen. Also, you will be required to fill in your credentials and additional info about your business (your business address, phone number, etc.)
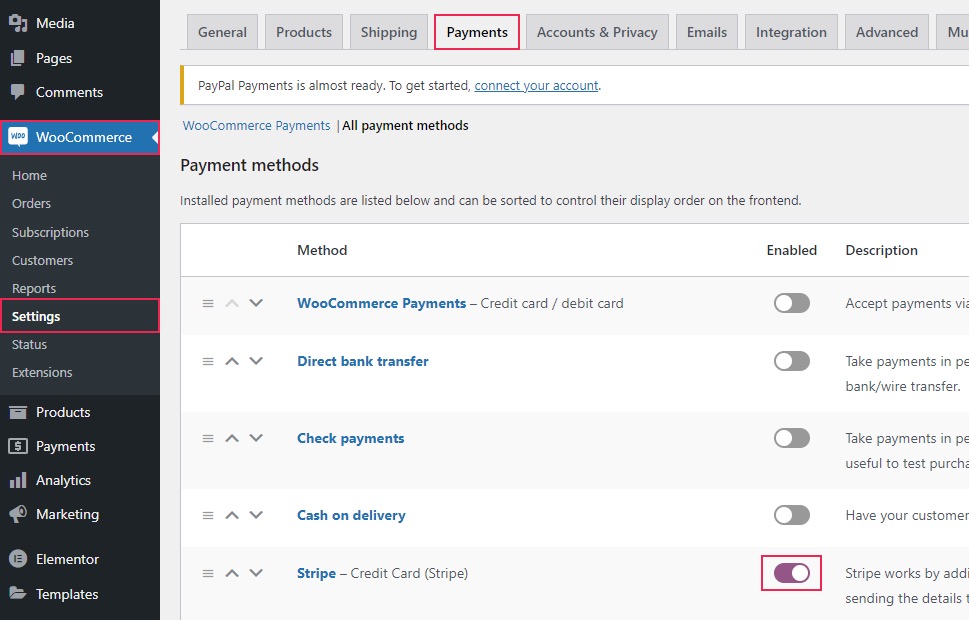
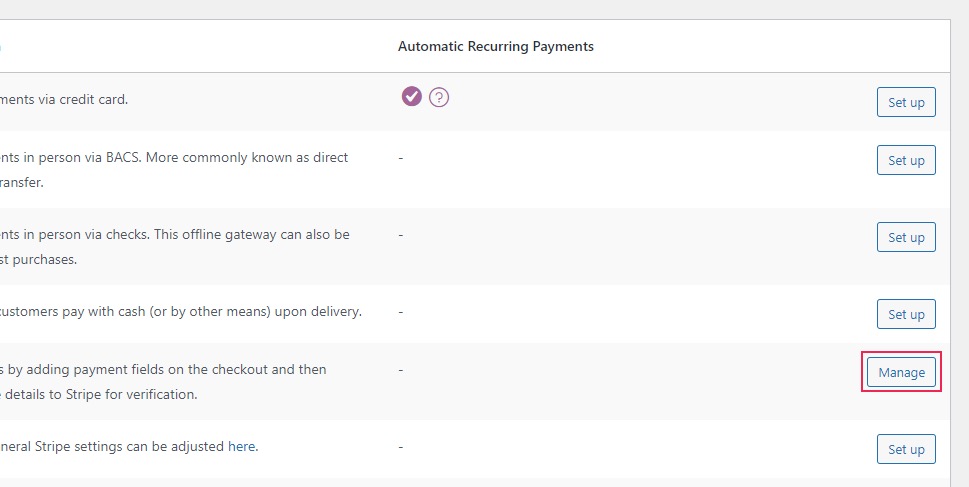
When you’re done, you need to access WooCommerce >> Settings and choose the Payments tab. Once there, you should make sure that Stripe is activated. Then, you should click the Manage button.
Choose the Settings tab and make sure that the “Enable test mode” option is activated:
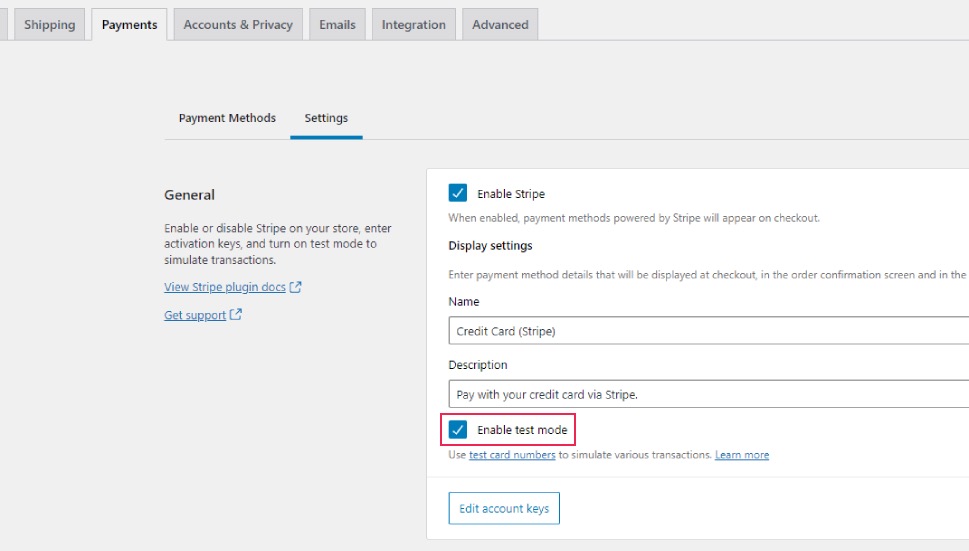
Then, you need to click on Edit account keys. Here you will be able to enter your Test publishable key and Test secret key. These two keys are necessary as they will allow you to properly use the test mode.

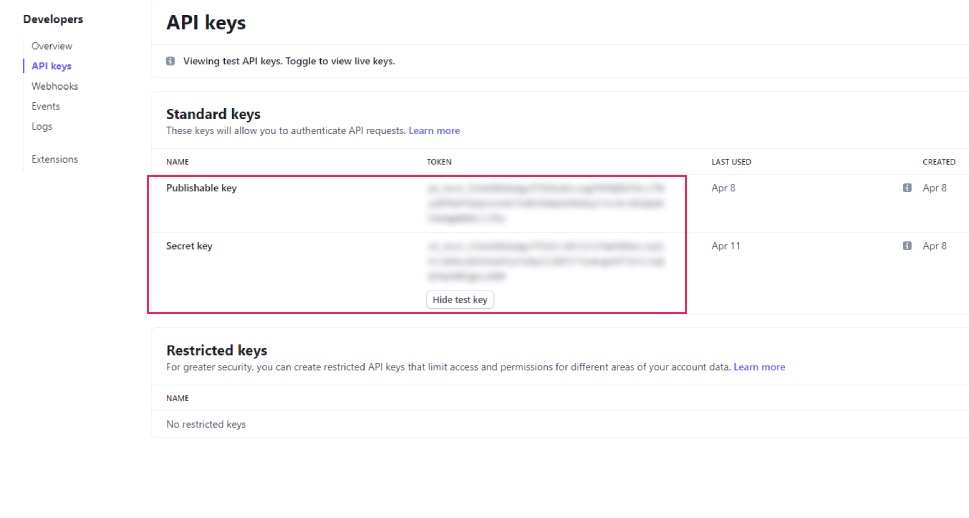
You will be able to find both keys on your Stripe Account. The window where you need to enter these keys will also have a link that leads to your Stripe Account’s dashboard and straight to your API keys tab.
You should copy your keys from there:
Once you paste these keys into the appropriate fields in your WooCommerce store, you should hit the Save test keys button and that’s it. Your Stripe test mode will be officially activated.
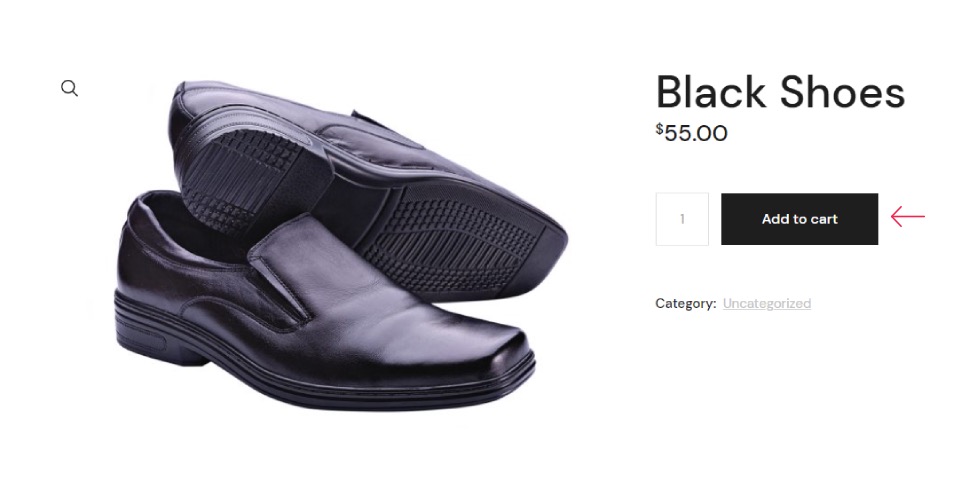
After you’ve made sure to set up Stripe on your WooCommerce site, activate the test mode, and copy-paste the test keys, you can proceed to perform a payment simulation. To do this, you simply need to head to your Shop page or a product page of your choice. Then, add your product to the cart.
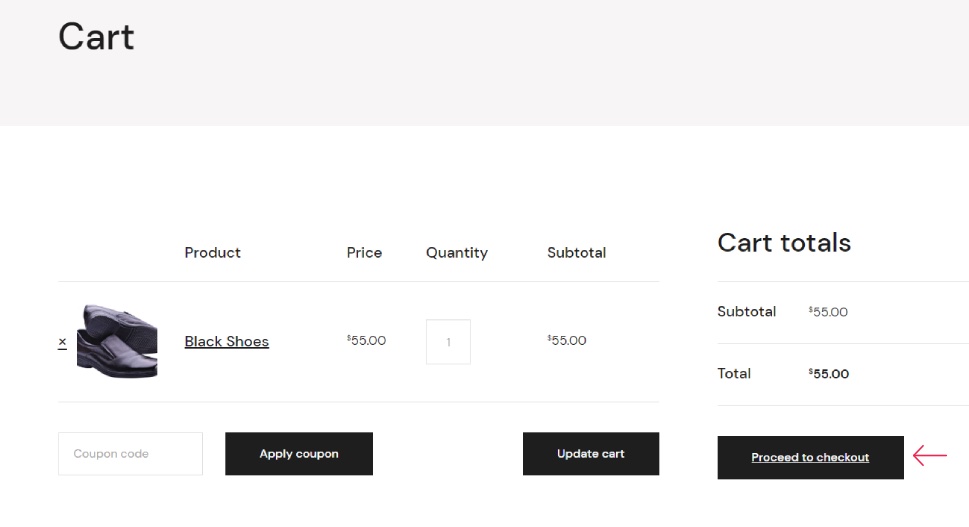
Hit the View Cart button and then choose Proceed to checkout.
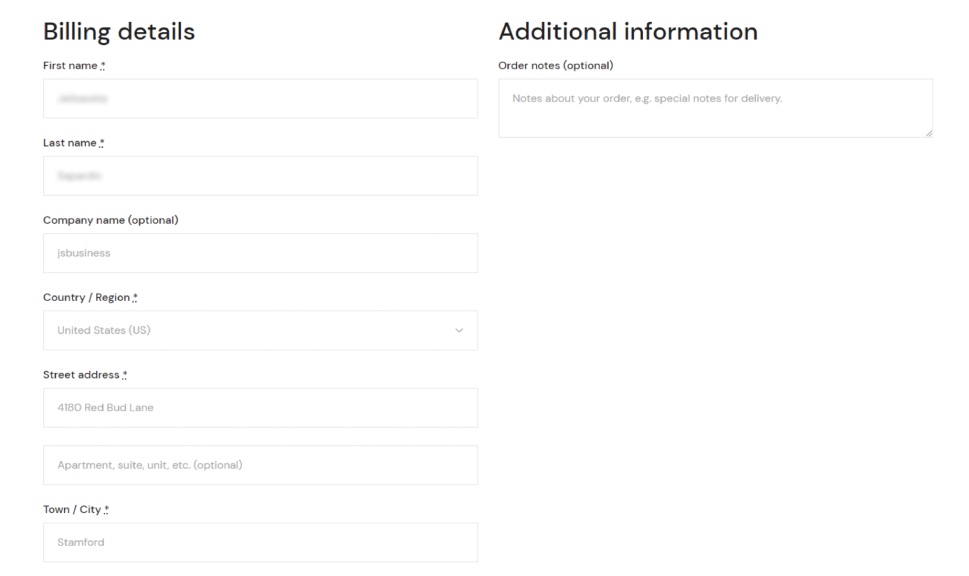
You should fill in your billing details. This includes all required fields, such as your first and last name, Country/Region, Street Address, etc. You can enter any details you want here as they’re only meant to be used for testing purposes.
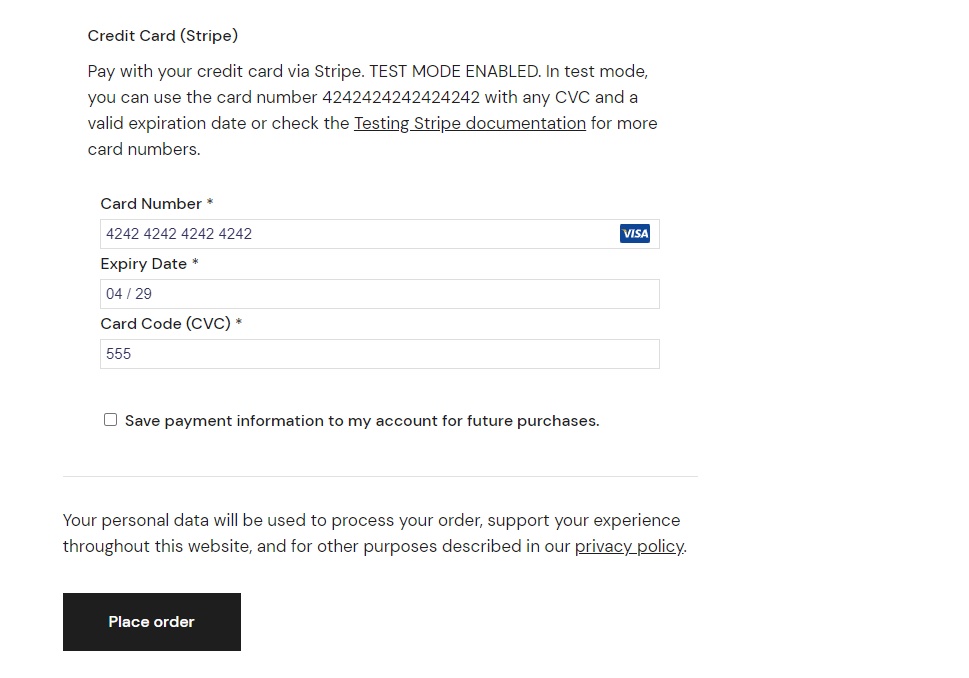
Then, you can proceed to enter the credit card details in the Card Number field. You should use the number “4242424242424242” here (Visa credit card test number).
For more card numbers from other payment processors like MasterCard, American Express, etc., you can check out the official Stripe testing documentation page.
You can enter any upcoming date in the Expiry Date section. Also, feel free to enter any three-digit number of your choice in the Card Code (CVC) field (you should note that for American Express, you need to enter a 4-digit number).
Hit the Place Order button when you’re done.
If everything works well, your Checkout page should now look something like this:
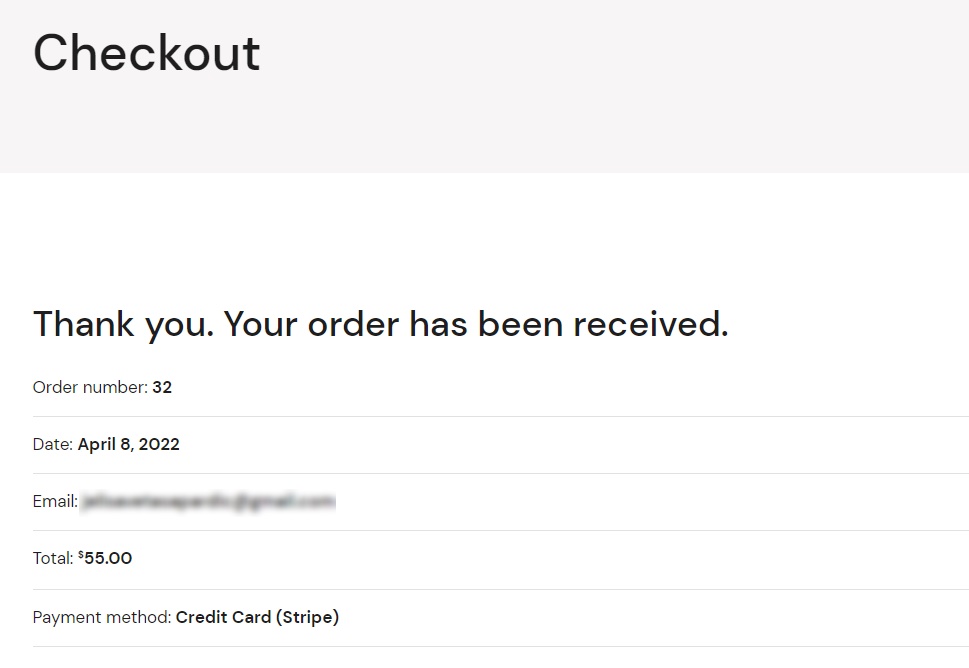
This means that your test payment has finished successfully and that the order is confirmed.
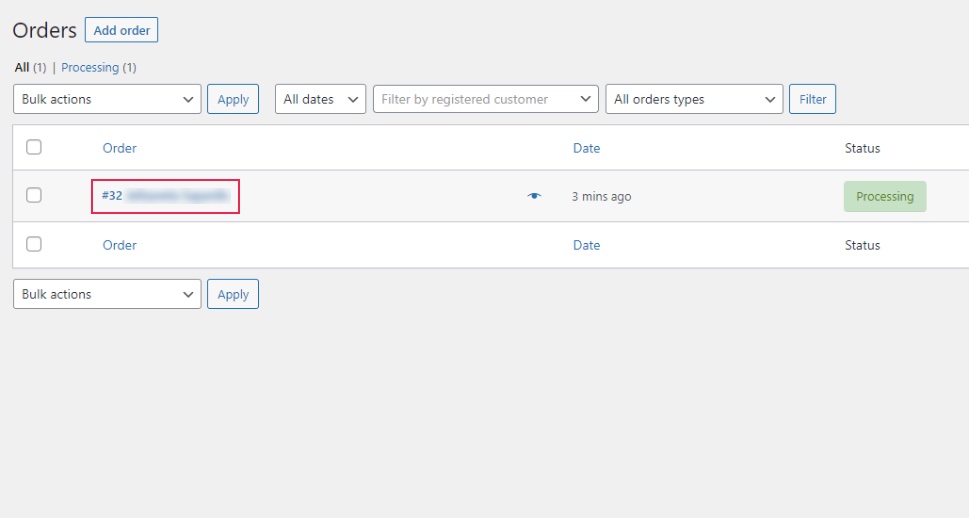
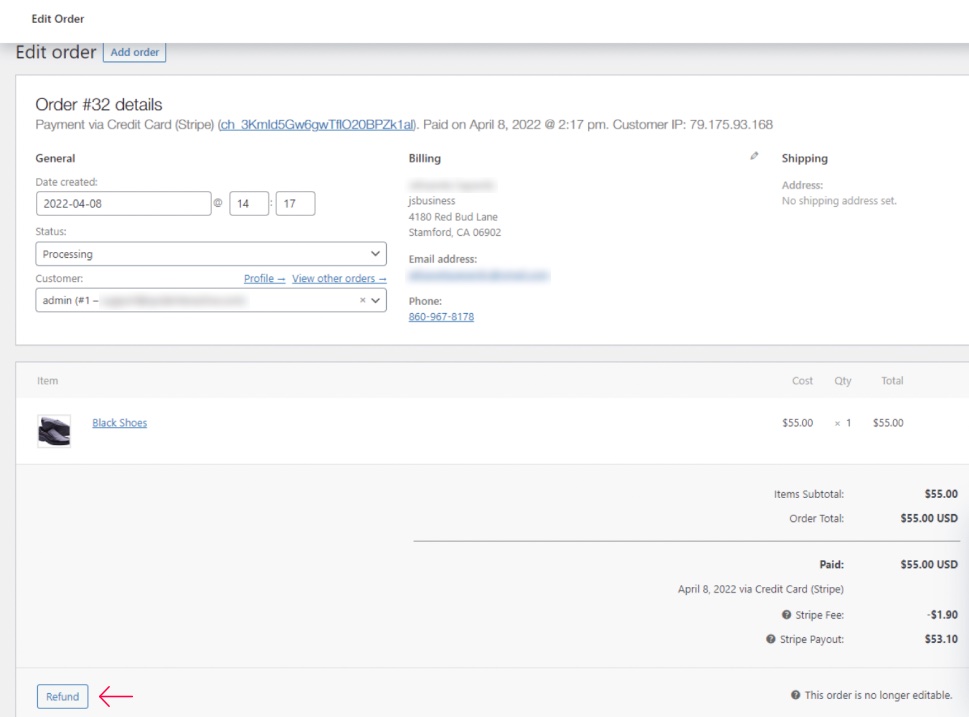
Aside from simulating payments, you can also perform a refund test in WooCommerce. Once you are done with your payment, you should access WooCommerce >> Orders. Choose the Order ID of the order whose payment you’ve created earlier (it should have the name you entered).
Find your order details and click the Refund button.
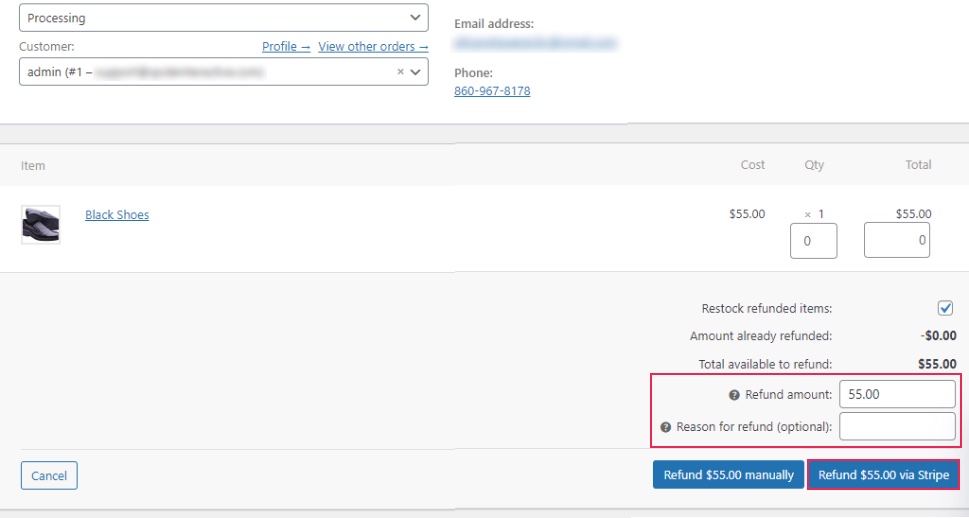
Enter the refund amount and, if you want, specify the reason for your refund as well. Then, hit the Refund button.

Finally, head to Payments >> Transactions to check whether your refund is there.
Wrapping Things Up
Putting your WooCommerce store in the Test mode is highly important to ensure all the important processes regarding your payments are working as planned. Without a functional payment system that is firmly set in place, your customers won’t be able to make their purchases, perform any money transactions, or even ask for refunds. This means risking your online store’s credibility and being unable to make a much-needed profit for your eCommerce business in the long run.
To prevent all these from happening, we highly suggest that you set up and run a WooCommerce test mode on your online shop before your store goes live. Doing this is as easy as it can get with the help of a free Stripe extension. Just make sure to follow the instructions we presented above, such as connecting your WooCommerce store to your Stripe account, adding the Publishable and Secret test keys to activate your test mode, and then adding the product to your cart and entering your credit card test data to see if the checkout process is running smoothly. Also, while you’re at it, don’t forget to test whether your refunds are working properly.
