How to Add Email Subscription to Your WordPress Website for Free

Even with the rise of social media in recent years, email marketing remains one of the best ways to reach your target audience and generate leads. Email is cost-effective as it doesn’t require you to pay much when you’re starting out, and it’s also a great support channel for other digital marketing strategies, like content marketing. You can use email to notify potential customers of any brand-related happenings, like new products and/or services you’re offering, new content you’ve created, and any other special promotions.
Now, if you’re using the right email marketing tool, setting up an email marketing system on your WordPress site is not that difficult. What can be a challenge, however, is getting people to subscribe to receive emails from you. Luckily, there are also tools like MailChimp that can help you design and add simple, but visually attractive and user-friendly email subscription forms to your WordPress site. These forms can help motivate your visitors to sign up and stay up to date with all your business-related happenings.
Without further ado, here’s how you can easily create a WordPress email subscription using the popular MailChimp service. We will also show you how to sign up to MailChimp for free, as well as how to create your first email campaign, so make sure to read on:
Qode Themes: Top Picks
View Collection


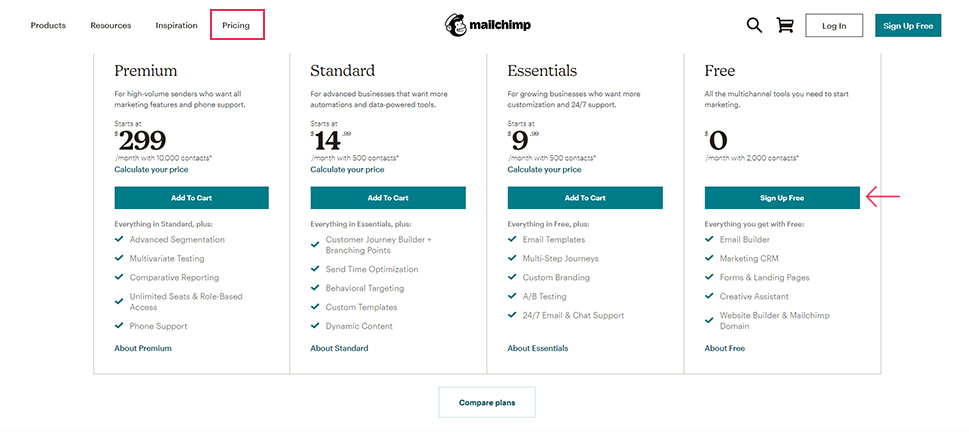
If you have a relatively moderate number of subscribers, i.e. less than 2000, or if you’re only starting out, then MailChimp is a great email service you can use completely for free. That being said, as this number grows, you will most likely have to use the paid version of MailChimp to expand it.
First things first, head to the MailChimp website and hit the Pricing button. Then, choose the option that says “Sign Up Free”.
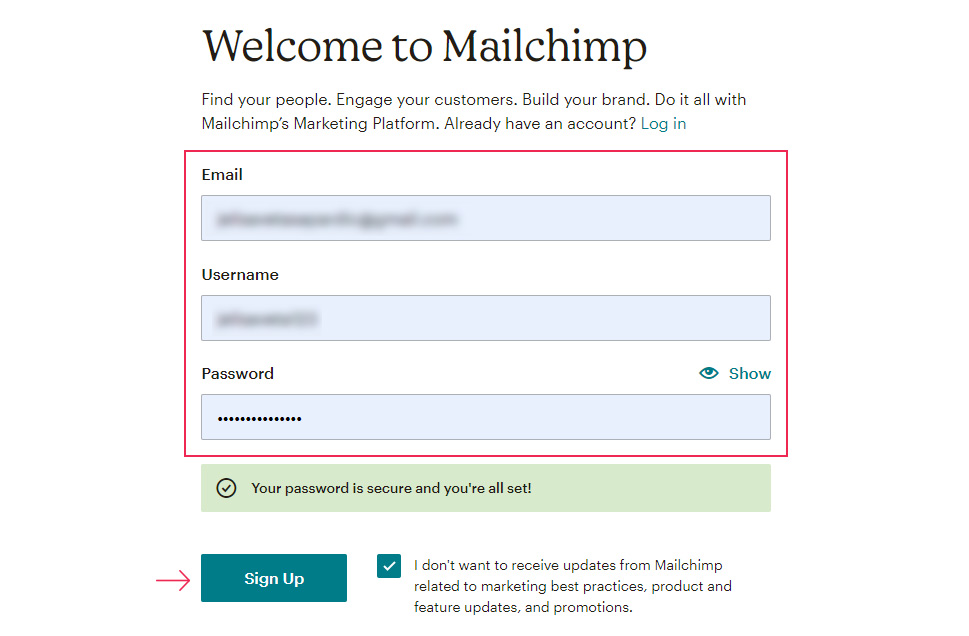
You should enter your credentials, i.e. your email, username, and password, and then hit the Sign Up button.
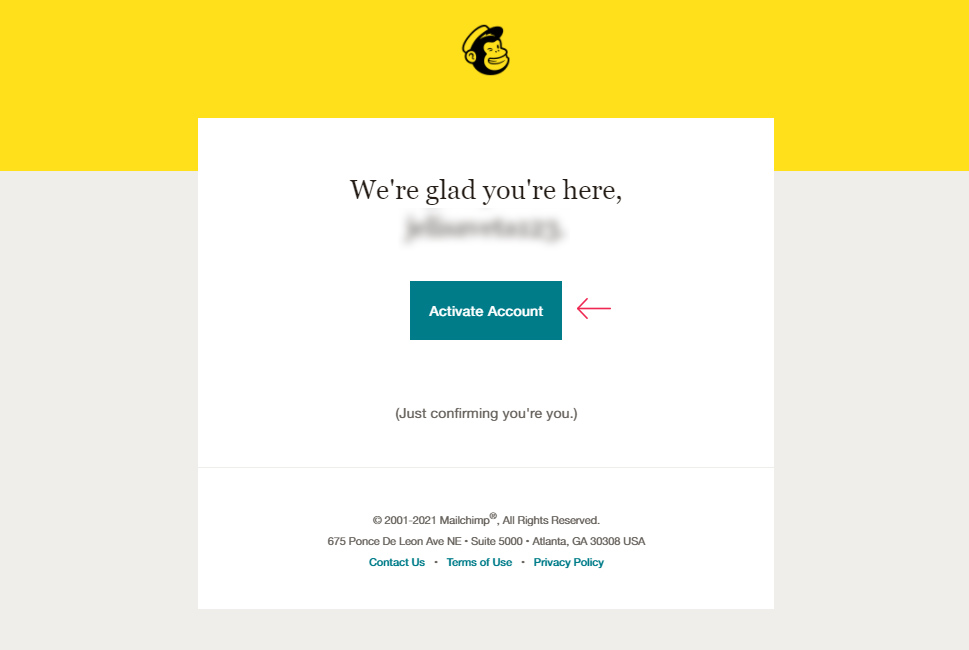
You should check out your mail inbox and open the mail you received from MailChimp. Then hit the Activate Account button.
This will open a new tab that will prompt you to hit the button that says “I’m Not a Robot”.

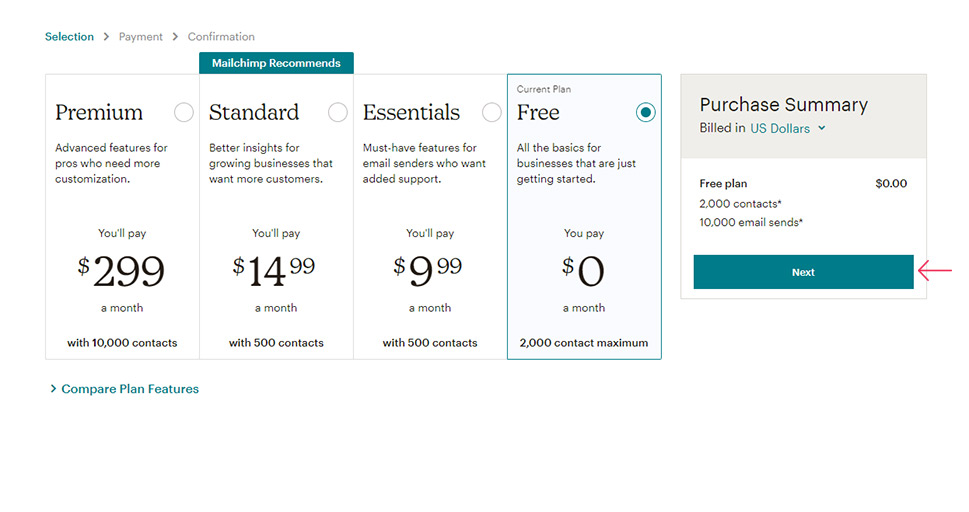
From then on, you will proceed to set up your account. Once again, you should choose a “Free” plan:
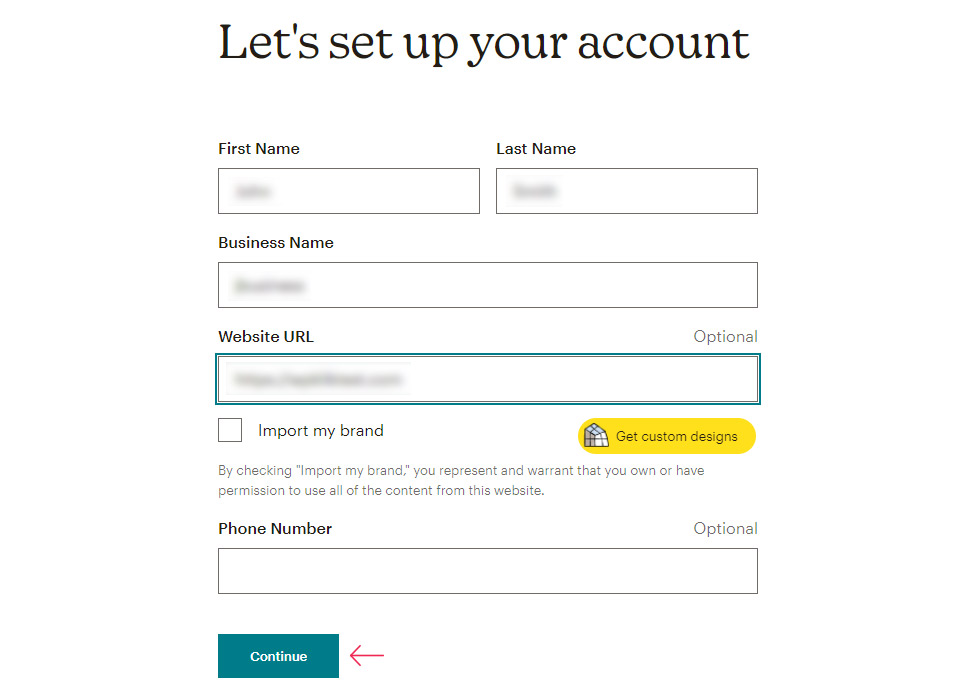
Now, you should insert some of your personal info, such as your name, business name, website URL (this field is optional), and so on.
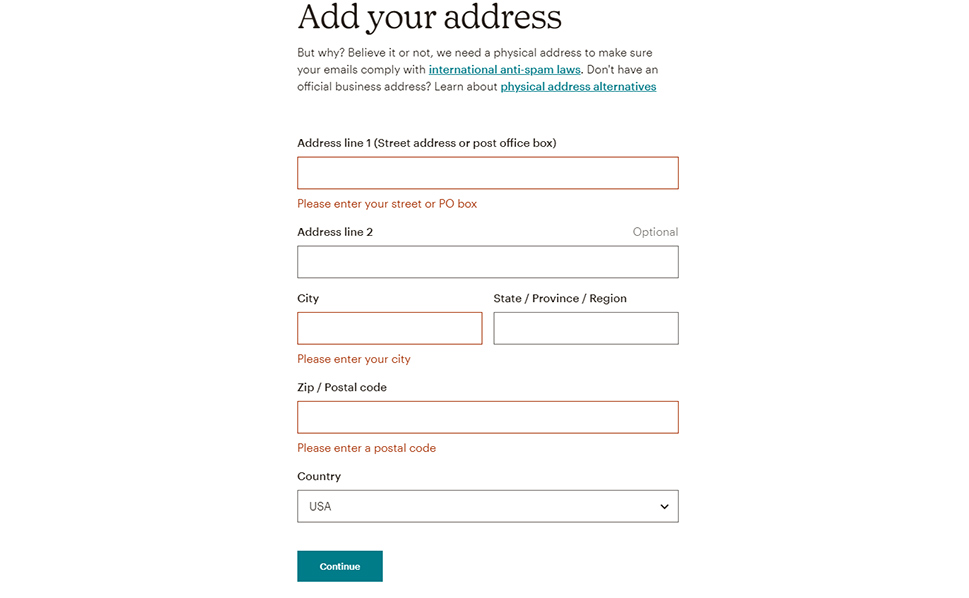
You also need to enter your company’s physical address. Hit the Continue button once you’re done.
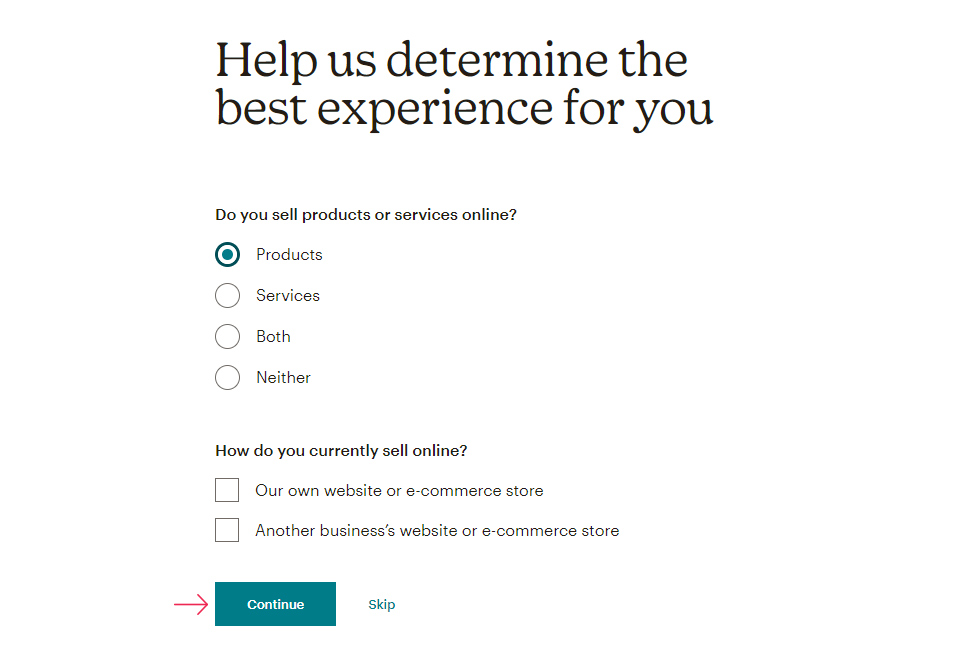
You will have a few more steps to go through after this, such as letting MailChimp know whether you’re selling products or services.
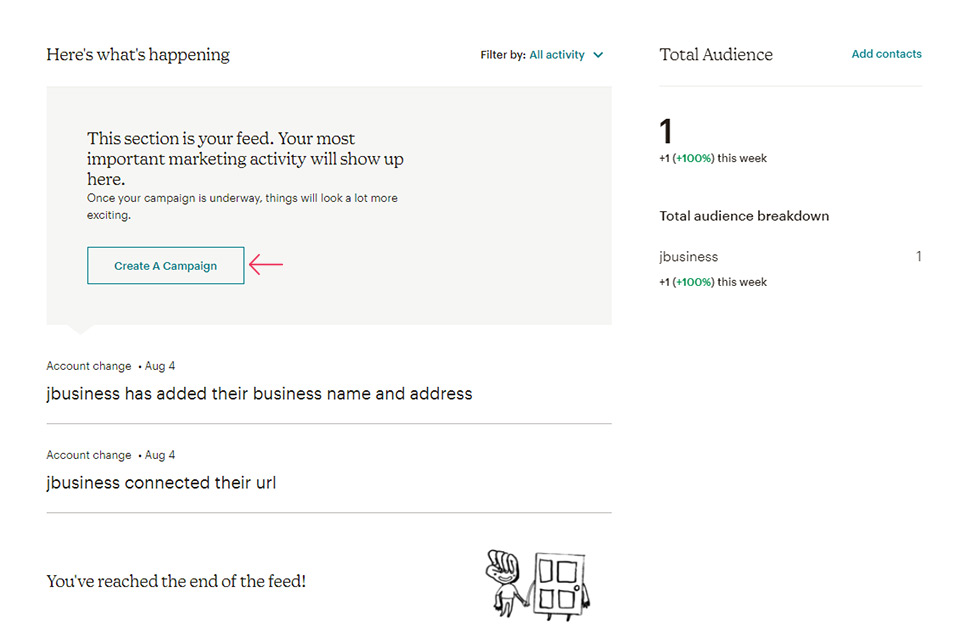
After you’re done, you should go back to your MailChimp account’s page and hit the button called “Create A Campaign”.
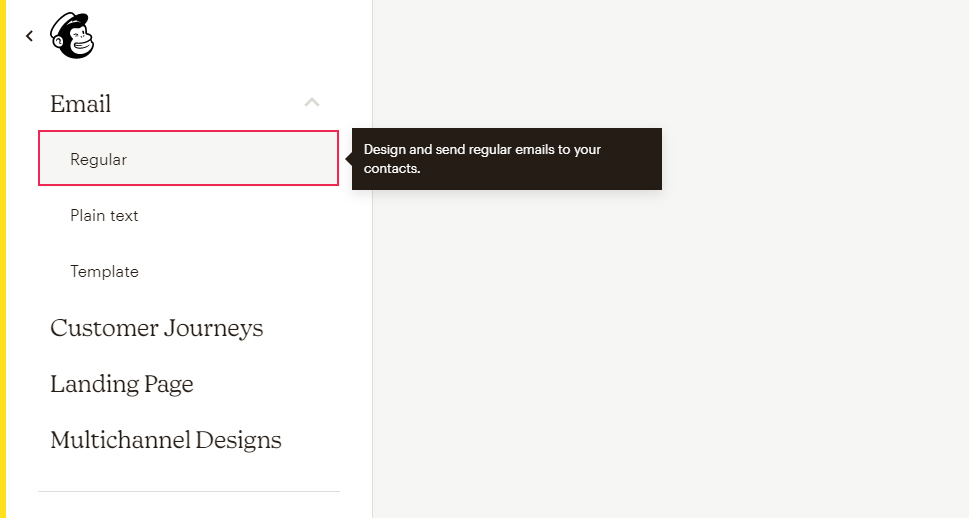
You will be then asked what type of campaign you wish to build. Choose the Email option and then click on Regular if you want to design a regular type of email.
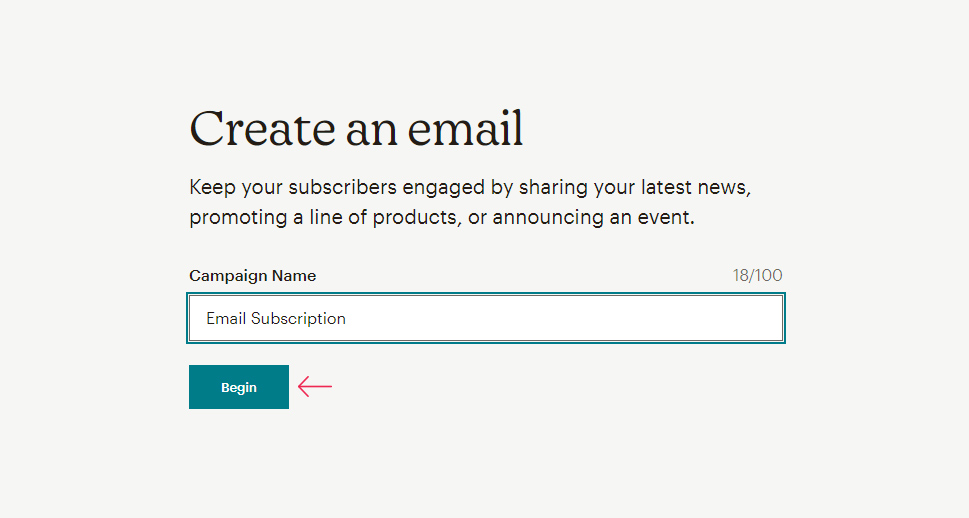
Give a name to your campaign and then click on Begin.
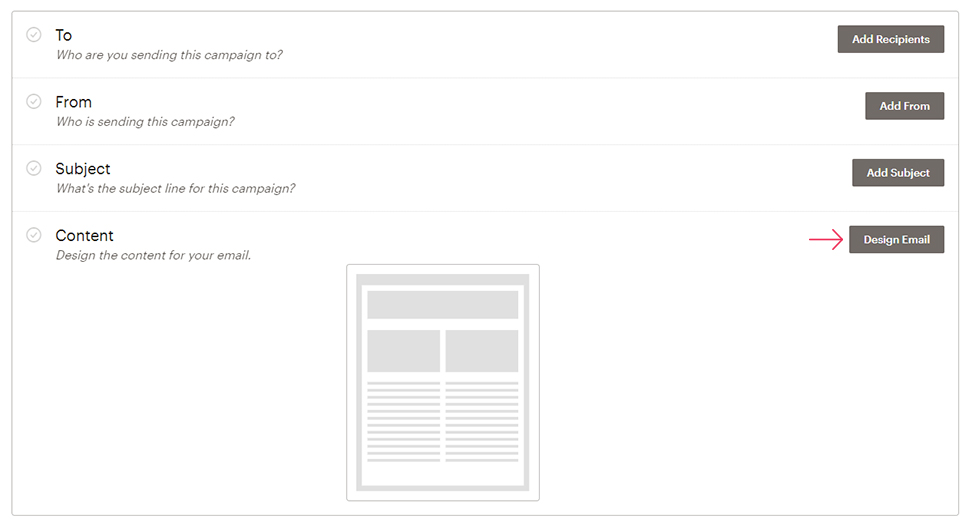
This page will allow you to take care of multiple things at once. The first thing you should do is select your mail recipients. The tool will walk you through the process of uploading or importing your contacts.
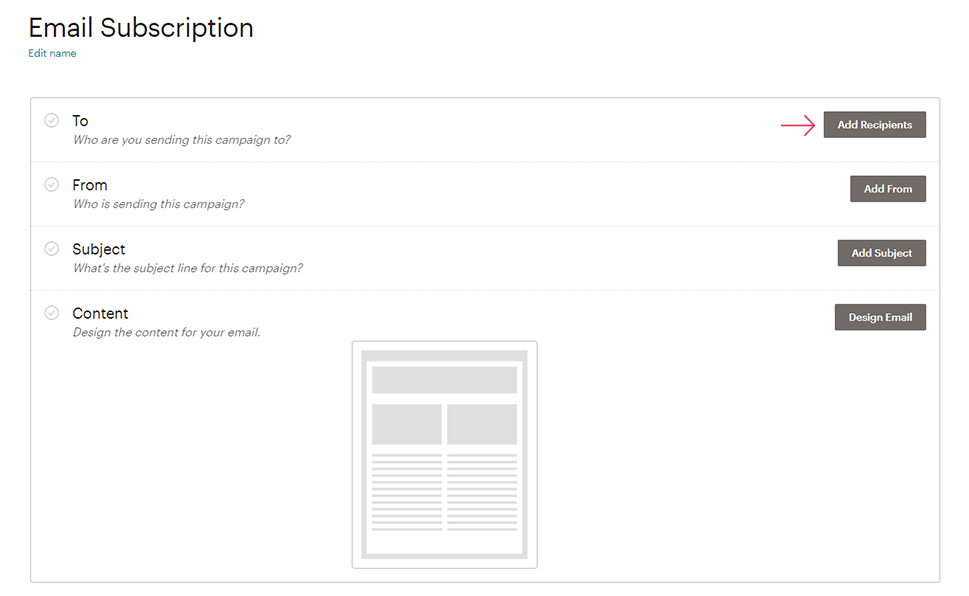
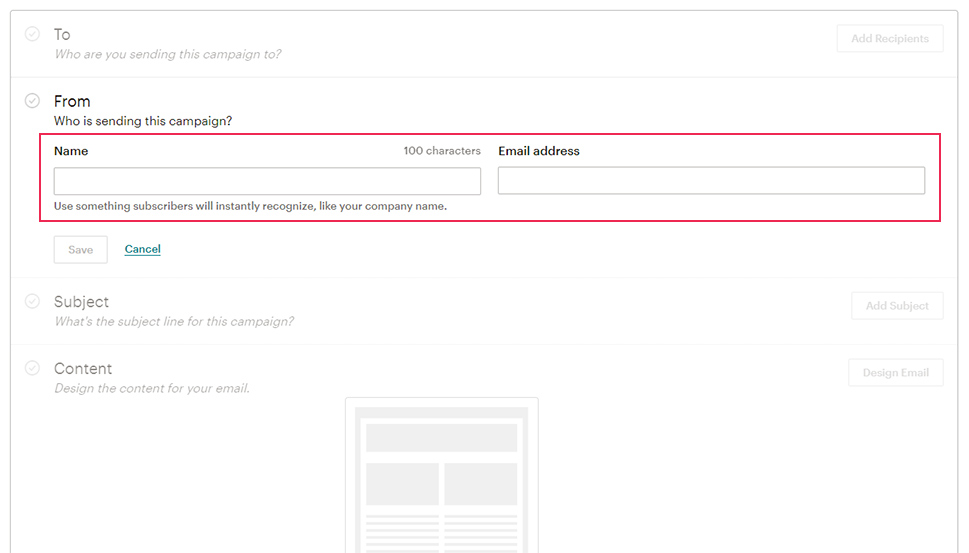
Then, you should click the “Add From” button to insert the name of your business. You will also need to provide your email address:
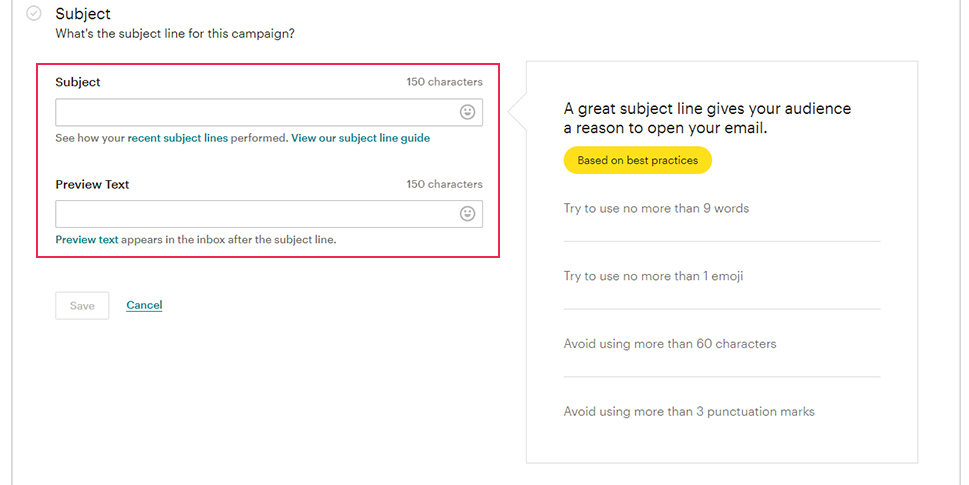
Next, you should create a subject line. Click on Add Subject and you will be able to generate your line. You will also see some suggestions on how to create the best subject line so as to entice your recipients to open your email. Just avoid sounding spammy and keep your message concise and straight to the point.
Finally, by hitting the Design Email button, you can actually create the structure of your email.
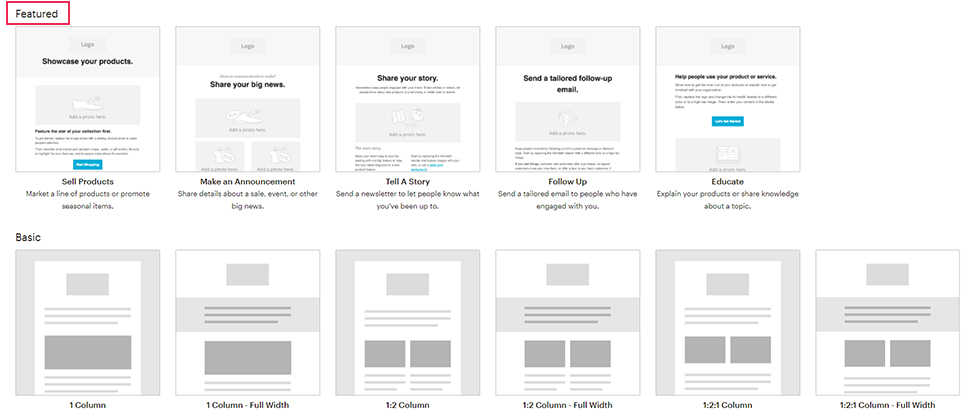
You will be able to choose from multiple column styles for your email template. We recommend going for one of the Featured templates if you’re not sure how to go about your design, and then personalize them by adding your own content. We should note, however, that only “Sell Products” and “Make an Announcement” templates can be used in the free version of MailChimp.
The MailChimp email template editor is quite simple to use as it works on the principle of using blocks. You will be able to use the desired block located on the right of the screen and then drag it to the left.
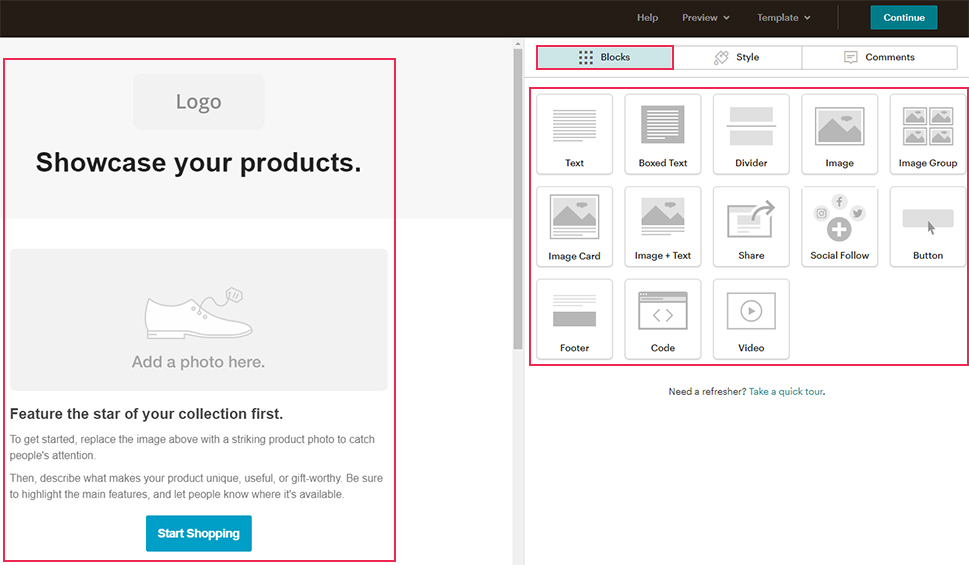
No matter what type of template you choose, you will have a few blocks added by default already (such as logo, image, text, etc.). You can easily reorder, edit, duplicate, and delete the existing blocks, as well as add new ones. Thanks to these blocks, you will get to insert your images, make any announcements using headings, add your company’s logo, and more. In short, MailChimp has everything you need to create engaging email campaigns for your potential customers.
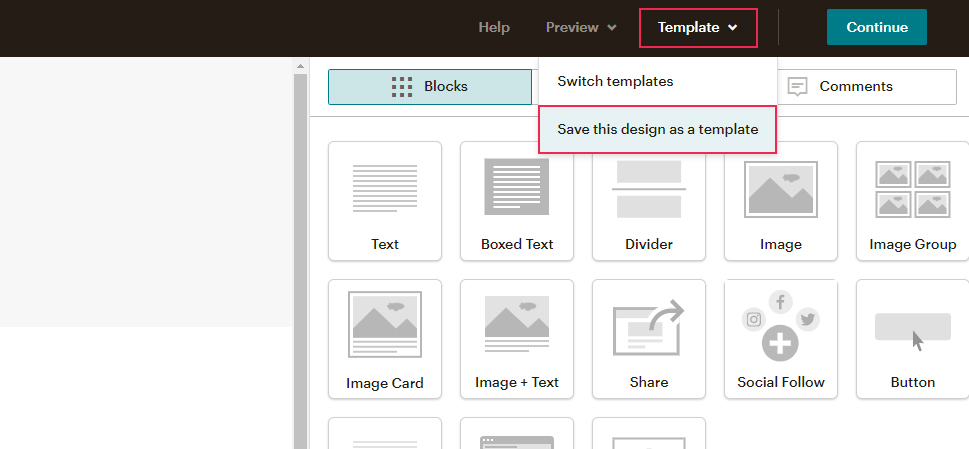
Hit the Template option located at the very top and select “Save as Template” once you’re satisfied with the look of your email.
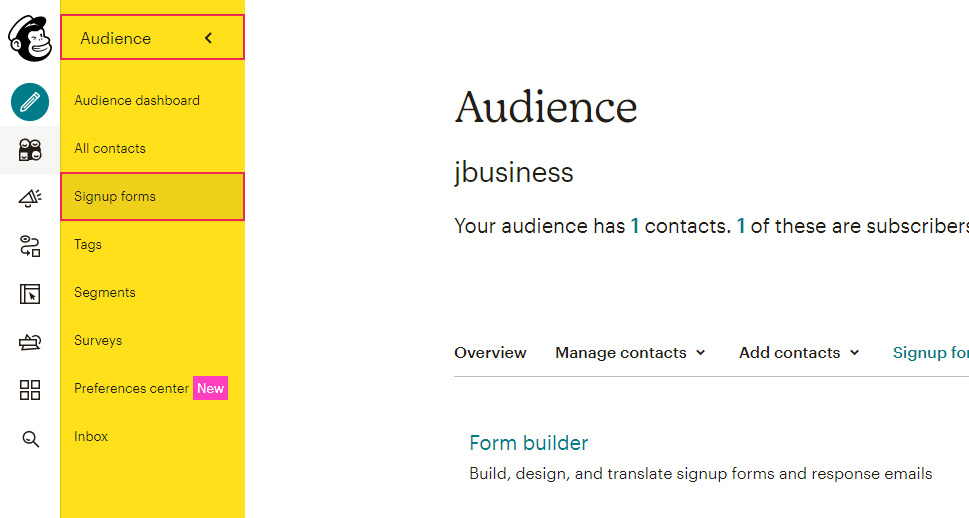
After creating your email, you should go ahead and generate a signup form which you will add to your WordPress site.
Go to Audience >> Signup Forms located in your MailChimp profile dashboard. Then, choose “Embedded Forms” using the Select button located next to it.
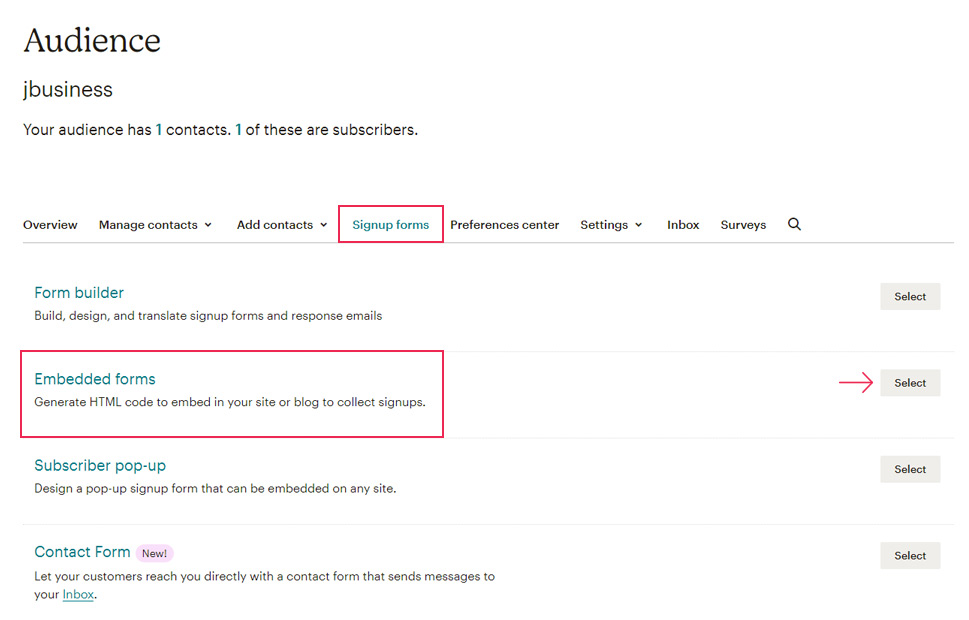
This will open the email subscription form editor which you can easily customize according to your preferences.
You will be able to choose from a few different form styles – Classic, Condensed, Horizontal, Unstyled, or you can style your form using some custom CSS code. Depending on the form type you’ve picked, you’ll also get a few other options at your disposal, such as the ability to show or hide form title, show all or only required fields, set the form width, and so on.
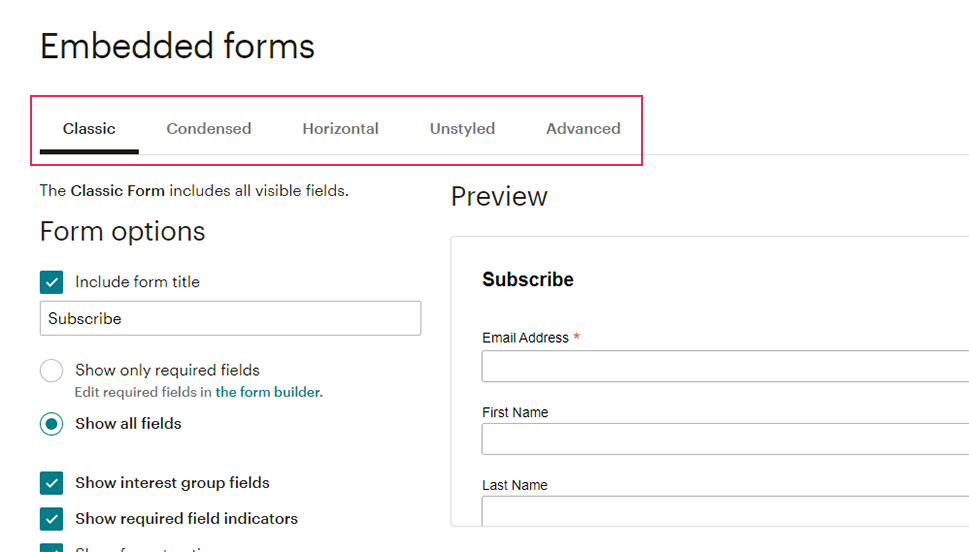
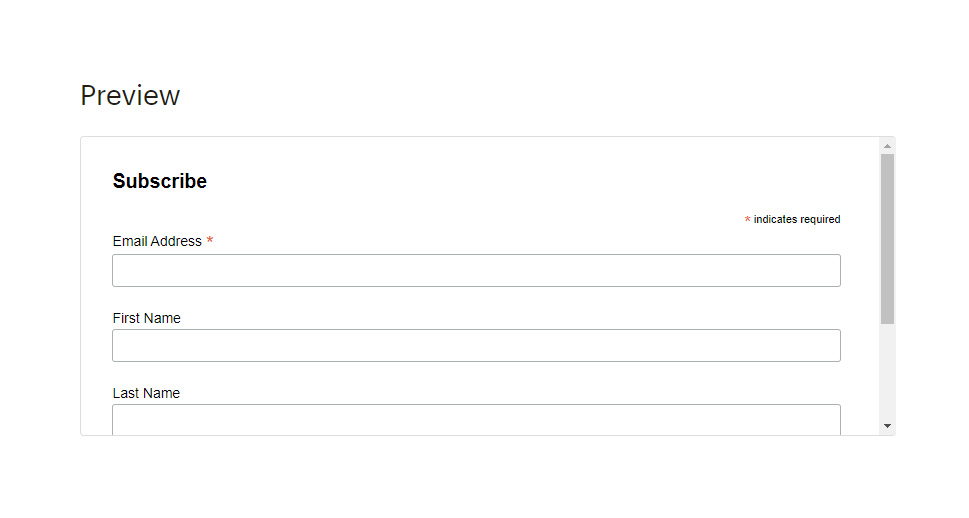
You will also be able to see the live preview of your form the entire time you’re creating it.

Copy this code once you’re done and paste it into the Text widget on your WordPress site. You can add your widget to any widget area of your choice using the Appearance >> Widgets screen located in your admin dashboard.

And that’s it – you’ve successfully added your email subscription form to your WordPress site.
Finally, while MailChimp is great for creating email campaigns and adding subscription forms, its capabilities extend far beyond that. So, in case you need any additional info on how to use MailChimp with WordPress, including anything from setting up a greeting email to different ways in which you can properly connect MailChimp to WordPress, we highly recommend that you check out that article as well.
Conclusion
As you could see, setting up a MailChimp emailing system and adding a subscription to your WordPress site is as easy as it can get. This tool is super intuitive and will allow you to create user-friendly signup forms that will help you earn new subscribers and increase your conversions. After you customize your signup form, you can simply copy and paste it to your site using the default WordPress Text widget. We wish you the best of luck with getting subscribers and launching your email campaigns!
