How to Add Widgets to Your WordPress Website
If you want to improve the look of your website’s design and the way your content is presented as a whole, you don’t need to be a WordPress expert, nor do you need to know how to code. You just need the right set of useful WordPress widgets that will do the job for you.
This time around, we’ll introduce you to these handy elements and show you how to add a widget to WordPress – including an overview of widget-related options that come with Qode Interactive themes.
What are WordPress Widgets?
Widgets represent a set of tools that, together with different WordPress themes and plugins, allow you to add all sorts of features that make your website more appealing, functional, and user-friendly to your visitors.
However, you shouldn’t confuse widgets with plugins. Namely, the main difference between widgets and plugins is that plugins are pieces of software (like apps or add-ons) that can perform numerous functions within your WordPress core, while widgets can only be added to certain areas of your website and mostly have a purpose of improving its appearance and accessibility. That being said, many plugins also include widgets among their features.
You can use widgets to add items to predefined widget areas (such as a sidebar area, a footer area, and so on). A widget can be an image gallery, a list of popular posts, social network feed, and so on.
Aside from default widgets that come together with the WordPress core, or those that are integrated with a specific WordPress theme, there are plenty of third-party tools on the web that come packed with all sorts of useful widgets. But ultimately, it all comes down to choosing those widgets that you think will prove most useful for your specific purposes.
It’s fairly easy to add WordPress widgets to the predefined widget areas. Let’s take a look at how you can do this both on a default WordPress theme and in Qode themes.
Here’s what you’ll learn:
To find your widgets, go to Appearance > Widgets in your WordPress admin dashboard.
Once there, you will see a list of all Available Widgets (such as the Gallery widget, Recent Comments widget, Archives, and so on).
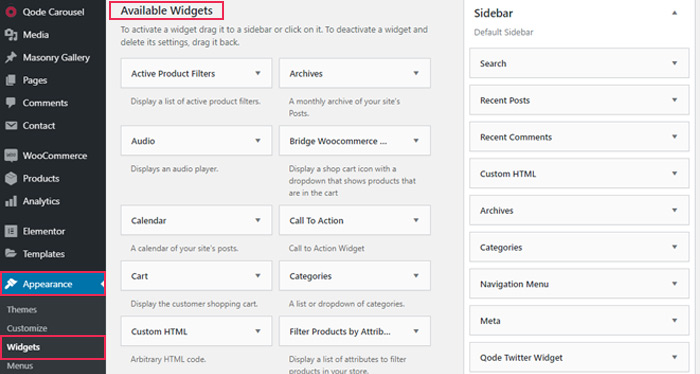
On the right, you will see all the available widget areas where you can place any widget of your choice. We do have to note that the widget areas at your disposal will depend on a theme you’re using. So, if you run into a theme that only has a few widget areas available, you can always create a custom widget area to expand your possibilities.
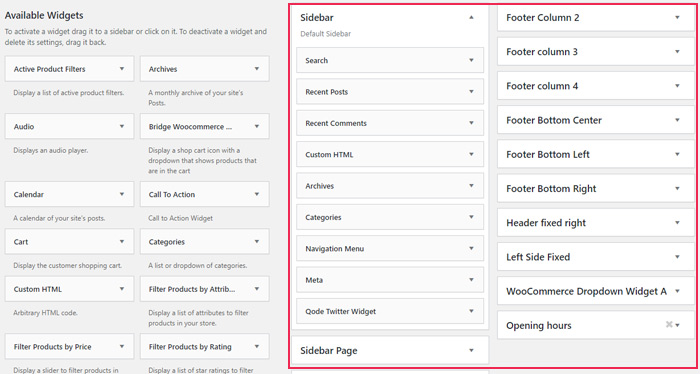
Widgets can be added to your widget areas in different ways, the easiest being the one where you drag-and-drop it from the list of available widgets on the left to the desired area on the right.
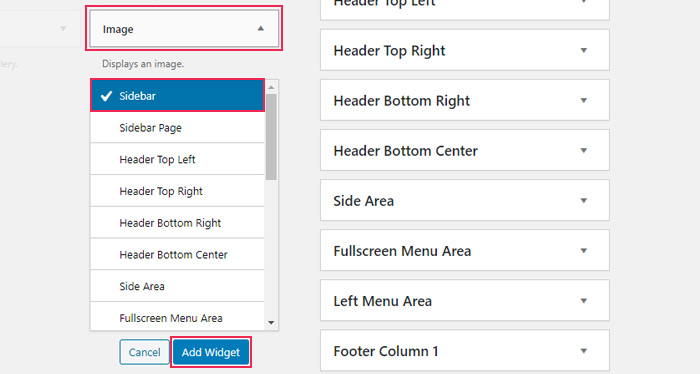
Alternatively, you can click on the widget itself and choose one of the available widget areas from the dropdown. Then, simply hit the Add Widget button.
In case you need an accessibility mode, you can enable it by clicking the Enable accessibility mode button located in the top right corner of your screen.
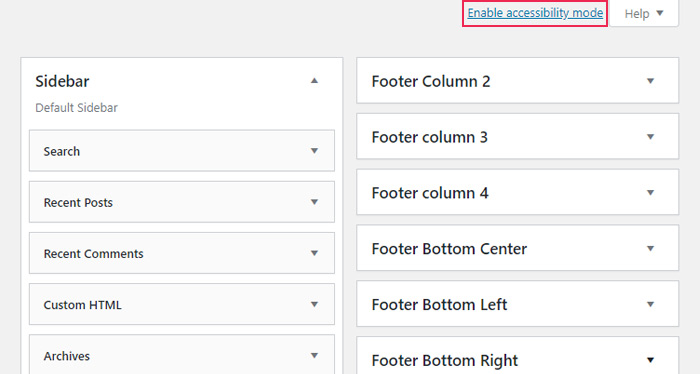
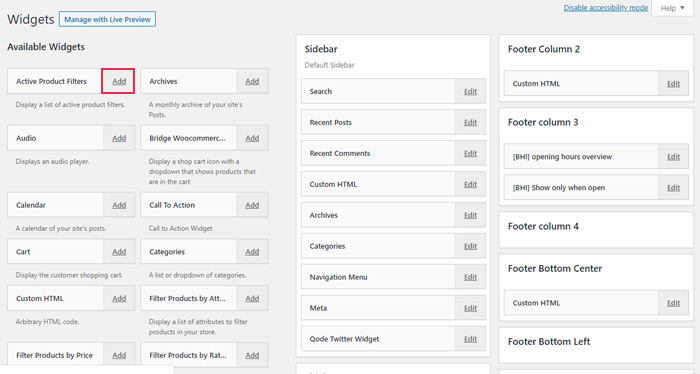
Once you do this, your Widgets screen will slightly change, with an Add button appearing next to every widget. Clicking on this button will allow you to choose a widget area of your preference with ease.
Aside from adding widgets by using the Widgets screen, you can also do this using the live preview functionality. Go to Appearance > Customize > Widgets and you will be able to add your widgets and see them live on your screen.
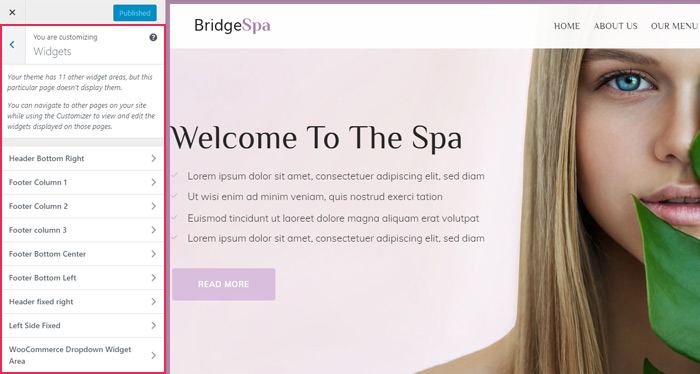
However, it’s important to note that you won’t be able to see every available widget on this page, which is why we recommend that you add your widgets in the Appearance > Widgets screen.
The process of removing widgets is quite easy. On the Appearance > Widgets page, you should click on the title of a widget that you wish to remove. This action will expand the widget’s options. Then, click the Delete button.
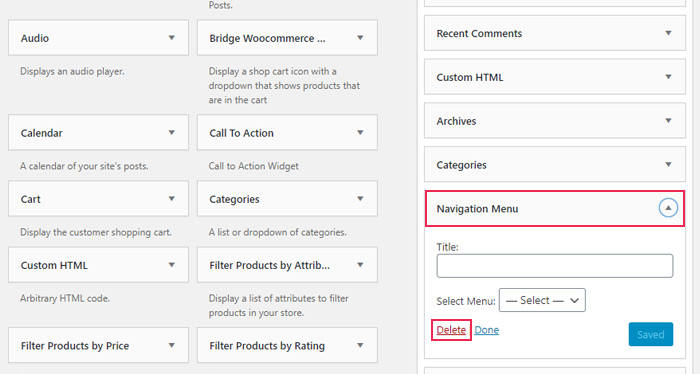
This will remove the widget from the widget area as well as all its options. In case, however, that you don’t want to lose the settings of a widget in question, you can drag and drop it to the Inactive Widgets section instead (located in the bottom left corner of the screen).
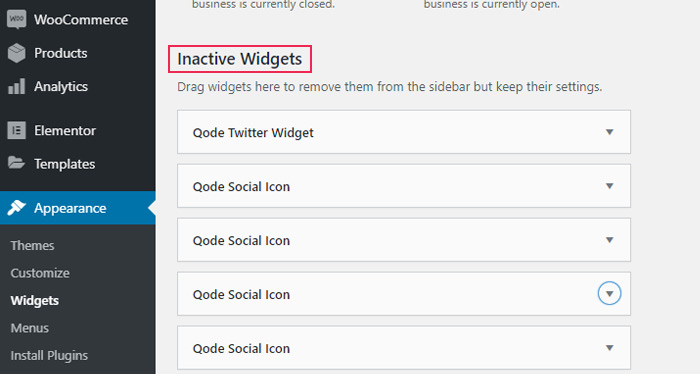
Finally, we have to note that neither one of these actions will completely remove your widget from the available widgets list. If you want, you can always add the desired widget all over again – both from the Available Widgets and Inactive Widgets list.
New Themes
VIEW COLLECTION


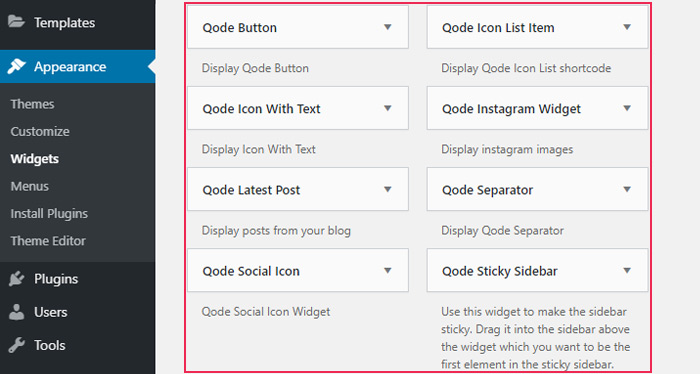
While a default installation of WordPress contains some of the essential widgets, many WordPress themes also come packed with their own list of unique, predefined widgets. Of course, this is also the case with our own themes. Let’s take a look at some of the widgets that come with Qode themes, as well as how to add them to your WordPress site.
Just like with any other theme, you will be able to find a list of widgets specific to Qode themes among all other widgets in Appearance > Widgets, on the left side of the screen.
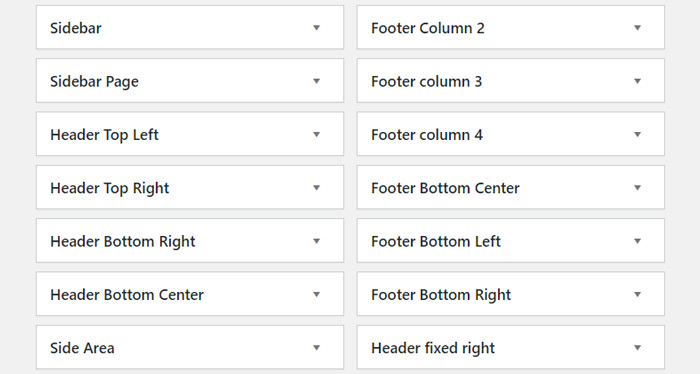
On the right, you will see all available widget areas where you can place your widgets. Unlike free WordPress themes, Qode themes come with various premade widget areas. For example, if you are using the Bridge theme, some of its predefined areas will include Header Top Left, Header Top Right, Bottom Right, Footer Bottom Left, Right, and Center, and the list goes on.
While most theme authors create and adjust their own widgets and widget areas in the same way, there is one particularly useful option that comes with Qode themes, called Custom Widget Area. This option allows you to create your own custom widget areas which can be allocated anywhere on the page when needed.
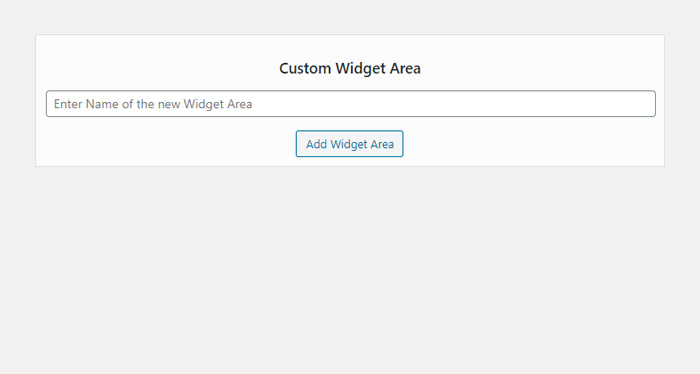
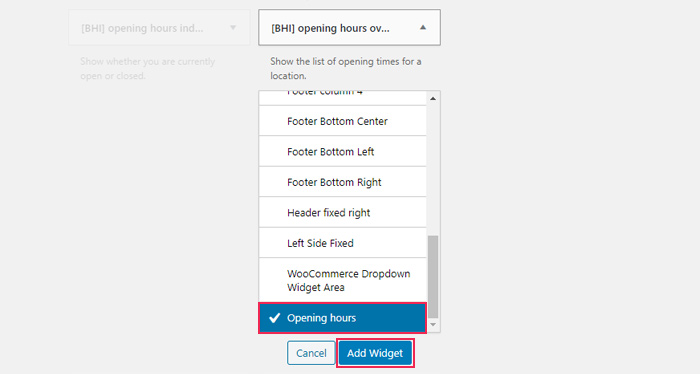
To demonstrate, we will create a new custom widget area called Opening Hours.
Once the Opening Hours widget area shows up on the widget area list, you can add a [BHI] opening hours overview widget (by dragging and dropping it or clicking on the widget itself and then selecting Add Widget).
Then, you can add this custom area to any page of your choice with the help of Widgetised Sidebar (an element that you will find when using the WPBakery Page Builder to edit your page):
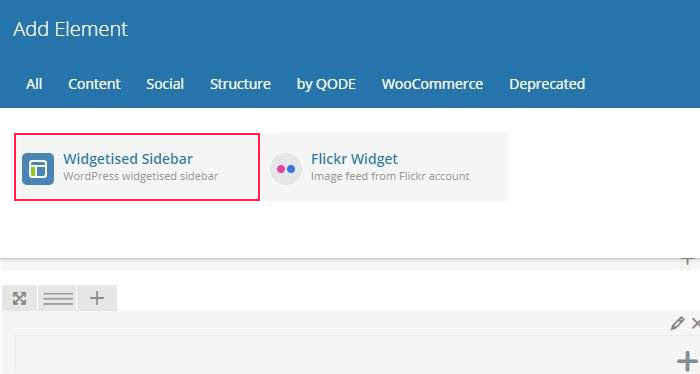
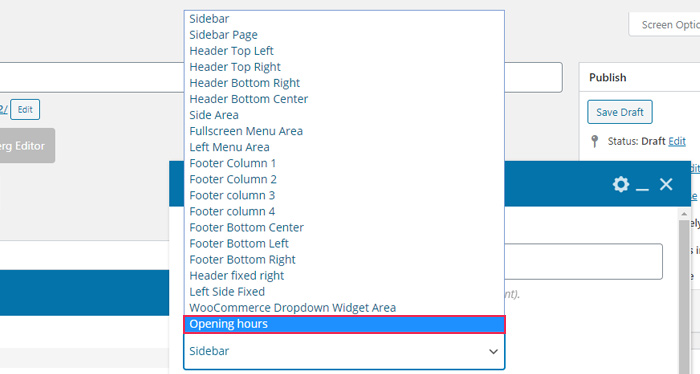
You can select the area you wish to add to your page using the dropdown in the Widgetised Sidebar Settings (which will open the instant you add a Widgetised Sidebar). From there, you will also be able to add any other widget area that came included with the Qode theme, aside from this custom-made area.
And that’s how you add widget areas (and widgets) to any page on your site. Once you’re done, you can also see a preview of your page.

Final Thoughts
WordPress widgets are incredibly useful tools that can be used and adjusted to fit the specific needs of your website. Apart from their capability to improve the way your site looks, they can also boost its practicality and ease of use. If the widgets that come packed with the default WordPress installation aren’t enough for your needs, tons of other available widgets can be found on the web.
Our own Qode themes also contain many custom-made widgets which, just like any other widgets, can be easily added with the help of the Appearance > Widgets screen and also include many useful predefined widget areas. No matter which WordPress theme or a set of widgets you end up using, we hope this tutorial will prove to be useful.
