All You Need to Know About Using MailChimp with WordPress

Email is the true survivor of the digital world. There’s nothing that can destroy it. It remained in use and useful through the rise of social media, instant messaging, chat apps. That’s a large part of what makes email marketing so effective – it uses a medium that’s proven to be resilient time and time again. Email, as far as anyone can see, simply never gets old.
The tools that allow us to use the email in interesting ways certainly help it stay relevant. MailChimp is one of the most popular tools that do just that. If you’re wondering how you can start using MailChimp with WordPress, don’t worry – you’re about to learn.
In this article, we’ll show you:
MailChimp is a popular email marketing software for plenty of reasons. Saying that it is user-friendly, full of useful features that help with anything from scheduling to reporting, and that you can use it for free with the free plan would only scratch the surface.
Let’s just start by saying there are things that MailChimp does exceptionally well. When it comes to ease of use, creating a newsletter, picking a template and messing with it, and showing reports and analytics, MailChimp is great. It should also be noted that its MailChimp 101 section, a resource that guides users through their first steps on the platform, is very well designed and fun to go through, which isn’t often the case with these types of guides.
Then, there are things MailChimp isn’t amazing but is very solid at. It would be difficult to expect 100% email deliverability rate from an email marketing solution, and MailChimp doesn’t have it either. The results from these tests vary from source to source, but MailChimp never fails to deliver a solid rate, usually ranking somewhere near the top.
Finally, there’s something that MailChimp doesn’t do that well. It has a one-audience philosophy that comes down to having different lists siloed – there are no cross-list actions. Then, the automation options start losing their appeal at a very advanced level – something a regular small to medium business user might not even notice. And there’s also the fact that affiliate marketing, as an industry, is prohibited under MailChimp’s ToU.
Even with some shortcomings that it will inevitably have, MailChimp is a heck of a great piece of software, and it’s especially well-suited to small businesses. It helps with marketing, and it does so using email, landing pages, digital ads, social media, postcards. There’s even an option to buy a domain through MailChimp. Anyone going from no internet presence to building one that relies on email marketing will find all they need in this single tool.
Best Themes for Marketing
View Collection


Using MailChimp with WordPress requires you to do two separate things. First, you need to set up your MailChimp account, get familiar with it, maybe even create a campaign or two just to test its features. We’ll show you how to do it in this guide.
The other thing – connecting MailChimp to WordPress – is a bit different. The regular way of doing it will require some development skills to do it, but if you manage to pull it off, you’ll be able to use Google remarketing and pop-up signup forms on your website.
If you don’t need Google remarketing and just want to add a form for capturing customer information on the website, you can use a plugin to connect it to MailChimp. We’ll show you how to do that, too. And if you’re running an online store, you’ll be able to integrate MailChimp with it.
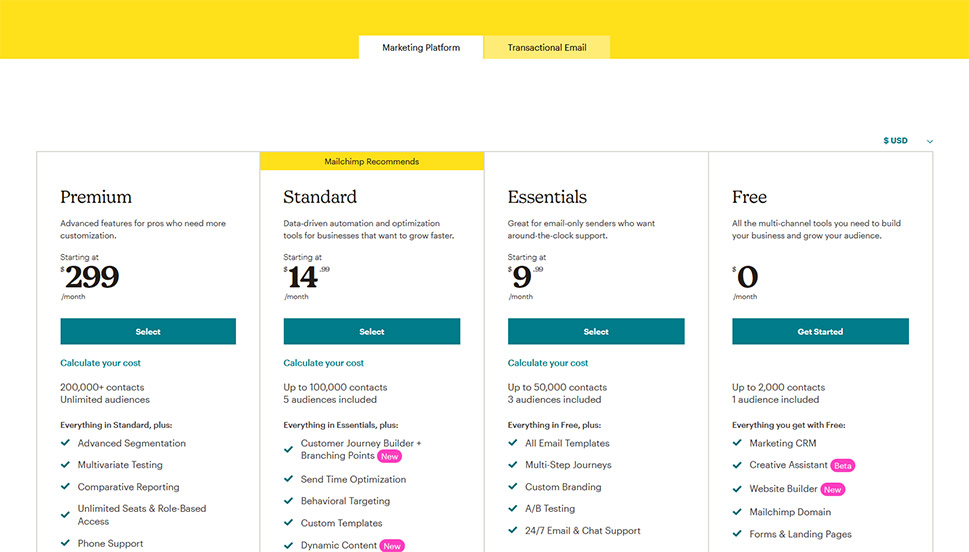
Let’s talk about money first. MailChimp is available at several pricing points, depending on what exactly you need from the platform. The most affordable option is the free one, but it’s also the option that doesn’t have A/B testing, access to all email templates, and a multitude of other awesome options and features you will want to access one day.
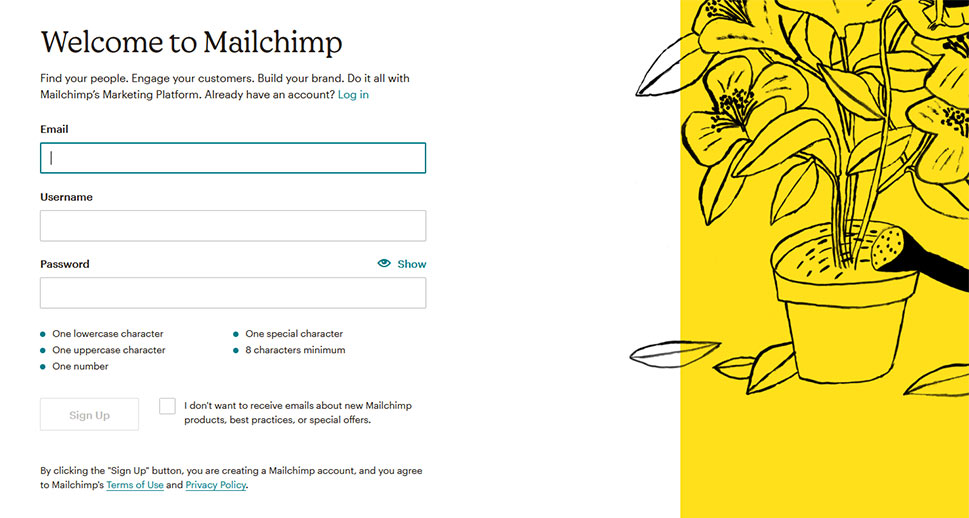
For now, however, it might suffice to create a free account. So go ahead, sign up for free – you’ll have to provide your email, a username, a password that matches their guidelines, and you’ll be set to go.
After that you’ll go through the usual jig of having to confirm you signed up, choose a plan, and set up the account. MailChimp will ask you some questions, including the type of service you’re offering and your physical location.
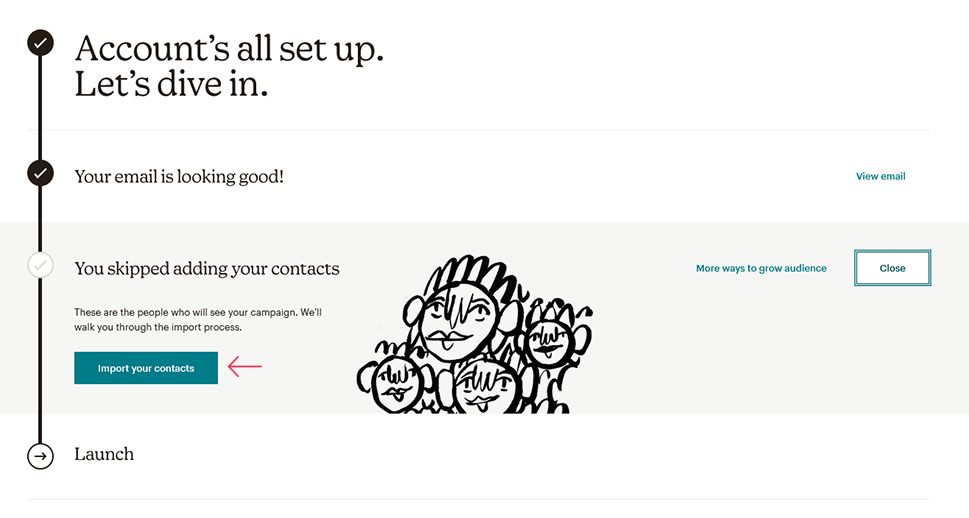
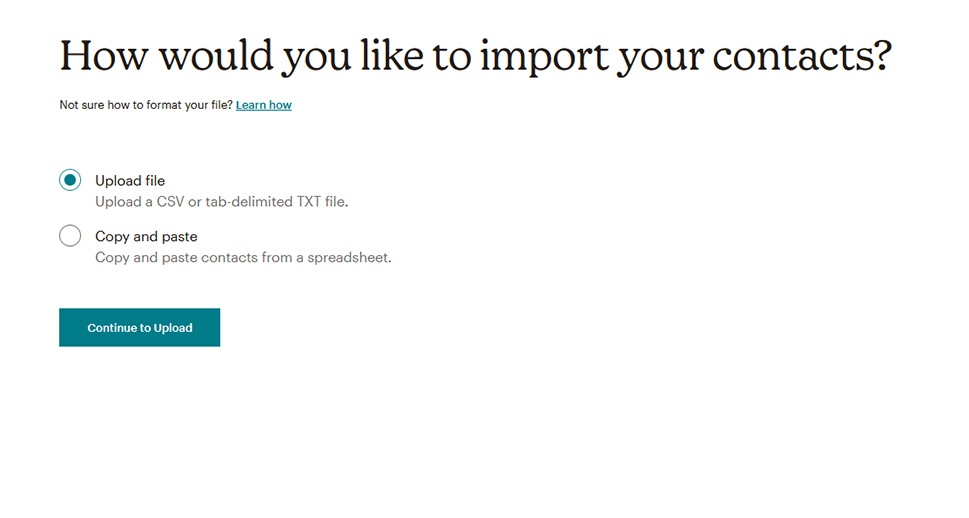
Once you’re in, give yourself some time to catch your bearings – you’ll need it. Read the resources, roam around, and when you’re ready to do something practical, go back to the MailChimp admin dashboard and choose to import your contacts if you have any. Don’t worry if you already skipped this option, you can come back to it.
You’ll get a couple of choices as to how you want your contacts imported, but the result will be the same – you’ll have someone besides yourself on your email list.
With that behind you, you can go ahead and start creating your first campaign. But before we jump into that, let’s see how you can connect MailChimp to your WordPress website.
Add MailChimp’s Code to Your Website’s HTML
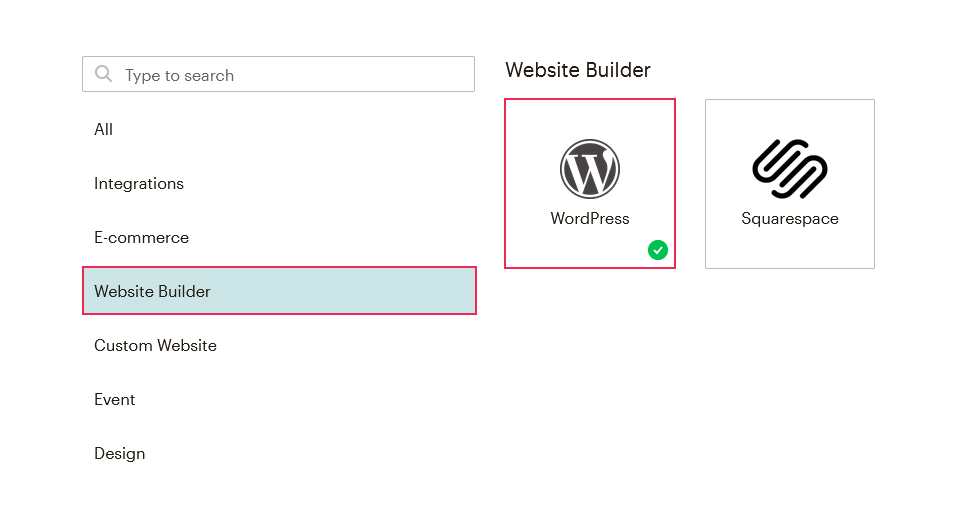
What MailChimp advises you to do is to go to their website, log in, and choose the Integrations option from the dashboard. Next, click on “Website Builder” to narrow down the options and choose WordPress.
Next, you’ll need to enter your website’s URL to get a piece of custom website code. You’ll also be able to choose which audience you connect this integration with, but if you’re following MailChimp’s cues, you’ll only have one audience and manage it with tags and segments. When you press the “Get Code” button, you’ll get the code you should copy.
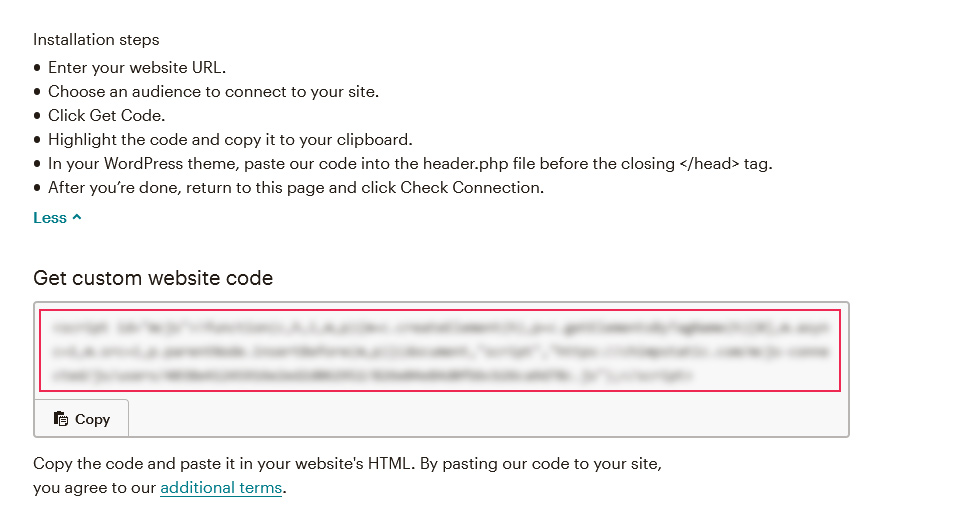
Pasting the code is where things get a bit tricky. You should paste in your theme’s header.php file. That’s not a difficult thing to do, however, unless you’re using a child theme, any update to the theme will erase the code. So if you’re going to use this method, make sure to create a child theme before proceeding.
Use a Plugin
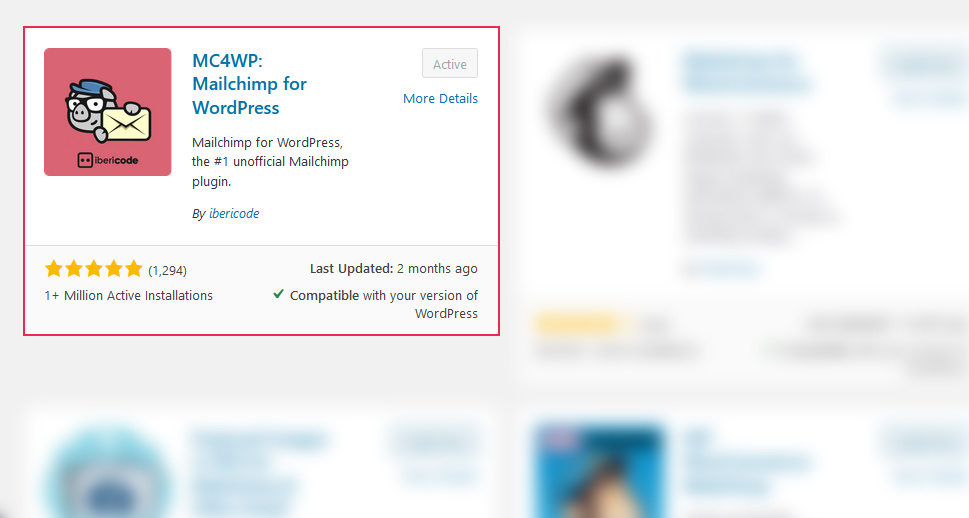
If creating a child theme doesn’t sound appealing, then installing a plugin is the option for you. One of the most popular plugins you can choose is MailChimp for WordPress, or MC4WP for short. You can find it and install the same way you install all plugins. Just remember to activate it when you’re done.
To connect MailChimp to your website via the plugin, you’ll need MailChimp to generate an API. The easiest way to have this done is to navigate to MC4WP > MailChimp, which is the place where you’ll have to enter the API.
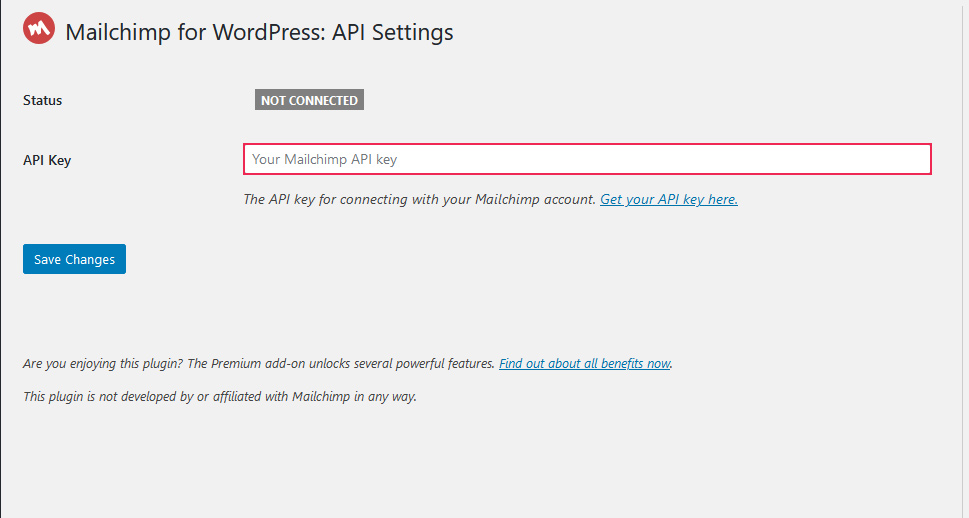
Clicking the “Get you API key here” hyperlink will take you to your MailChimp account, where under Extras you’ll find an API Keys option. There, you’ll be able to create a new API and have a full overview and control over every API you created.
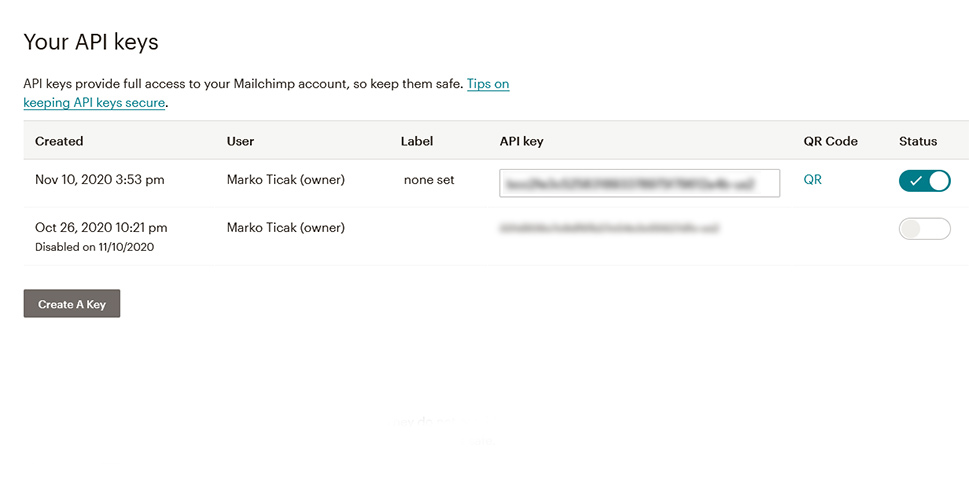
When you create a key, you’ll need to copy it and paste it to the API Key field back at your website. Save the changes, and your website will connect to your MailChimp account.
Connect MailChimp to WooCommerce
If you’re using WordPress and WooCommerce to run an online store, you can connect your MailChimp account directly to the WooCommerce platform. MailChimp has released an official WordPress plugin that helps you do that, MailChimp for WooCommerce.

After you install and activate the plugin, navigate over to WooCommerce > MailChimp, where you can start setting up MailChimp for WooCommerce by pressing the green “Connect” button.
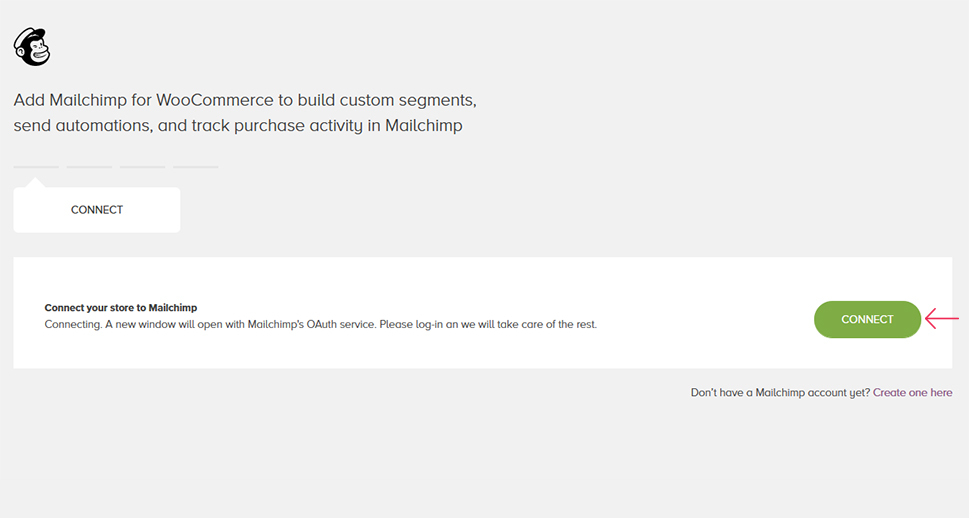
This will open a pop-up window – you will be notified if your browser is blocking it – that will ask you to log in to MailChimp and authorize the plugin. Next, you’ll be taken through the store settings, audience defaults, and audience settings. After you’ve finished setting everything up, your MailChimp account will be fully connected to your WooCommerce store.
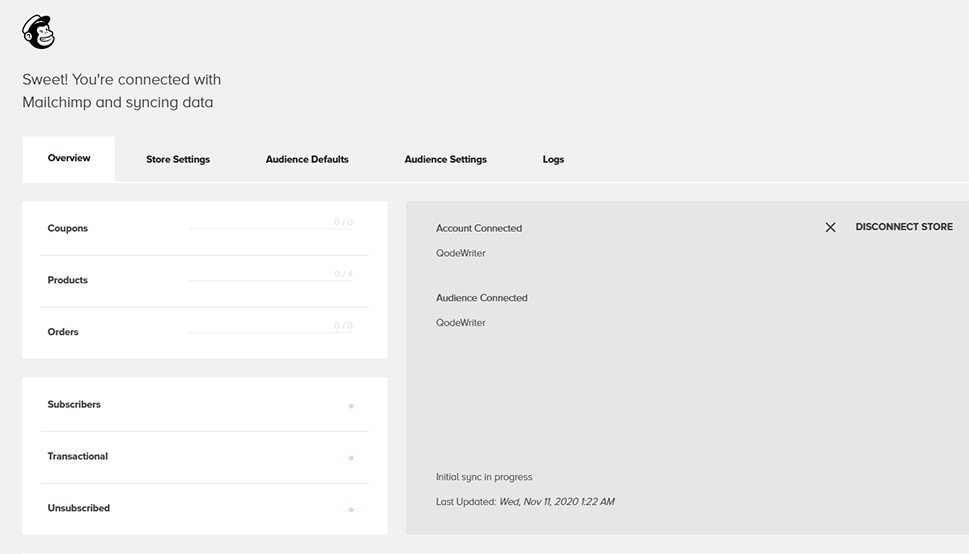
You’ll be able to customize the store and audience settings, as well as access to all the great tools MailChimp enables you to use with WooCommerce. And there’s some powerful stuff in there, including email automation, retargeting, digital ads, and social media posting. Keep in mind, however, that you get only the things that go with your account level. Retargeting ads, for example, are only available at standard and higher plans.
Because MailChimp is such a powerful tool, there are lots of things you can achieve using it. Some of them will require you to integrate MailChimp with other services, such as social media accounts, while others will require you to opt for a paid plan.
If you’re looking for a good place to start, maybe growing and learning how to manage your audience would be a good fit. So here’s a scenario – you have a website and you want to get people to sign up for your newsletter. For starters, you can use MailChimp to create the signup form.
Before you do that, however, you want to make sure that the very first person that signs up for your mailing list gets a nice welcome message. Let’s see how you do that in MailChimp.
How to Set Up a Greeting Email for New Subscribers
You’ll find what you need to set up this type of email in your MailChimp’s dashboard under Automations > Customer Journey. You can create a whole map of a customer journey, which can be incredibly useful down the line. For now, however, while you’re getting familiar with MailChimp, let’s stick to the simple stuff.
Scrolling down the page will show you a section called “Explore starting points.” Here, you’ll find different scenarios, coupled with the area they belong to – Audience and Marketing, to name a couple – an explanation of what the scenario does, and what are the requirements for using it.
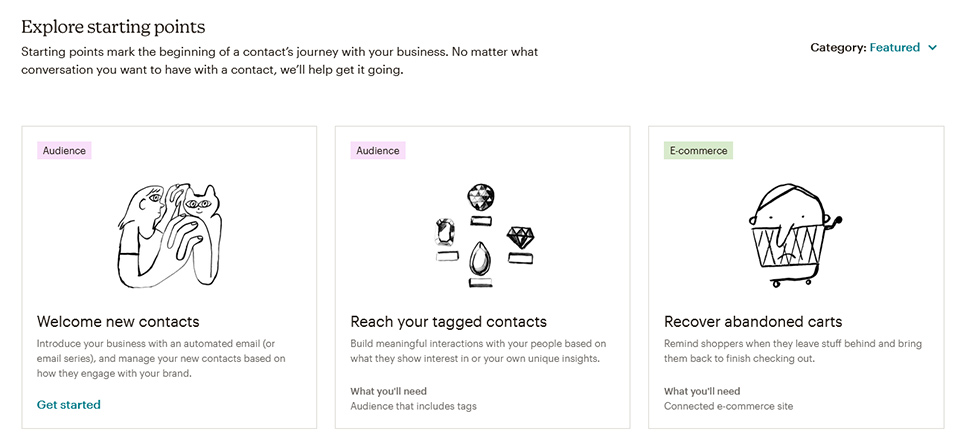
For the purpose of this guide, we’ll choose the “Welcome new contacts” starting point, as we meet the requirements right off the bat. After choosing the option, you’ll also get to pick whether you want to design a whole customer journey or send out a single email. For now, let’s choose a single email.
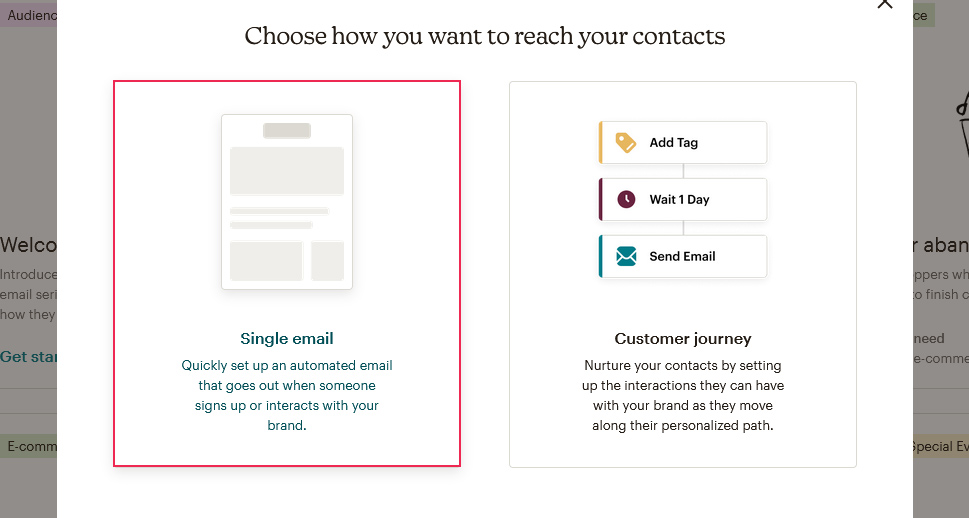
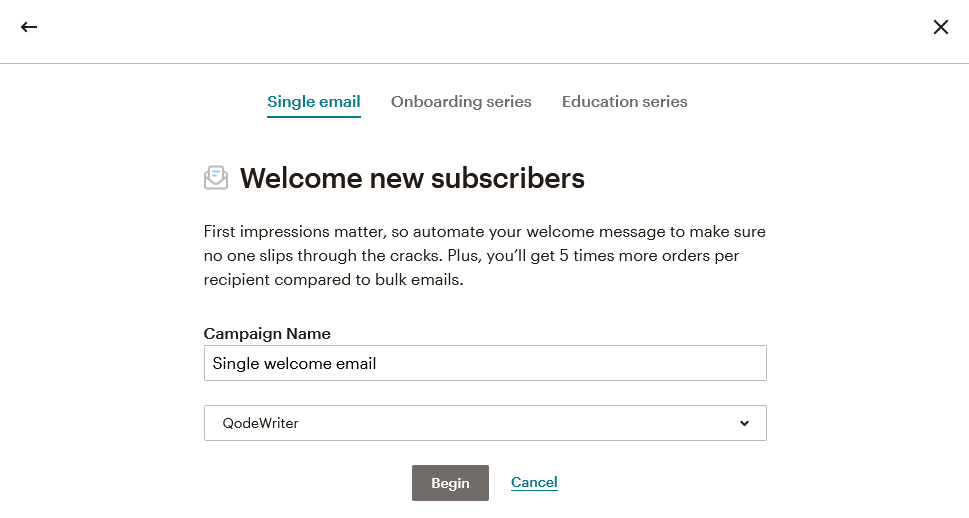
Choosing a single email will bring up more choices. This time, you’ll be able to pick between sending a single email, creating an onboarding series, or creating an education series. If the options to create series sounds great to you, prepare your credit card number – they are only available for paying customers. So name your campaign, choose the audience, and press the “begin” button to get started.
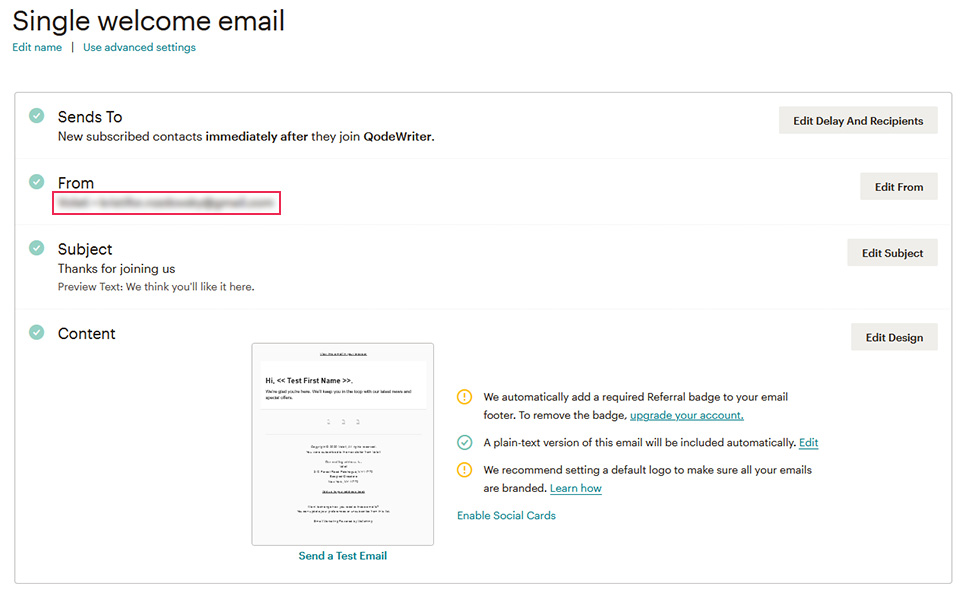
You’ll be greeted by a new window that lets you set up all the basic things you’ll need for a nice little welcome email. You’ll be able to customize the recipient of the email and even add a delay. You’ll also be able to choose the sender, edit the subject, and edit the design of the email.
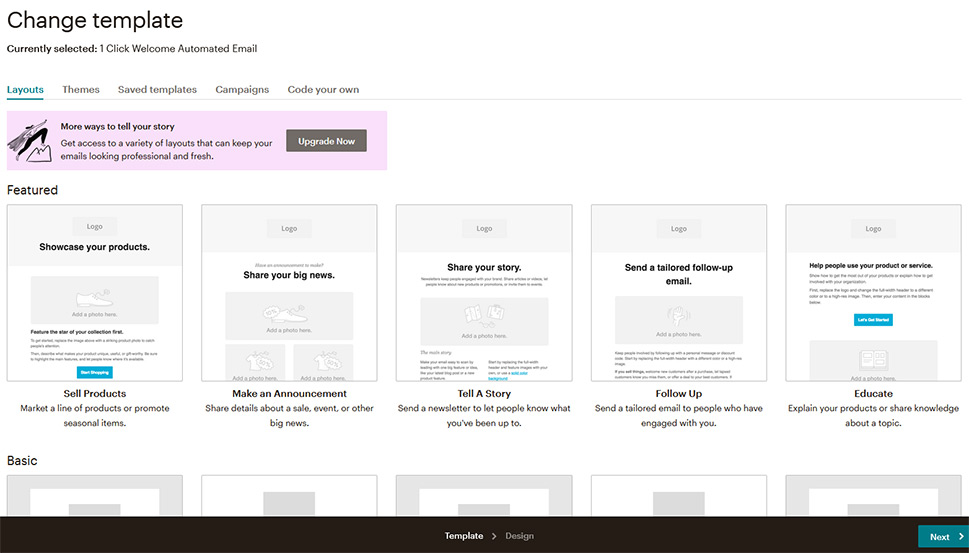
Editing the design of the email will get you into the design wizard – a very important place where you’ll learn a lot about how to create emails in MailChimp. Here’s what will greet you when you press that “Edit Design” button:
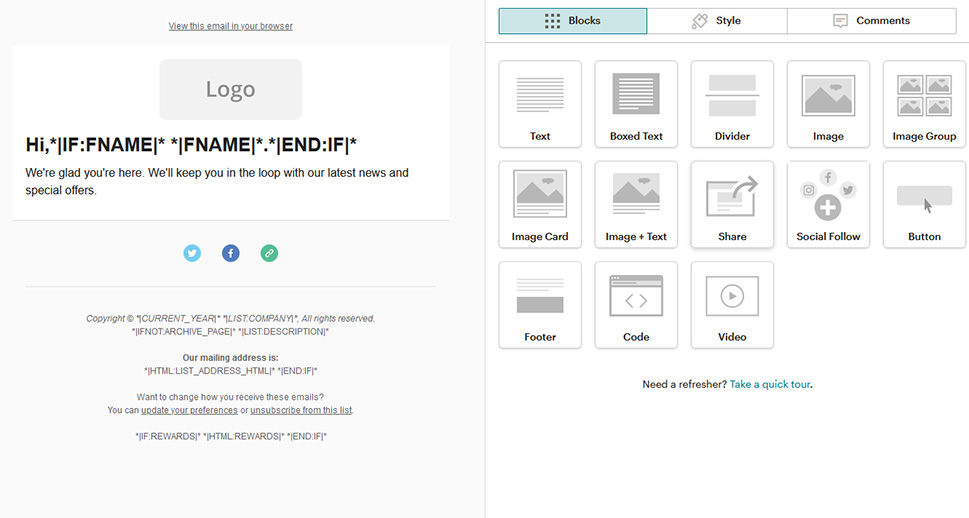
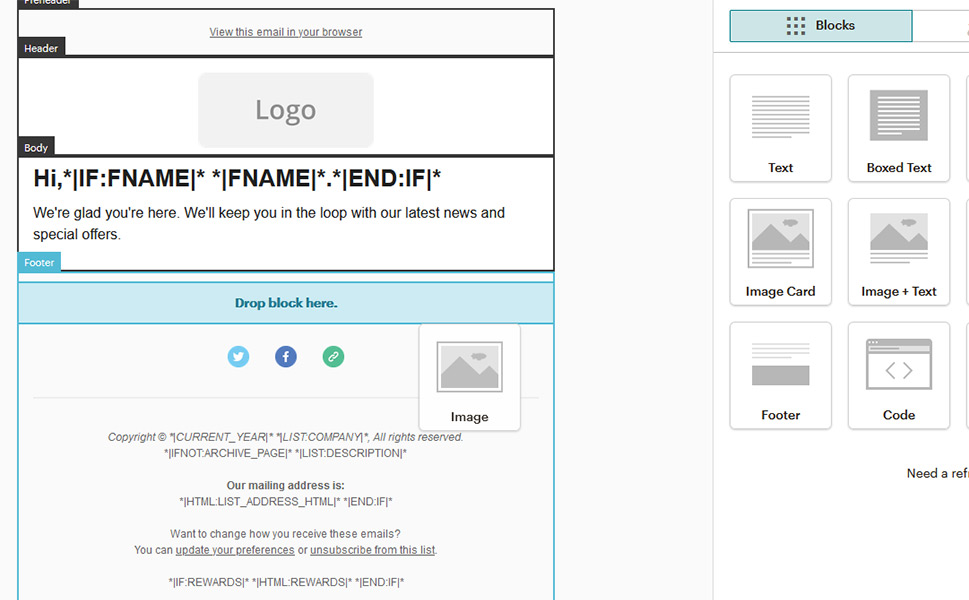
There’s a lot to unpack here, so let’s start with the most obvious. The email template creator works in blocks. The Logo is a block of its own, the text beneath is another block, social buttons have their block, as do dividers and footers. You’ll find a whole list of blocks on the right half of the screen. Simply dragging one to the editor field will allow you to add it – it’s a drag-and-drop editor.
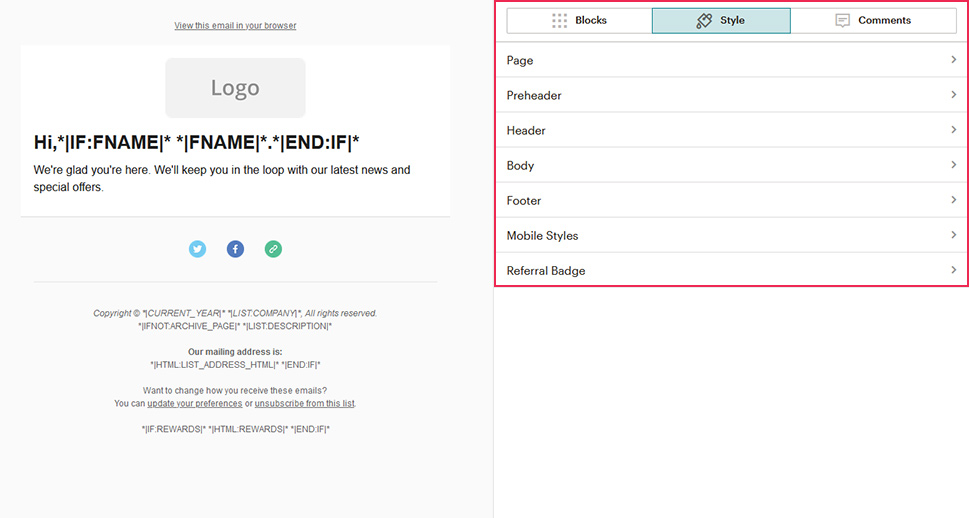
Besides the blocks, you can also manipulate the style of the different parts of the email. You can set borders and colors and paddings and font sizes for the page, preheader, header, body, footer, and mobile style. You’ll also get to choose the referral badge options.
The comments section shows you the comments your collaborators make when you send them a test email.
But let’s get back to our blocks. Clicking on any of them will bring up options for them on the right-hand side of the screen. You’ll usually have some options relating to the contents of the block, its style, and the settings.
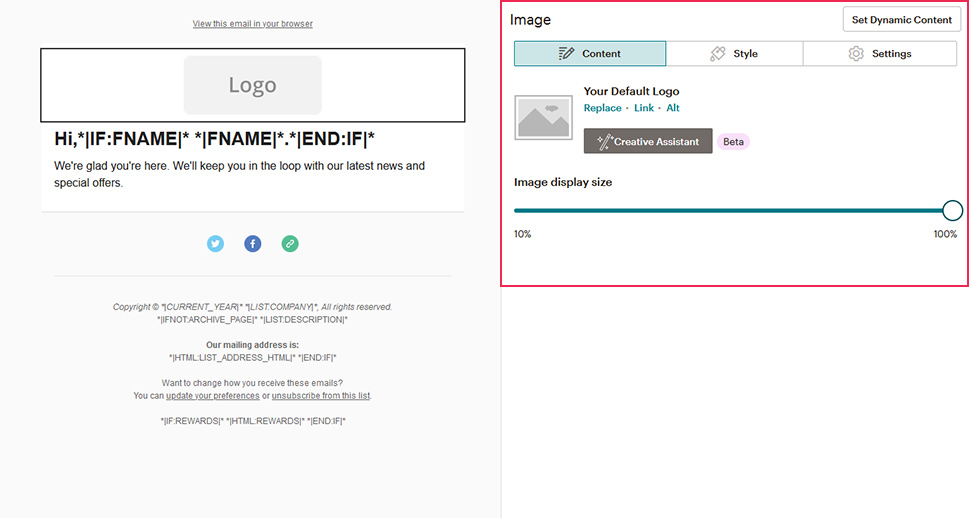
One peculiar and important thing to notice is the words written between asterixis and vertical bars, like this *|IF:NAME|* *|FNAME|* *|END:IF|*. This is called a merge tag, and it’s used to add dynamic content to your emails. It’s great for personalization, and you can find a full list of MailChimp merge tags here.
Of course, no one is forcing you to design your template from scratch. You can choose premade ones. By clicking the Template button at the bottom of the screen, you’ll be taken to the part of the website where you can choose from the templates you have access to.
After you’ve made the choice and created the type of email you’ll want to send, you’ll have the option to send a test email to the address of your choosing, or to simply start sending the email. If this is what you chose, you’ll be greeted with a page saying that you’ve created an automation.

You’ll be able to change the setting of your email later on, but you’ll have to pause the campaign while you’re doing it. Now let’s get ready for the next step.
How to Create a Signup Form in MailChimp
Signup forms are a big deal in email marketing, so you’d be correct to expect that MailChimp has plenty to offer in this department.
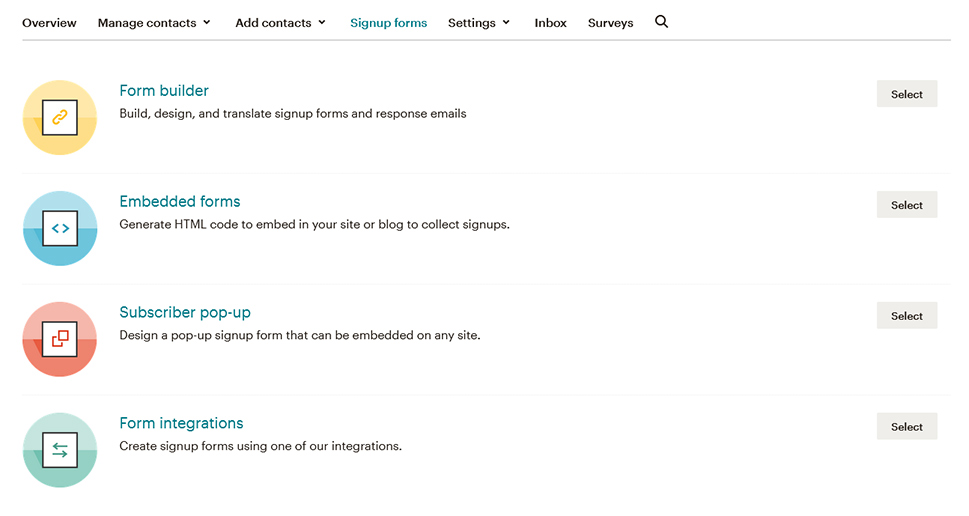
If you navigate to Audience > Signup forms from the MailChimp dashboard, you’ll notice several different options for building forms. There’ll be a form builder, embedded forms options for HTML generation, pop-up form builder, and form integrations. The last one doesn’t have much to do with you if you’re using WordPress, so we’ll skip it.
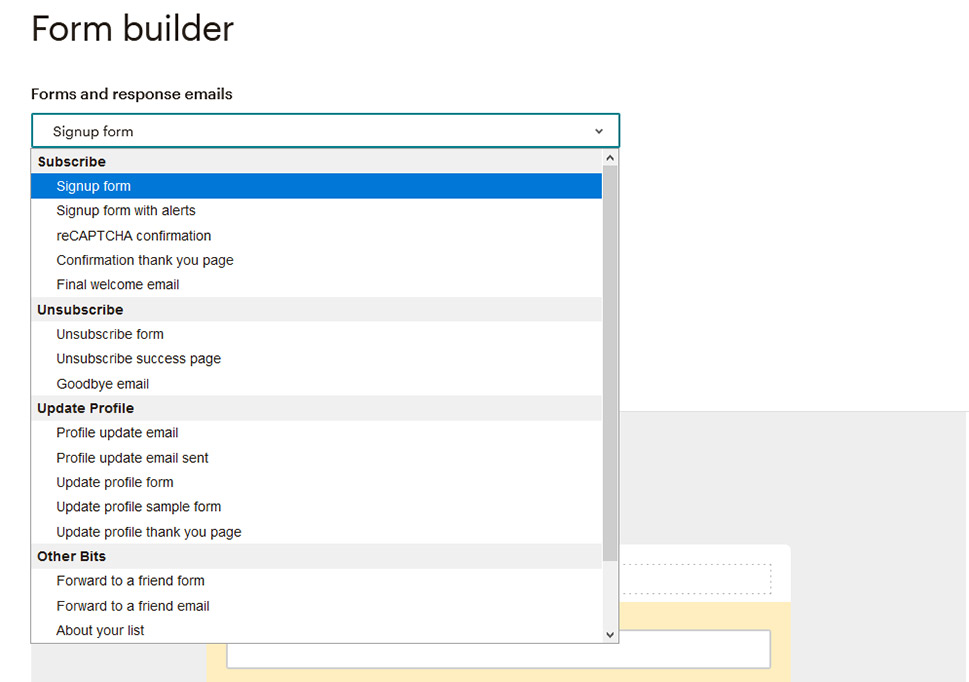
If you choose the form builder first, you’ll notice that the first thing it lets you do is to choose the type of form or response email you want to build. We’ll be choosing the signup form, but you can use this builder to create anything from a reCAPTCHA confirmation to a goodbye email.
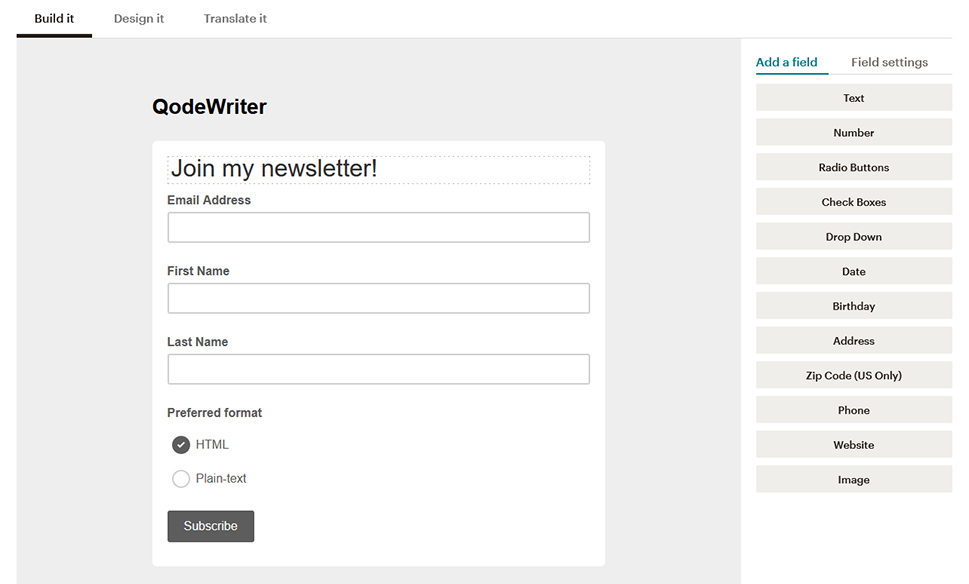
Choosing the contact form, you’ll notice once again that you have some building and design options, coupled with a new translation tab. Between the three, you’ll be able to choose which information you want to ask from your subscribers, how do you want it to look, as well as which language you want the form to be in.
After editing your signup form, you can navigate to Signup Forms > Embedded Forms. There, you’ll be able to choose the style of the form you’re embedding, as well as pick among a variety of options that include disabling JavaScript, choosing which fields to show, and including a referral link.
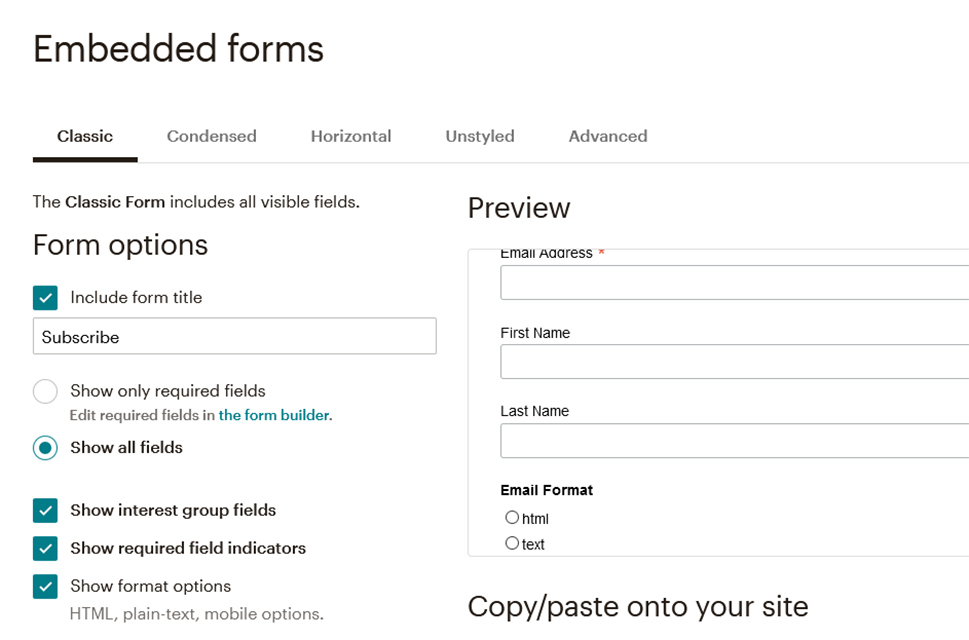
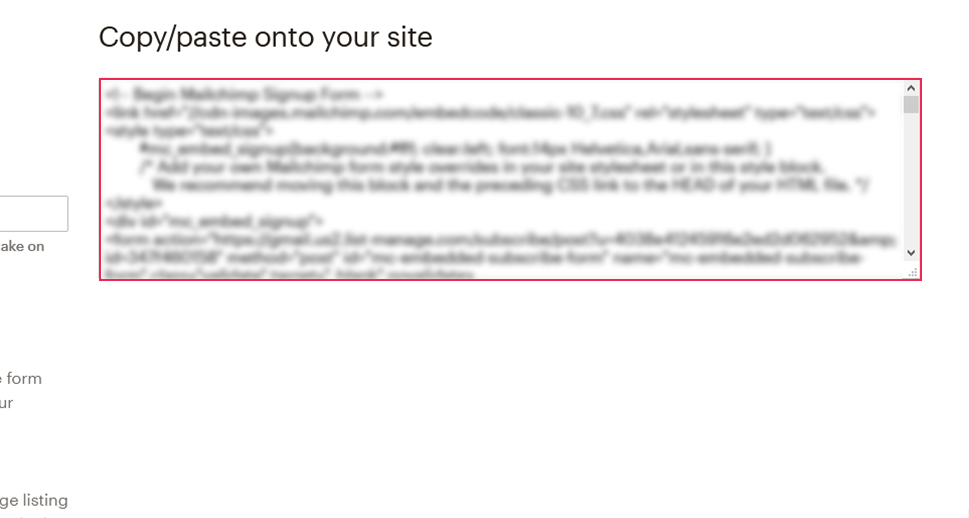
Most importantly, however, this is the place where you’ll get the code you can paste to your website if you don’t plan to use a plugin to do it. If you’re following this route, MailChimp advises that you disable JavaScript or use the Unstyled form. Either way, you’ll need to copy the code you get to a post or a page or add it with a text widget.
If you want to create a form with the MailChimp for WordPress plugin, navigate to MC4WP > Form, and you’ll get to edit the form. You’ll be able to choose the fields, the messages that are triggered by form-related actions, form settings and behaviors, and the form appearance.
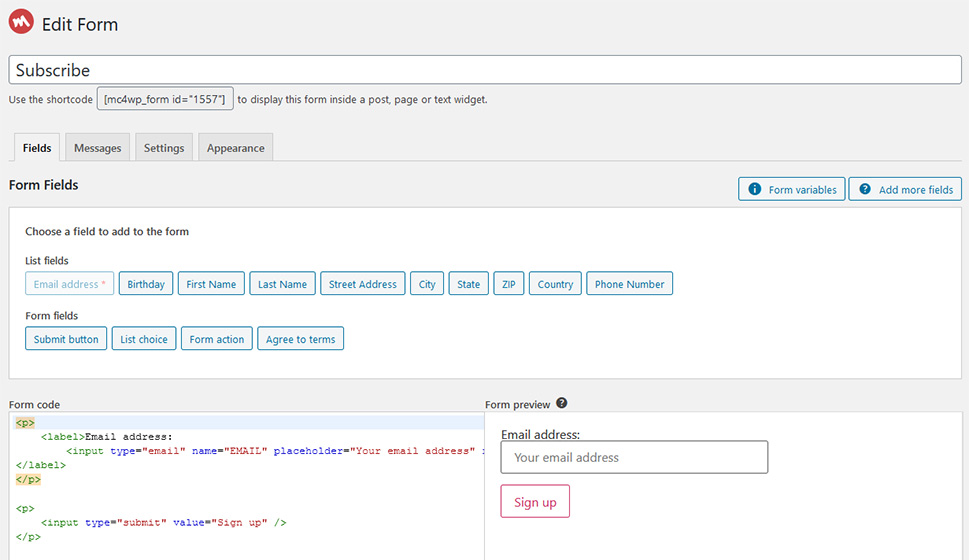
Once you’ve made sure everything is just the way you want it to be, you can press the “save changes” button and copy the shortcode you can now use to embed the form inside a post, page, or text widget. Any email address you get will go towards growing the audience you’ve connected with the account.
How to Manage the Audience
Now that you’ve got yourself a tool that will help you create an audience, it’s time you learn how MailChimp lets you handle audiences.
An audience in MailChimp is siloed, which means there’s no interaction between audiences, their data, and related activities. Making different audiences makes sense in MailChimp only if you’re going after a drastically different part of the market, say businesses as opposed to regular consumers. That’s the level of difference that would justify creating a new audience.
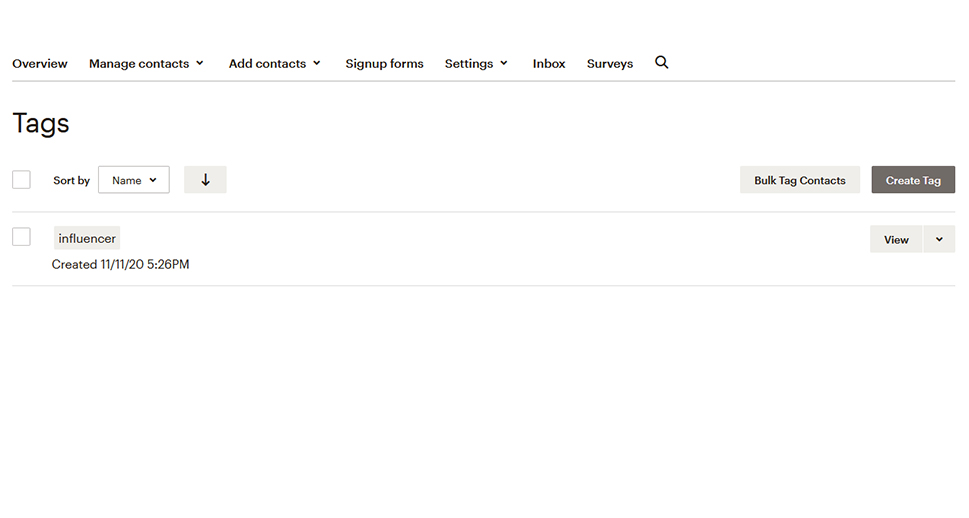
The single audience you have can be managed in two different ways. You can create tags, which are used to organize your audience into any type of group you want. You can create tags in Audience > Tags in your MailChimp dashboard, and then apply them to the appropriate contacts in the Audience.
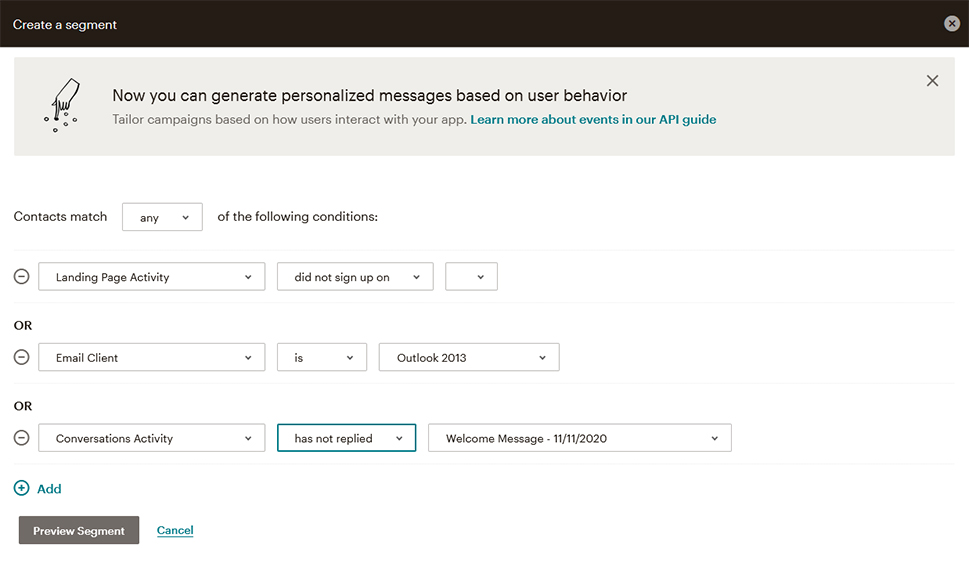
Segments, on the other hand, work a bit differently. They allow you to segment audiences if they meet certain criteria. There’s a ton of options for segmenting audiences you can choose from here, including the type of email client they are using, and their conversation activity. You can combine multiple criteria into a single segment, and you can create multiple segments.
Creating an Email Campaign
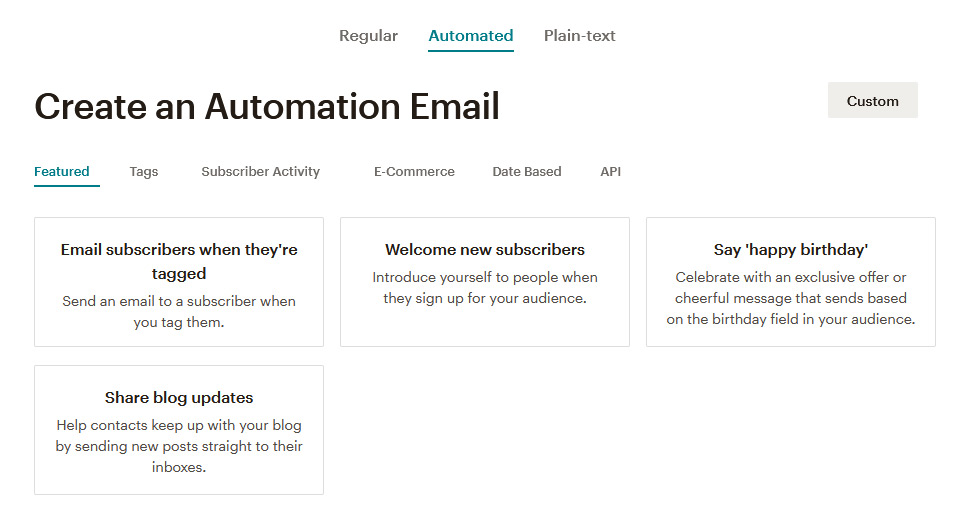
Now that you have the means to build up your audience, you can start doing something with it. A good choice would be to start an email campaign. There are three types of email campaigns – regular, automated, and plain text. The welcome email we’ve set up earlier is a type of automated campaign. You can also share blog updates via an automated campaign.
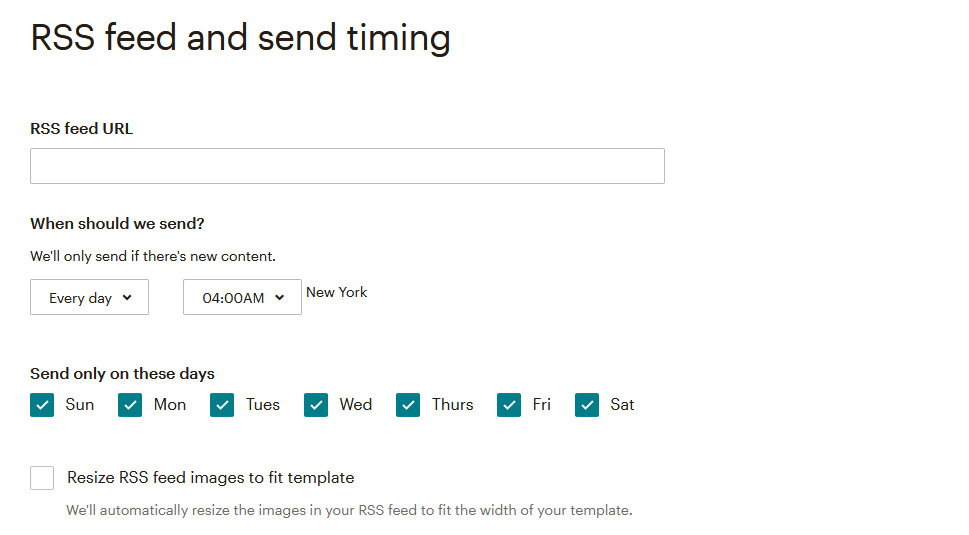
If you choose to share blog updates, you’ll be setting up an RSS feed for your website. You’ll need the RSS feed URL – or you can let MailChimp try to figure it out for you. You’ll be able to choose the time the feed is sent, as well as the days on which it’s sent.
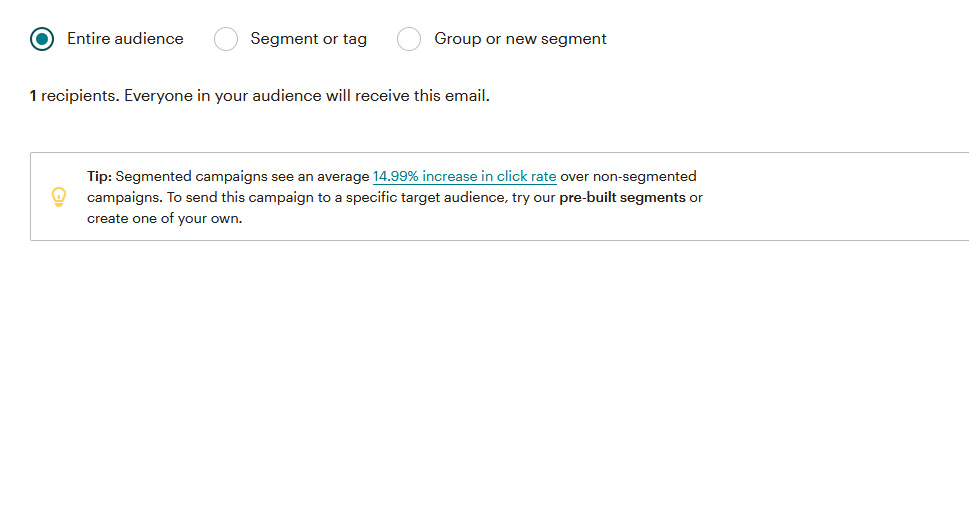
You’ll be able to pick the recipients and have it sent only to a specific tag or segment, or the entire audience.
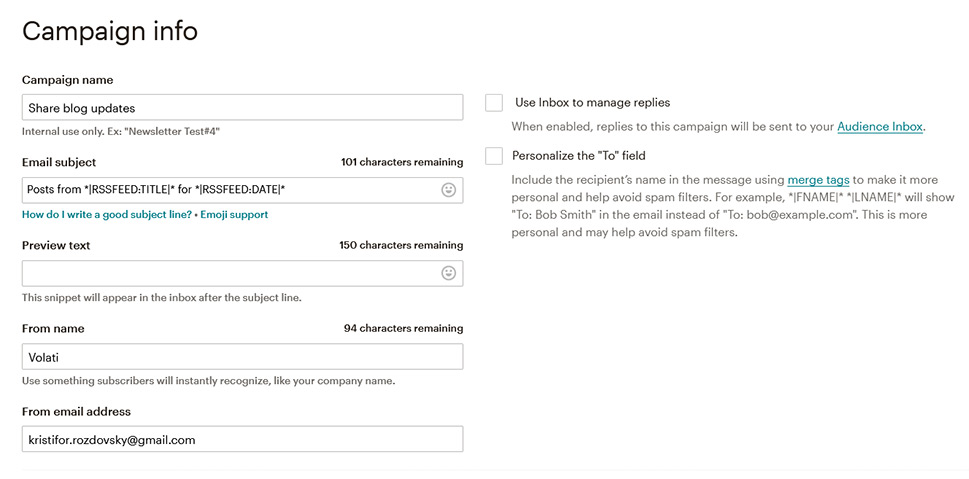
In the setup, you’ll be able to choose everything from the campaign name, the email subject line, the sender’s name and address, as well as a variety of tracking and auto-posting to social media options.
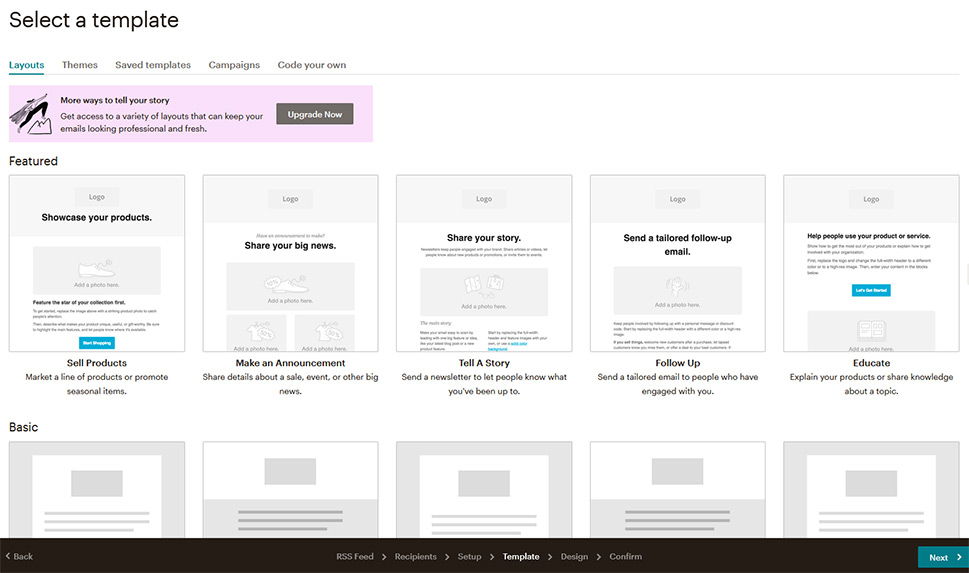
Once you’ve set it up, you can go ahead and choose one of the templates you can access depending on your plan.
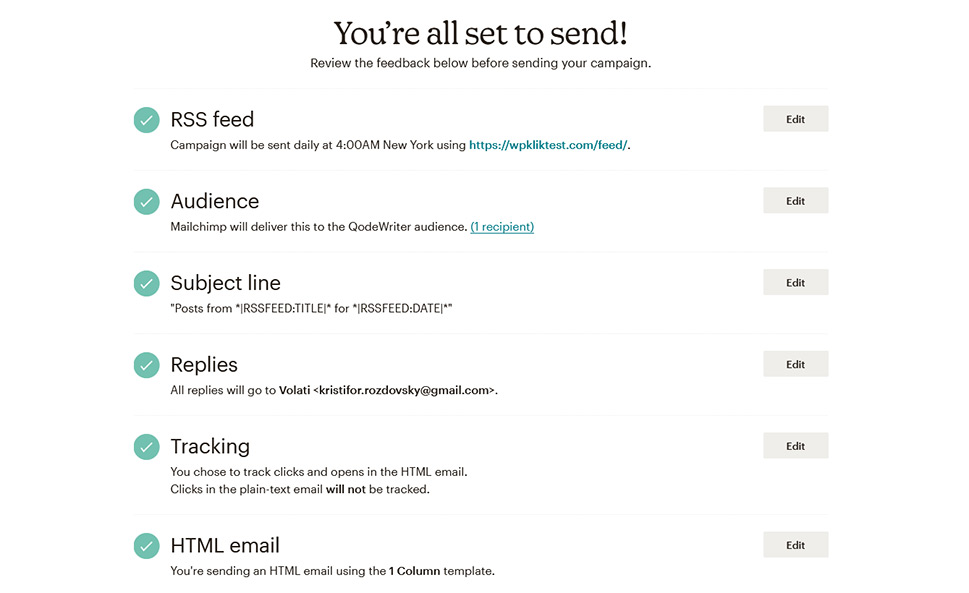
Finally, you’ll come to the same email design options you’ve visited when you were creating the welcome email. After you’ve finished designing the email, you’ll see a page that will tell you whether you’ve done everything right, what you should change if there’s been a mistake, and that it’s okay to start sending RSS now that it’s all set.
Let’s Recap!
By now, we’ve learned how to successfully connect MailChimp to a WordPress website, how to set up an opt-in form so we can start building a mailing list, and we’ve managed to set up not one but two simple campaigns.
All of this is, of course, only scratching the surface of everything that MailChimp has to offer, even in the free version. But you should by now know everything that you’ll need to start using MailChimp with your WordPress website, although you should feel encouraged to go beyond this guide and find interesting things MailChimp can do that will benefit your website and its visitors. So good luck, and have fun!
