How to Add Apple Pay to Your WordPress Website

If you’re using WordPress to power your eCommerce business, then you’re most likely already using WooCommerce to run and manage your online store. Not only does this powerful eCommerce platform allow you to fully customize, manage, and display all your products, but it also comes with many useful extensions and built-in functionalities meant to help you run and manage your online store in an efficient and professional manner. These include anything from managing shipment tracking and inventory to adding coupons and setting up different online payments.
Now, when it comes to online payments in particular, the WooCommerce plugin also comes with built-in payment gateway support for services like PayPal and Stripe. However, there are many other great payment options you can add to your WordPress site that can prove to be useful for your store as they can help increase your sales. The popular Apple Pay payment system is a perfect example of that, which is why we’ve decided to specifically talk about Apple Pay and how to add it to your WordPress site.
If you plan to incorporate the Apple Pay payment option into your site, there are a few steps you should take to enable this service. Luckily, if you’re using WooCommerce, the process itself isn’t that difficult. So, we are going to start off by talking about some of the benefits of using Apple Pay on your site. Then, we will explain how you can easily do the Apple Pay WordPress integration using the help of a WooCommerce extension, so make sure to keep reading:
Qode Themes: Top Picks
View Collection


What Are the Benefits of Using Apple Pay on Your Site?

Apple Pay is a service that allows users to safely and quickly pay with their credit and debit cards using the information that is already stored on their iPhones or other Apple devices. They are able to pay for products with only a few clicks while not having to enter and share their data every time they wish to make a purchase.
By allowing users to pay for your products using Apple Pay, you greatly increase your chances of having Apple users buy from your site. Firstly, they will appreciate that you’re catering to their needs by including the option that they’re already using to make their payments, and this can help make you (and your business) appear more reliable, trustworthy, and accommodating in general. So, naturally, adding Apple Pay to your WordPress site can only increase your sales and conversions in the long run.
Now, you should keep in mind that Apple Pay does charge a 3% fee for credit card payments (the debit card charges are being processed for free), a percentage higher than that of PayPal and Stripe. Still, there are no additional charges you need to think about, so given the other benefits, the 3% fee is well worth it.
With all that said, let’s take a look at how you can easily add Apple Pay to WordPress. Since Stripe is a payment gateway that also supports Apple Payments, the easiest way to enable Apple Pay on your WordPress site is to set up Stripe in WooCommerce first. So, we will show you how you can do just that before proceeding to show you how to enable the Apple Pay service itself.
Setting up Apple Pay Using the Stripe for WooCommerce Plugin
To set up Apple Pay on your WooCommerce site, you can use a plugin called WooCommerce Stripe Payment Gateway. This is a WooCommerce extension you can use to take different payments on your site and accept Visa, MasterCard, American Express, etc. directly on your store. You will be able to do this via a Stripe payment gateway, and since Stripe comes with the Apple Pay support, this means customers will be able to pay using payment details associated with their Apple ID. Aside from Apple Pay, they will be able to use Google Pay and Microsoft Pay for both mobile and desktop devices.
Before we begin to show you how to add Stripe to WooCommerce (so as to also enable Apple Pay later), you should note that you also need to enable SSL on your site. To learn how to add an SSL certificate to your WordPress site, we suggest that you check out our article on the same subject.
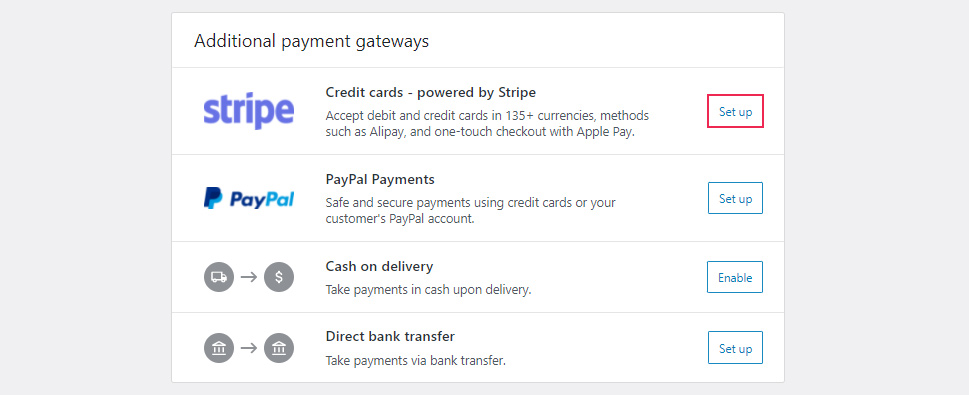
During your first WooCommerce installation and setup, you have the option to enable Stripe payments on your site out of the box. You just need to click the “Set up” button once the option appears during your initial setup, go through the rest of the setup, and the Stripe Payment Gateway extension will be enabled on your site.
In case you skipped this step during your WooCommerce installation and you’ve been using WooCommerce without Stripe for a while, there is another way to enable Stripe support on your site, and that is by installing this plugin manually.
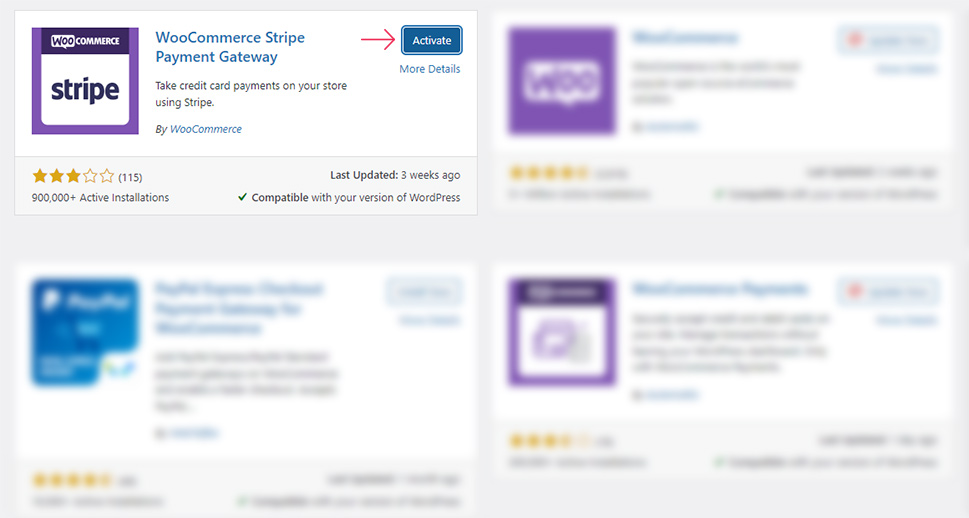
So, first things first, you need to install the plugin and activate it.
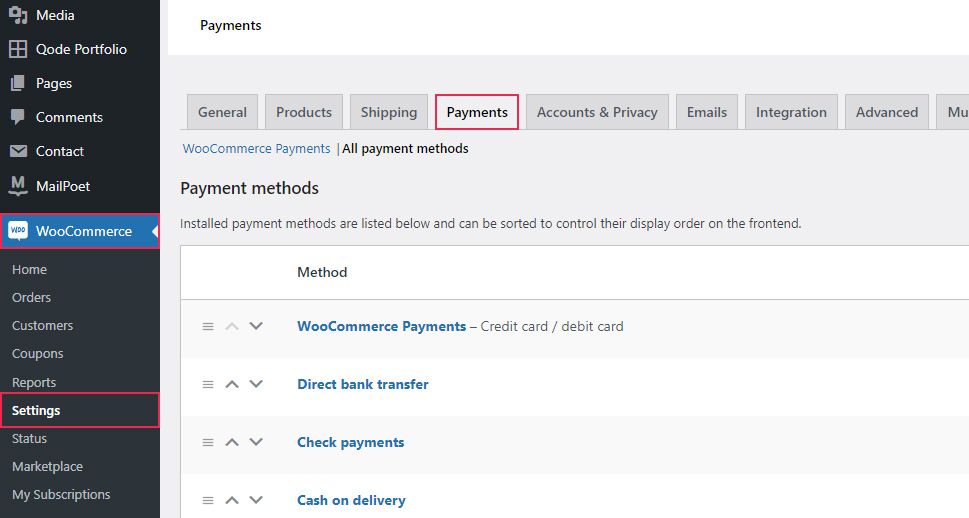
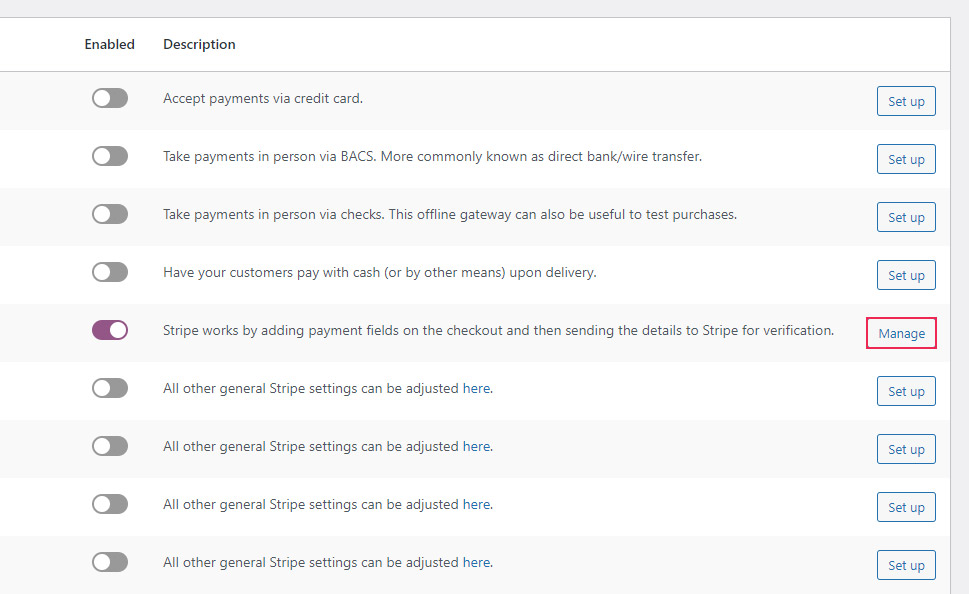
Then, you should head to WooCommerce >> Settings and hit the Payments tab to enable Stripe on your WooCommerce site. Simply find the Stripe option and enable it.

Hit the Set up button and then choose the “enter account keys” option to enter your Live Publishable Key and Live Secret Key.

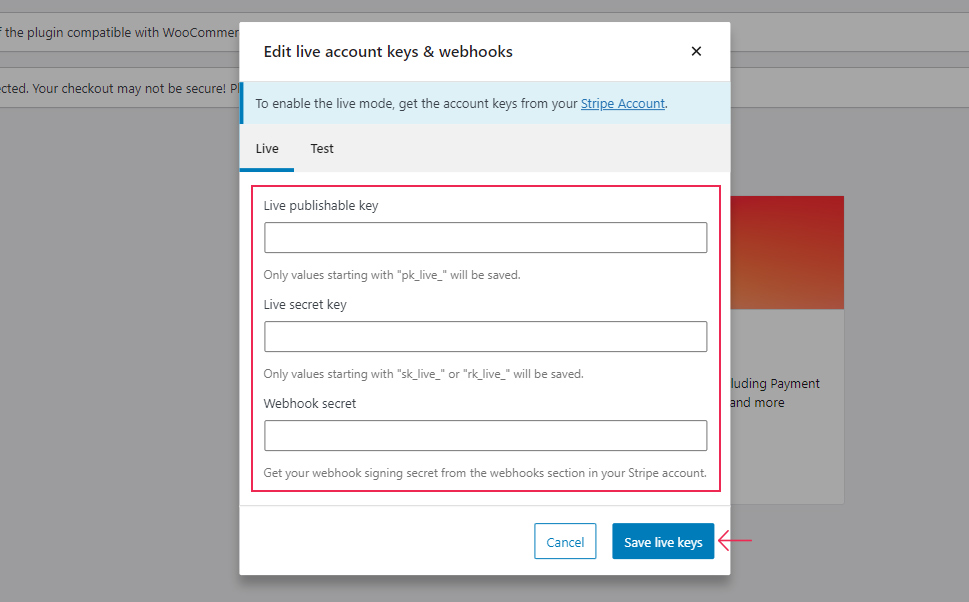
In addition, you also need to add a Webhook secret in order to allow your site to communicate with Stripe. You will be able to find all these keys by heading to your Stripe account.
After hitting the “Save live keys” button, you should go back to the Payments tab and hit the Manage button.
Now, after you go back to the Payments tab and hit the Manage button, you will be able to mark the option called “Enable express checkouts”.
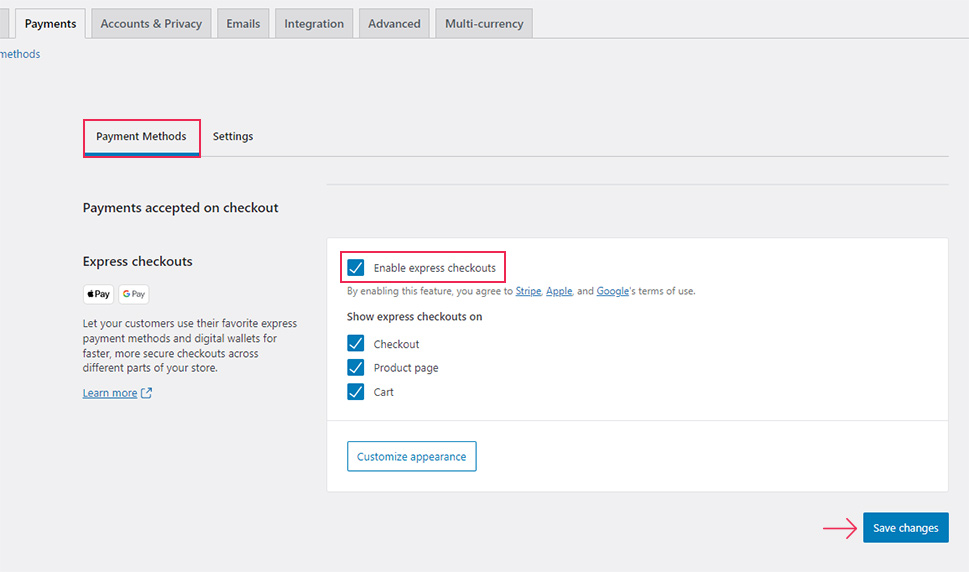
This setting will also enable Apple Pay, which will automatically be available to Apple users once they try to pay with Stripe in their Safari browser.
Make sure to save your changes, and that’s it.
You can also use the Customize appearance option to adjust how the buttons for Apple Pay will be displayed in-store for customers. You will be able to select a button label that best fits your store’s needs, change the button size, and choose a theme for it.
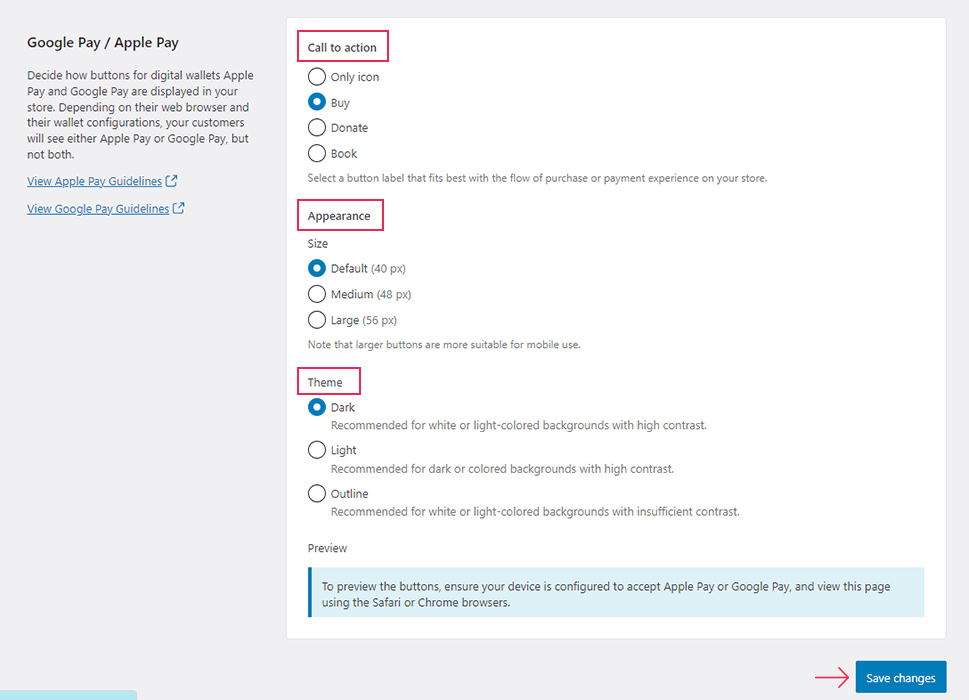
Once again, you should save your changes when you’re done.
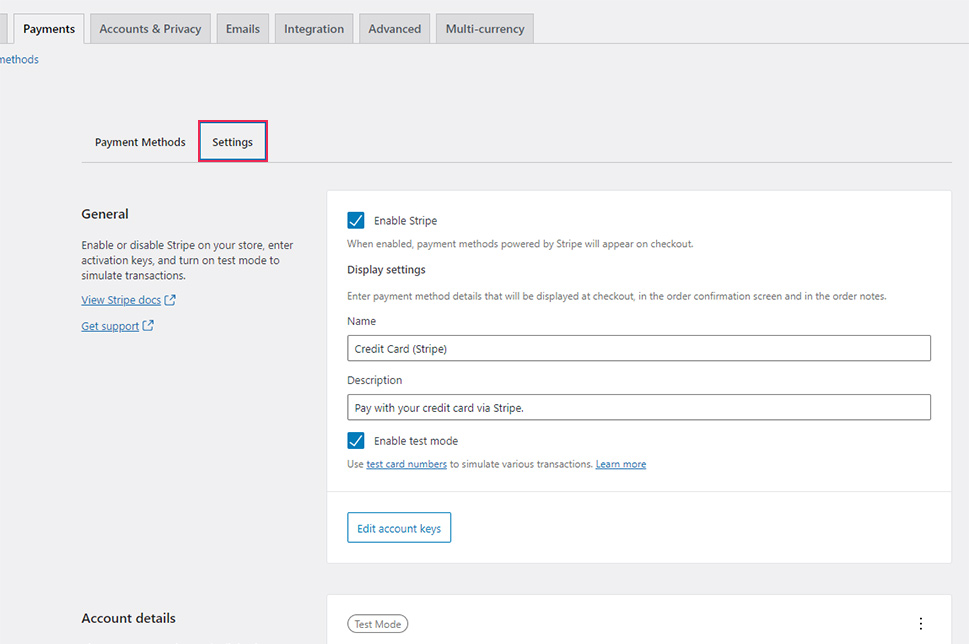
Last but not least, you can also use the Settings tab to adjust some additional options, like setting up the name and description of your payments, adjusting some extra payment and transaction settings, and more.
In Conclusion
This completes our guide on how to set up Apple Pay on your WordPress site quickly and with ease. As you can see, if you’re using WooCommerce, setting up this practical payment service in WordPress cannot be simpler. You just have to make sure to enable Stripe payments first by using the WooCommerce Stripe Payment Gateway extension. After entering a set of your account keys, you need to mark the option called “Enable express checkouts” – an option that will automatically add Apple Pay to your site. Then, you can customize the appearance of your buttons and adjust a few additional payment settings, and you’ll be all set.
