How to Accept Stripe Payments with WordPress

As one of the most popular payment processors in the world, Stripe is a common solution used by anyone from online stores to digital magazines. With it, you can let your website’s visitors pay for the products you sell, subscribe to paid services, or simply donate to you. Best of it all, Stripe and WordPress fit together like a lock and key. Or they would, if only you’d need a plugin to lock a door.
Like many other service providers, Stripe doesn’t have an official WordPress plugin. Instead, Stripe WordPress integration relies on third-party services to either integrate Stripe with their plugins or simply create payment plugins that use Stripe. It works out well – Stripe has almost 40 partners with WordPress plugins, and many other WordPress plugin developers have used it, too.
With that many plugins to choose from, we’ll show you how to add Stripe to WordPress using some of the most popular options. You’ll read about:

The simple reason why you might consider Stripe as your payment processor with WordPress is that it has a whole lot of good stuff going for it. For one, you can sign up with just a couple of clicks. The activation process is a bit more involved as it’s the process where you connect Stripe to your bank account.
Then again, you want to take your time with all that serious business, so that’s fine, plus you can sort of try out Stripe before you even activate the account. You won’t be able to process any charges, but you will be able to connect it with plugins using the test APIs.
Signing up for Stripe is free. The way it works is that for every successful transaction using Stripe, a small fee is charged on top of the amount. The fee isn’t too much – a few percentage points plus a small, fixed part – and it’s in line with industry standards. You can set up recurring billing with Stripe, and even use it for in-store processing – although you will have to buy the appropriate card readers.
When used on a website – the way you’re probably looking to use it – Stripe will not redirect your visitors to its website to make the payment. All of the payments are handled on your site, and Stripe will require your website to use an SSL certificate as a security measure.
The major downside with Stripe is that it offers support to a limited number of counties. Using it outside of the EU, North America, and some counties in Southeast Asia and the Pacific is not possible. But if your store is registered in one of the eligible countries, you are free to add Stripe to WordPress.
eCommerce WordPress Themes
View Collection


One of the greatest things about Stripe is that it integrates with a lot of popular solutions. For example, you can use it with some of the most popular store or sales plugins such as WooCommerce or the Easy Digital Downloads plugin. It’s also popular to use Stripe with contact form plugins.
In these cases, you usually need an addon, extension, or plugin to add Stripe as the payment processor. We’ll use WooCommerce – the foremost WordPress store plugin – to show you how to add Stripe to a plugin that supports it. You will need to create a Stripe account first.
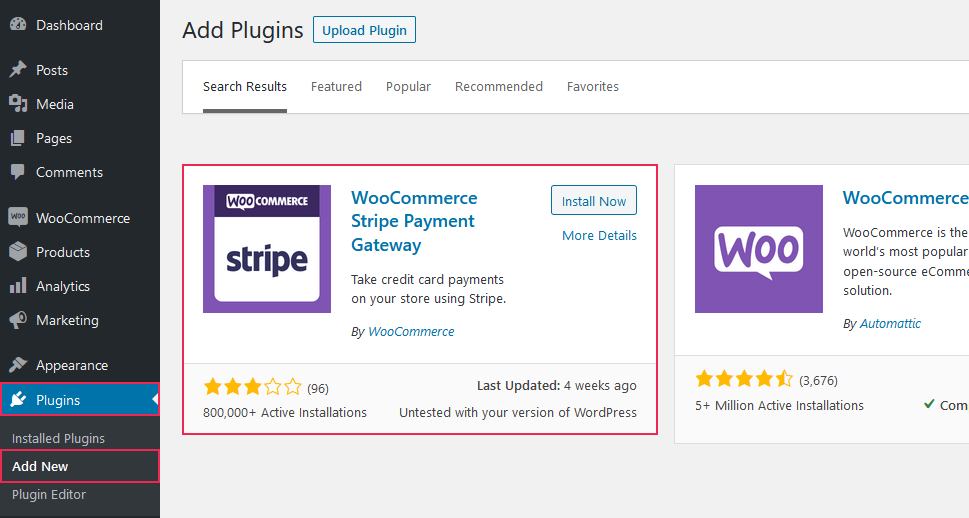
With WooCommerce already installed, head over to Plugins > Add New, and search for the WooCommerce Stripe Payment Gateway plugin. After you find it, install and activate it.
With that done, head over to WooCommerce > Settings, and open the Payments tab. You’ll see the payment processing options you have available to you. Find Stripe (Credit Card) and press the manage button. You’ll get to the Stripe payment page.
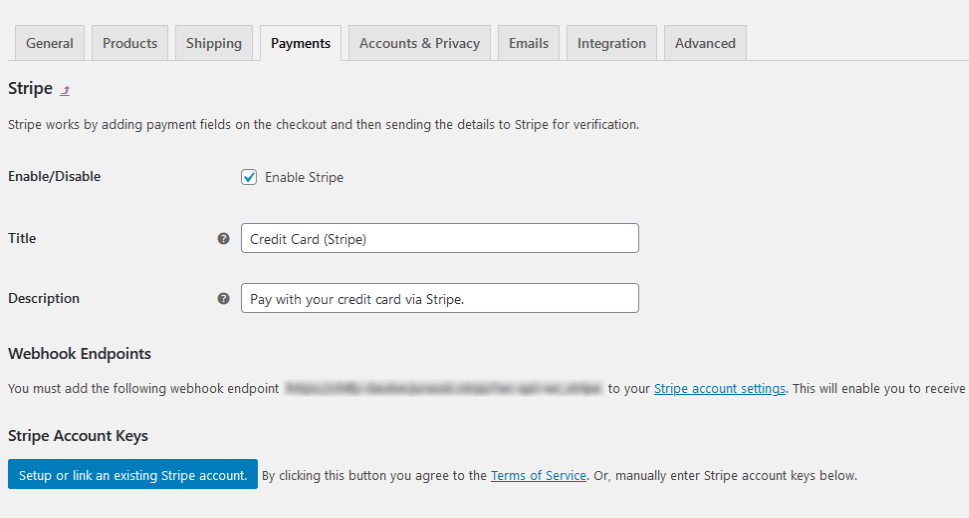
There, the first thing you’ll be able to do is enable or disable Stripe. You’ll notice the fields for adding the title and the description – your clients will see these on the checkout page as the payment menu option. The title is mandatory, the description isn’t. Next, you’ll need to connect your WooCommerce store with Stripe, and you do that with API keys. You’ll also need to set up webhooks so that your website can communicate with Stripe.
You’ll see the webhook endpoint you need to add to your Stripe account. Simply follow the hyperlink or go to your Stripe account’s dashboard and find Webhooks under Developers. Add the endpoint URL, select the events to send, and add the endpoint. While you’re there, copy the signing secret key, and paste it into your WooCommerce Stripe setup.

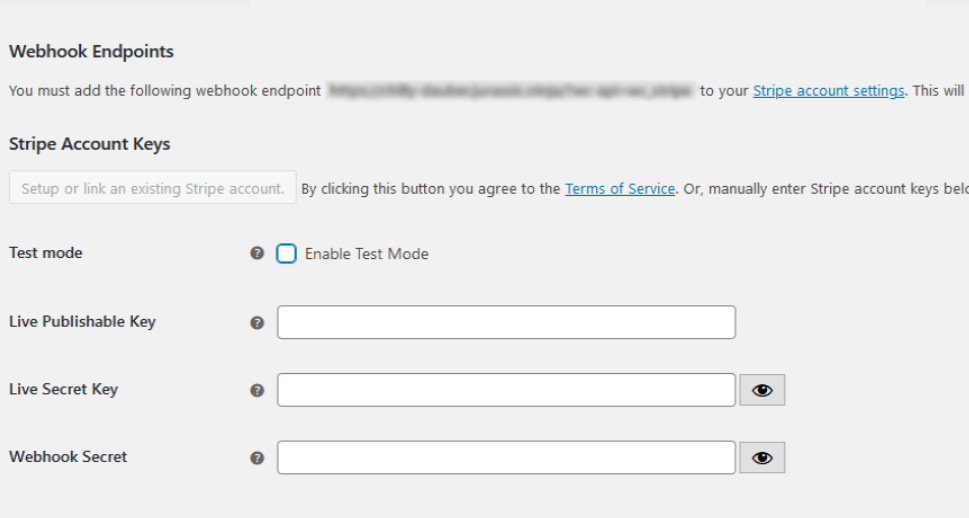
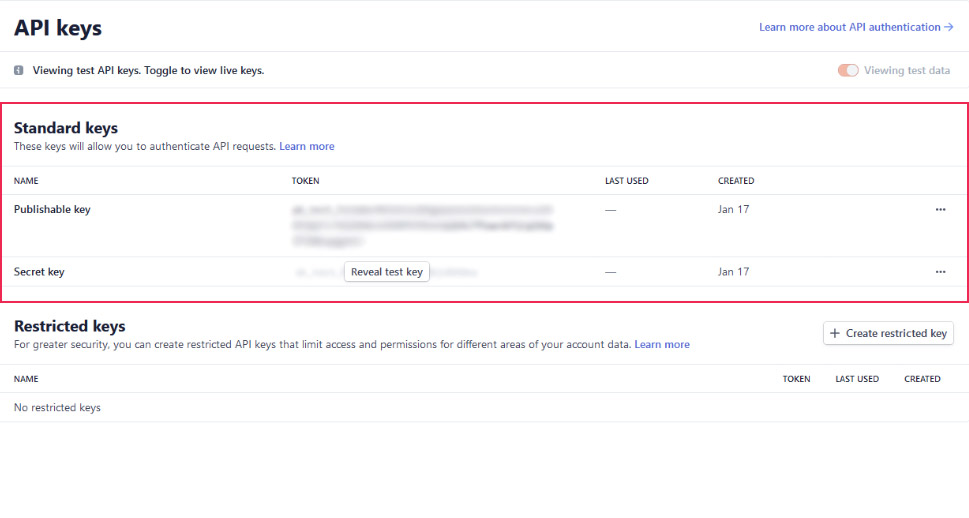
While you’re at the Stripe dashboard, you might also navigate to the API Keys option, again under Developers. There you can find the publishable and the secret API keys. Copy them, and paste them under the WooCommerce Stripe setup, too.
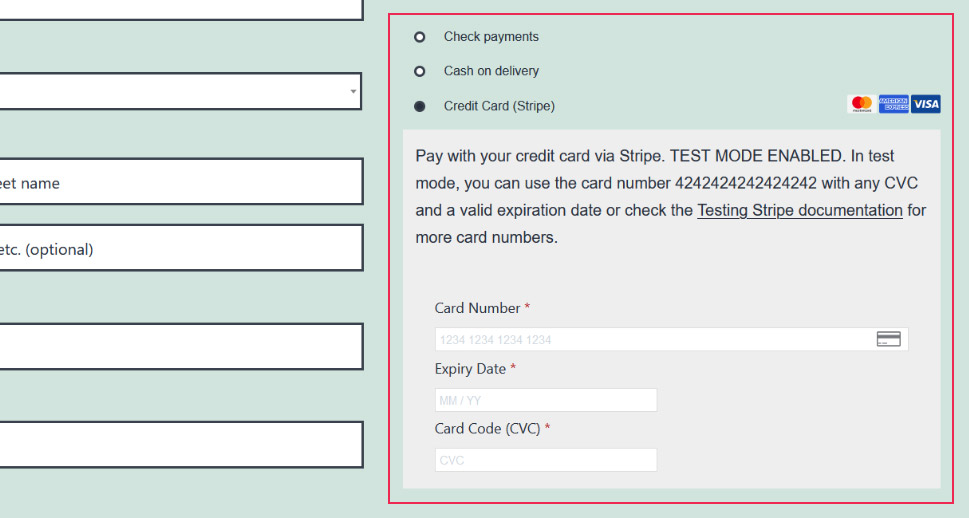
The remaining options on your website’s end include a statement descriptor – a series of alphanumeric characters that will appear on your customer’s statement. You’ll also have the option to enable payment request buttons, which will allow your customers to pay using Apple Pay, Google Pay, or other supported methods. You’ll be able to choose the button and the label, and after setting whether you want to enable payment via saved cards and logging of debug messages, you’ll be done. Stripe will appear as the payment processor on your checkout page.
But what if you don’t have an online store, and want to use Stripe just to process an odd donation, for example? Or just add a payment option without having to install a plugin and an extension or addon? In that case, you can choose the Stripe payment plugins that work as standalone solutions, such as Stripe Payments.
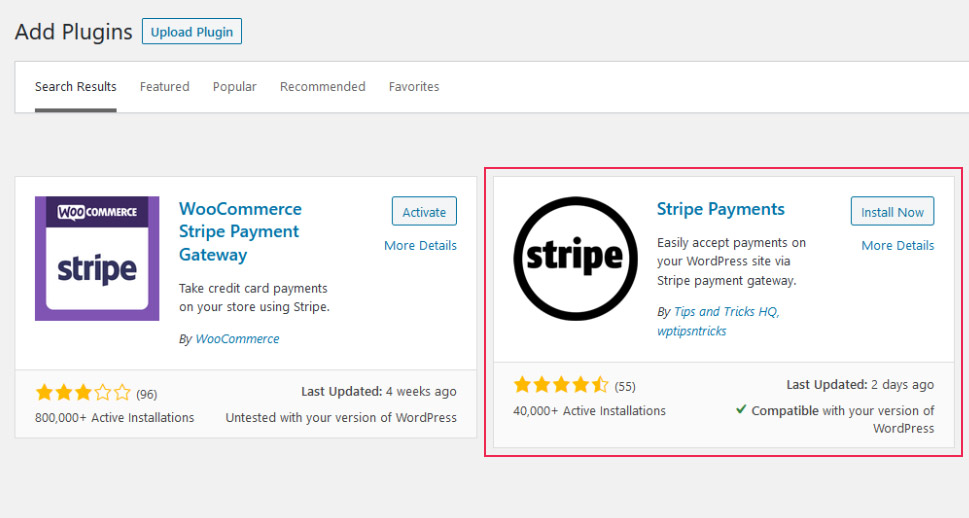
Navigate to your website dashboard – you’ll be looking for Plugins > Add New. Search for “Stripe payments,” find the plugin of the same name, install, and activate it.
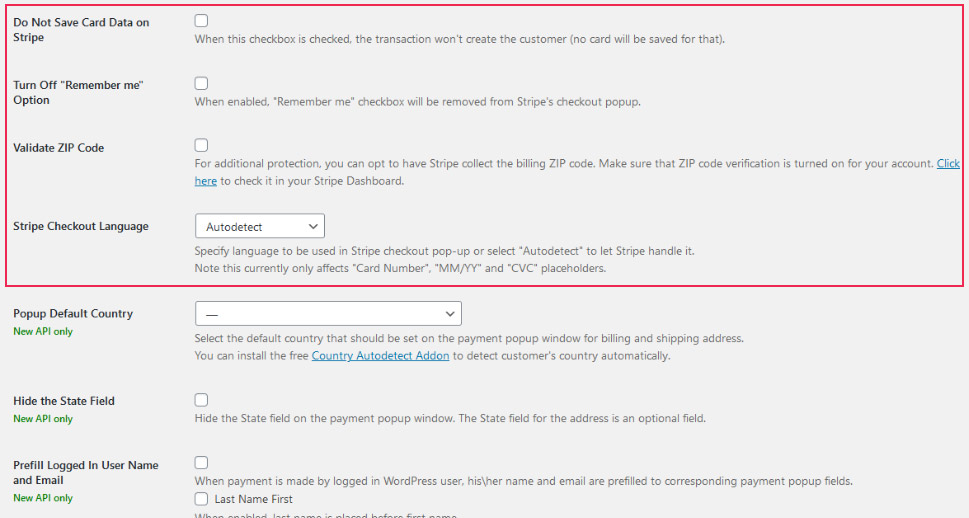
The first thing you should do now is to navigate to Stripe Payments > Settings. There, under General Settings, you’ll see the URLs to the pages the plugin has made for you – the checkout result and the product pages. You’ll be able to set the currency, its symbol, as well as the payment button text. Options to save card data, set the “remember me” option, and enable ZIP code validation are also there.
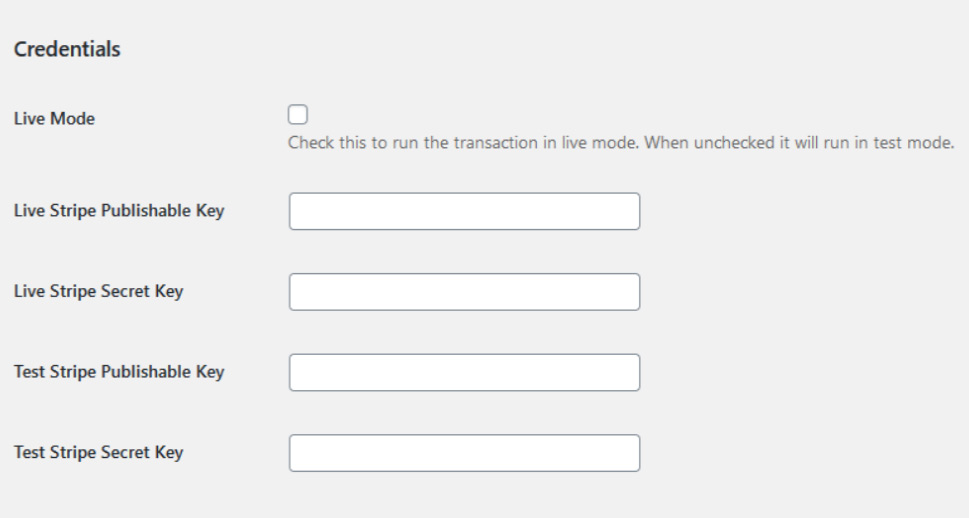
If you scroll down the page for long enough, you’ll eventually reach the Credential sections – this is where you choose whether you’re working in Live or Test mode, and where you can enter the Stripe API keys to connect the plugin with Stripe.
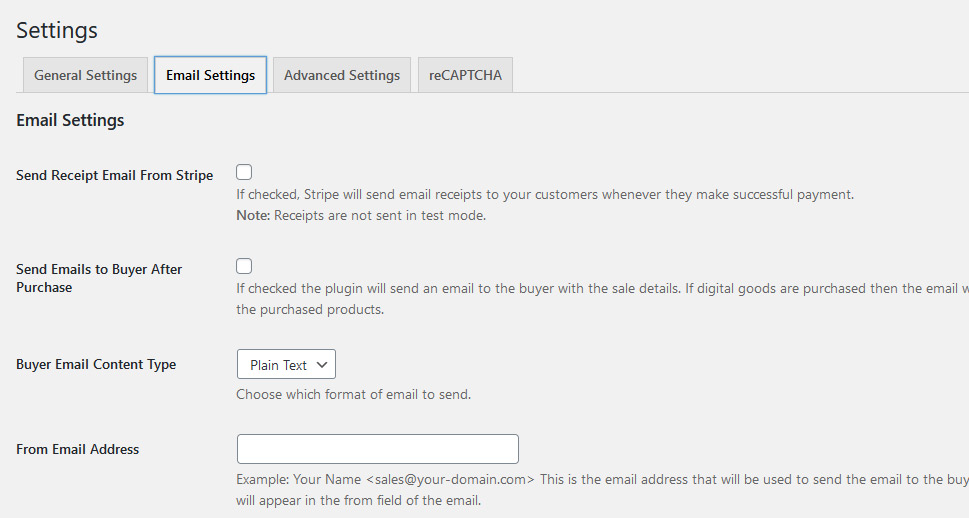
In the Email Settings tab, you’ll be able to choose whether you want Stripe to send email receipts after successful payments, as well as after-purchase emails that will contain links to downloadable products if that’s what you’re selling. It’s also possible to set up an email that goes out to the seller after purchase, as well as transaction error emails.
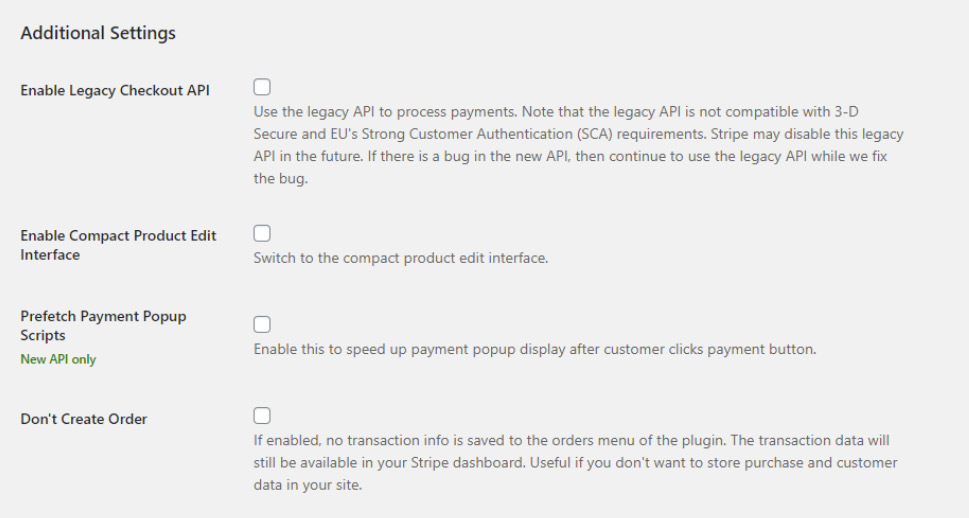
In the Advanced Settings tab, you’ll find options that will help you choose how to display the price, create custom fields for users to fill, terms and conditions options, and additional settings that include enabling legacy checkout API, setting whether to create orders and additional CSS for the payment popup page.
The way you use this plugin when you’ve set it up is by creating products. Head over to Stripe Payments > Add New Product. You can give your product a title, a description, and a short description.
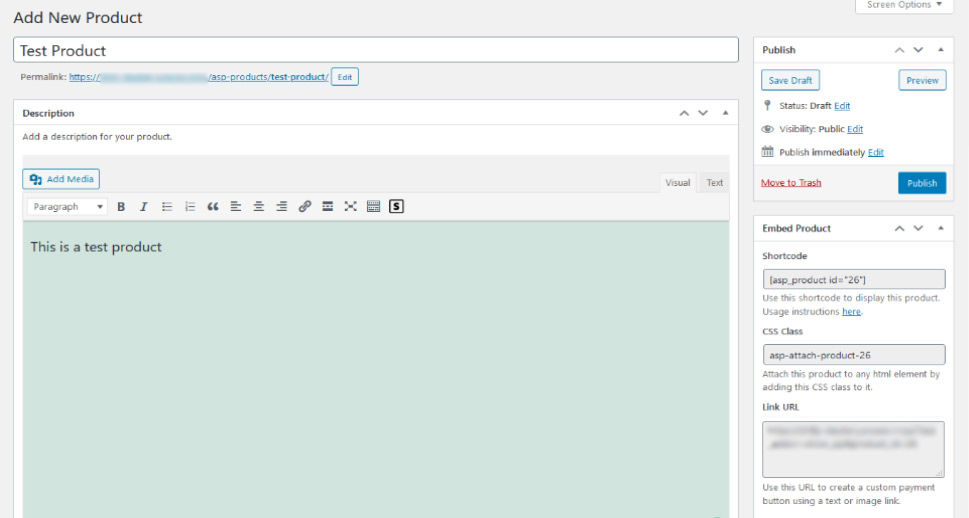
Further down, you’ll be able to set up the price and the currency, whether you want it to be a payment or a donation. You’ll have tons of other options at your disposal, too, including setting quantity and stock of the product, shipping and tax costs, and a download URL if the product is downloadable. You’ll also be able to choose the button text.

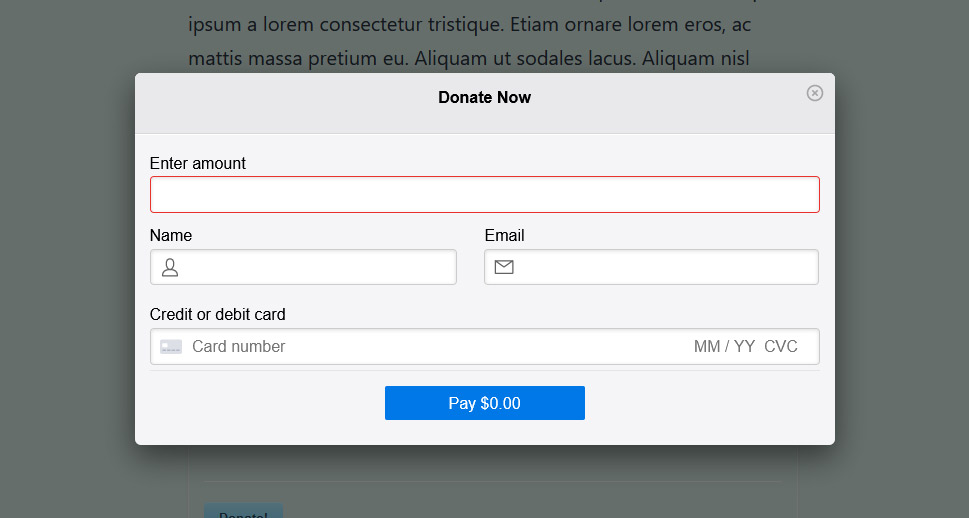
When done, you can use the shortcode to add your product to any page or post you want. For example, if you want to add it after a post as a donation drive, simply create a donation product and add a shortcode to the end of your posts.
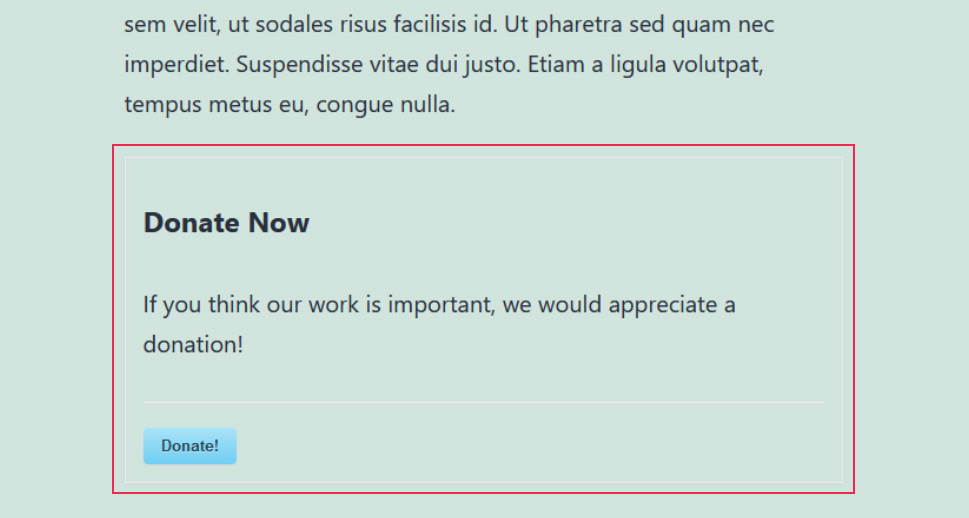
When they click the button, your readers will be able to donate to you, and you’ll be using Stripe as the payment processor.
Let’s Wrap It Up!
For anyone who has a WordPress website and wants to be able to accept payments, Stripe can be a great choice for a payment processor. It’s easy to set up and use, it isn’t too expensive, and even though it has a couple of downsides – it’s still overall one of the best payment processing services out there. So as long as you’re in one of the countries Stripe supports, you’re bound to find a way to integrate it into your WordPress website and use it to process payments, subscriptions, or donations.
