How to Add Interactive Images in WordPress

To create appealing websites that won’t be mentally dumped by users in a blink of an eye requires careful planning and the use of high-quality visual content. In most cases, words alone are simply not enough to keep visitors on a page, since:
-
some people might be overwhelmed by too much text on a page and they may flee;
-
most users don’t even read the content word-by-word but rather skim through it and therefore are more likely to leave your site;
-
text is just not as engaging and enticing as graphics are.
A particularly good way of engaging with your audience is by using interactive visual content because of its power to tell stories more vividly than static graphics.
In this article, we’ll discus:
Interactive images allow you to take things up a notch when it comes to user engagement. For instance, you can upload a wildlife picture and then enable users to tap on each animal to learn more about it. Or, if you run an online store, people could click on each product to read user reviews and see more pictures of it.
The thing is, by placing hotspots on pictures and then linking them to textual, audio, video, or any other kind of content you can bring pages to life and make your website more memorable. You can also supercharge them with highlights, additional information, descriptions, links to other web pages, and play with colors in order to invite users to take action and become involved with your brand.


Elementor users have it easy – all they need to do to add some interactive properties to their images is to download Qi Addons for Elementor. The plugin is bursting with awesome Elementor widgets for creating great effects on your website, including adding interactive elements to your images.
For example, you can easily add interactive hotspots to your images with the Image Hotspots widget. The widget is included with the plugin’s premium version, and we’ll show you how to use it to add some interactivity to your images. So after installing and activating the plugin and ensuring you have Elementor installed, go ahead and open a new post or page.
Adding the Content to the Image Hotspots Widget
You must first search for the elements menu widget and drag it over to the working areas. We’ve prepared our working area beforehand by going into the column options and setting Center for horizontal alignment.
Even with that, however, we needed some tweaking to get our image right and centered. So after adding the image under Content > General, we turned to Advanced > Positioning > Width in the widget options and chose Inline. That helped us, but remember that you might not need to go through these steps depending on your theme and its settings.

By default, the widget creates three spots. You can add new ones or remove the existing ones and set various options for them. For example, you can change their titles and subtitles, add pin images, set pin positions, and choose where the info box appears on hover.
For our first pin, we set its Horizontal Position to Center and its Vertical Position to Top. Next, we set the Vertical Offset to 130 and the Horizontal Offset to -181. Finally, we put our own title, deleted the default subtitle, and changed the pin. We also deleted the remaining items, but only for now – we’ll add them later.

Styling the Image Hotspots Widget
After switching to the Style tab, you’ll first encounter the Pin Style options. It’s where you can change the default pin, its color and size, and set up the pin holder around the pin.
We changed the Pin Color to #d79b76 and set the Pin Size to 18px. For the Pin Holder Background Color, we chose #ffffff. We also set the Pin Holder Size to 46px and the Pin Border Radius to 30px on all four sides.

The Info Style options let you set up the looks and behavior of the info box that appears when you hover over an image hotspot. There are two different animations for displaying the info you can choose, both with their appropriate options. For example, if you select the Fade In animation, you can set up the box’s position relative to the pin, whether the box has an arrow, and how far away the box is from the pin.
Because we chose the other type of display, animation, Reveal, we had none of those options. However, we did change the Info Background Color to #4c652f, the Info Padding values to, in order, 11px, 30px, 12px, and 62px, and the Info Border Radius to 30px on all sides.

The Info Title Style options allow you to choose the title tag, color, typography options, and bottom margin.
We changed the Title Color to #ffffff. Then, under Title Typography, we set the size to 17px.

The Info Subtitle Style options let us choose the subtitle color and typography options. We didn’t have subtitles, so we had nothing to do here. What we did, instead, was to navigate back to Content > General and copy the item we created six times. We changed the title and the pin every time, as well as their position.
For the Stone pin, we set the Vertical Offset to 113px and the Horizontal Offset to 180px, keeping the horizontal and vertical positions of the original. For the Plastic pin, we switched the Horizontal Position to Right, and the Vertical Position to Middle. We changed the Vertical Offset to -61px and the Horizontal Offset to 188px. We set the Ceramics to Center and Bottom, with Offset values of 241px and 176px. For the Steel pin, we switched to Right and Bottom, with 109px and 180px for Offset values. The Wood pin was set to Center and Bottom, with Offset values 106px and -76px. Finally, for the Reed pin, we switched the position to Left and Bottom, with Offset values of 26px and 235px.

And that was it! Of course, you should feel free to experiment to get the image hotspots that suit your photos best. If you’re even in need of inspiration or want to see how the example we created here looks on a website, you can always visit the widget’s landing page.

If you like adding hotspots to your images to increase their interactivity, but Elementor is not your page builder of choices, don’t worry. Our very own Qi Blocks for Gutenberg plugin also has an Image Hotspots block. It’s a premium block, so you’ll have to get the plugin’s premium version to use it.
When the plugin is installed and activated, adding hotspots to an image is very easy. We’ll show you how we did it for one of the examples on the block’s landing page.
After adding the block to a page, you’ll see a placeholder image and three pins, which are there by default. Then, heading over to the right-hand side menu, you’ll notice that it’s open on the Content tab, where you can change the image, add and remove pins and change their contents.

We started by changing the picture. We removed all the default items except one, then changed its Title, removed the Subtitle, and set its Vertical Offset to 27% and its Horizontal Offset to 24%. We then duplicated that item to create the next one, in which we changed the Title and the Vertical Position to Middle. Next, we set the Vertical Offset to 3.5% and the Horizontal Offset to 5.5%. The next pin’s Horizontal Position was Right, Vertical Position Top, Vertical Offset 20%, and Horizontal Offset 22.7%. For the final pin, the values were set to Right, Bottom, 10.5%, and -14.5%.

Styling the Image Hotspot Block
We then moved on to the Style options, where we first set out to style the pins. The options available here include changing the pin icon, its size and color, and the pin holder color, size, and border radius.
We changed the pin icon and set the Pin Size to 15px. Next, we set the Pin Color to #ffffff and the Pin Holder Background Color to #e74242. Finally, for the Pin Holder Size, we chose 47px and a 30px Pin Holder Border Radius on all sides.

The Info Style options allow you to style the info box. For example, you can choose how it’s displayed, where, and what color the display box will be, as well as padding and border-radius values.
The Info Display we chose was Fade In. We chose the Top Info Position, opted to have the arrow, and set the Info Offset from Pin to 11px. The Info Padding values we entered were 13px, 25px, 13px, and 25px.
In the Info Title Style options, you can choose the title’s color, typography, tag, and bottom margin. We changed the Title Color to #1e1e1e. Under Typography, we changed the Font Family to DM Sans, Font Size to 17px, and Weight to Medium.

As we didn’t have any subtitles to style, we could call it a day – our example was done.
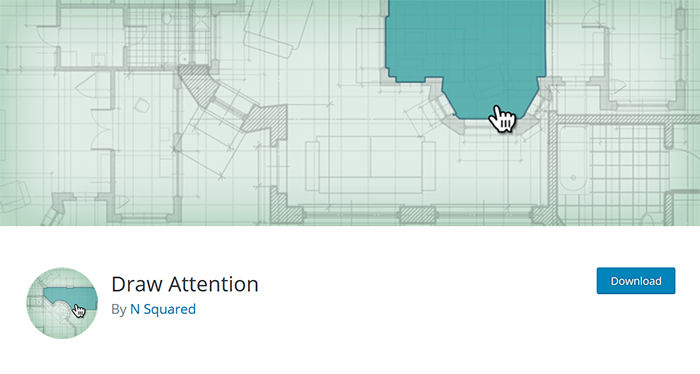
Several other premium plugins on the market could help you do the job, including Image Map Pro for WordPress, Adverty, and WooMapper. We really liked the features that the Draw Attention plugin packs. You get a lot of value without having to spend any money since the plugin can be downloaded for free from the official WordPress plugin repository.
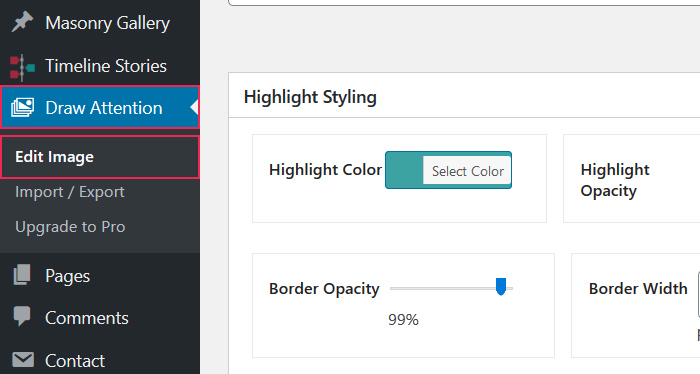
The first step is to install the plugin and activate it on your website. To start creating an interactive image, look for the Draw Attention option within your menu, and click on Edit Image.
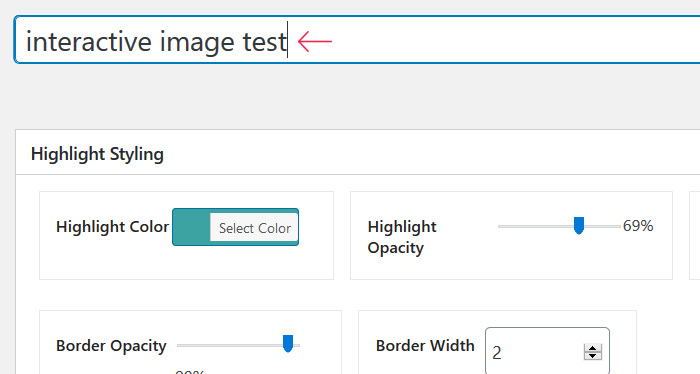
First up, you can add the image title that will be visible once the image is displayed.
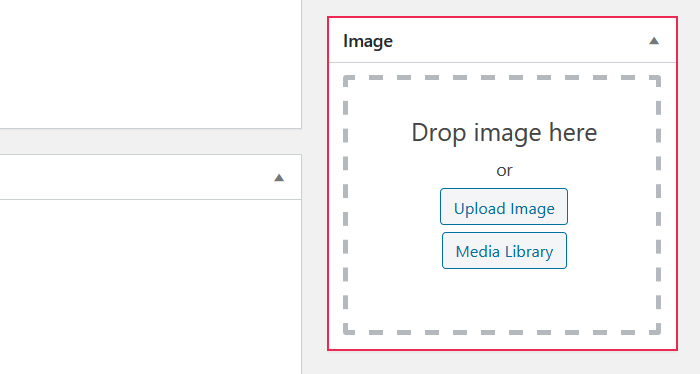
Then, on the right side of the screen add the new image you wish to edit or select one from the media library.
Once the picture uploads, you can adjust numerous styling options and modify colors, enter the default More Info text, etc.

If you scroll a bit down the page, you’ll reach the Hotspot Areas section. This is where you can start adding hotspot areas on your image.
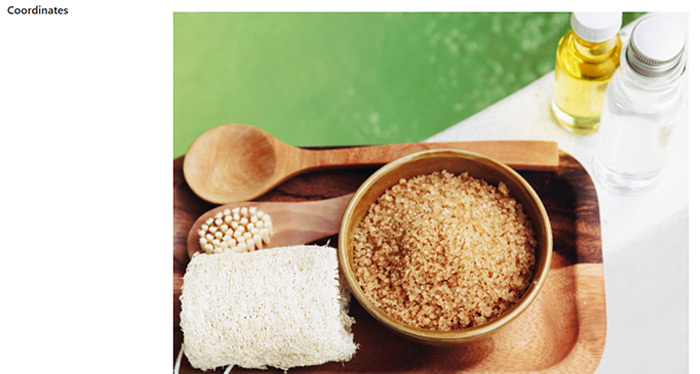
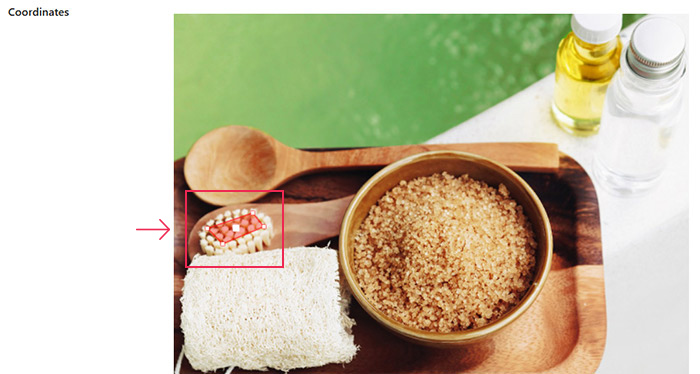
For starters, click on Clickable Area #1. Your image will now appear under Coordinates.
Now simply click the part of the image where you wish to add the first point. You can draw various hotspot shapes by adding more points which will then form a hotspot area.
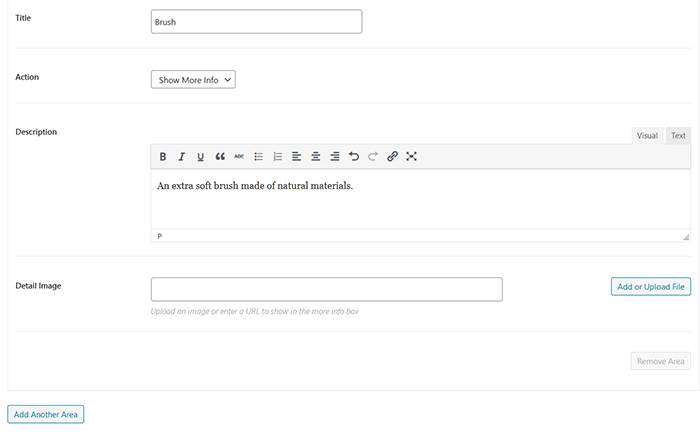
Below the image, you’ll find a set of additional options that allow you to add a title for your hotspot area, choose what’s going to happen once a user clicks on a hotspot (you can insert more info or add a link which will take them to another web page), enter a description, and upload an image which will be displayed once the user clicks on the hotspot.
When you’re happy with the final result, press the Update button.
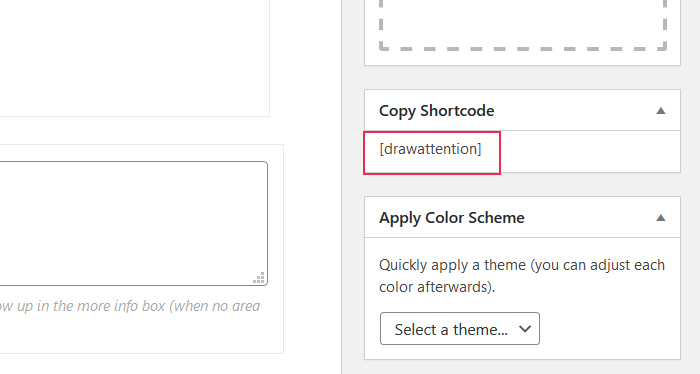
Now, to add your interactive image to a page or post, copy the shortcode displayed at the right-hand side of the screen.
Then, go to the page where you wish to display the interactive image. In case you’re still using the Classic Editor, paste the code in the Text Editor. In Gutenberg, add the Shortcode block first and insert your code. If Elementor is your preferred page builder, add the code to the Shortcode widget and the interactive image will appear on your page.
Import / Export Interactive Images
The Draw Attention plugin packs another practical option that comes in handy in case you’re working on multiple sites and you wish to import and export interactive images from one site to the next.
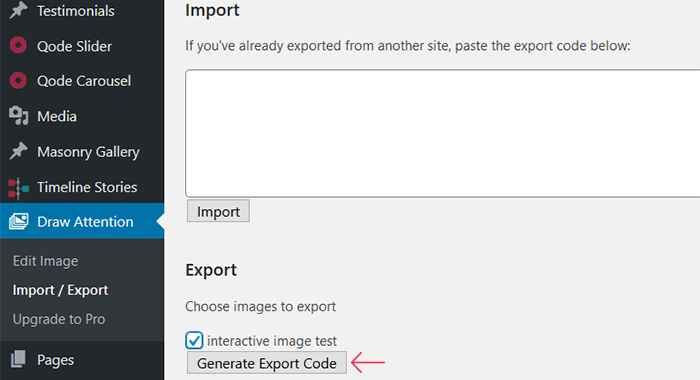
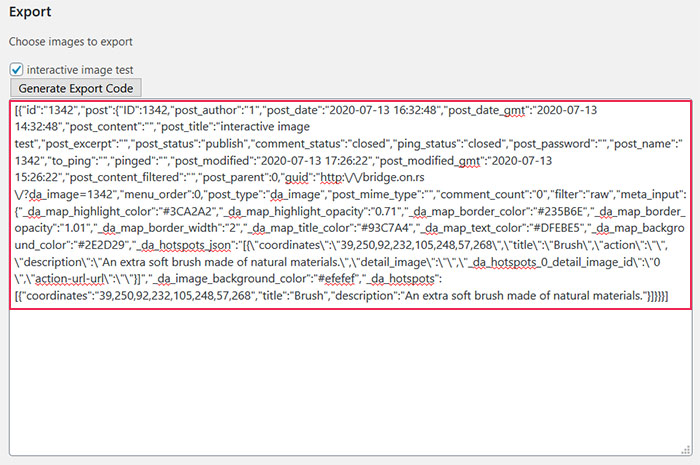
In that case, you should first install the plugin on both websites. On the website you’d like to export the image from, go to Draw Attention > Import / Export, select the images in question, and press the Generate Export Code button.
Now, copy the entire code.
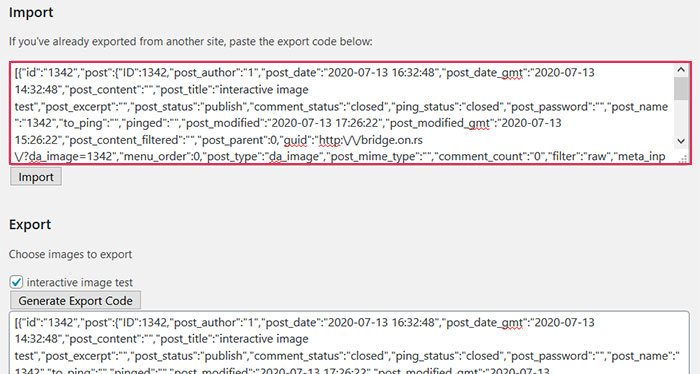
Next up, go to the other website where you wish to import the image and again, click on Draw Attention > Import / Export, paste your code in the Import field, and press the Import button.
The downside of using the free version of this plugin is that it allows you to add just one interactive image to your website. If you choose to upgrade to one of their premium plans though, you’ll have the option to add as many interactive images as you need and set an unlimited number of hotspots, select a preferred layout and one of the 20 predefined color palettes, get one year of support and updates, and more.
Qode Themes: Top Picks
View Collection


Final Thoughts
Using interactive images can indubitably help you keep the visitors on your website and possibly increase your conversion rates. The more interesting and appealing the content you offer is, the more people will want to do business with you. The Draw Attention is a terrific plugin if you’re in need of a solution that will allow you to add an interactive image to your pages hassle-free. Just don’t forget to optimize images before uploading them in order to avoid jeopardizing the website’s performance and UX.
