How to Optimize Images for the Web
For many entrepreneurs and marketers, visuals are essential for their business. Images can have a tremendous impact both on users and on a website’s performance, which is why mastering image optimization is essential for your site’s wellbeing.
What exactly is image optimization and how do you optimize images for web sites? We’ll share with you all the necessary steps you need to take care of to ensure your images load without a hitch.
In this roundup we’ll walk you through the following topics:
When you optimize images, you reduce their size without jeopardizing the image quality. And when you reduce the size of your files, your pages load faster. This is important for both your SEO and your visitors. The faster your content fully loads, the lower the bounce rate will be. Another thing to keep in mind when it comes to images is the imperative of good resolution, which means high-quality images. Increasing the resolution of an image using tools like Photoshop is rather easy, so you have to excuse for skimping on that one. But, let’s go back to our topic today, which is image optimization for speed purposes.
Around a decade ago, Google decided to include site speed among its relevant ranking factors. One of their webmasters, John Mueller, wrote back in 2016 that websites should take less than 2-3 seconds to load, and this is still relevant to this day.
Over time, Google has even developed tools such as Google’s PageSpeed Insights, to help people evaluate their website’s speed. Countless other tools serve the same purpose, e.g. Pingdom, GTmetrix, or Page Weight (which tells you how much images affect your page speed), but PageSpeed Insights remains quite popular among SEO experts.
Don’t forget to use optimization tools for better ranking, some of which completely are free of charge.
If your images are too large, Google will probably not be able to crawl and index them, and this could be another contributing factor to lower rankings. Don’t forget that some of your visitors come from Google Image Search (you can check your image traffic in Google Analytics), so do your best to keep them.
Another benefit of using smaller image files is that you can create backups in no time. They also take up less storage space (which would reduce the cost of backup storage) and soak up less bandwidth. Most hosting plans come with certain bandwidth limits per plan, so you should use your images in a smart way.
File Formatting
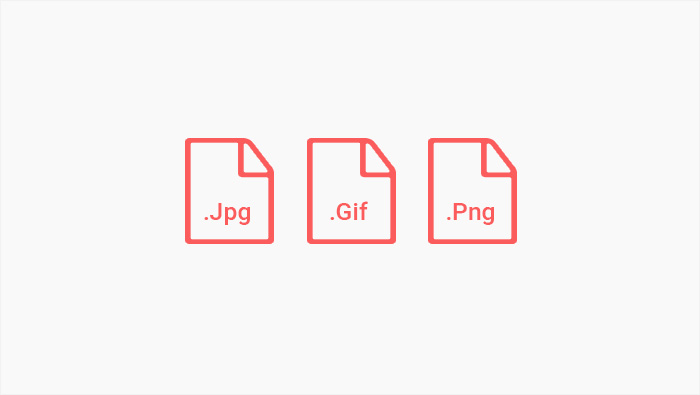
Let’s start by showing you how to choose the appropriate file format. There are numerous image formats out there, but the three most common ones are:
-
JPEG : this is one of the most widely used image file types on the web. It’s a lossy kind of a format, which means that images are compressed, and some of their original quality is lost. The typical compression ratio is 10:1, so if your image has 10MB, after you export it as a JPEG file, it’ll have 1MB in size. What’s also great about JPEG files is that you can choose just how much you want to compress your image even in Photoshop or GIMP. The downside of saving your files as JPEG is that you can’t get back the information that was thrown away during compression and there’s no transparency support. Avoid it when saving images that are text-heavy or come with lots of defined lines, as they may come out looking blurry.
-
PNG : is a lossless format that supports transparency. There are two types of PNG formats, PNG-8, and PNG-24. The former stands for images that are 8 bits per pixel (such as logos and images with simple colors), and the latter means an image is 24 bits per pixel (it supports up to 16 million colors, which makes it appropriate for complex photographs). Even though JPEG is more widespread, PNG is a standout choice when in need of transparent pixels.
-
GIF : this is another common format that uses lossless compression. But, a GIF image contains only 256 colors, which makes it suitable for simple images that don’t contain too many colors, such as banners. You could divide an image into multiple blocks, with each block containing 256 colors, so when you combine the blocks into a single image, you’d have a file with far more colors. But, if you do this, your file will be quite large, so you might as well avoid it.
Image Dimensions
Images you take with your smartphone or a professional camera have large resolutions of around 300 dpi and the dimensions of at least 2000 px and above. But photos that big aren’t fit for websites, they take forever to load. Sure, you want your visuals to look impressive, but still, the load time needs to be low. That’s why you need to change the image size in Photoshop or another image editing software of your choice before adding them to your website. The resolution itself ultimately doesn’t matter as much as the weight of the image, which needs to stay below 100 kb, or 150kb max. But more on that in the next chapter.
Image Compression
If you overdo it and compress your image too much, that’ll result in a small file size and a low-quality image. On the other hand, when a compression rate is not big, images have great quality but are also large.
As a rule of thumb, the overall weight of your website shouldn’t surpass 2 MB. Ideally, the fast-loading website’s size should be around 1 MB.
With that in mind, consider keeping your images at around 150 KB or smaller. If you’re using the PNG format, don’t go over 100 KB.
There are two types of compression: lossy and lossless.
Lossy or irreversible compression means some of the data and quality will be lost from the original version. Even after you considerably reduce the size of the file, it’ll seem there are no noticeable differences. Of course, on closer inspection, those differences will be more apparent. If the new file size is too small, you may see some pixelated areas and jagged edges on your image.
Lossless compression is a method that allows you do reduce the image size without degrading its quality. No data is lost when a file is losslessly compressed, meaning the original data can be recovered anytime. However, since no data is removed, files can be compressed by no more than 50%.
Image Name
Don’t overlook this step. Giving proper names to your image files is important for image SEO, since Google and other search engines crawl names of your image files. Avoid generic names, but rather go down the descriptive route and include keywords. For instance, if there’s an image of a car on your website, you could specify its make and model in the file name.
It’s also important to optimize alt attributes a.k.a. text alternatives to images. If, for some reason, a browser can’t render an image, the alternative text will show up instead. Even when a page fully loads, if you hover over an image, alt attributes appear. They matter quite a bit as they impact your website’s SEO and increase the chances of your images appearing in Google image search. Just be careful not to overstuff your alt attributes with keywords, as search engines may penalize you for doing it.
Blurry Image Preview
This step is all about creating the impression of fast-loading, high-quality images by loading the lower quality version of an image first. While your visitors wait for the website to fully load, the smaller version of the image appears. It’s stretched to the original size and it seems blurry, but this lasts only for a wee bit of time, before the full-sized image loads. Although it requires some basic CSS knowledge, creating the blur up effect is actually quite doable.
Top WordPress Themes for All Creatives
View Collection


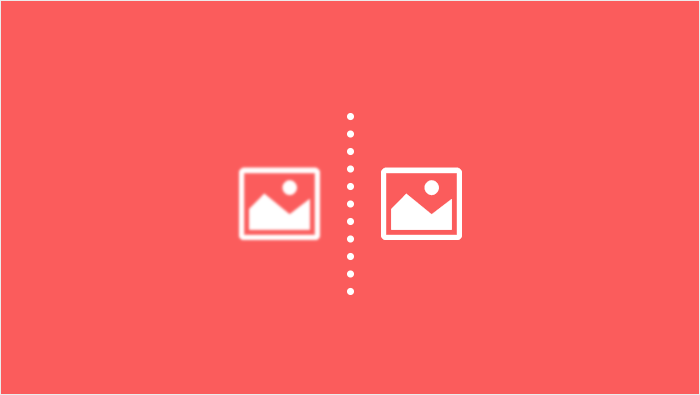
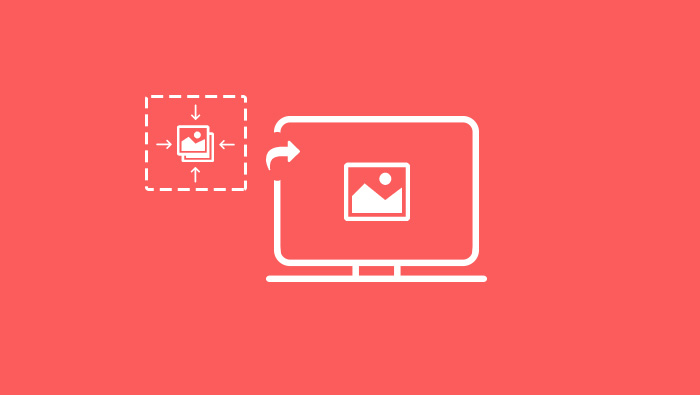
Image optimization tools allow you to modify your images as per your needs. You can compress them, change file types, modify image dimensions, etc.
Adobe Photoshop
The most popular image editing tool is unquestionably Adobe Photoshop. It packs some impressive image editing features, but the Save for Web option is particularly interesting.
When you need to reduce the size of one of your photos without jeopardizing its quality, use this option. It’ll allow you to choose the image type, image quality, and dimensions. Pay attention to Quality and Blur options. By modifying them (even without touching other settings), you can maintain a high-quality image that doesn’t weight much.
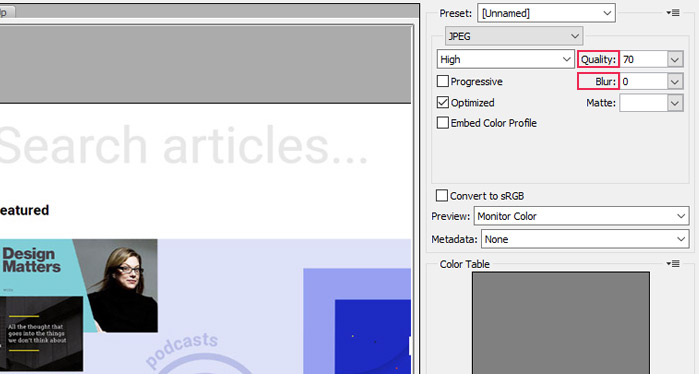
Image Optimization Plugins in WordPress
WordPress comes with lots of nifty plugins that can help you optimize your photos without too much fuss. But, no matter how powerful each of them is, you should still resize your images before uploading them to WordPress, or else you could lose lots of precious hosting space.
Some of the best plugins for image optimization include Optimole, EWWW Image Optimizer Cloud, Imagify, Smush, Optimus – WordPress Image Optimizer, and Compress JPEG & PNG Images.
Smush is the most popular one, with over 1 million active downloads, but no matter the plugin you choose, all will help you optimize images so that your website can load faster. The one thing you could look out for is that a plugin you install can compress and optimize images externally, on its own servers. That way your page load time won’t be affected by image sizes.
Conclusion
Image optimization is one of the determining factors for your website’s flawless performance. If done poorly, you risk low rankings, high load times, as well as huge bounce and low conversion rates. Optimizing images properly will not only help you lead a more successful online business, but it’ll save you lots of site’s storage you’ll surely need as your website continues to develop and expand.
No good ever came from bad UX, so follow our tips on how to optimize images for the web, and your website will work like a clockwork.
