How to Set Up WooCommerce PDF Invoices for Free

Invoices are absolutely necessary to run any kind of business. Without them, it would be impossible to collect payments. They are legal proof that both you and your customer have fulfilled your end of the business. Thanks to them, you are able to prevent costly mistakes regarding payments, filing taxes, and similar business requirements.
For an online business, PDF invoices offer even more benefits. They are safe, free of common vulnerabilities, and allow you to keep track of your business transactions in a more organized manner.
While creating PDF invoices may seem challenging, especially if you are a beginner, there are PDF invoice plugins that make the entire process smooth and easy.
In this article, we will show you how to create PDF invoices with the free WooCommerce PDF Invoices & Packing Slips plugin.
In this tutorial you’ll learn about:
eCommerce WordPress Themes
View Collection


The WooCommerce PDF Invoices and Packing Slips plugin is a simple and very user-friendly plugin trusted by more than 300 000 users. Its free version includes all the options you need to create a full-fledged invoice with your logo included. It also generates a sequence number for every invoice so that you can easily keep track of all the payments.
The installation of the WooCommerce PDF Invoices & Packing Slips plugin is no different from any other WordPress plugin installation. In case you need some assistance with the installation process, make sure to check out our tutorial on how to install a WordPress plugin.
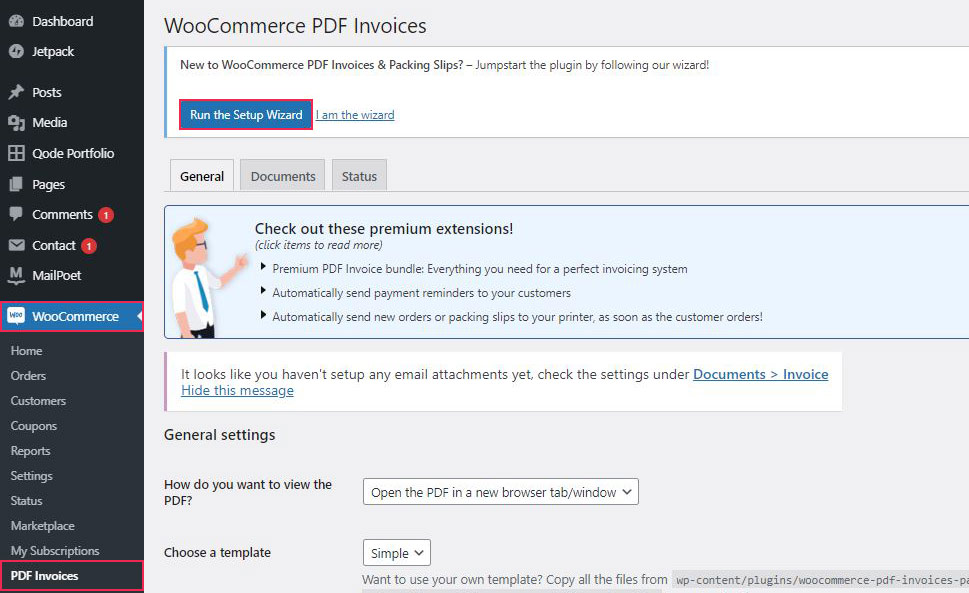
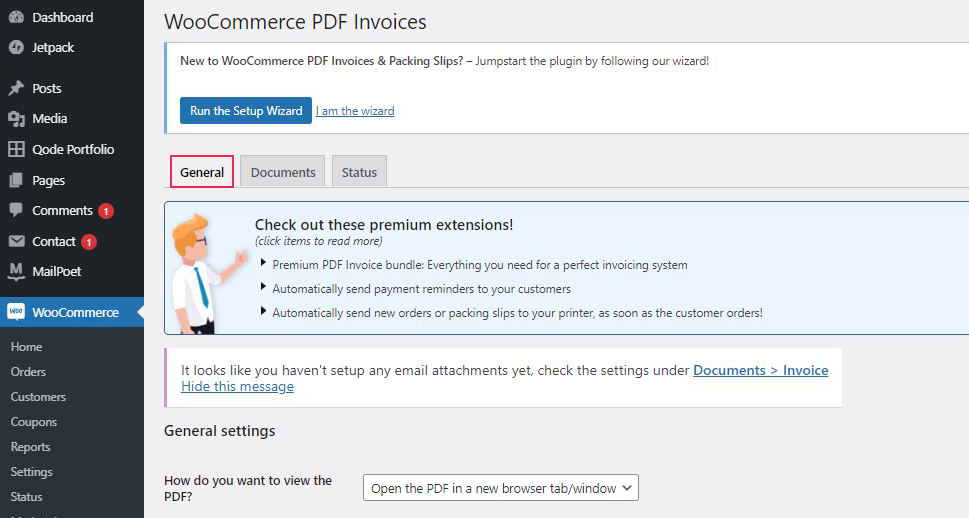
Before we start, just note that for this plugin to work, you need to have WooCommerce already installed on your website. If you’ve got that covered, to access the plugin’s settings, go to WooCommerce > PDF Invoices in your WordPress admin dashboard. The WooCommerce PDF Invoices plugin offers a setup wizard that does all the work in just a few clicks. There are plenty of settings to configure though, but the safest and most straightforward way is to use the setup wizard, so we’ll start from there.
To access the wizard, just click the Run The Setup Wizard button.
The procedure for creating an invoice is now initiated, and the setup wizard takes you through it step by step. You’ll get clear instructions on what you need to do/insert/click until your PDF invoice is created.
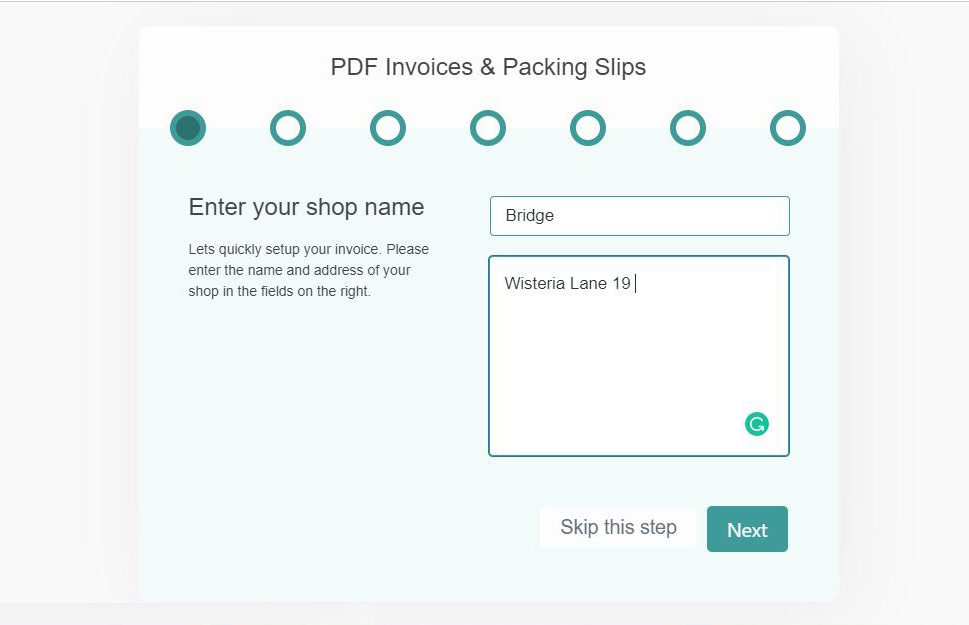
The first step requires you to enter the name and the address of your shop. These details will then be automatically included in the invoice. To continue, fill in the fields and click Next.
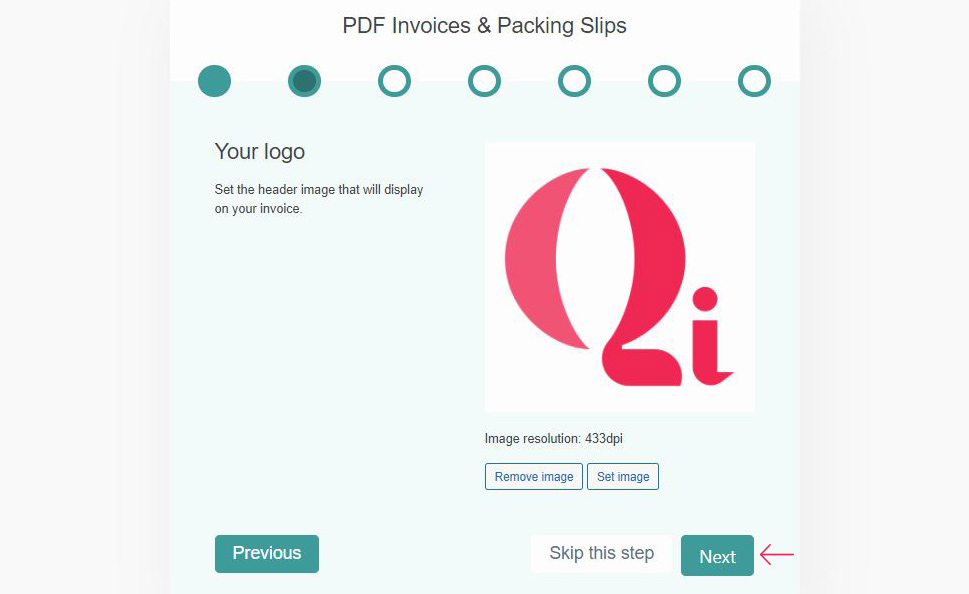
In the next step, the plugin allows you to insert a logo into your invoice.
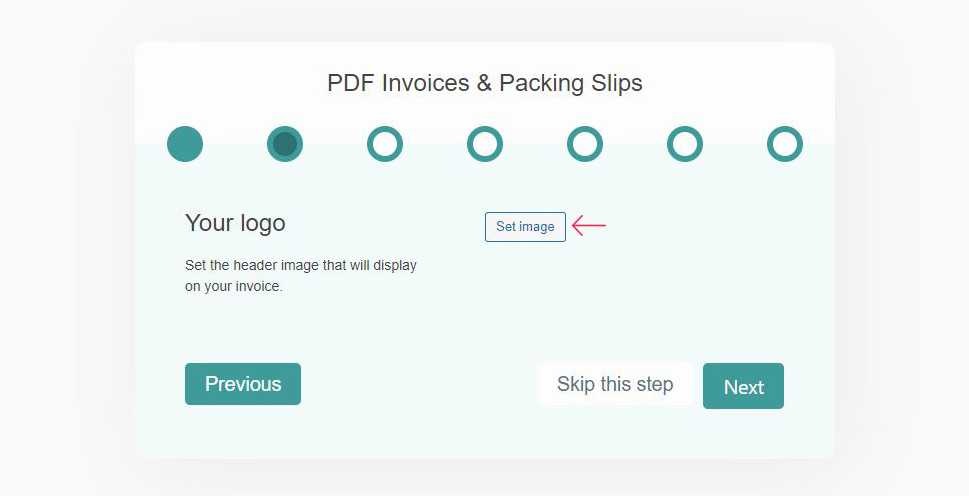
By clicking on the Set image button, you are directed to your Media Library to choose an image for your logo. You can also upload files in case the file you need is not in the Media Library. You can skip this step, but bear in mind that the logo helps you strengthen your brand and raise brand awareness. After you choose the logo image, click the Set image button to continue.
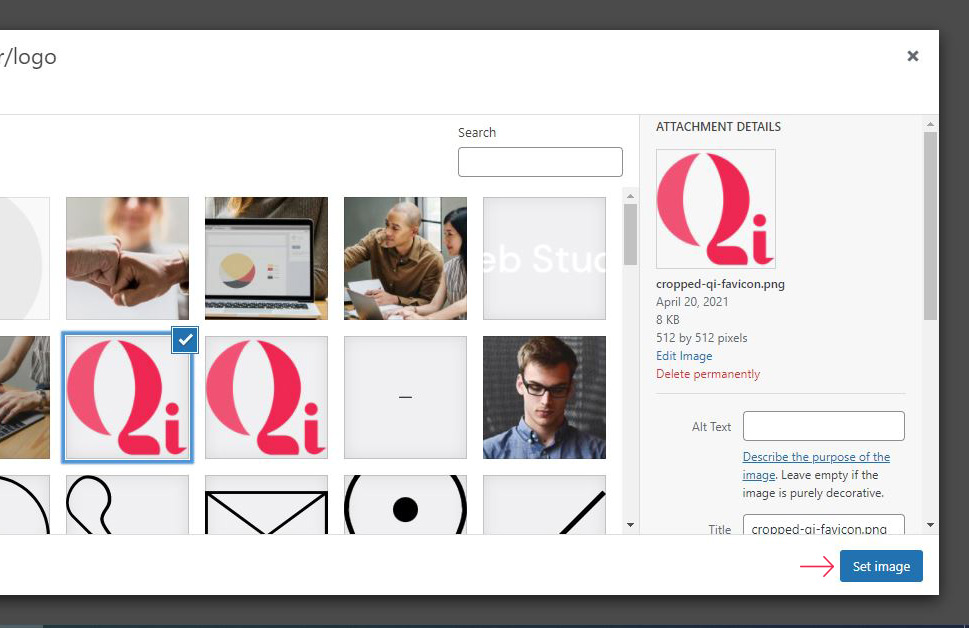
You will have a preview of the logo on the screen, and it will also automatically be included in your PDF invoices. If you are satisfied with the preview, click Next.
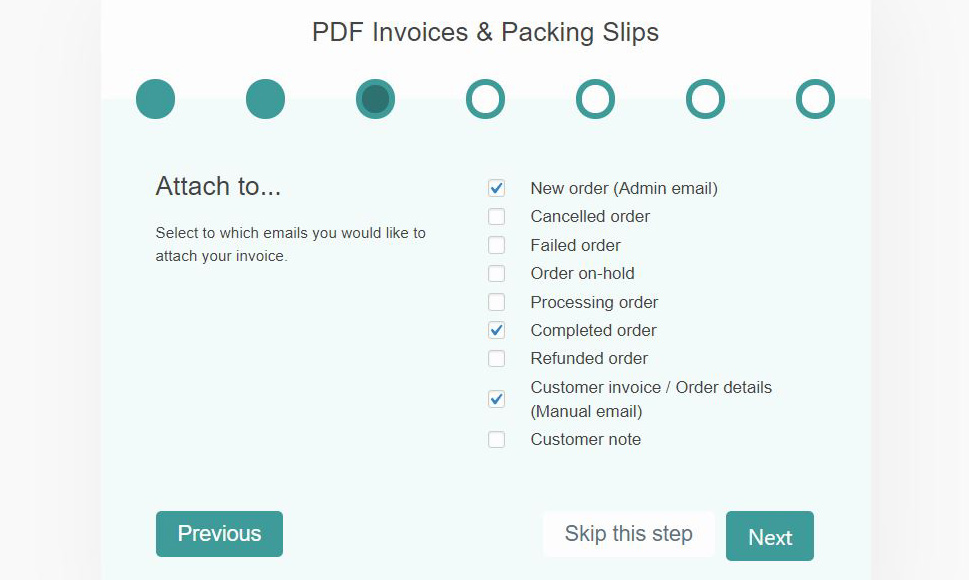
None of the emails that WooCommerce sends out automatically for key events like canceled orders, new orders, and similar have a downloadable PDF invoice attached to them by default. In this step, you choose which of these need to have PDF invoices incorporated.
The option you should surely check is the Customer Invoice/Order Details (Manual Email) box. There is nothing wrong with sending PDF invoices with every email that goes out, but it is good to have the option to exclude PDF invoices from a specific type of email when necessary.
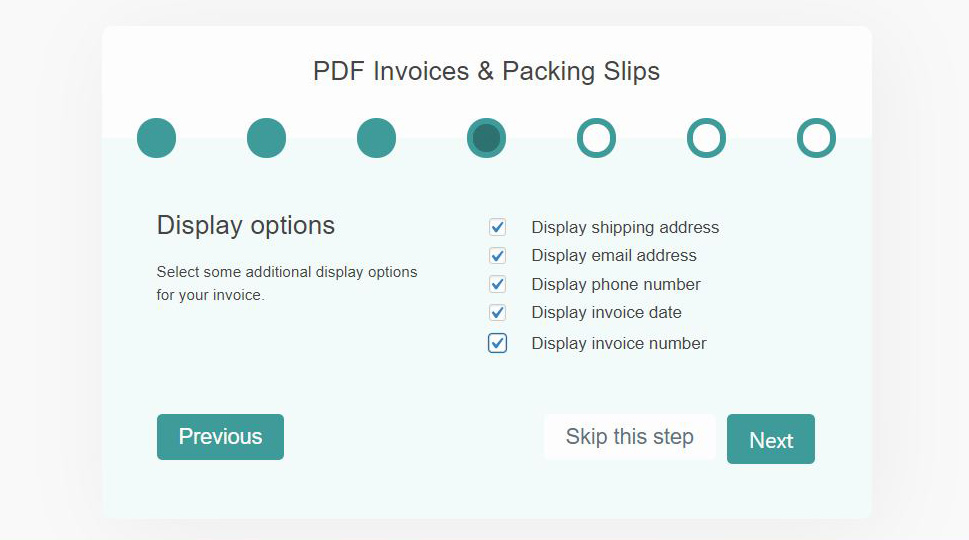
In the following step, you get to choose the kind of additional info you want to display on the invoice. Including all of the proposed information from this section is, in our opinion, a good decision. Having a PDF invoice with detailed information is an advantage and makes you look more professional and trustworthy.
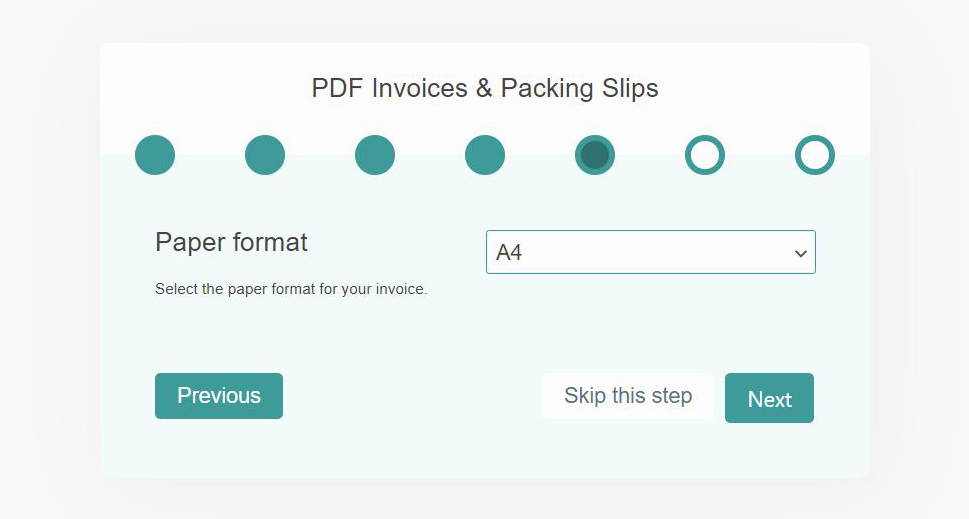
After clicking Next, you are taken to the next step where you define the paper format of the PDF invoice. This is important in terms of printing the invoice. You can choose between A4 or Letter format.
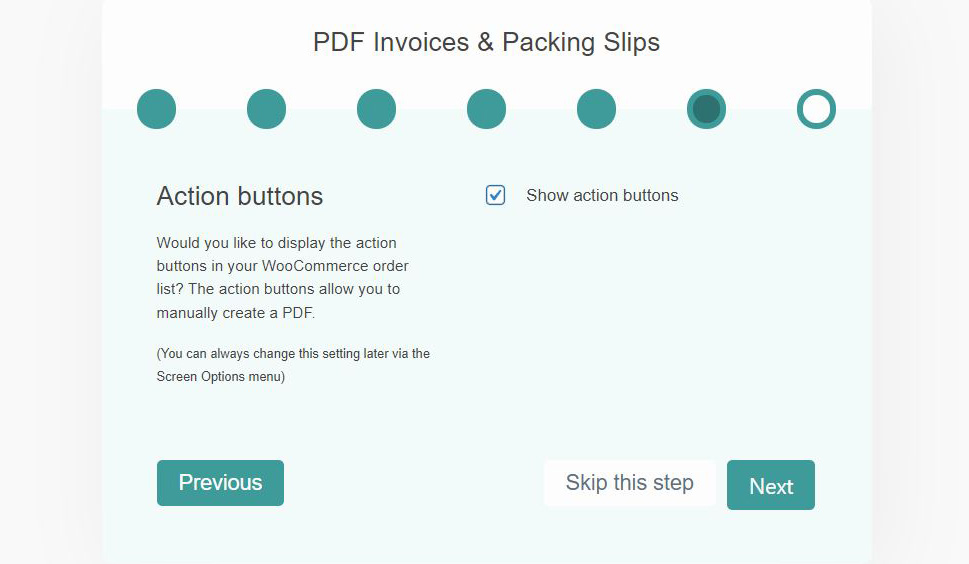
The section that follows offers the possibility to add a new, handy feature to the WooCommerce order list that allows you to manually send an invoice to specific customers. By activating action buttons, you can manually send invoices to selected customers with just a click of a button. Make sure to check this option if sending invoices manually is a part of your daily routine.
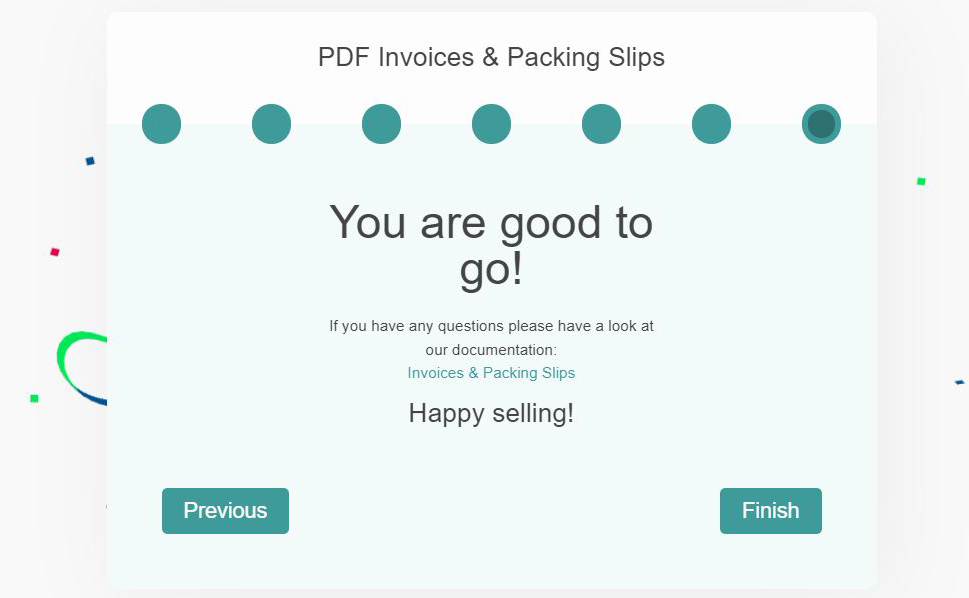
And that is all you need to do to have a neat PDF invoice, with detailed information displayed. Just click Finish, and you can go back to your WordPress admin dashboard.
Now all the automated emails that you selected previously in the setup wizard will have PDF invoices attached. In case you need to resend some of these emails and change the order actions for any reason, that is also possible.
It is also possible to modify the details of all invoices after you set up the basics with the setup wizard. This would also be the procedure in case you wanted to skip the setup wizard and adjust all the settings manually by yourself. To start, go to the WooCommerce menu, choose PDF invoices, and then click on the General tab to open the General settings.
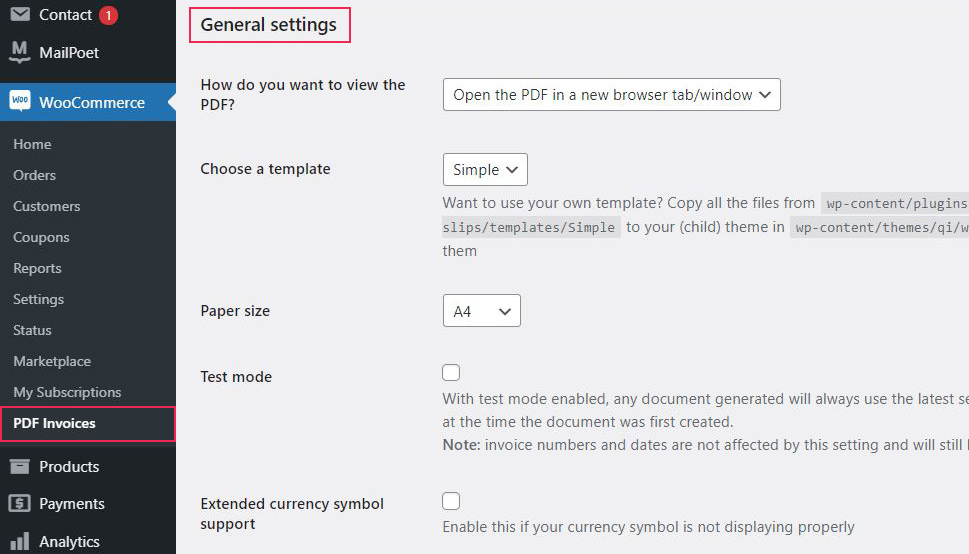
The first setting allows you to define how you want the PDF to be viewed – by opening it in a new browser tab/window or by downloading it. Then you can select the template. The free version of the plugin actually does not offer more than one template so there’s nothing to select here unless you buy the premium version. Just like in the setup wizard, you also have the option to choose the paper size for the PDF. The Test mode is best to be left unchecked unless you want every document generated to always use the latest settings, rather than the settings you configured at the time the document was first created. In case the currency symbol doesn’t display well on the invoice, tick the Enable currency symbol support box. The Enable font subsetting option is recommended for non-English fonts, like those that use Asian and Arabic scripts for example. This option can reduce the PDF file size by including only the characters that are used in the Invoice, but limits the ability to edit PDF files later.
The Shop header/logo option allows you to remove, add or set the logo image. You can also set the logo height, add/adjust the shop name and shop address.
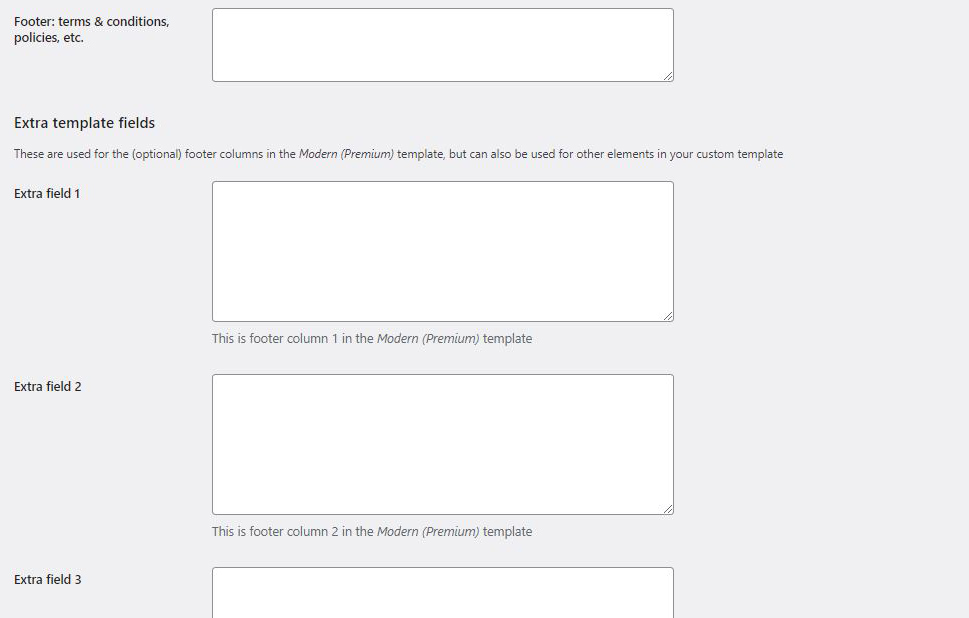
The following options allow you to add some additional content to the invoice. You can insert some text, policy, or similar content to the invoice footnote and add some extra fields if you find it necessary.
After you are all set and done here, click on Save changes and proceed to the Documents tab.
The Documents tab allows you to adjust which type of emails you want the PDF invoice to be attached to. You can disable the PDF invoice for a specific type of order like Cancelled orders for example.

The next settings mostly refer to what you want to be displayed in the invoice. If you failed to include some details like the date, phone number, email address, etc., you can correct that by ticking the appropriate boxes in these settings. You also have the option to adjust the number format on the invoice as well as the number itself.

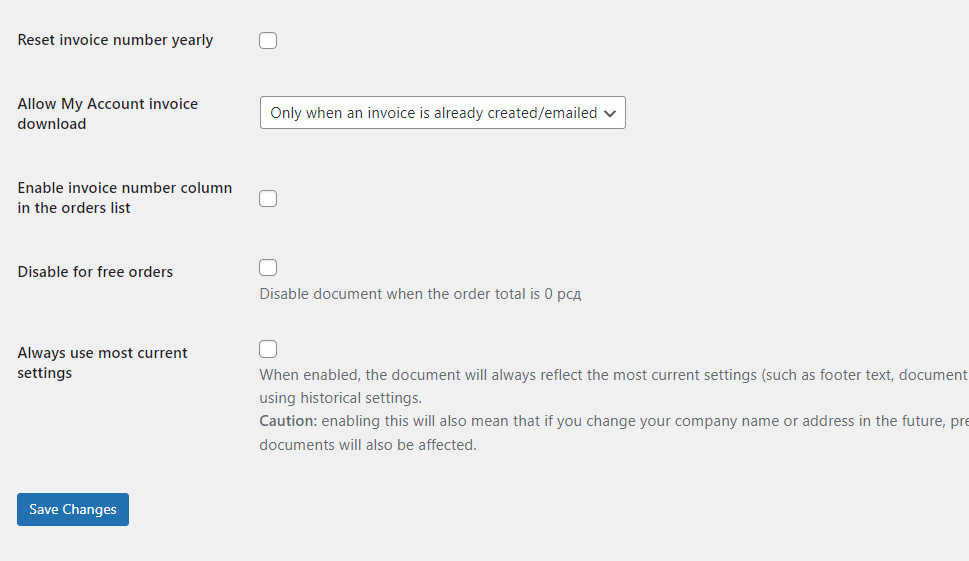
You can also set the invoice number to reset yearly and choose in which cases the invoice can be downloaded – always, never, in specific cases, or only when the invoice is already emailed. The Enable invoice number column in the orders list option is practical if you want the invoice numbers to be displayed in the column on the orders list too. And the last option here, when enabled, allows for the document to always reflect the most current settings (such as document name, footer text, etc.) rather than use the historical settings.
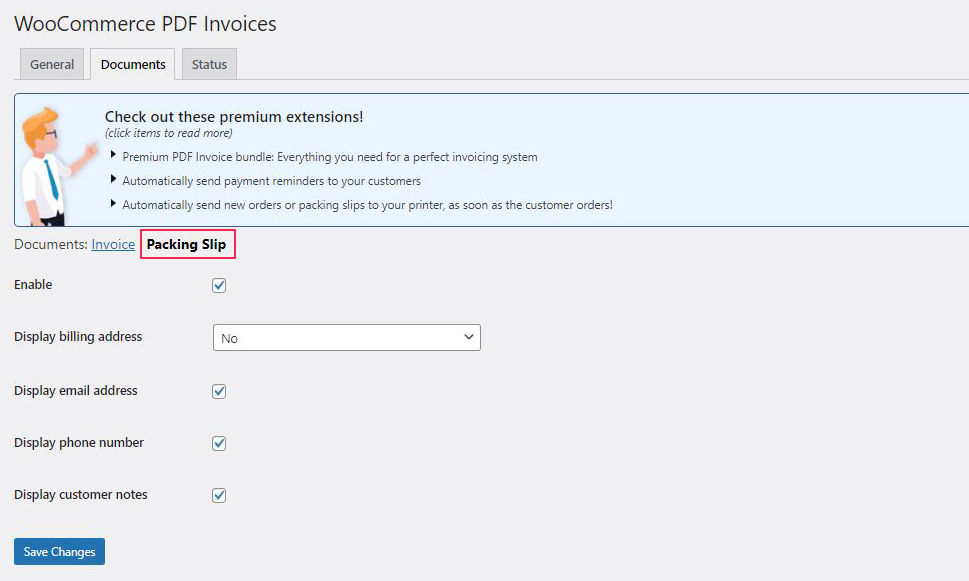
The Document tab also contains the Packing slip settings, so let’s briefly explain them too. A packing slip is a document, usually attached to the package, that contains the complete list of the items included in the package. It typically includes dimensions, weights, SKU numbers, and similar details about the content of the package. The customer can use the packing slip to check whether the content of the package and the content listed in the packing slip match and to ensure the ordered items arrived properly. If you enable Packing slip, you can set whether you want it to include billing address, email address, phone number, and customer notes. Once you’re done modifying the settings, don’t forget to click Save changes.
The options in the Status tab are best not to be touched at all as they require a bit more advanced technical knowledge and do not directly affect any previously mentioned settings. All the above steps and settings are more than enough to have your PDF invoices set and ready.
If you want to add or change information in a specific invoice, you can easily do it after you finish the setup in the setup wizard. Just go to the order you want to change the details for and configure the settings as per your needs.
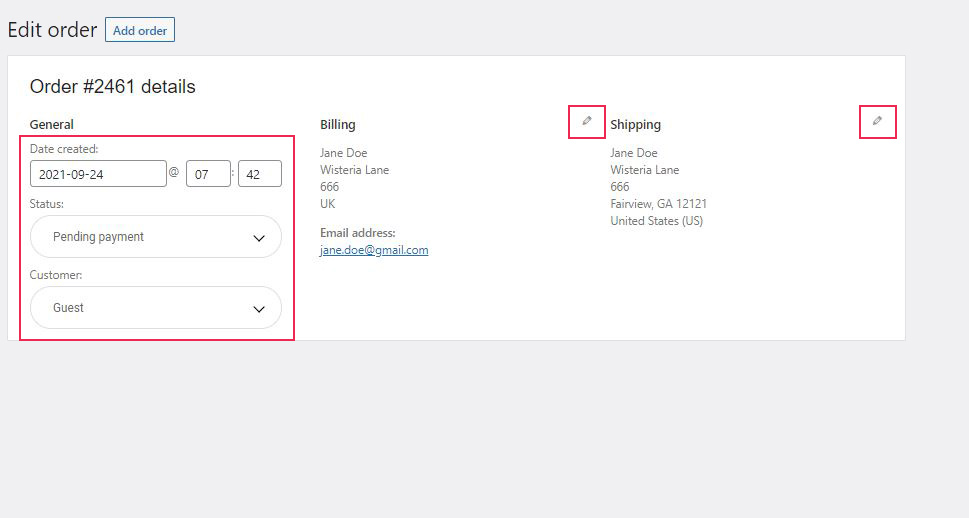
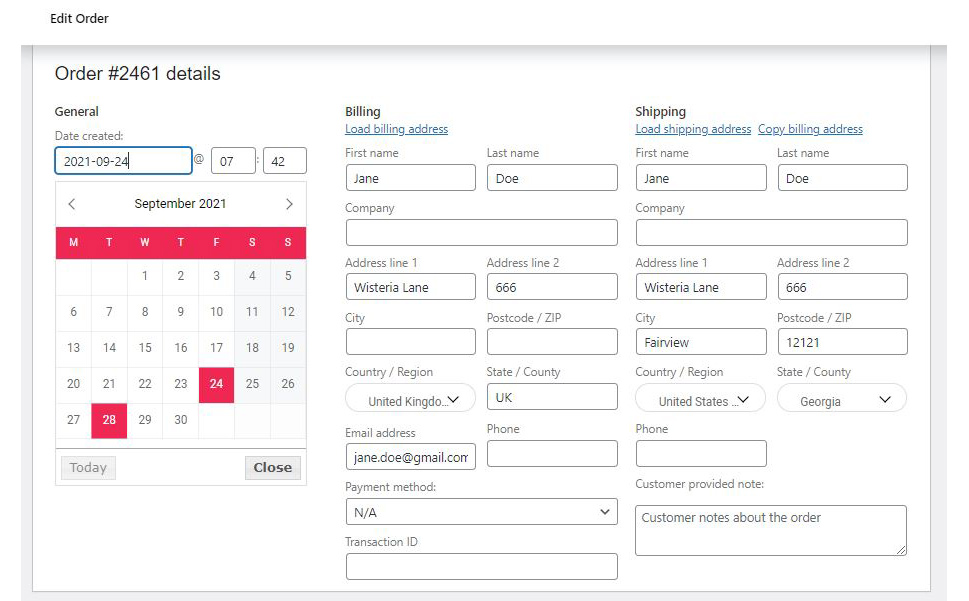
By clicking on the small pencil icon next to the Billing and Shipping tabs, a menu with a variety of fields will open. You can adjust the billing and shipping info, change the date of the invoice, specify the invoice status and enter the customer title, name, or similar. Clicking on the Date field opens a calendar where you select the desired date of the invoice.
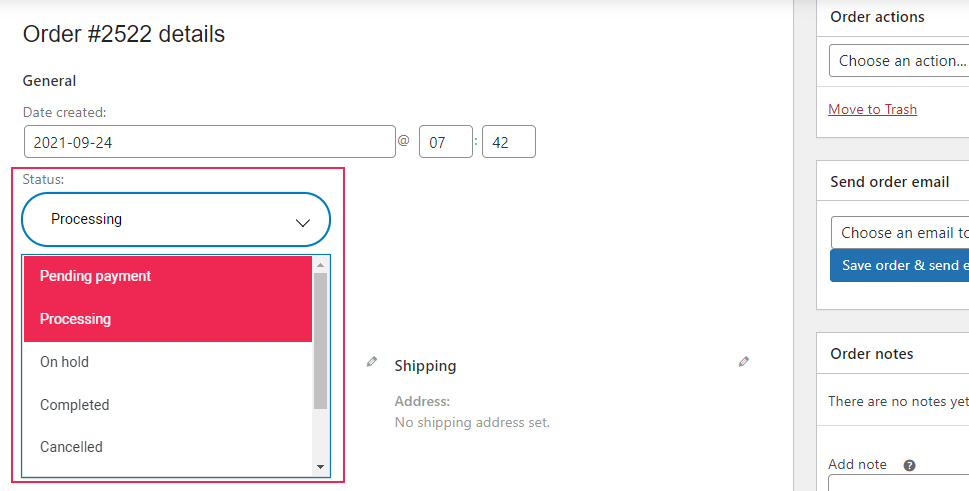
Clicking on the Status field opens a dropdown menu with several status options, you can select between Processing, Pending payment, On hold, Completed, and Cancelled.
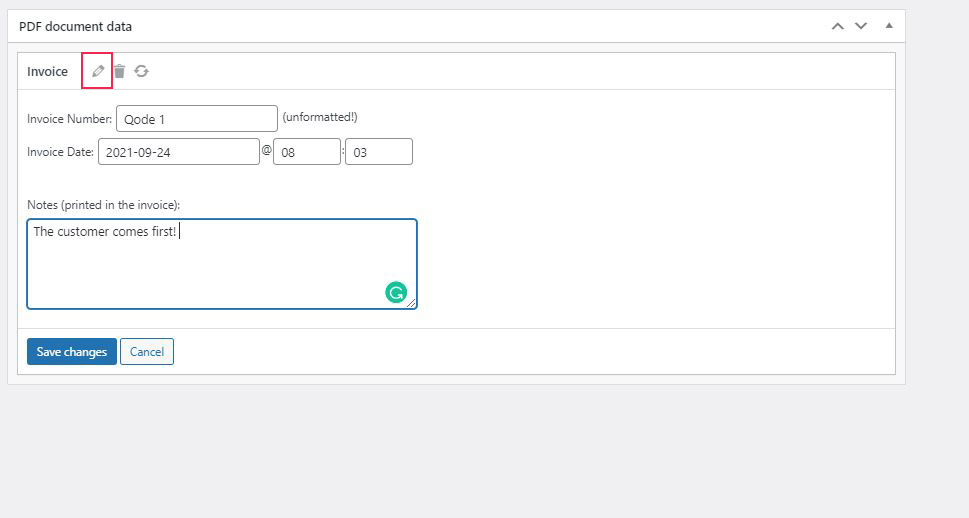
The following settings are the PDF document data settings. Click on the small pencil icon to open the settings. Here you can set/change the invoice number, add a title before the number if you find that convenient, and even add a note that will be displayed on the invoice. Click Save Changes when you finish.
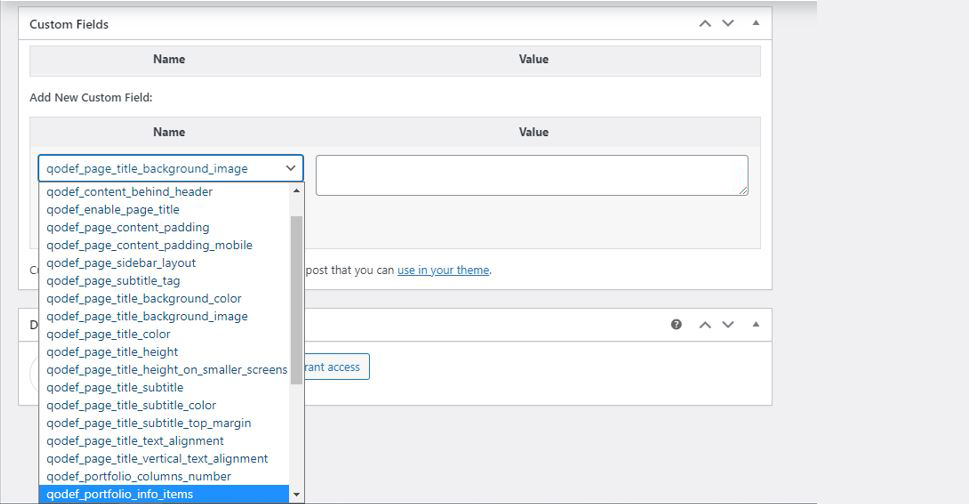
The Custom fields settings allow you to add a custom field to your invoice that can contain a background image, subtitle, and similar elements.
In case you want to preview the PDF invoice, print it, or save it on your computer, there’s the option to do that too in the bottom right corner of the Edit Order settings. You will see two options, one is for generating a PDF invoice, and the other is for generating a PDF Packing Slip.
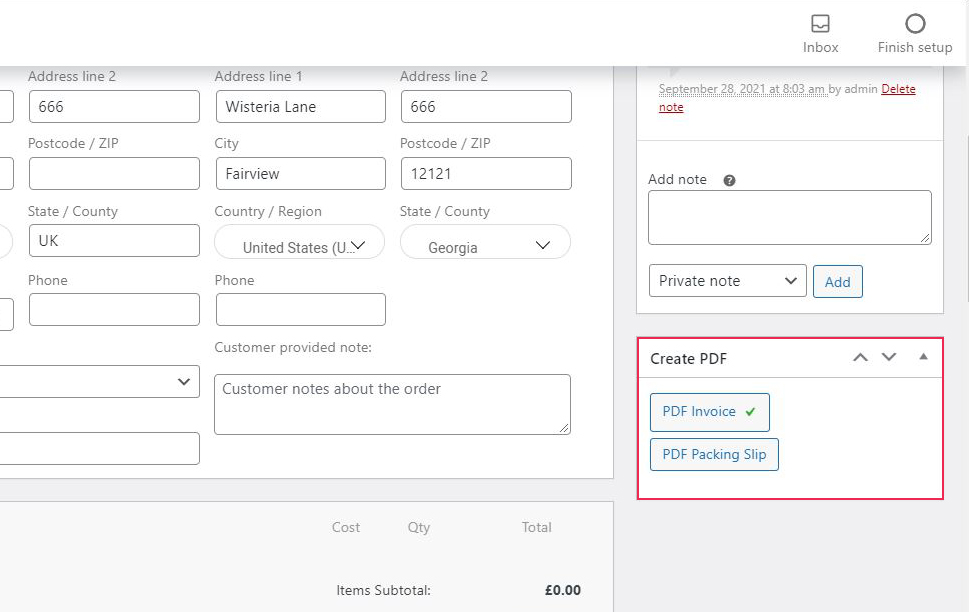
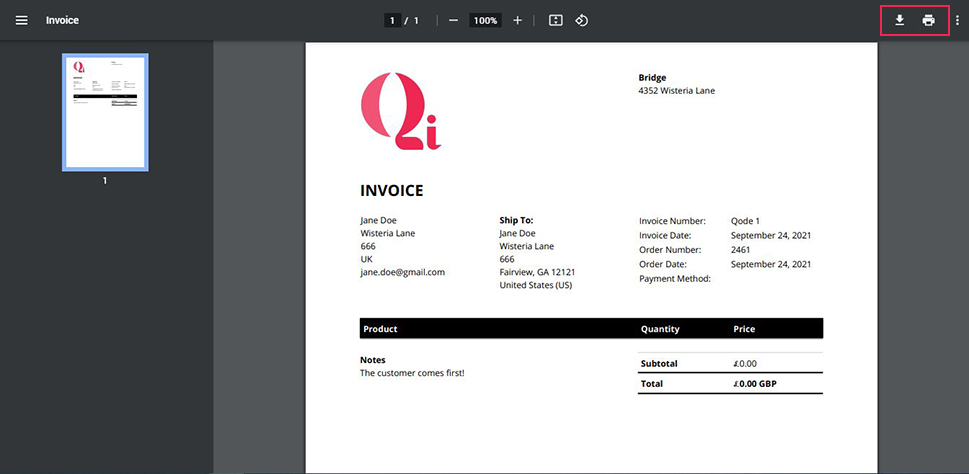
Clicking on either of the options will take you to the PDF Invoice/ PDF Packing Slip, and you will, as with any other PDF file, have the option to download it and/or print it.
One more option that you need to know about is the option to manually resend specific emails with PDF invoices. This may come in handy in cases when you want to remind the customer about the payment, or when the customer asked you to resend the invoice.
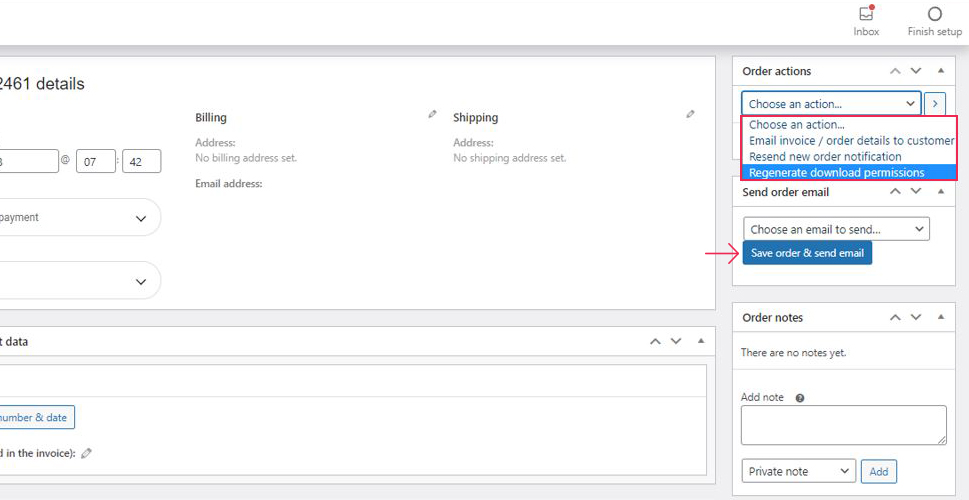
What you need to do is select and open a specific order in WooCommerce – Orders. Proceed to the Order actions section and open the dropdown menu. You will have a choice of three options:
-
Email invoice/order details to customer – by selecting this option you will manually resend the invoice to the customer with the PDF invoice attached.
-
Resend new order notification – if you want to inform or remind the customer about the order you can select this option, and the PDF invoice will be automatically attached.
-
Regenerate download permissions – this option is useful in cases when some of your customers face difficulties downloading the invoice. By selecting this option, the invoice is resent to them with a download permission.
After selecting one of the above options, enter the email address you want to resend the email with a PDF invoice to, and click on the Save order & send email button.
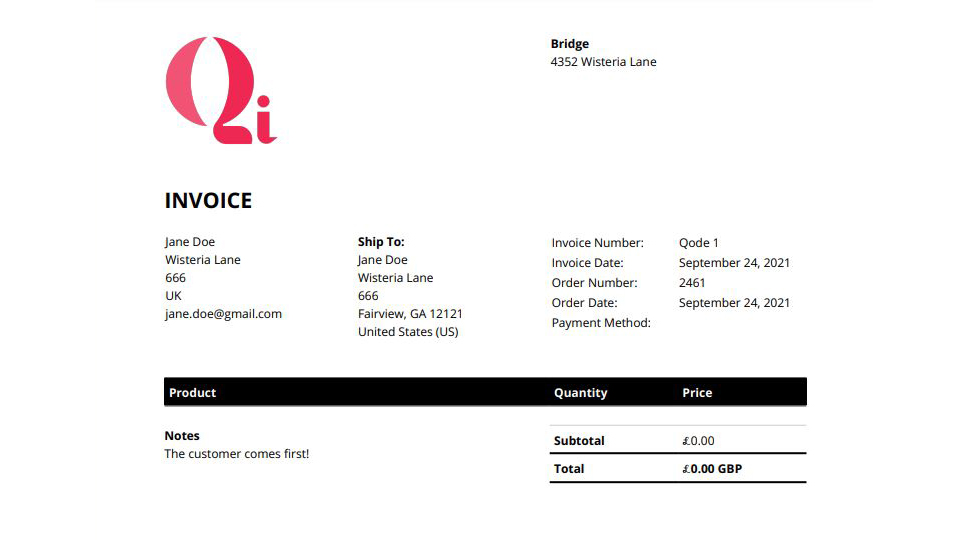
All the details you configured in the setup wizard will be automatically included in the invoice.
In Conclusion
No matter how you decide to configure your PDF invoices, this plugin allows you to change and adjust the invoice settings at any point both generally and in individual cases. The setup wizard offers an explanation for every option on each step of the way to your PDF invoice and is probably the fastest way to set the basics. And knowing that you can always go back and change the settings, leaves a lot of room to explore and modify the plugin options.
