How to Set Up Instagram Shopping for WooCommerce

When it comes to boosting one’s business, the power of Instagram is undisputable. Boasting over a billion active users, it’s safe to say this social media giant is the leader in audience engagement. As such, it is used by all kinds of businesses with the goal of promoting their website, brand and products on social media – and that includes e-commerce websites as well.
Namely, Instagram allows these types of stores to showcase their products directly on the platform itself by using so-called Instagram shoppable posts. And if you own a successfully set up WooCommerce store, you’ll be happy to hear that you can easily connect Instagram with WooCommerce and display and advertise all your WooCommerce products on your Instagram page. This will allow Instagram users to easily browse through (and shop) all your products and help you effectively increase your sales at the same time.
This time around, we will talk more about Instagram shoppable posts and the benefits they can bring to your e-commerce business. Also, we will show you all the steps you need to take to connect your WooCommerce site to Instagram, so stay tuned as we discuss:
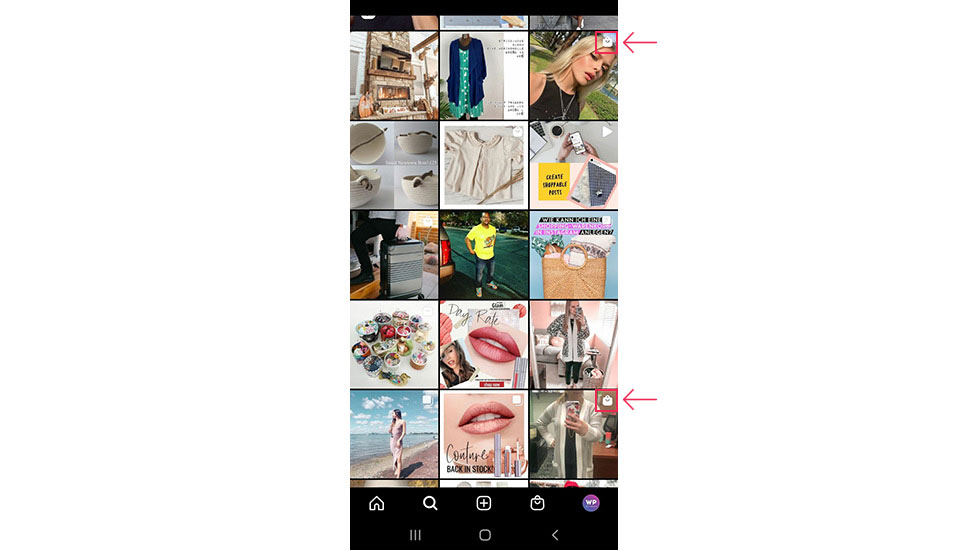
In a nutshell, Instagram shoppable posts allow users to browse through your products directly on your Instagram business page. If you’ve ever checked out any of the Instagram store pages before, you might’ve noticed a small shopping bag icon on some of their posts. That’s essentially how you can distinguish shoppable posts from other posts that can be found on Instagram.
We’ve already mentioned the popularity and influence Instagram has when it comes to brand promotion and general user engagement. Therefore, if you connect your WooCommerce catalog to Instagram and then list your products on your Instagram page, it can only help you reach more potential customers and, by extension, increase your sales.
Since shoppable posts lead users directly to the products on your WooCommerce site, by using them, you essentially drive traffic from Instagram directly towards your store. In other words, you help ease the customer journey because you shorten the steps they need to take to make the purchase.
So, not only can Instagram shoppable posts be a huge sales booster, but they can also hook users in by providing them with the convenience of browsing through products on Instagram.
eCommerce WordPress Themes
View Collection


While the shoppable posts feature can be used completely for free, there are still some requirements you need to fulfill to successfully connect your WooCommerce-powered store to Instagram.
These include:
-
Owning a WooCommerce store
-
Having an (active) Instagram business account. Keep in mind, however, that some countries currently cannot use this feature. So make sure to go to the Instagram Shopping Availability page and check out a list of countries that can be reviewed and approved for Instagram Shopping.
-
Having a Facebook business page
-
Having a Facebook page catalog set up
With that said, let’s take a look at all the steps you need to take to create Instagram shoppable posts.
Setting Up Your Facebook Catalog
First things first, you need to set up your Facebook catalog on your Facebook page.
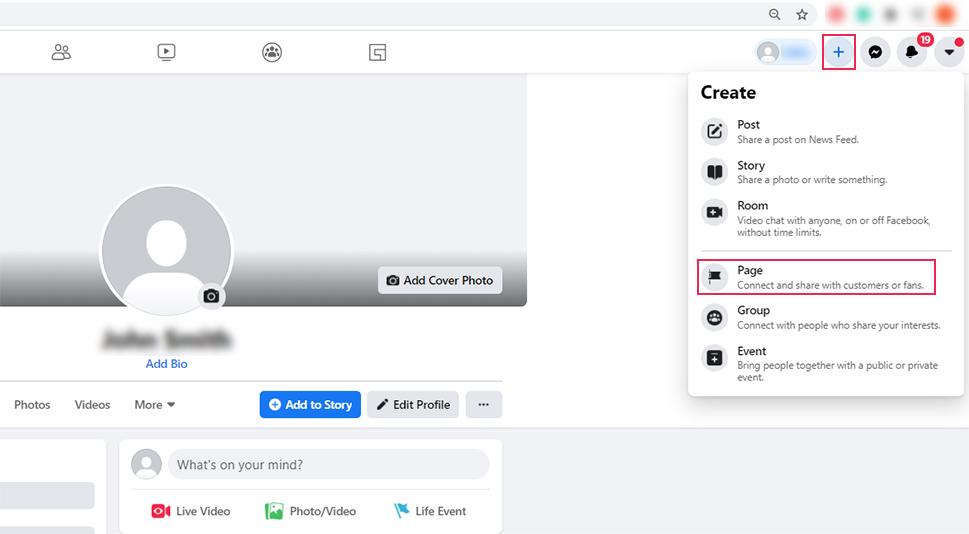
Of course, in case you don’t have a Facebook page for your business, you need to create it first. You can easily do this by clicking on the (+) button (located in the top right corner of the screen, right next to your Facebook profile name) and then selecting the Page option.
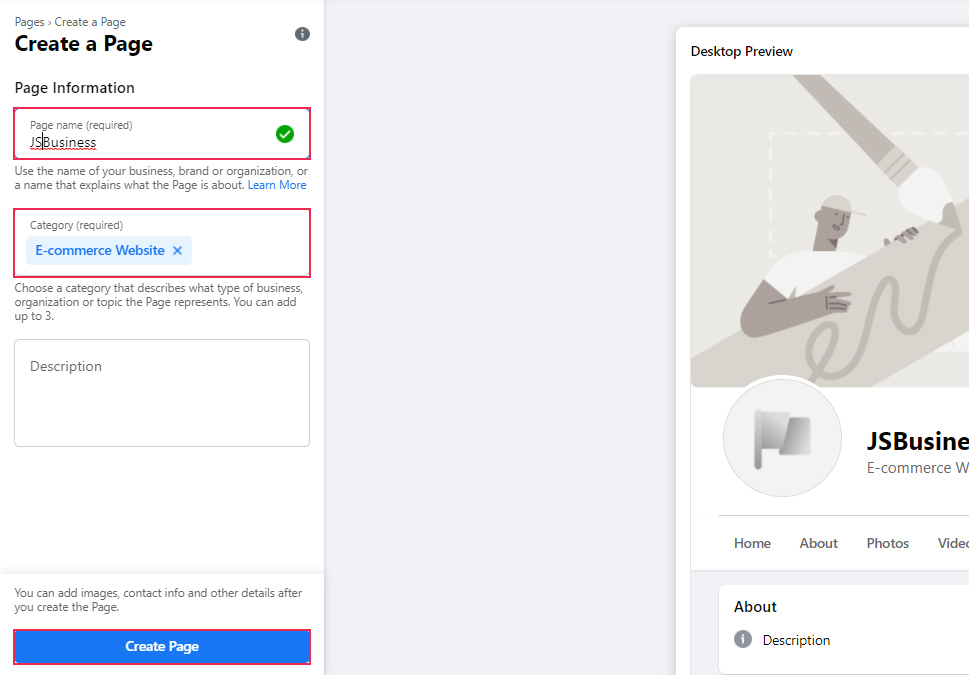
Then, add details such as your page name, category of your page, and description (this field is optional), and then click on Create Page.
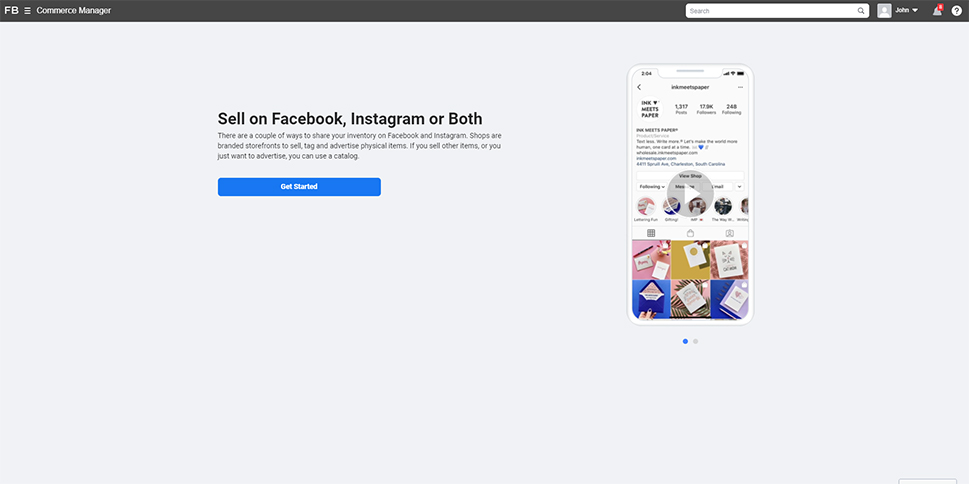
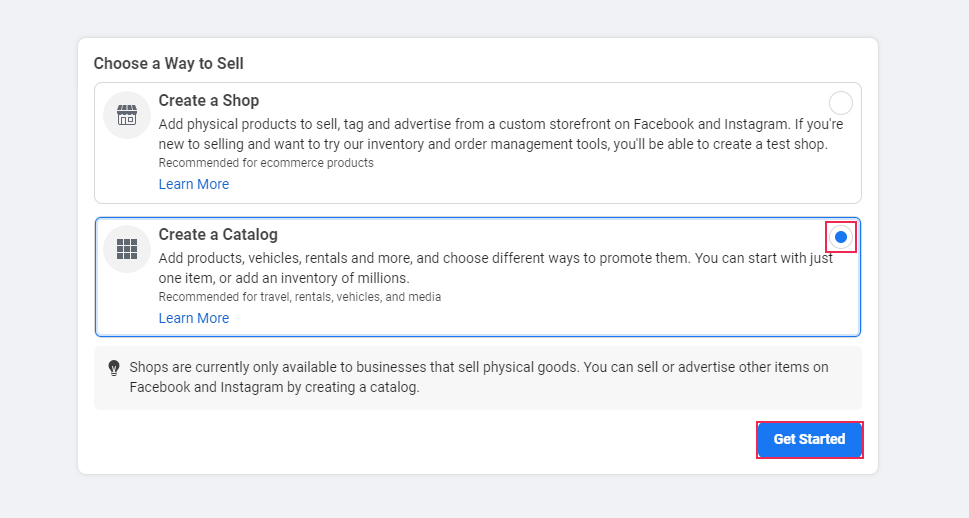
After you do this, it’s time to build your page catalog. Go to your catalog manager page and hit the Get Started button.
Select the Create a Catalogue option and click on Get Started once again.
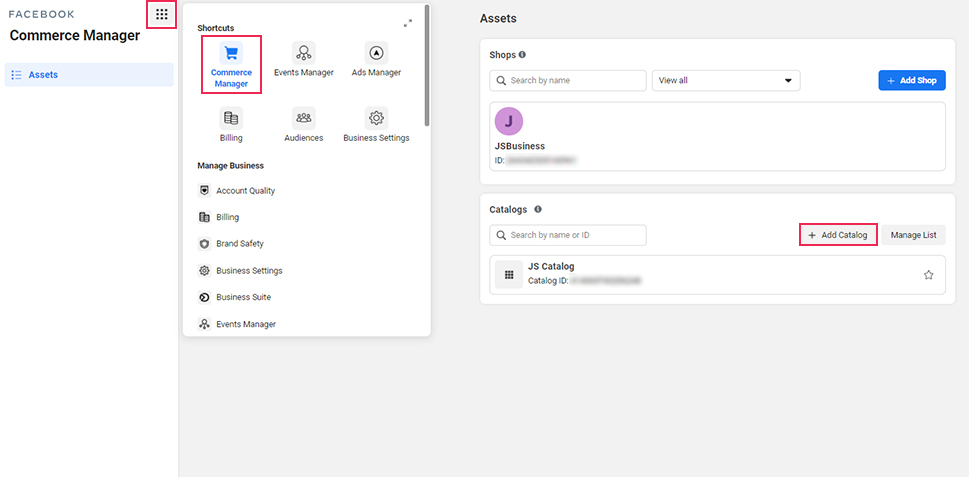
Alternatively, you can access Pages >> Commerce Manager and click on Add Catalog.
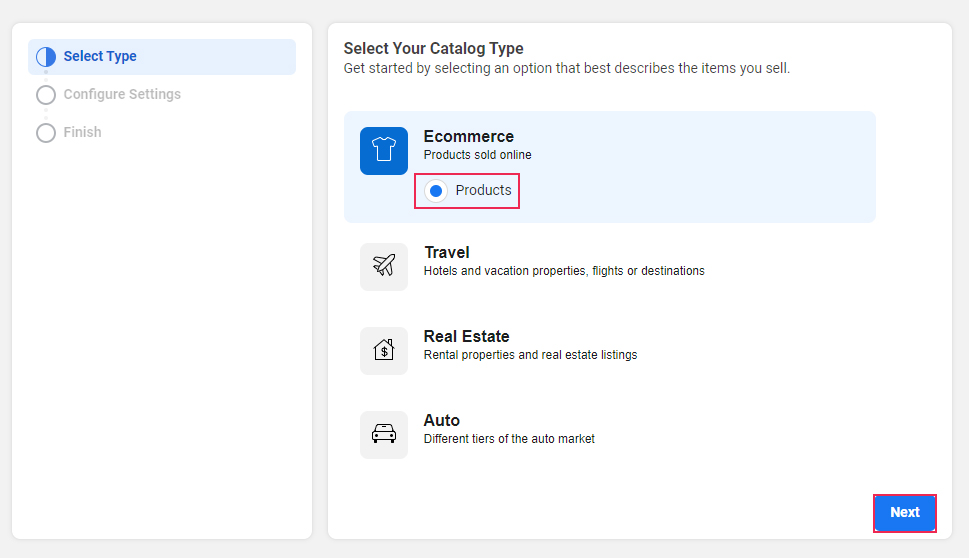
Next, you should select the catalog type (pick the Ecommerce option) and click Next.
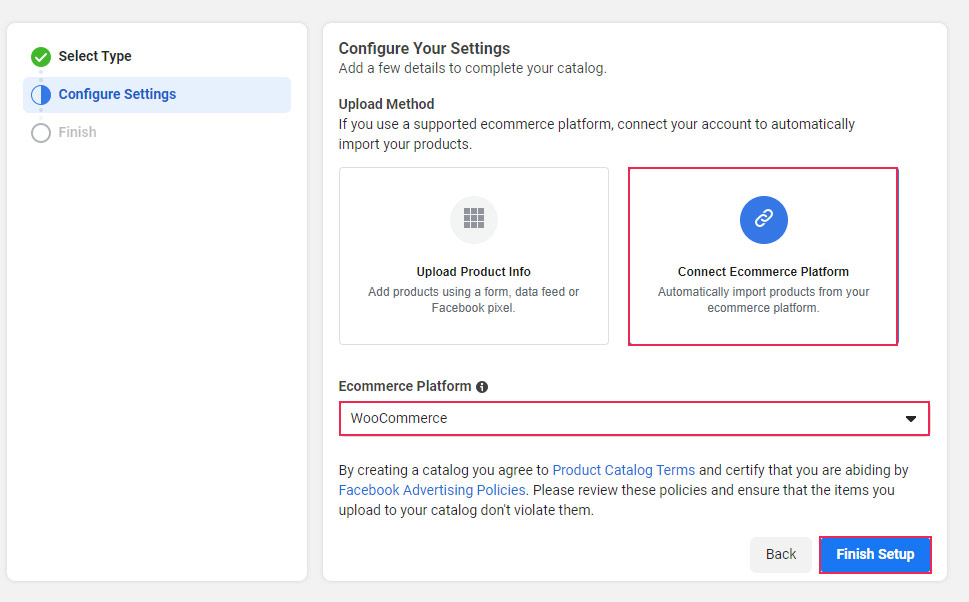
Choose the Connect E-commerce Platform option and then select WooCommerce as your E-commerce platform. Click on Finish Setup when you’re done.
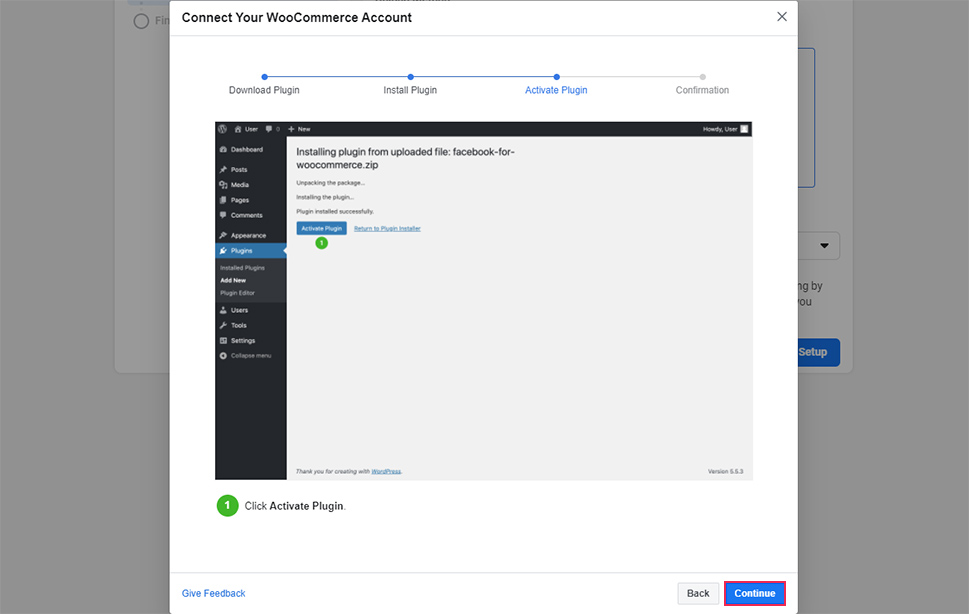
The next thing you have to do is open a new tab in your browser and go to your WordPress site. Once there, you should install a plugin called Facebook for WooCommerce. This plugin will allow you to connect your WooCommerce account to your page catalog.
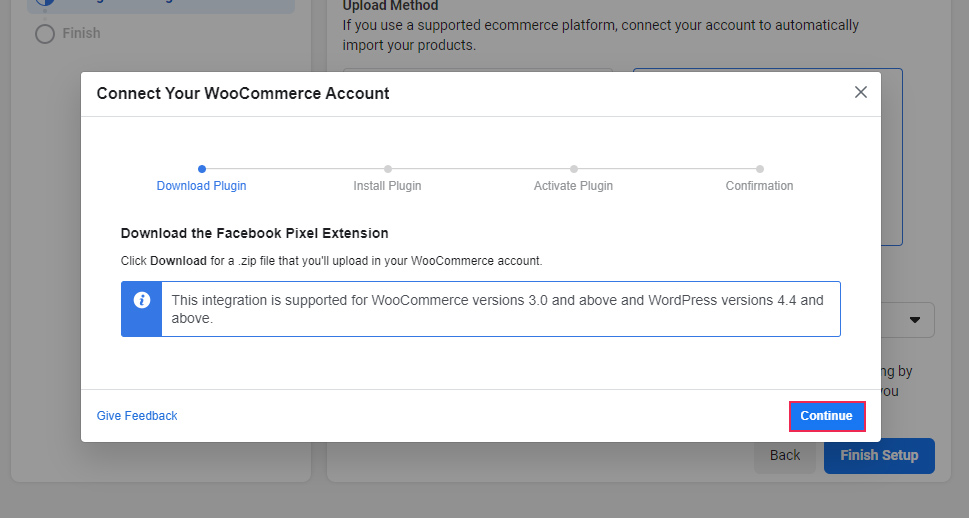
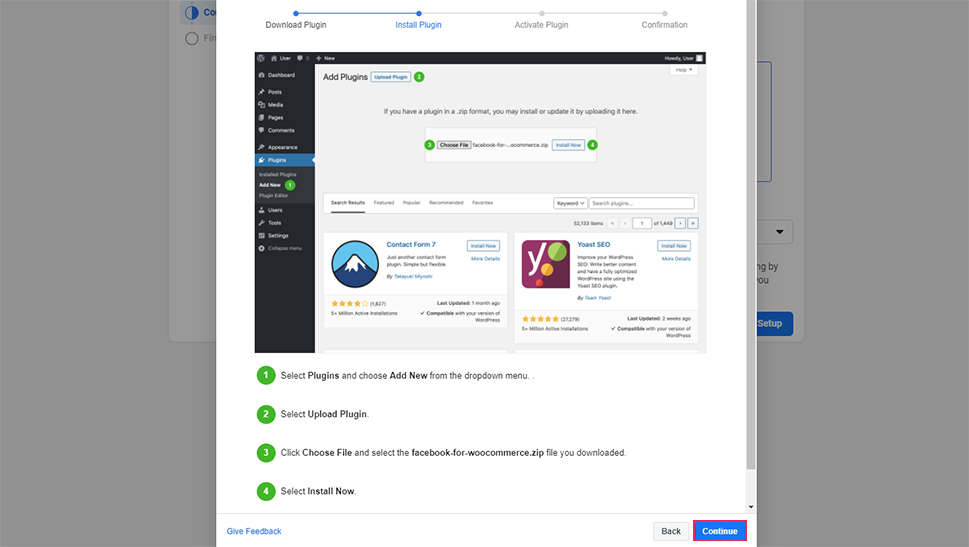
You should download the .zip file (available on the “Connect Your WooCommerce Account” page) and hit the Continue button. Then, follow other plugin installation instructions listed on the screen.
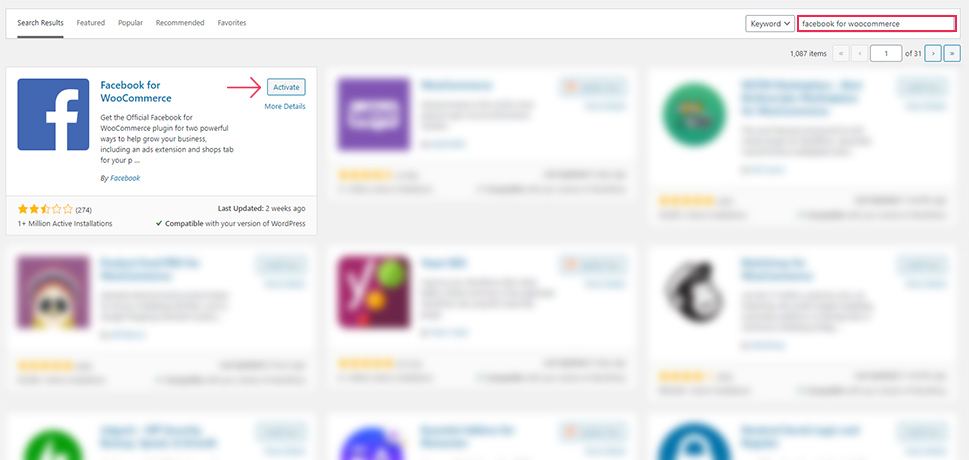
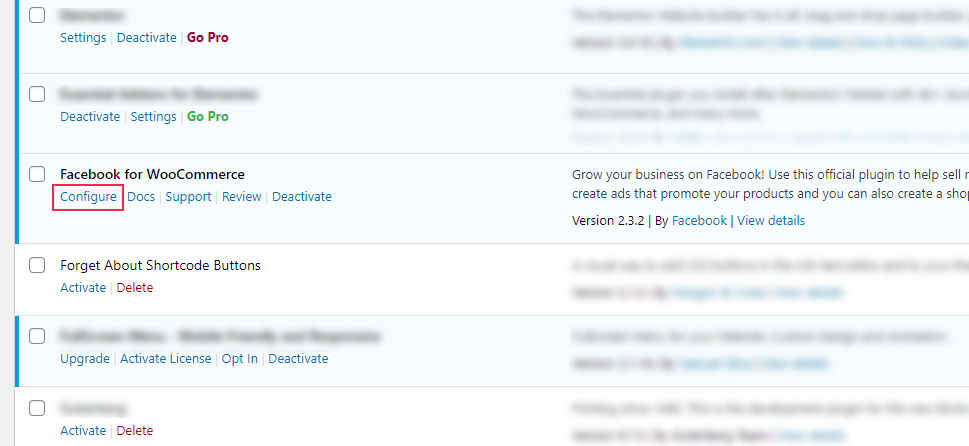
In case you don’t see the download link, you can simply go to Plugins >> Add New in your WordPress dashboard, enter the name of the plugin in search and then click on Install/Activate).
Once you’re done with following all the instructions/installing the plugin, go back to the catalog page and hit the Continue button once again.
Finally, click the Go to Commerce Manager button.
Connecting Your WordPress Site With Your Facebook Page
Next, you should integrate your WooCommerce store with your Facebook Business Page. You can do this by either going to WooCommerce >> Facebook or by accessing the Facebook for WooCommerce plugin from the Plugins page and hitting the Configure button.
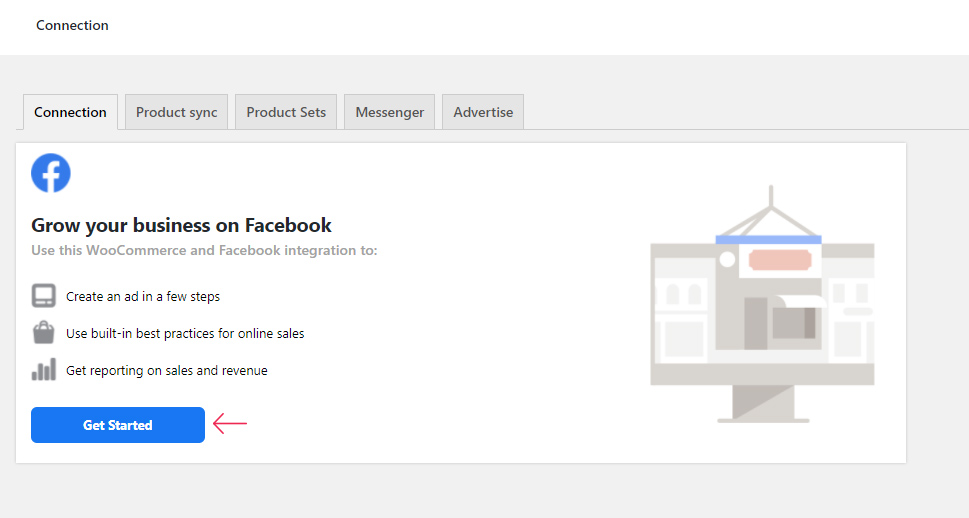
In the Connection tab, you will be able to see the Get Started button. Click on it.
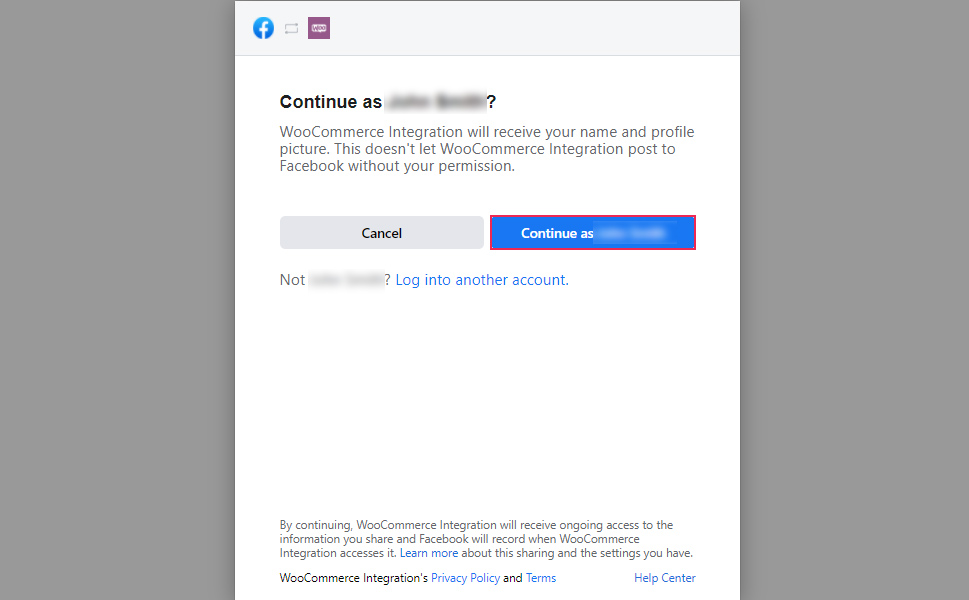
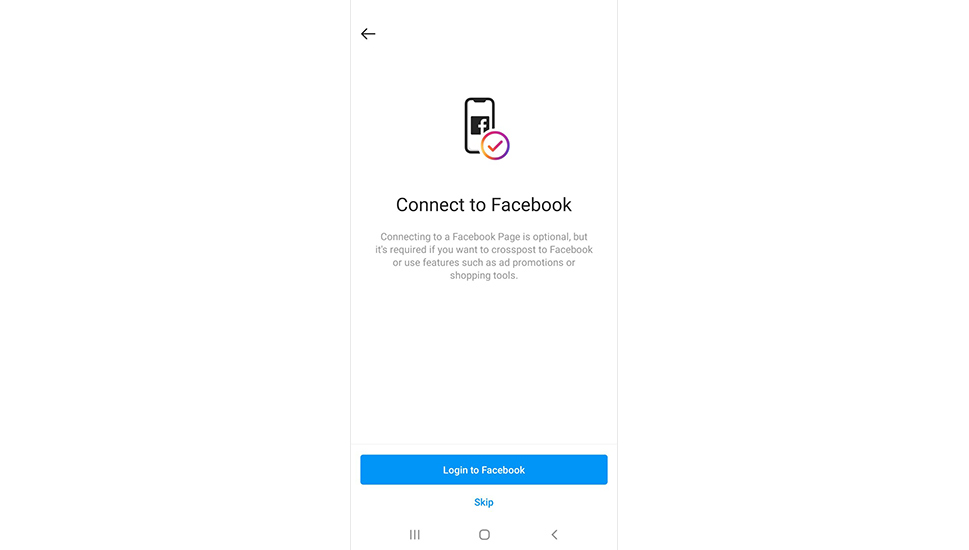
The plugin will then ask you to log in to your Facebook account. Simply log into the account you used to create your business page.
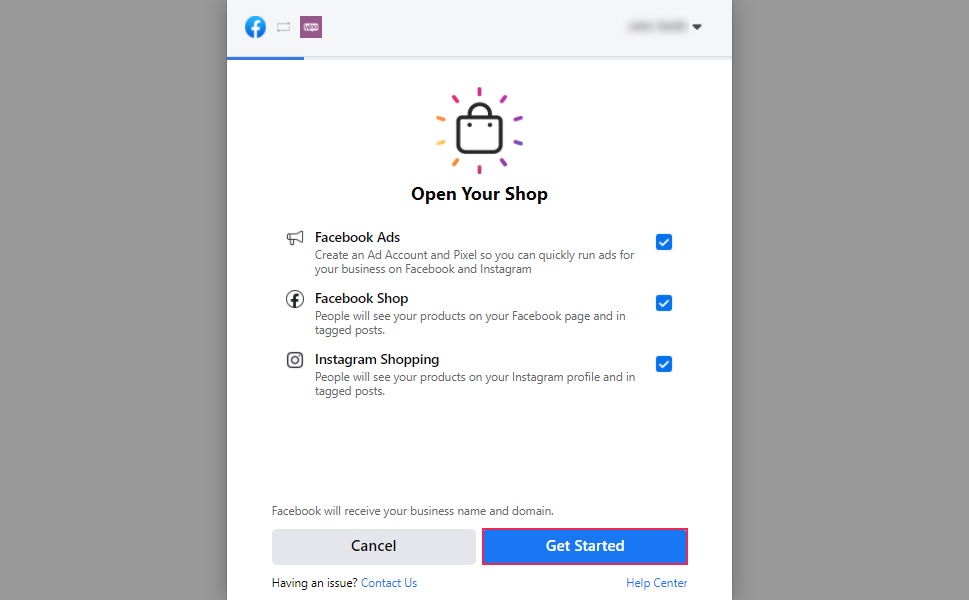
Once the next step appears (allowing you to create Facebook Pixel and connect your site to Facebook and Instagram Shopping), hit the Get Started button.
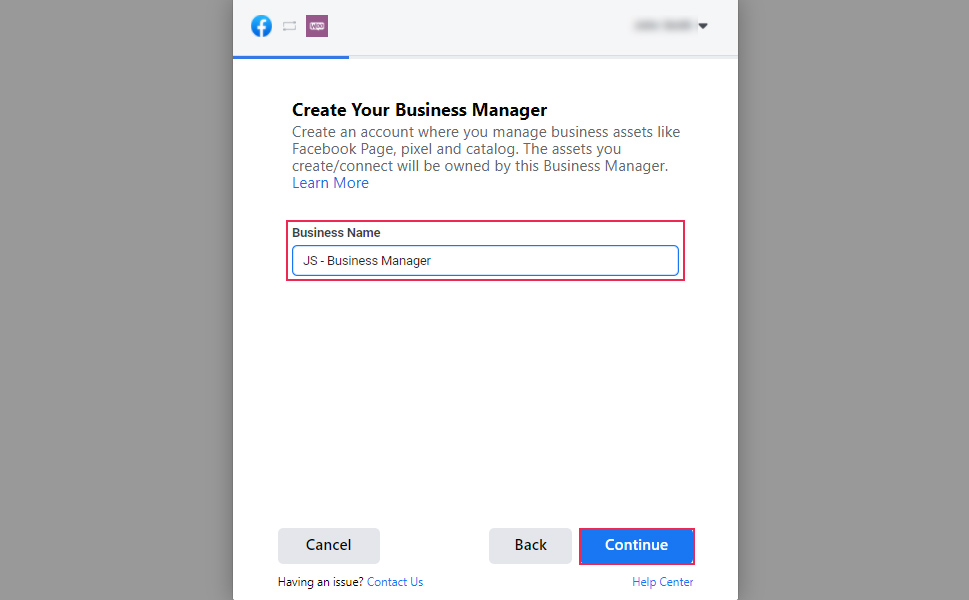
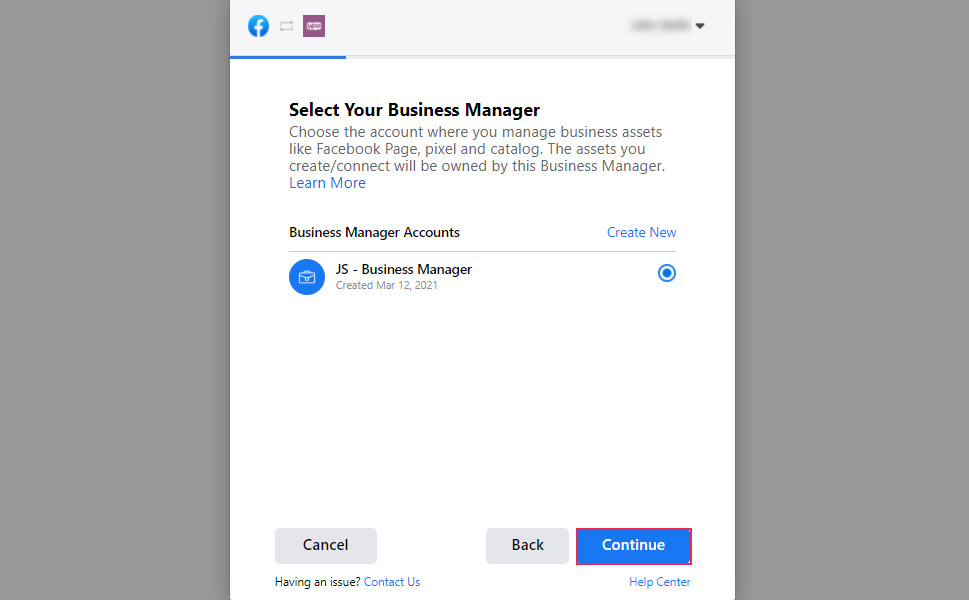
Next, you will be able to create your business manager account (where you will be able to manage your Facebook Page and catalog, among other things).
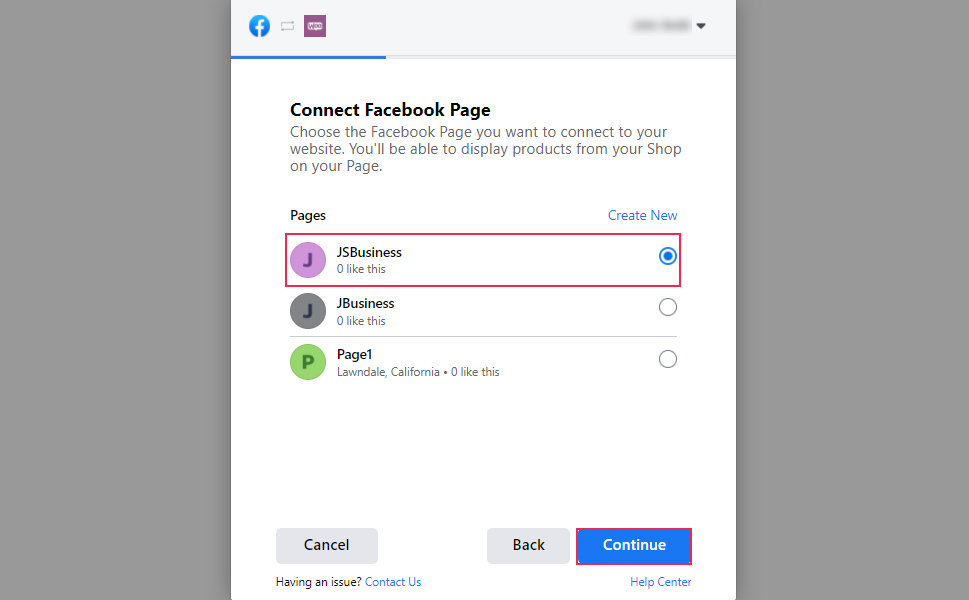
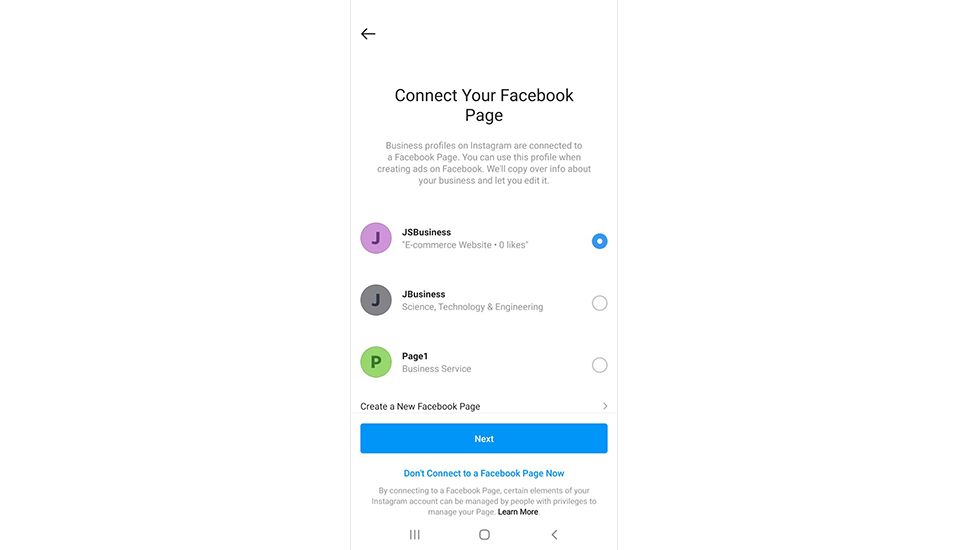
Next, you should choose the Facebook Page that you plan to connect to your site. Hit the Continue button when you’re done.
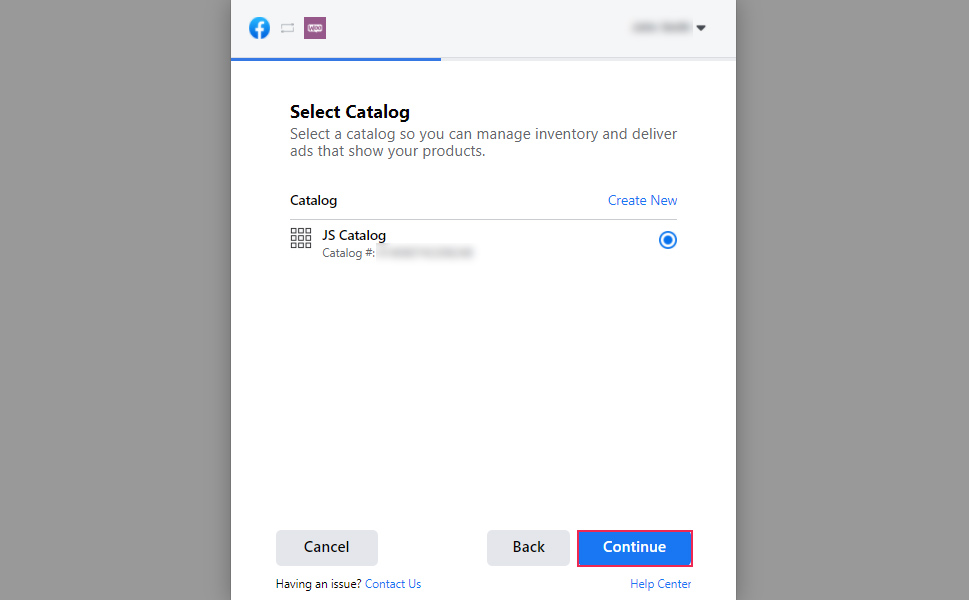
After that, it’s time to select your catalog.
Then, you should select your Facebook pixel (that was created in one of the previous integration steps) and click on Continue.
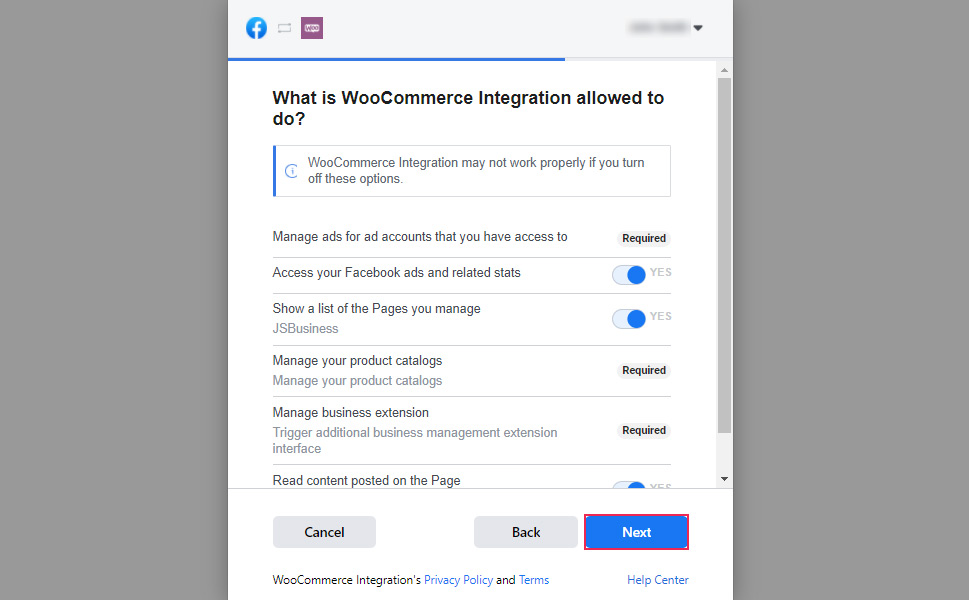
Next, you will get to select what your WooCommerce integration will be able to do. Hit the Next button when you’re done.
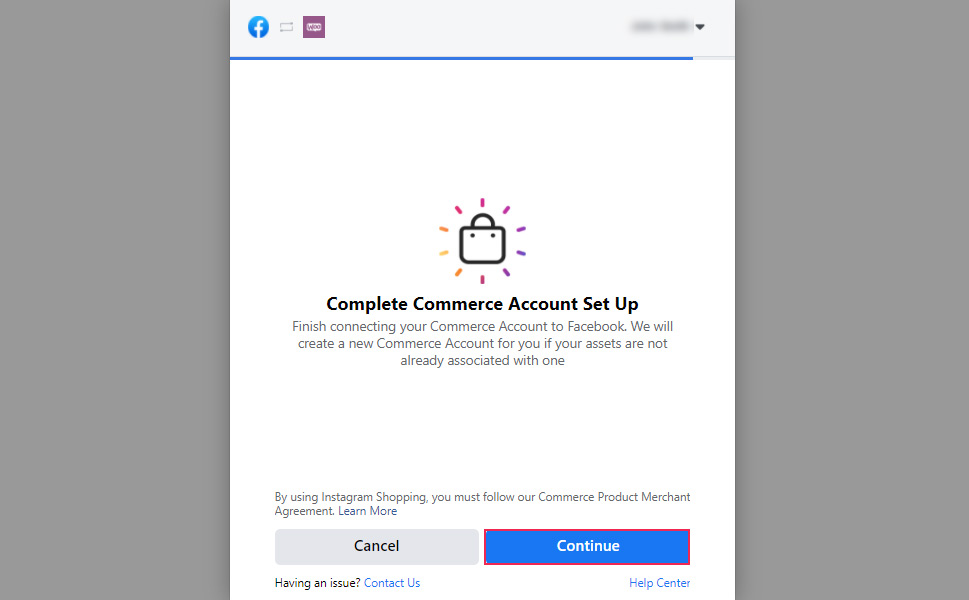
To finish connecting your commerce account to Facebook, click Continue.
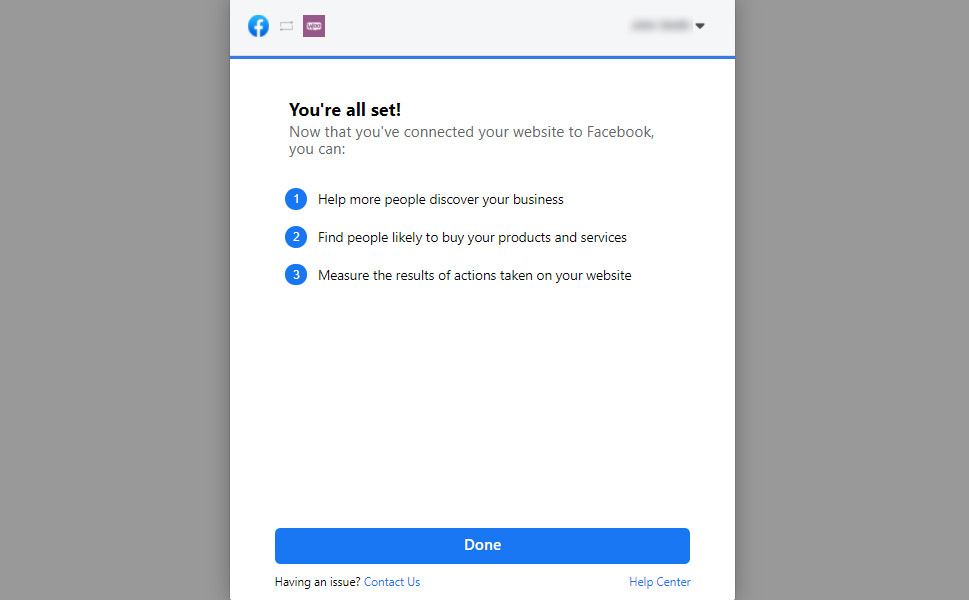
And that’s it – you’ve successfully connected your website to Facebook. Click the Done button to finish your setup.
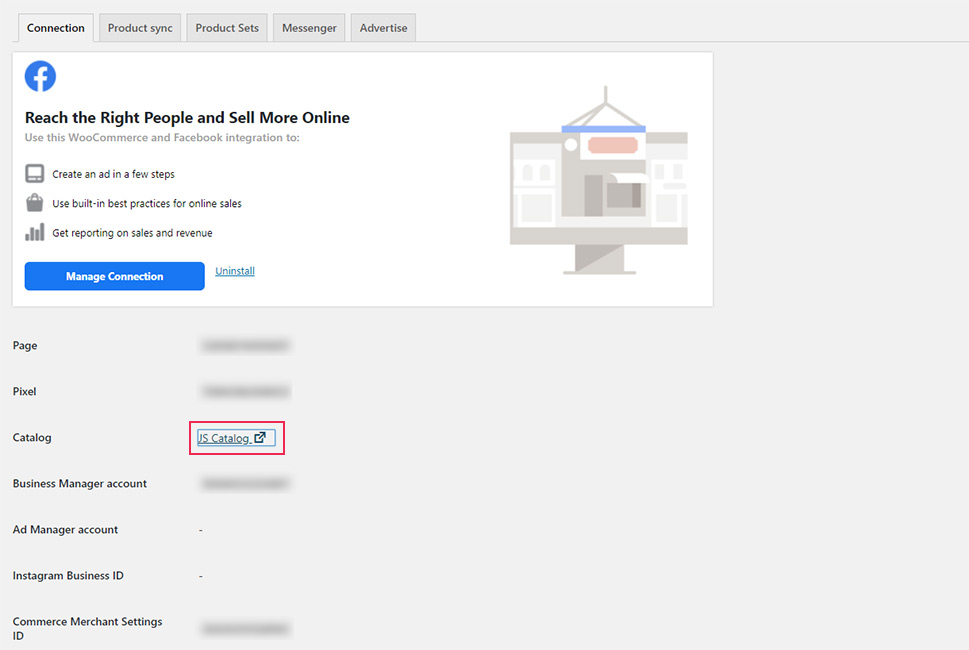
From here on, you can easily access your catalog page by clicking on the link located in the plugin’s settings (Connection tab):
Go to Catalog >> Items. You will notice that your WooCommerce products are automatically added to your catalog.
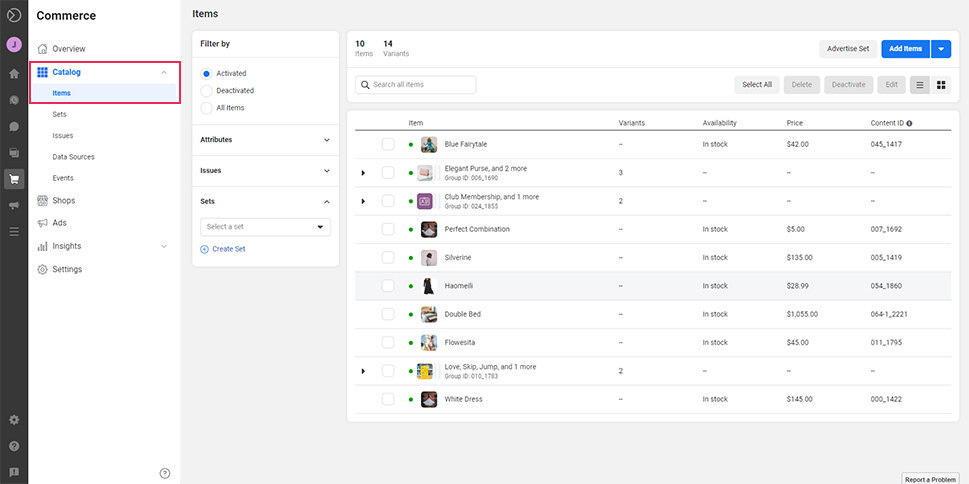
Of course, here you will also be able to manage, add and delete your items manually.
Setting Up Your Instagram Page
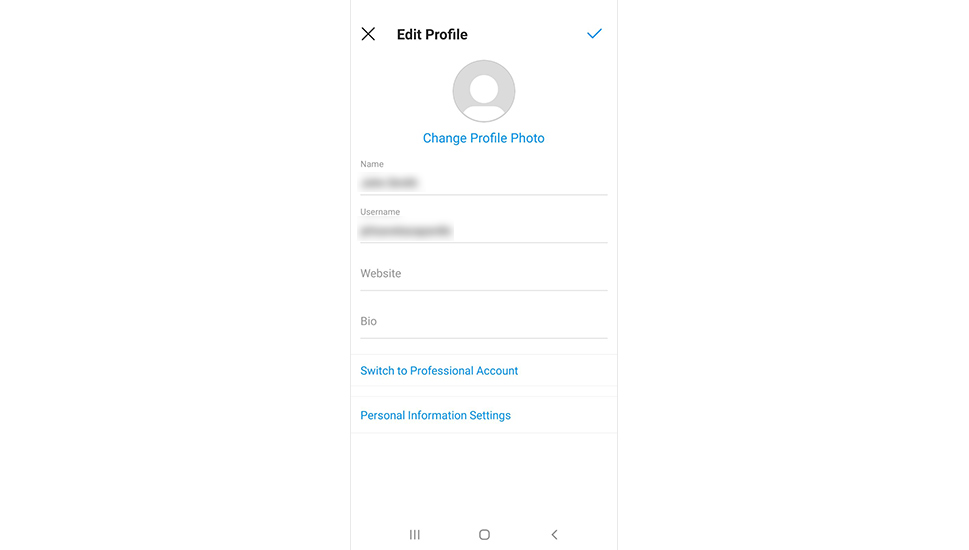
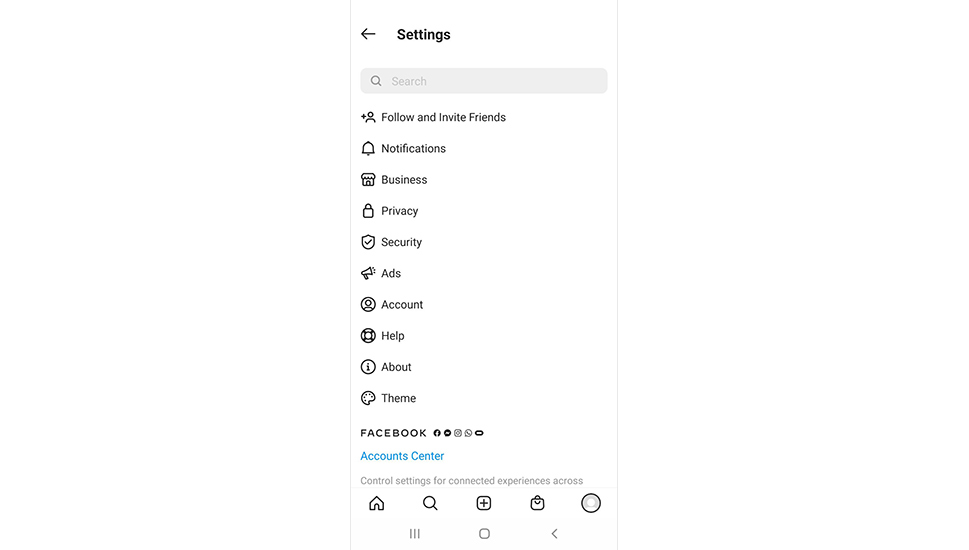
First things first, you need to check whether your Instagram page is set to a business account or not. In case it’s not, you can either create a new Instagram account or log in to your existing one (using an Instagram app). Then, access your Settings >> Account and click on Switch to Professional Account.
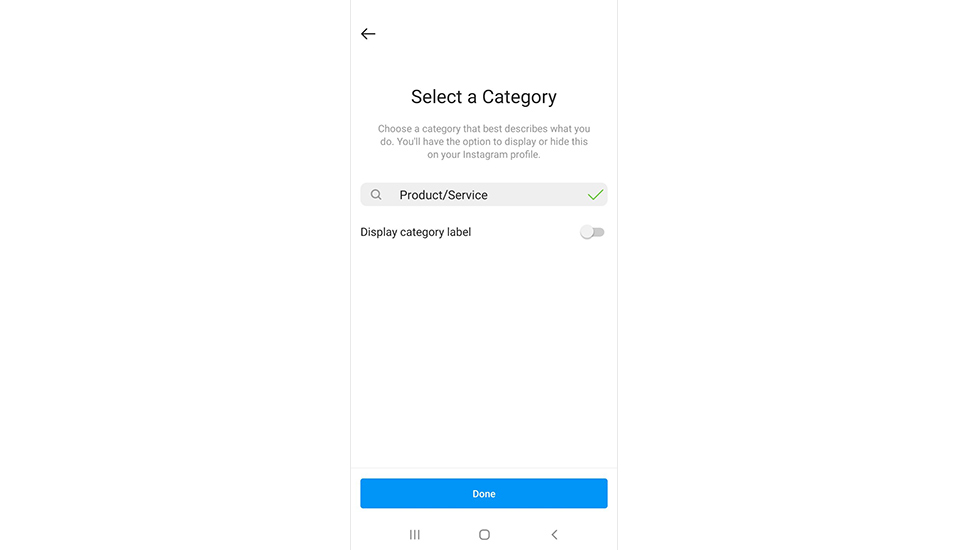
You will then go through the process of setting up your profile. You will be able to select your category, choose either a Business or Creator account type, and add additional business info.

After that, you will be given the option to sync your Facebook account with your Instagram account. Just follow the steps provided on the screen.
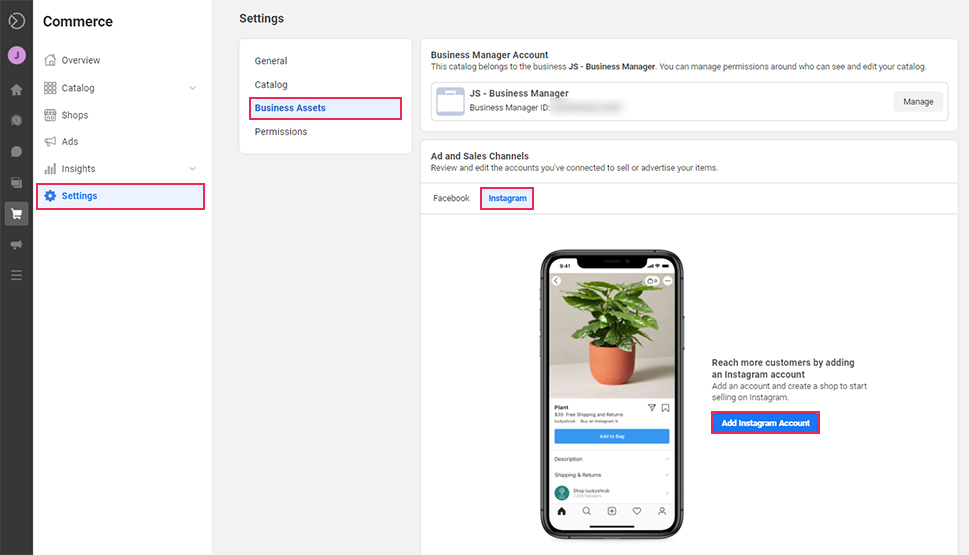
After you’re done, go back to the catalog manager page (by clicking on the product catalog link in your plugin settings).
Click on Settings >> Business Assets and select the Instagram tab. Finally, hit the Add Instagram Account button.
Setting Up Your Instagram Shop
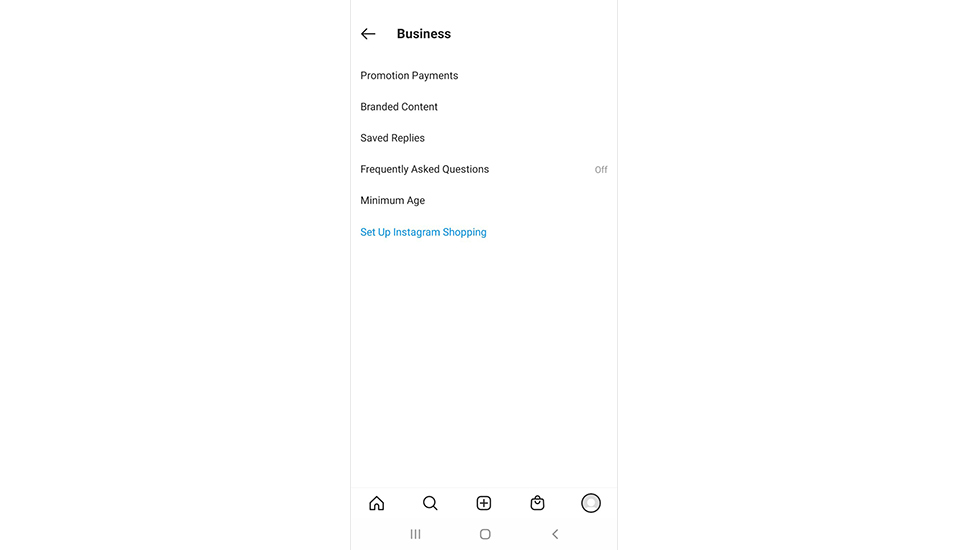
Once you’ve successfully created your Facebook catalog and connected it both to your WooCommerce site and your Instagram page, it’s finally time to set up your Instagram shop. Go to your Instagram app and access Settings >> Business.
Select the option called “Set Up Instagram Shopping”.
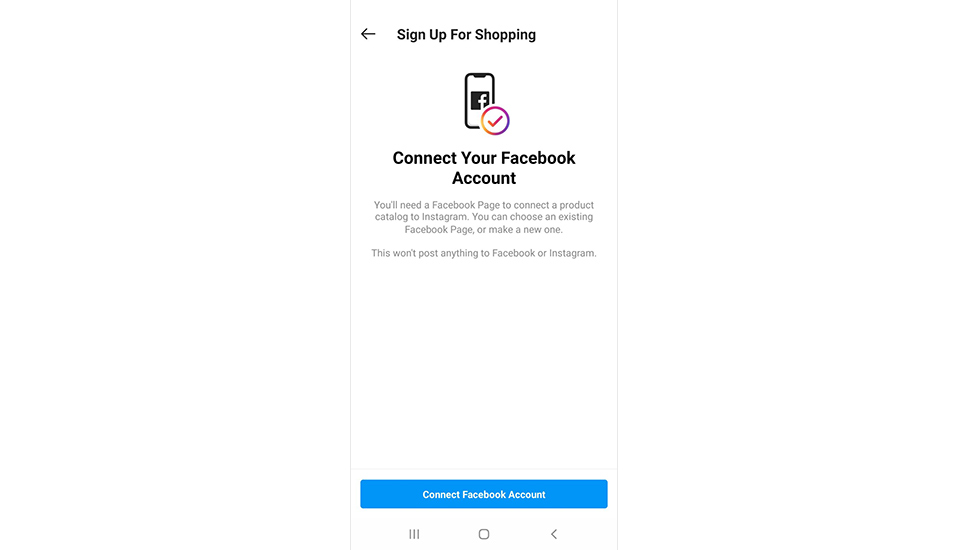
Once again, you will have to connect to your Facebook account in order to also connect your product catalog to Instagram. To do this, simply hit the Connect Facebook Account button.
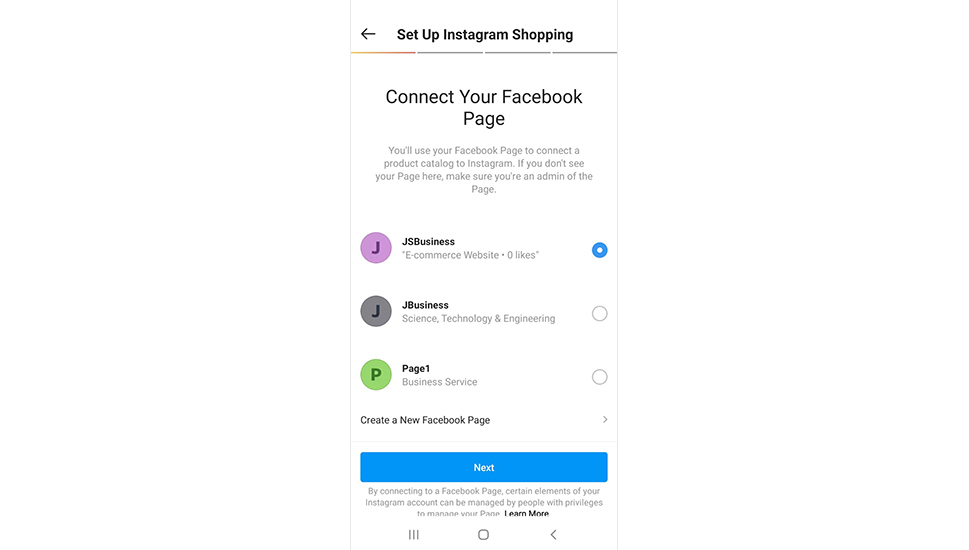
Select the Facebook page you wish to use and click Next.
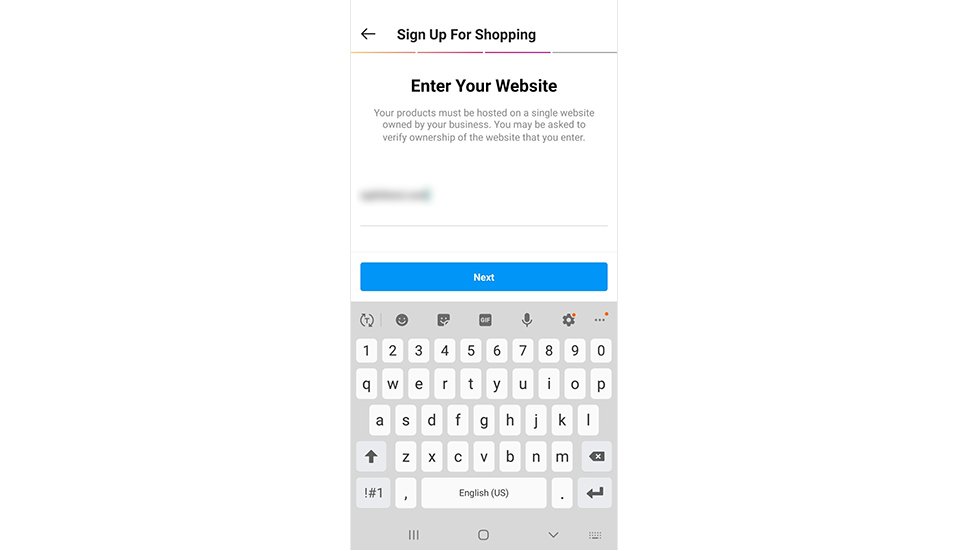
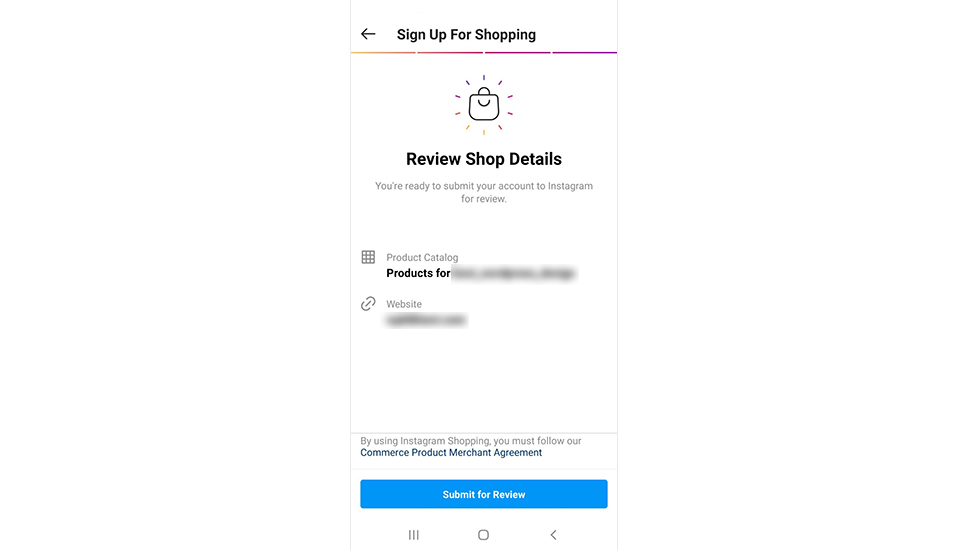
Now, choose the website (your WooCommerce store) that you will use to sell your products.
Finally, hit the Submit for Review button. After this, Instagram will review your account to see if it meets their requirements. This process can last a few days, so be patient.
After you’ve successfully set up your Instagram Shop, you can also start tagging your products. To do this, you can add a new post or photo like you usually would, using the ”+” button.

After you set up your post in any way you like, you will notice the new option added to the Publish page, called Tag Products. This option works the same way as the Tag People option. So, after selecting Tag Products, you will be able to choose from the items available in your catalog. Select the items you want to use in your post and then choose the place you wish to tag on the image itself.
Simply post your image and that’s it – you’ve succeeded in creating your first shoppable post.
Wrapping Things Up
By allowing users to view your WooCommerce catalog on your Instagram page, you give them the ability to keep browsing through Instagram while viewing and purchasing your products all at once. Thus, using Instagram shoppable posts is a great way to advertise your products online and expand the reach of your e-commerce business.
Finally, keep in mind that you need to fulfill certain requirements to be able to use the Instagram Shopping feature. Aside from having a working WooCommerce site and a Facebook catalog (both with products), you also need to have an active Instagram business account with a decent following. We also recommend adding at least 10 product items to your Instagram page to ensure that everything runs smoothly. Other than that, just make sure to follow our guide, and you’ll be all set.
