How to Optimize Your WordPress Blog for Pinterest

If you haven‘t been living under a rock for the past ten or so years, you must have heard of Pinterest, the visual search engine. Pinterest helps their users find what they want using a feed made up of items called pins, which are uploaded images or images linked from websites. These pins are organized and presented as collections called boards, which are groups of related pins (i. e. images or links). This way, users are presented with data relevant to their interests.
But what does optimizing for Pinterest mean in the first place? And should you optimize your WordPress blog for Pinterest? Only if you want more website visits coming in, and we can‘t think of a reason why you wouldn‘t want that. In this tutorial, we will go over some things you should be doing in order to attract more traffic from Pinterest. But first, let us take some time to discuss why optimizing your blog for Pinterest can be beneficial for your blog.
Here’s what we’ll be talking about:
Pinterest has been growing steadily in the past few years, reaching 450 million users in 2021. That fact alone should make you at least consider making your content easily shareable on Pinterest.
Another important reason is the very layout of Pinterest content. A single image or video, called a pin, may be reached from several different directions: in a user‘s home feed, as a suggestion; as a keyword search result; as part of a category; or as part of a user-generated board. So if some of your content is pinned (included on Pinterest by you or one of your visitors), there is a large number of ways it can reach other Pinterest users looking for content relevant to their interests This makes it more likely for users to stumble upon your content organically, rather than through paid ads. And if they reach your Pinterest content, they are a click away from your website proper.
Furthermore, Pinterest reports high engagement rates: 85% of weekly active users have bought something they‘ve seen on Pinterest, 91% have positive feelings about the social network, and 83% claim it builds their confidence. Whichever way you cut it, Pinterest‘s statistics are, at the very least, promising.
Sold? Let‘s get down to the brass tacks: we will show you how to optimize your blog for Pinterest. Let’s start with images.
A pin is to Pinterest what a tweet is to Twitter: the basic unit of interaction. A pin consists of an image which, when clicked, expands to reveal a source website, a title, and a description, as well as some user data.
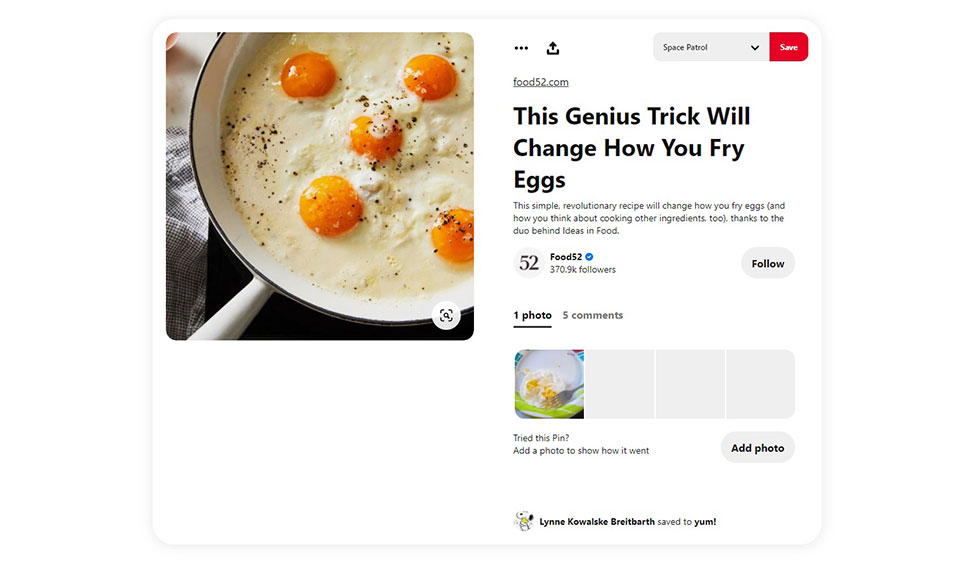
Pinterest recommends the image pins themselves be vertical, and the resolution be 1000×1500 pixels. As images are compressed and expanded for users, this aspect ratio and resolution will guarantee the best results.
Other than the dimensions, you want an arresting design for your pinnable image. We won‘t go into the basics of graphic design for the web here – that‘s a job all its own. Pinterest-friendly images range from stunning high-definition photographs to bold slogans in an interesting font and in carefully selected colours.
We will go so far as to point you in the direction of several websites from which you can download free social media graphic templates. You can download and edit a template from Snappa, this Crello blog post, Canva, the Adobe Spark website, or any number of other sources, or you can simply browse their galleries for ideas.
A good place to position your image is somewhere in the first couple of paragraphs of your blog post – over the fold, in any case. Because of Pinterest‘s preferred aspect ratio, you probably shouldn‘t use it as your featured image. Facebook and Twitter will crop it to fit their format better.
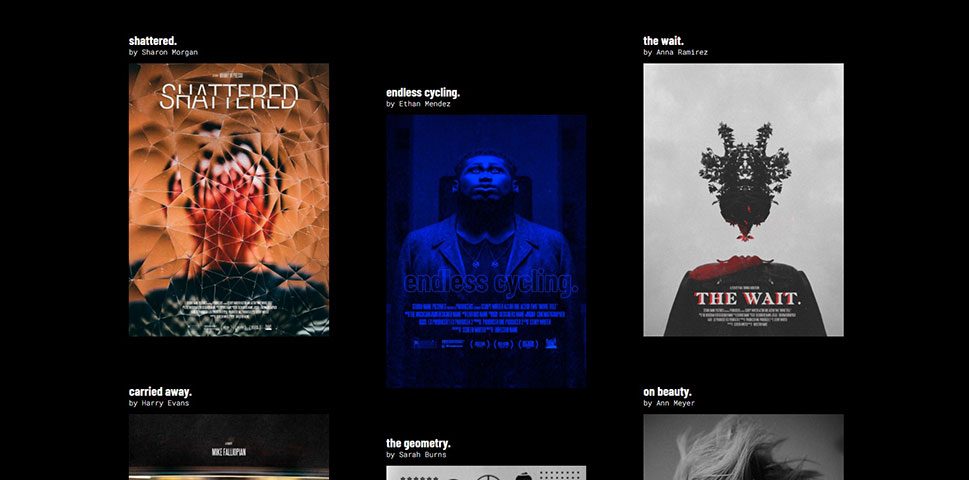
Many professionally made WordPress themes offer Pinterest-optimized layouts, or emulate the Pinterest style in their layouts. Either way, the format of the post is made to work well with and look good on Pinterest, as the below example of our Leitmotif theme shows.
Another thing to bear in mind is image metadata. Adding alt text to your image is a good way of describing your blog post to your Pinterest audience, as it will be visible to whoever clicks your image.

Once you have created a great Pinterest-friendly image and supplied it with alt text for extra useful information and/or enticing description, you will need to make it pinnable from your website.
Fortunately, adding a “Pin it” button is nothing difficult. There are several plugins which will install it for you, or you can use Pinterest‘s own widget builder in order to add the button to your website. We won‘t go into the details here, but don‘t you worry: we‘ve gone into the details of adding a “Pin it” button in WordPress elsewhere.
Now, it wouldn’t be very wrong to say that with well designed images in the correct format and a “Pin it” button you have effectively made your website Pinterest-ready.
But that is not all you can do: if you have a Pinterest account, and there‘s every reason to, you can direct your website visitors to your Pinterest profile by adding social media icons to your menu or adding them to your sidebar.
One reason why you definitely should create a Pinterest Business account are Rich Pins. Rich Pins are Pinterest‘s version of rich results provided by search engines. These represent additional information provided to users by search engines giving them more to go on when deciding whether to click on a certain result or not.
Pinterest is often talked about as a “visual search engine“. Stands to reason, then, that Pinterest will offer rich results, too. Rich Pins have more information than the normal pins, above and below the image, and are updated automatically as you update the information on your website.
There are three types of Rich Pins: Product, Recipe, and Article.
The Product Rich Pin can include product information, the latest price, and availability data.
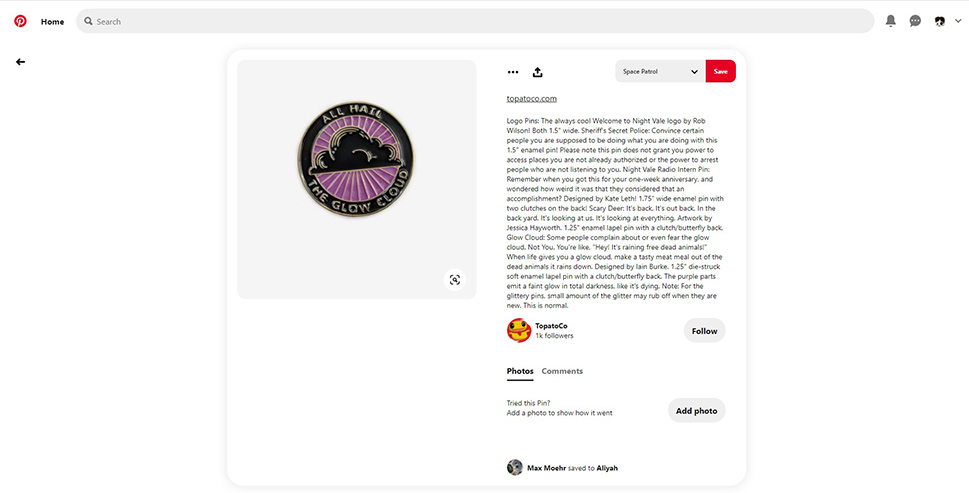
An Article Rich Pin may include the article title, description, and author.
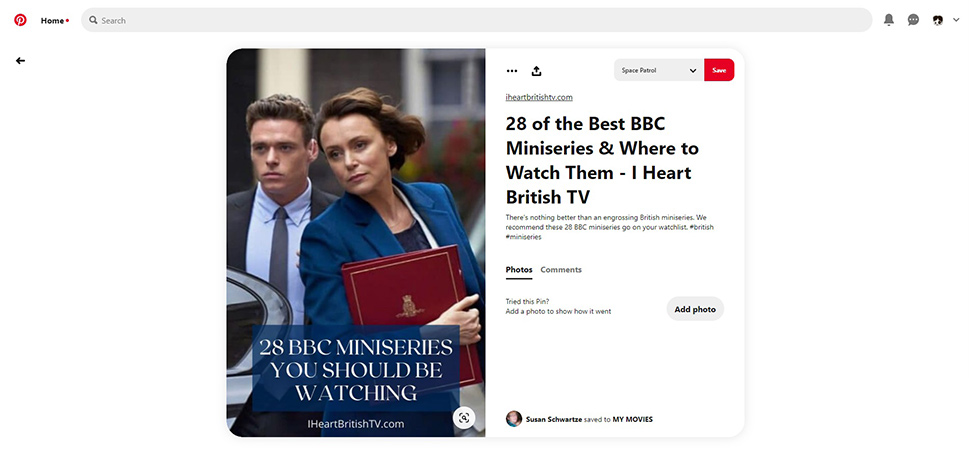
A Recipe Rich Pin can include the recipe title, serving size, cooking time, ratings, dietary data and a list of ingredients.

You do have to apply for Rich Pins before you get them, and install meta tags to your web pages, but that‘s very little extra work. Once your site is approved for Rich Pins by Pinterest, it‘s all automatic: web pages with the correct meta tags will, once pinned, be rendered as Rich Pins. And if you don‘t want a particular page to render rich data, it‘s just a simple matter of adding another meta tag.
In Conclusion
As we have shown, optimizing your blog for Pinterest doesn’t have to take a great deal of time, especially if you do it from the very beginning, rather than adapt your website‘s image gallery and generate more graphics for old blog posts. Much as the visually-centered concept of Pinterest is popular with its users, this concentration on graphics may be a burden for content creators; an additional strain on resources. Still, with the free resources provided elsewhere online, the advice provided by us, and with just a little effort, you, too, can optimize your blog for Pinterest and start getting more inbound traffic.


