How to Add a “Pin It” Button in WordPress

With over 300 million users per month, Pinterest is becoming an indispensable social network, especially for any website that focuses on visuals. Including a “pin it” button on your site will make it easier and more convenient for visitors to share those visuals. This can improve your online visibility and drive new traffic to your site.
In this article, we will be taking a look at how to add a “pin it” button in WordPress using a plugin, as well as the Pinterest widget builder.
Qode Themes: Top Picks
View Collection


Why Add a “Pin It” Button
Some of the most popular niches on Pinterest are food and drink, photography, home decor, design, DIY and crafts, fashion, and art. So, if your business relates to them in any way, learning how to add a “pin it” button in WordPress is essential. In fact, the majority of Pinterest users find new products and brands on this platform, and some even shop directly in the app. So, putting in the effort to distribute your content more broadly can improve your brand recognition and increase sales.
Before we get into the actual methods and steps, there’s one point we should clarify—adding a “pin it” button is not the same as adding a social sharing button for Pinterest. The “pin it” button will activate a function that lets your users pick which of their boards to pin an image to. So having a “pin it” button lets users save images to their boards without ever having to leave your site. This ensures that they will disperse your content on Pinterest so it can reach new users, but they won’t get distracted by all the other pins out there. Moreover, they will be able to focus on what’s actually important – your content. While the standard social sharing button will simply take your users to your Pinterest profile so they can browse your collections.
There are a couple of ways you can add “pin it” buttons to your WordPress site. The easiest method involves using a plugin. As with any other WordPress functionality, you can choose from several different plugins. We will guide you through the steps for working with our top plugin pick—Pin It Button On Image Hover And Post. After that, we will take a look at how you can add “pin it” buttons in WordPress using the widget builder from Pinterest.
How to Add a “Pin It” Button in WordPress Using a Plugin
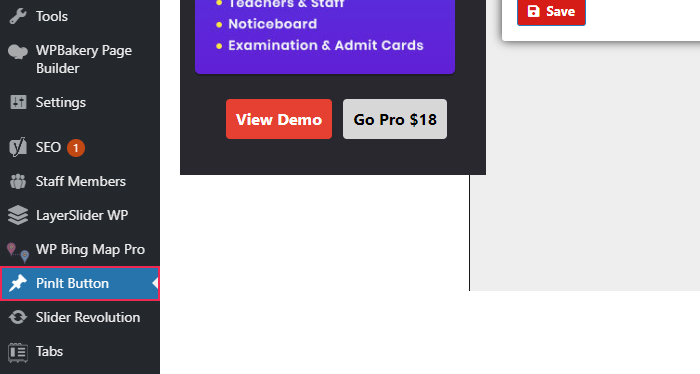
As soon as you install and activate this plugin, it will automatically create “pin it” buttons for your images. You can start customizing the settings for the Pin It Button On Image Hover And Post plugin by clicking on “PinIt Button” in your admin sidebar.
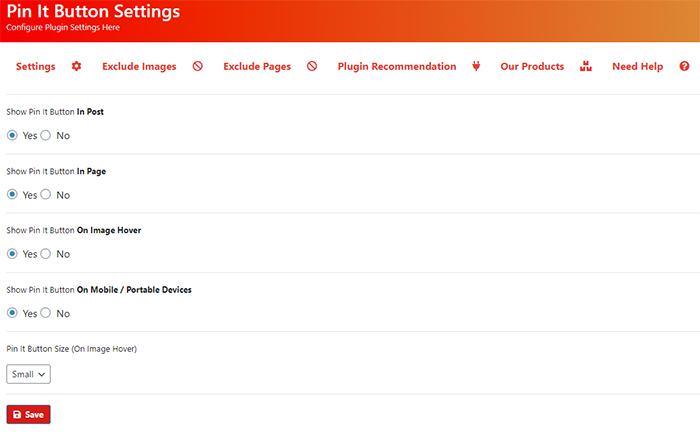
Its interface is very straightforward, so there are only a few available options to modify. Those include picking whether the “pin it” button will appear on both pages and posts, or if you want to exclude one of the two. You can also decide if the button will appear on hover or be always present. If you set it on hover, it will appear on desktop screens when users hover with a mouse over it, and on mobile screens when users tap on an image.
And, with the Pin It Button On Image Hover And Post plugin, you can set exceptions for particular images. If you don’t want to have a “pin it” button on a specific image, you can note that down in the plugin settings, and it will be left out.
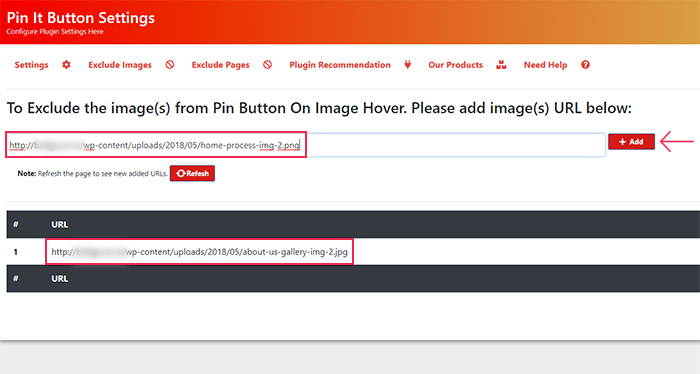
To do this, simply open the Exclude Images tab at the top of the plugin settings. Then add the URL of your image in the provided field. Click on Add after adding each image and, when you finish, reload the page to see them appear in the list of excluded images below.
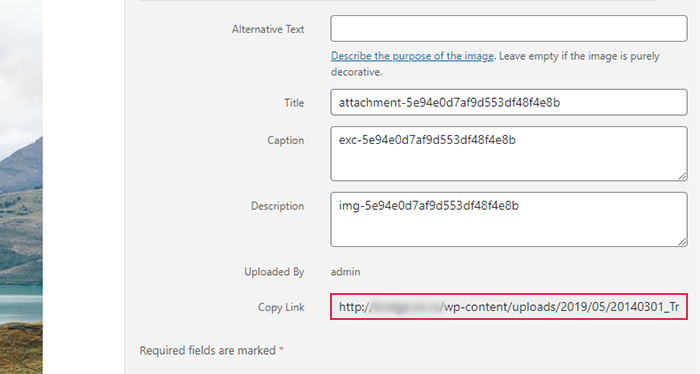
If you’re not sure how to find an image’s URL, you can open your Media Library and select the image there. In the window that opens, you’ll get all the information you need on the right-hand side.
You can also exclude whole pages from the plugin’s effect. It’s very similar to excluding an individual image. In your plugin settings, find the tab with Exclude Pages and, in the only available field, add the title of those pages you wish to exclude. Click on Add after each added page. When you finish, reload the page to see them appear in the list of excluded pages below.

While this plugin is straightforward to use and easy to work with, the free version does have some drawbacks. The main one is that the “pin it” button can hardly be customized. You can pick between having a Medium or Large button size, but the difference between the two is subtle, and you’ll still have a simple black button in the end.

If you want to have a more striking button for pinning images, there is a premium version of this plugin. It’s called Pinterest Feed Pro, and it is priced at $18.
Alternatively, you can try out the widget builder provided by Pinterest.
How to Add a “Pin It” Button in WordPress Using a Widget
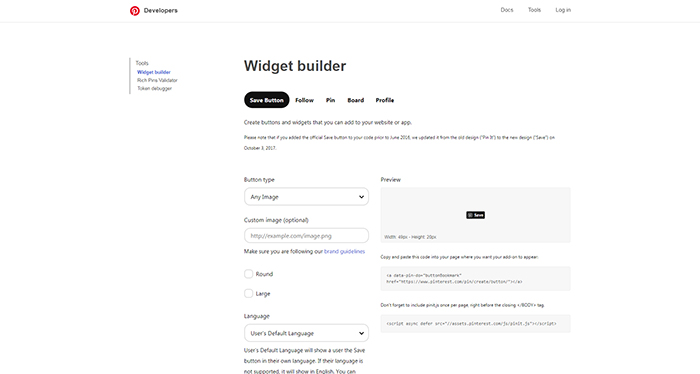
You can also use Pinterest’s Widget builder for adding “pin it” buttons. This piece of software is developed by Pinterest, so it’s guaranteed to be in line with their best practices and recommendations. Pinterest offers several tools for developers, including a guide for making the Save button. You can check it out, if you want to try your hand at coding, but in this article, we’ll focus on using the widget builder as the more user-friendly option for all skill levels.
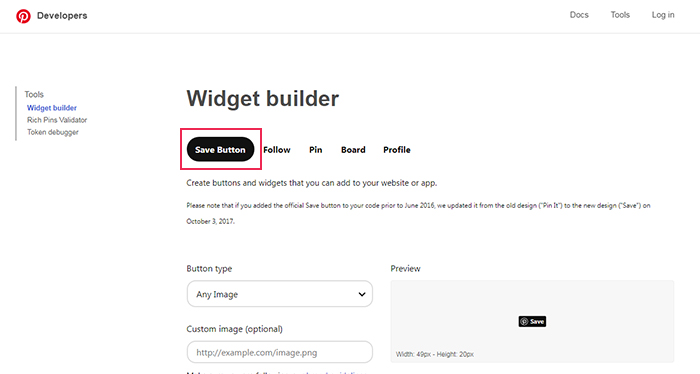
Firstly, make sure you have the Save button option selected at the top of the page.
Then pick your Button type using the dropdown. We suggest setting it to Image hover if you want the button to appear on hover only. In that case, on mobile devices, the button will appear when a user briefly taps on an image.
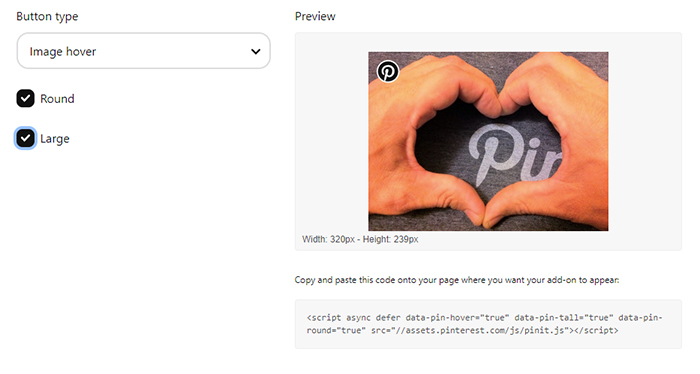
When you’ve decided on your button’s design, copy the code generated in the bottom right corner of the page.

Now head over to your WordPress dashboard. Go to Appearance > Theme Editor. You will be able to access and modify all your theme files here. Before you proceed, we must caution you that modifying these files carries a risk of breaking your site, so it’s highly advisable to make a backup if you don’t already have one.
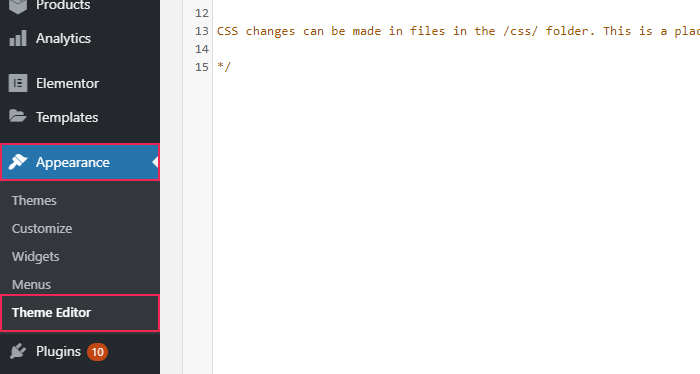
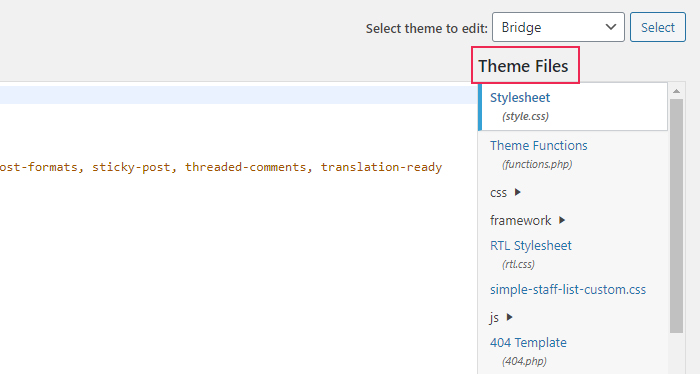
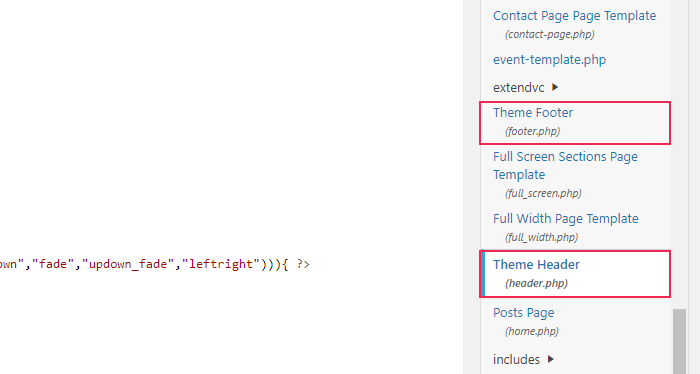
The Theme Editor window will have a list of all your theme files on the right-hand side. Scroll down until you locate your Theme Header or Theme Footer files—you can use either. Click once on the file you choose to open it.
Then, scroll down to the end of the file and paste in the code you copied from the Widget builder. Click the Update File button to save the change.
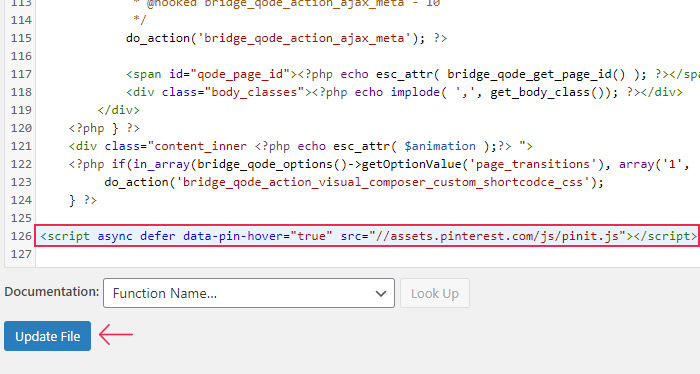
After that, you can check your site’s frontend to verify that the button is displaying as it should.

While this method of adding “pin it” buttons is arguably quite simple, you should be aware that changes to theme files are overwritten as soon as the theme updates. Because of that, any custom modification to the code should be done using a child theme.
Final thoughts
A “pin it” button can be a great addition to a website focused on design, art, fashion, eCommerce, and any other niches heavy on imagery. With growing numbers of users, Pinterest provides an opportunity for growth that you can’t afford to miss out on.
Make your images easily pinnable using one of the methods described in this article. Pick the approach that best suits your needs and start to work on expanding your site’s reach.
