How to Create a WordPress Image Gallery

People love all things visual, so it’s no wonder we use images to grab someone’s attention and direct it where we want to, explain complex concepts in an easy-to-digest way, inspire people to take action, and help them learn new information more quickly. Brands understand well the unparalleled appeal of graphic content, so they create attractive image galleries on their websites to showcase their products and the services they offer. Creatives use them to exhibit their works and share them with the public, while travel bloggers make galleries to post and organize pictures from their trips.
To create a WordPress image gallery, you can use Elementor widgets, the WordPress’s default gallery options, an image gallery plugin, or a premium WordPress theme with an image gallery shortcode for more styling and editing options. We will show you how all three methods work and explain how to effortlessly create captivating photo galleries on your WordPress website:

If Elementor is your preferred page builder, the easiest way to create an image gallery on your website is by using our Qi Addons for Elementor plugin – a collection of 60 completely free widgets that add more functionalities and power to Elementor.
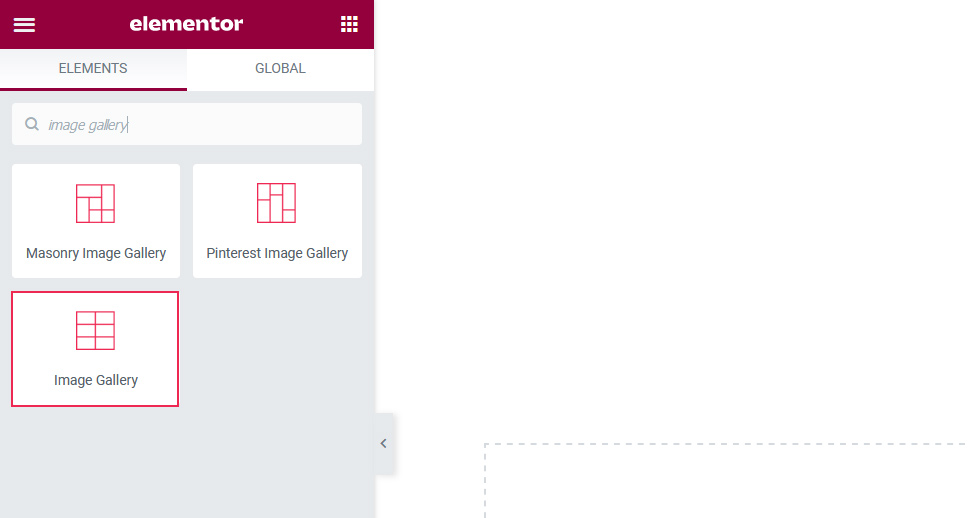
Qi Addons for Elementor includes three widgets for creating image galleries – one is specifically devised for making standard photo galleries while the other two allow for crafting pinterest and masonry photo galleries. In this article, we will focus on the Image Gallery widget, which includes a plethora of customization settings and layout options, enabling you to create image galleries exactly to your taste. If you would prefer watching a tutorial instead of reading, you can take a look at this video:
Once you install and activate Qi Addons for Elementor on your WordPress website, open the page or a post where you wish to display a photo gallery and then add the Image Gallery widget to it.
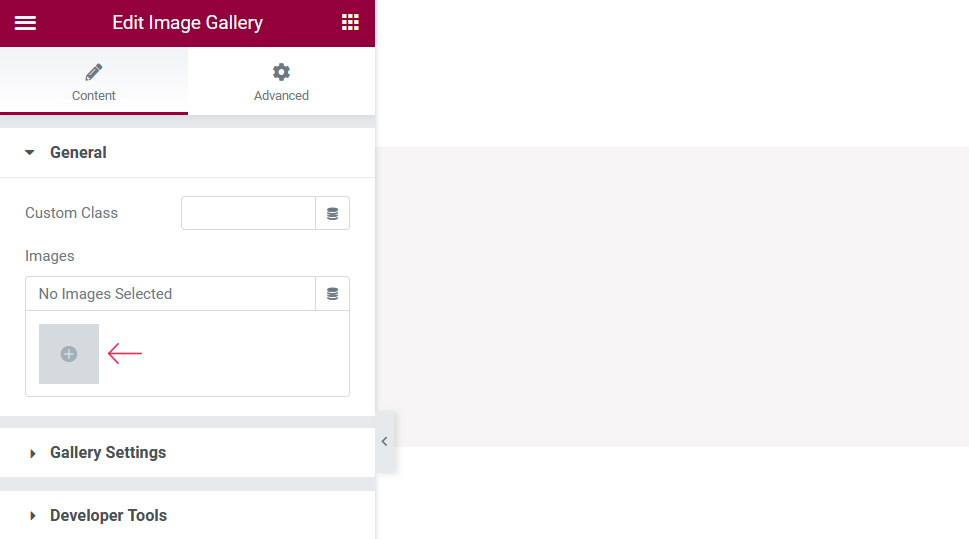
Now, let’s drag the widget to the right. The widget will appear empty because there aren’t any pictures in the gallery yet. To change that, click on the image icon with the “+” sign, located in the left sidebar.
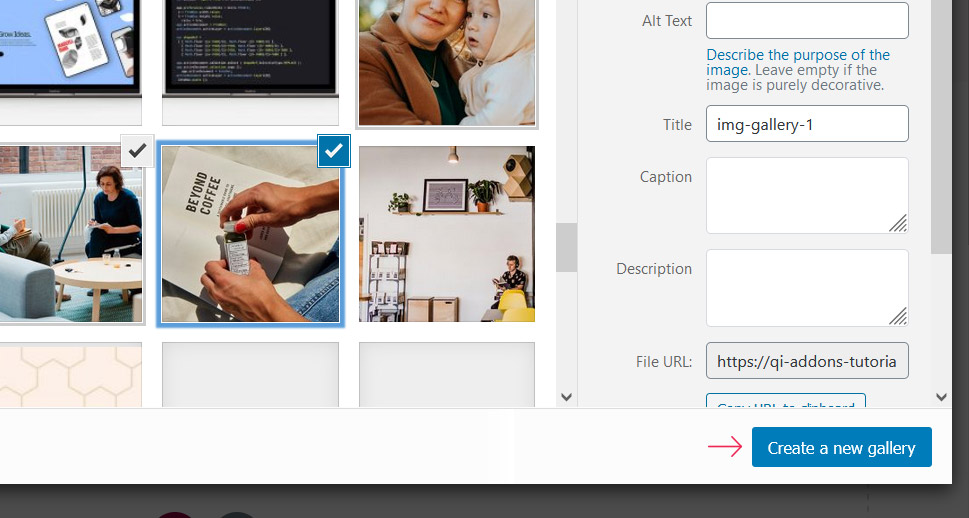
Next, select the pictures you wish to display in the image gallery and click on Create a New Gallery.
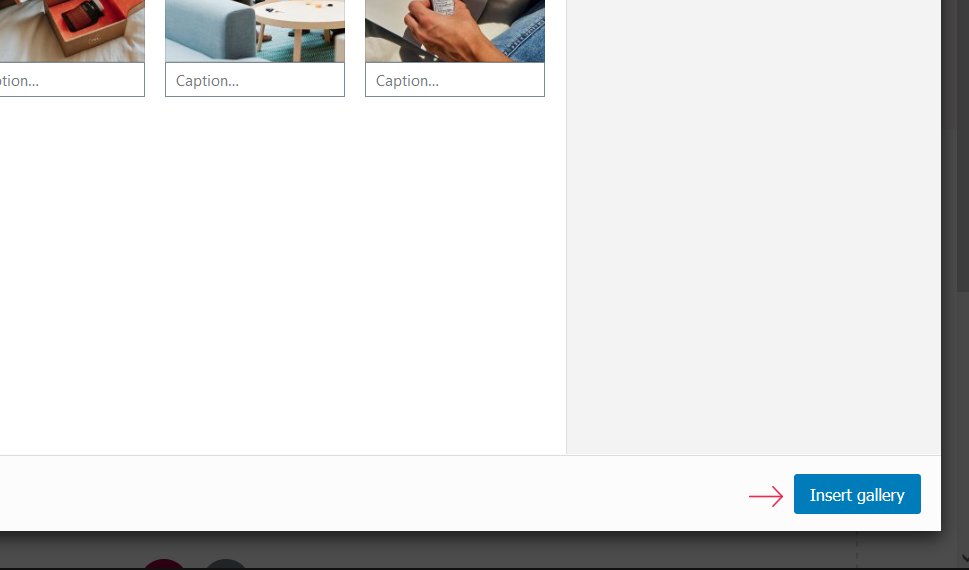
Then, press the Insert Gallery button and the images will appear on your page.
This is what our gallery looks like by default.
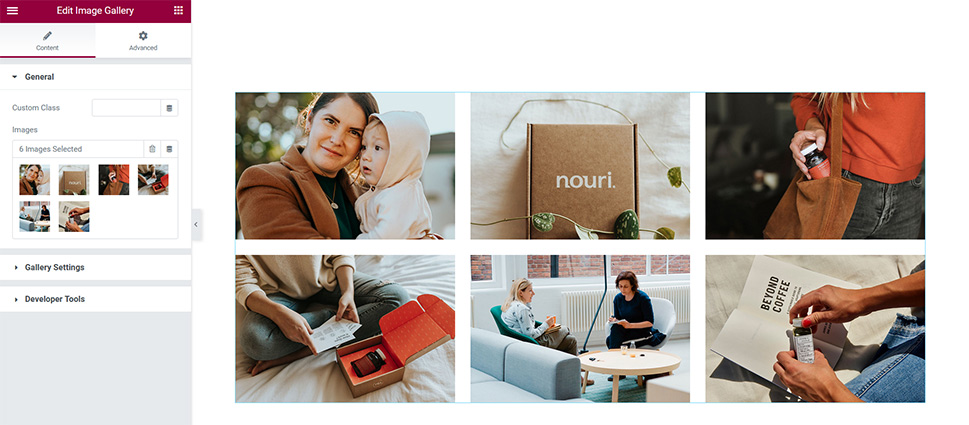
Our images are placed in three columns and two rows, and there are gaps between the photos. Now, if you would like to rearrange the pictures in your gallery, you can do so by opening the Edit Gallery window. To do that, click on the field for adding images, change the order of your photographs, and click on Insert Gallery.
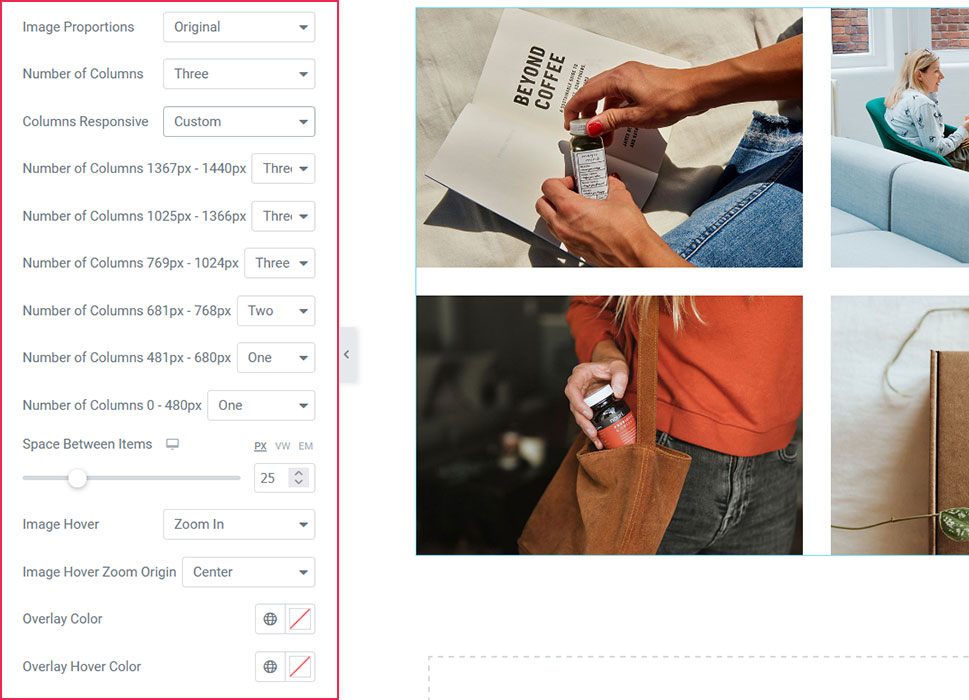
You can now manipulate the Gallery Settings to make them suit your requirements. For example, you can enable custom links, activate a lightbox popup (if set to Yes, when someone clicks on an image, it will open in the same window and appear as an overlay), choose image proportions (thumbnail, landscape, portrait, etc.), specify the number of columns you’d like your images to appear in, set column responsiveness (if you select Custom, you can specify the number of columns to display on various screen sizes), adjust the space between photos, select the image hover effect (if you select an image hover effect, you can also specify which part of the image will be zoomed in, e.g., center, top, bottom, etc.), as well as select the image overlay color and the overlay hover color.
We decided to leave the lightbox popup effect active and keep original image proportions. We did, however, modify the space between items and set it to 25px. We also made changes to the column responsiveness. For the screen size of 681 x 768px (the portrait mode on laptops) we chose to display our gallery in two columns, and for 481 x 680 px (the landscape orientation on mobile phones) and 0 x 480 px (the portrait orientation on mobile phones) we opted for one column.
When you finish making changes to your gallery in Settings, don’t forget to press the Update button.
Now, the gallery is, by default, displayed in grid. If you wish to make your content take up 100% of the screen’s width, you first need to select the appropriate page layout. To do that, head over to Elementor’s Settings and under Page Layout select Elementor Full Width.
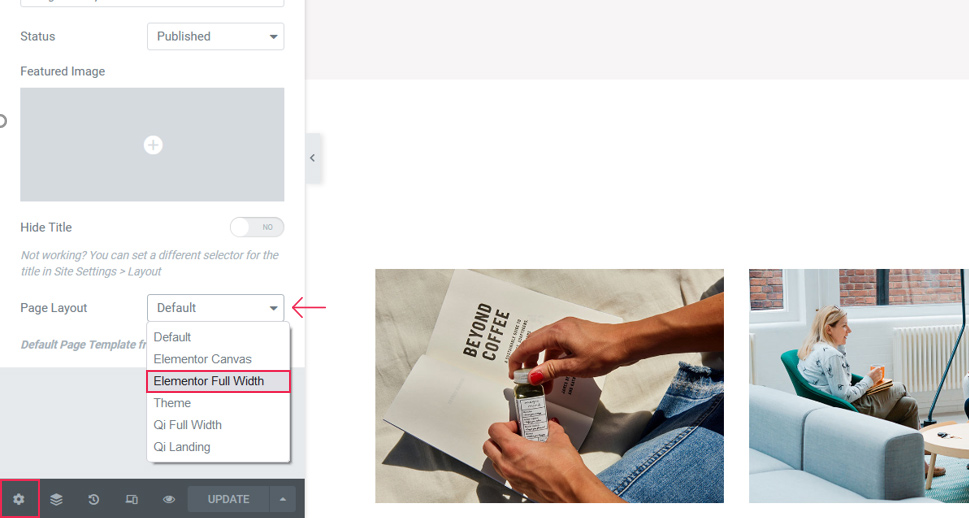
As you can see, we also have the Qi Full Width option under the Page Layout settings. That’s because we’ve installed the Qi Theme, Qode Interactive’s free WordPress theme. If you’re also using the Qi Theme, you can feel free to select either Elementor’s or Qi Theme’s Full Width template as both have the same purpose.
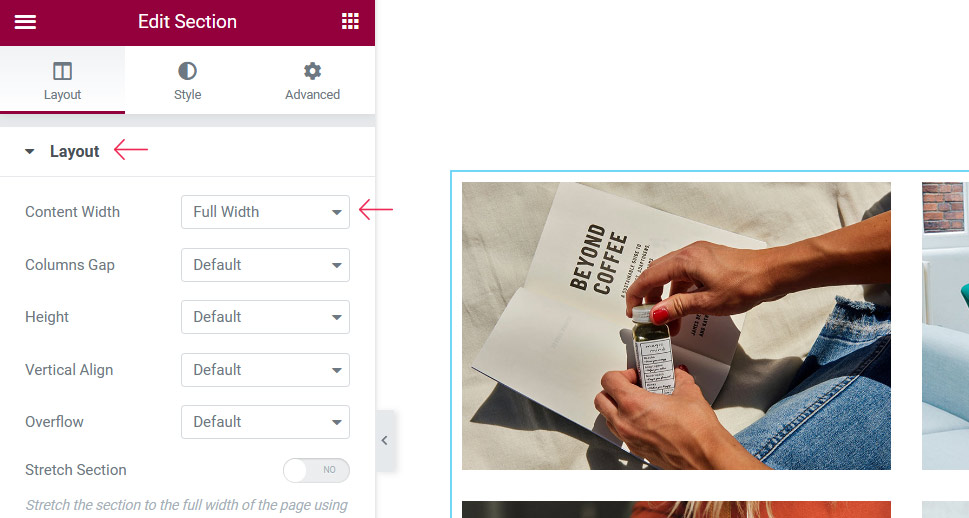
Once you make adjustments to the page width, you should also change the section width. That can be done simply by clicking on the Image Gallery section and then going to Elementor’s Layout options. Under Content Width, you need to select the Full Width option and your gallery will now span from one side of the screen to the other.
We decided to keep our image gallery in grid so this is what it ended up looking like after all the changes we’ve made:

As you can see, the Image Gallery widget offers a myriad of customization settings, allowing you to control every aspect of your image gallery. And best of all, with Qi Addons for Elementor, you get it completely free.
How to Create a WordPress Image Gallery in the Classic Editor
First up, let’s see how to create an image gallery using the Classic Editor.
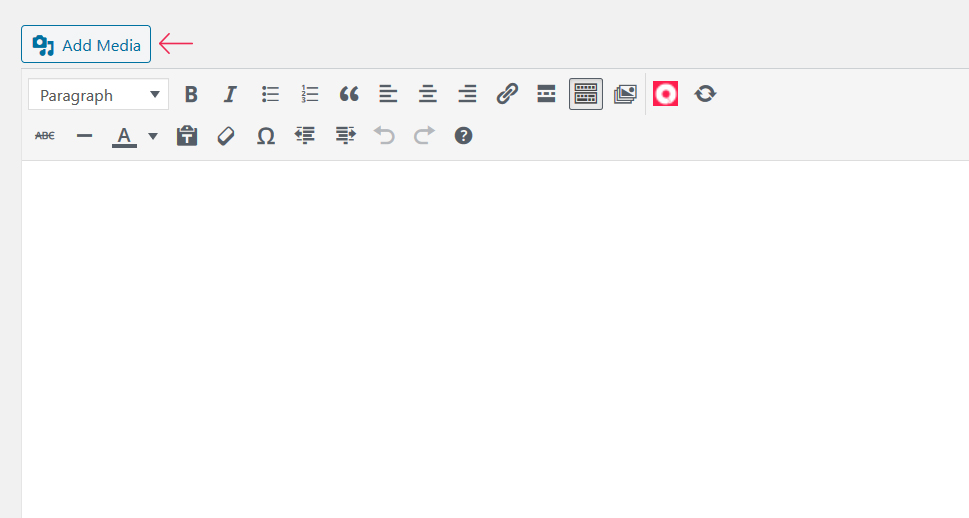
You should open the page or post where you wish to add the gallery and click on Add Media.
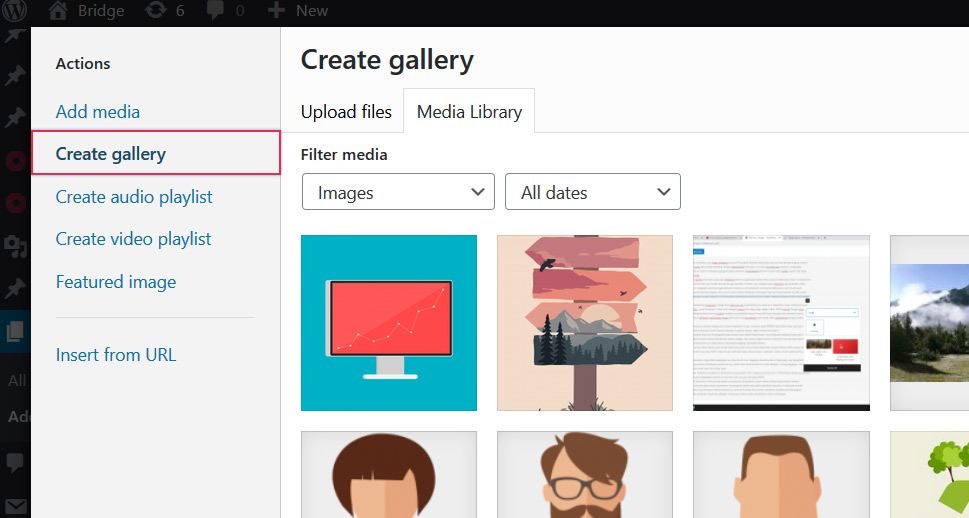
This action will launch your media library. In the newly opened window, look at the menu Actions displayed on your left-hand side and select the Create Gallery option.
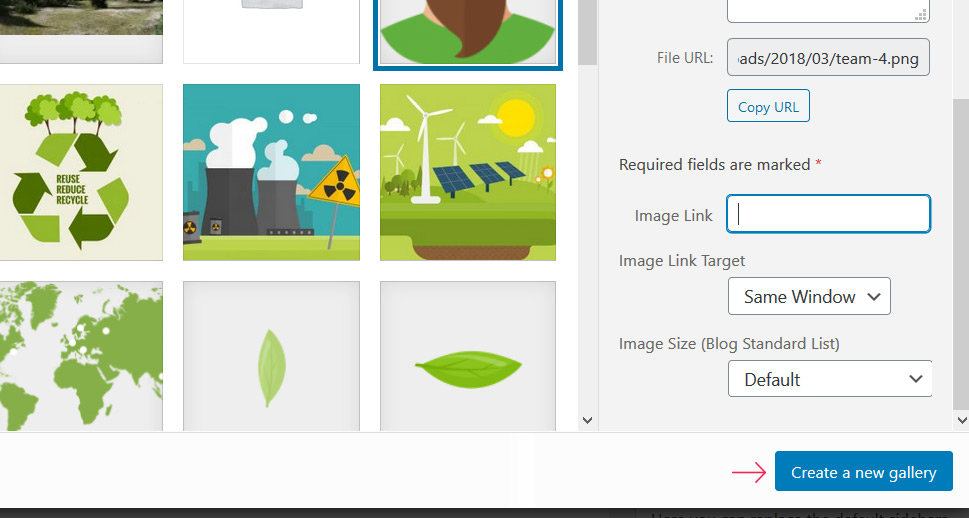
Next, choose the photos you wish to add to your gallery or upload new files. We highly advise you to optimize images first before adding them to your site.
You can use WordPress’ default editor to rename photos, add a description, caption, enter image link, specify image link target, and more. All options are featured on the right side of the menu. And when you’re happy with all the tweaking, press the Create a New Gallery button.
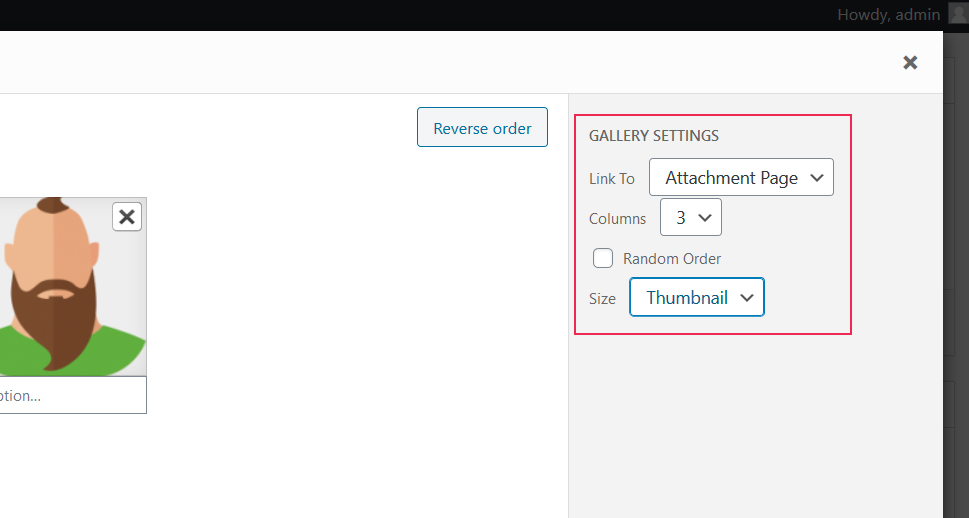
You can now edit your gallery, i.e. rearrange images, specify how many columns you want the gallery to have, adjust Link To settings, set the size of an image, and randomize their order if you like.
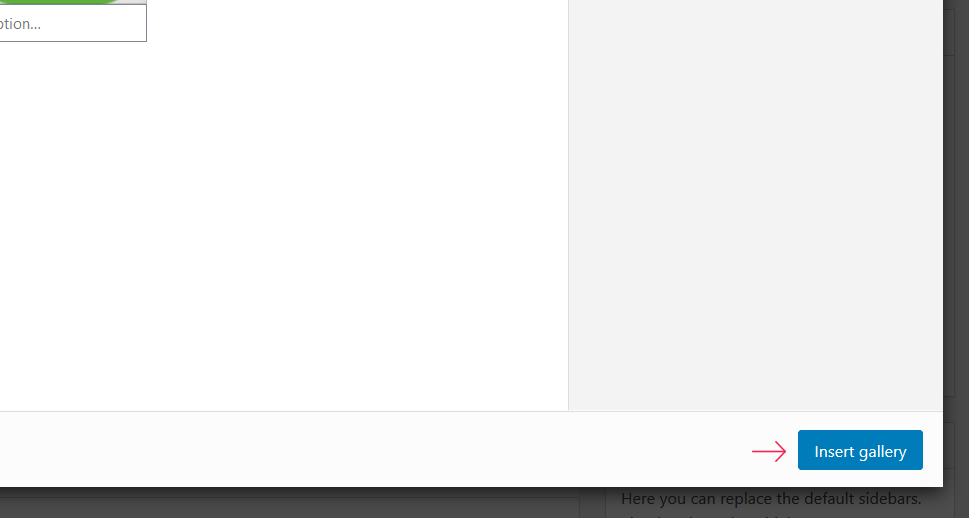
Once everything is set, click on Insert Gallery in the bottom right corner of the page.
How to Create a WordPress Image Gallery in Gutenberg
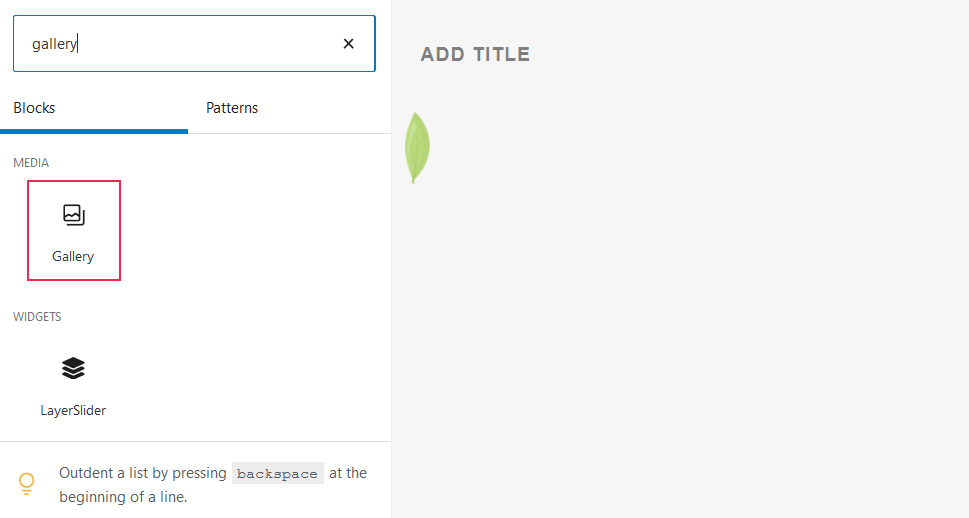
To start making your image gallery in Gutenberg, you need to add the Gallery block to your page or post.
Then, select the files from your media library or add the new ones, edit them according to your preferences (customization options are the same as in the Classic editor), and click the Create a New Gallery button.
Gutenberg allows you to do some more editing once the gallery is added to your site. For instance, you can insert a caption for the gallery, specify the number of columns, choose between thumbnail and full size for your images, add links, and crop images to make them align.

Whenever you wish to add functionality to WordPress and enhance its power, the easiest way to go about that is by adding plugins to your site. If you’re not using Elementor and, therefore, can’t install the Qi Addons pack, you can try one of the photo gallery plugins we reviewed in one of our previous articles. We will now show you how to create an image gallery using the popular Photo Gallery plugin by 10Web.
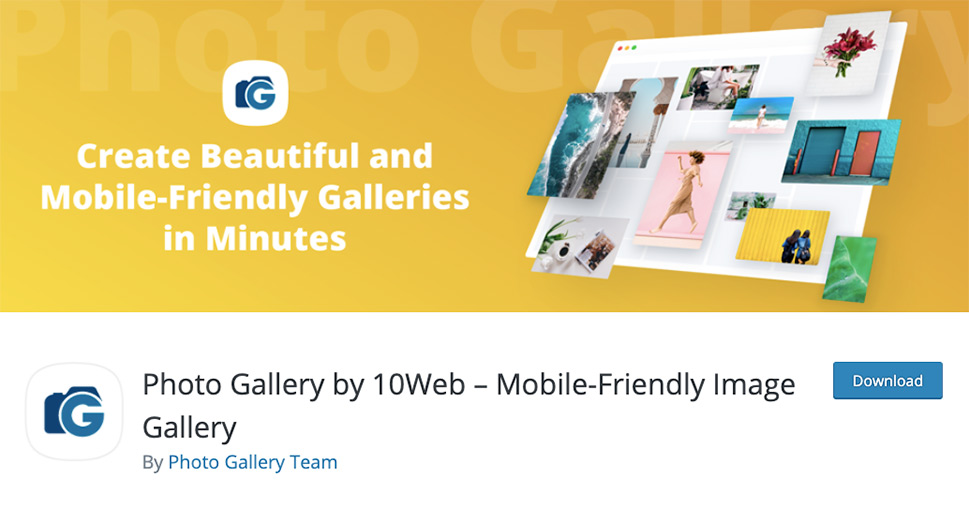
Photo Gallery by 10Web is a users’ staple when it comes to creating attractive photo galleries in WordPress. This plugin currently counts more than 300.000 active downloads from the official WordPress plugin repository. Several premium plans are available as well with the prices ranging from $30 to $100.
The first thing you should do upon installing the plugin on your site is configure and personalize its global options. Photo Gallery is filled to the brim with customization settings allowing you to control every single aspect of your gallery. To explore them all, head over to Photo Gallery > Global Settings.
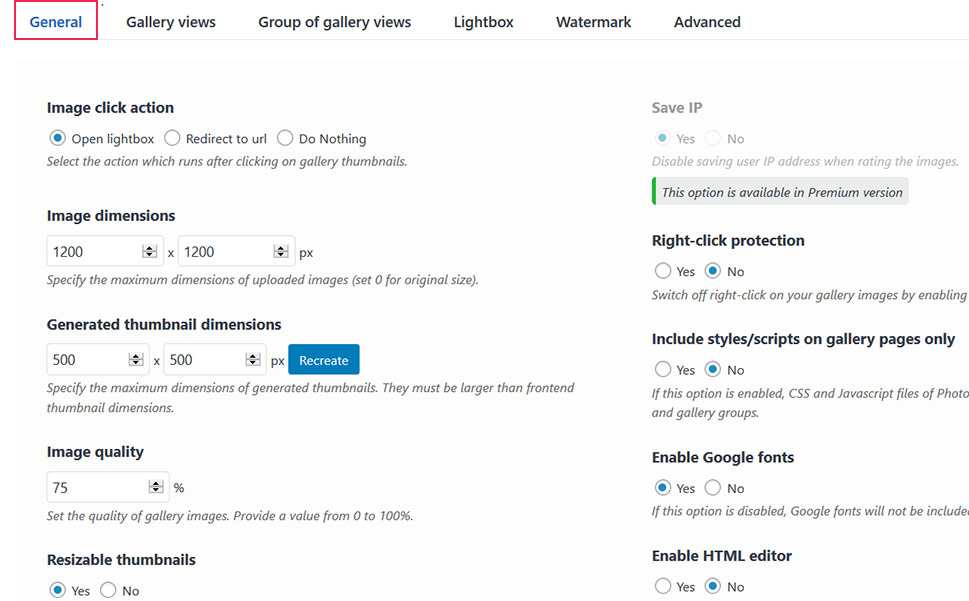
General tab is where you can decide on what will happen after users click on gallery thumbnails (open lightbox, redirect them to an URL, or decide to forego any action), set the quality of gallery images, activate lazy load, enable preload images, disable visitors from using right-click on your images, auto-fill metadata, and heaps more.
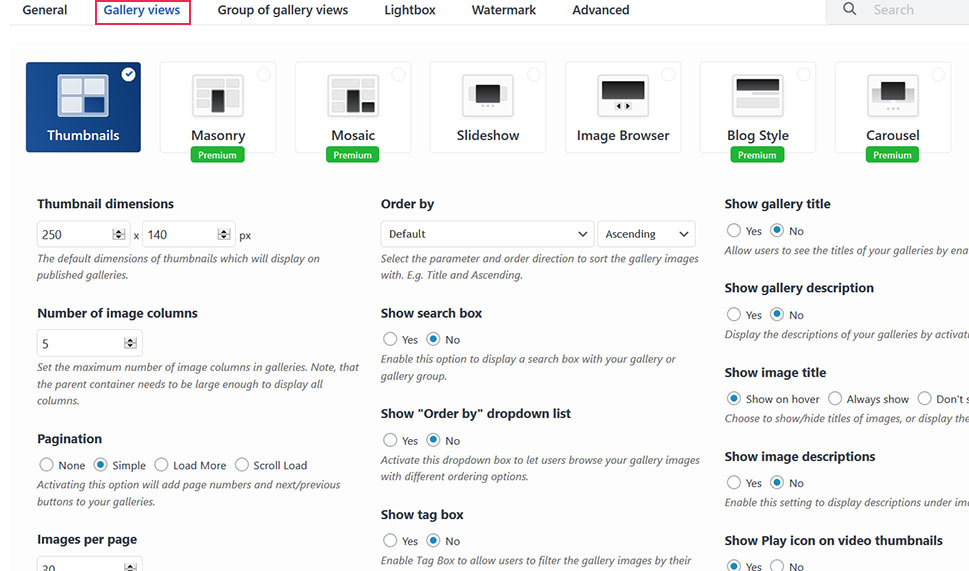
To choose a gallery layout, select the Gallery Views tab. The free version enables you to pick between thumbnails, masonry, slideshow, and the image browser layout. Premium plans, on the other hand, include masonry, mosaic, blog style, and carousel views, as well as the possibility to create customized gallery views by tweaking the colors, choosing desired font types, altering control buttons, to name a few.
There is also an option to set the thumbnail size, the number of gallery columns, enable pagination, add a search box, show gallery and image description, etc.
This powerful plugin allows you to group galleries and showcase all of them together. All settings regarding group galleries are placed under the Group of Gallery Views tab. They are similar to those from Gallery Views, except they refer to groups.
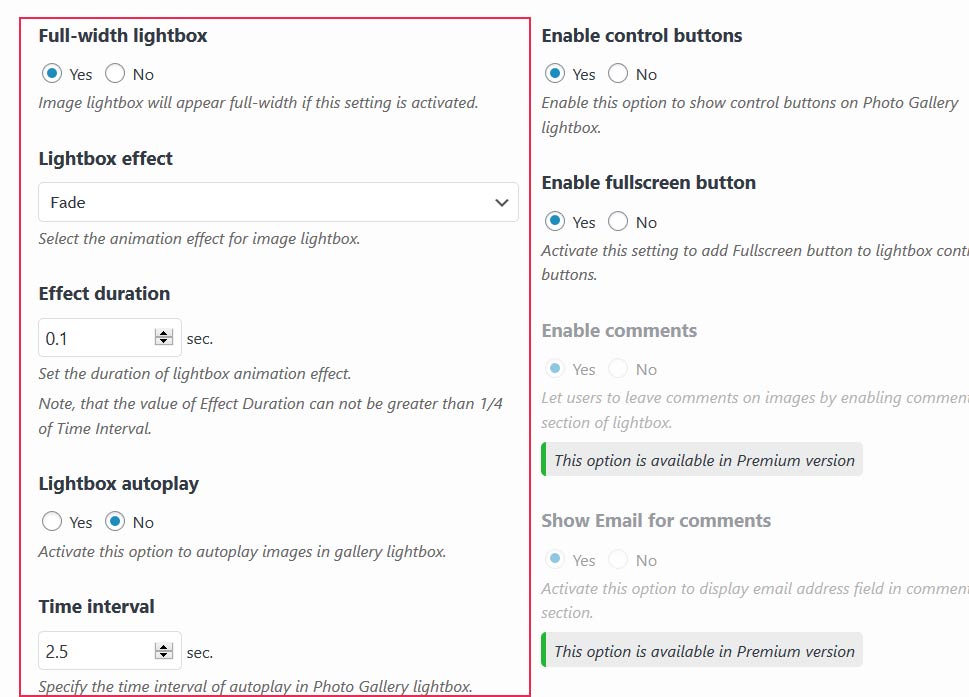
If you enable the lightbox effect, open the Lightbox tab to select the animation effect for image lightbox, its duration, activate lightbox auto-play, enable filmstrip, etc.
There is also an option that enables you to add watermark to your images, allow specific user roles to edit your galleries, add advertisements, embed your entire Instagram account, and a myriad of other practical features that allow you to create a gallery to your liking.
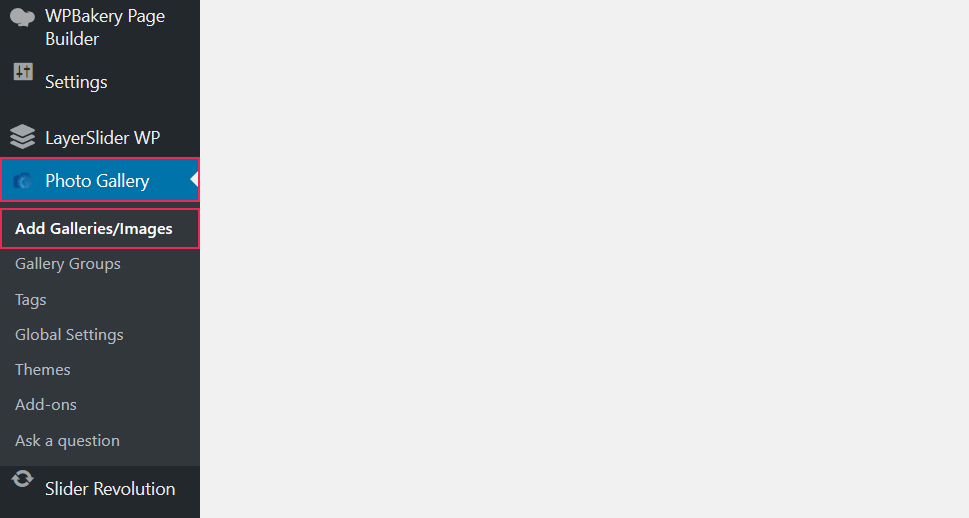
And to make your first WordPress image gallery, go to Photo Gallery > Add Galleries/Images.
You can enter a title for your gallery, set a cover image for it, add slugs, a description, and select gallery content type.

Below all of these settings, you have the option to add images, import files from the media library, embed media, or opt for the social bulk embed.

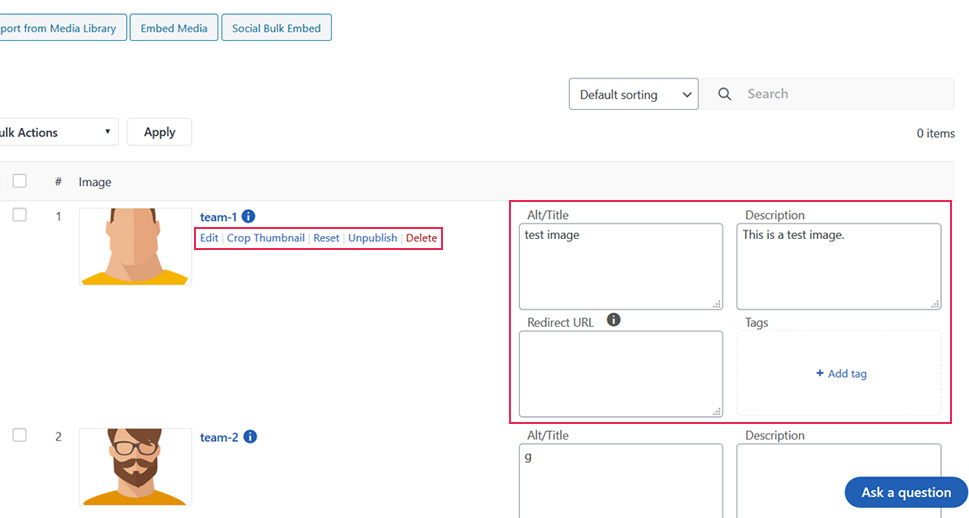
Once you upload the desired image files, you can modify their thumbnail, insert a photo title and description, set up a redirect URL, and add tags.
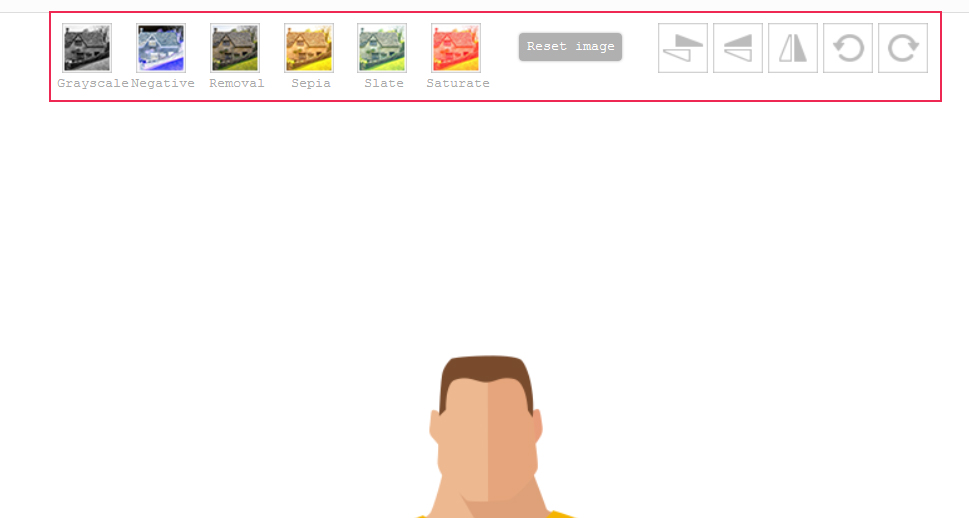
If you click on Edit, the plugin lets you apply one of the several available filters on your image, as well as flip and rotate your file if needed.
To make the Photo Gallery plugin even more practical, you can power it up with a few handy add-ons. Use them to enable the import and export functionality on your site and link and display Google photos in your gallery.
Qode Themes: Top Picks
View Collection


Almost all of Qode Interactive themes come with the Image Gallery shortcode which makes gallery creation as easy as it can be. Even if you’re still new to WordPress, you will find that the plugin is simple to use no matter the page builder you use. We will show you how it works in WPBakery (the shortcode looks the same in Elementor) using our Amedeo theme.
First up, let’s add the plugin to a page where we wish to add a gallery.
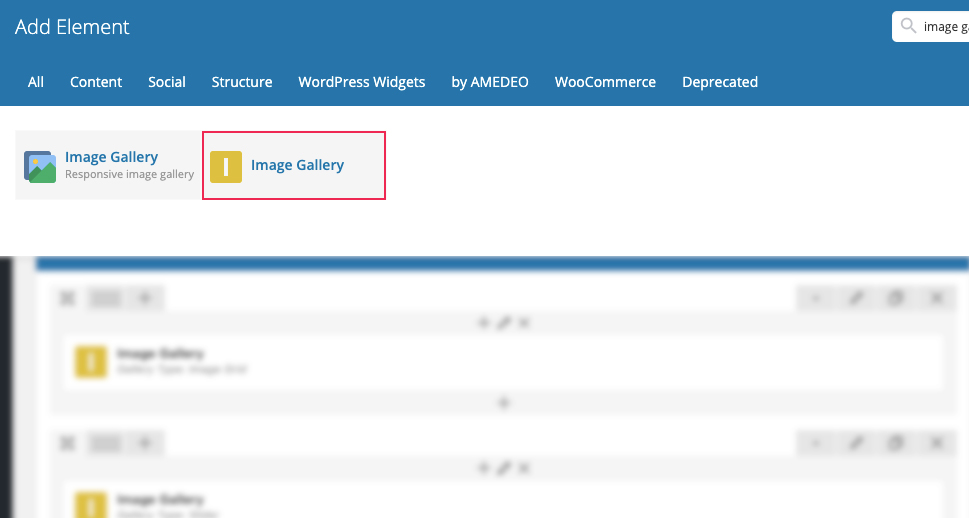
The shortcode allows you to create a gallery slider or the classic kind of gallery. You can see both types in Amedeo here. We will focus on the classic type (we’ve named it “Image Grid” within the shortcode).
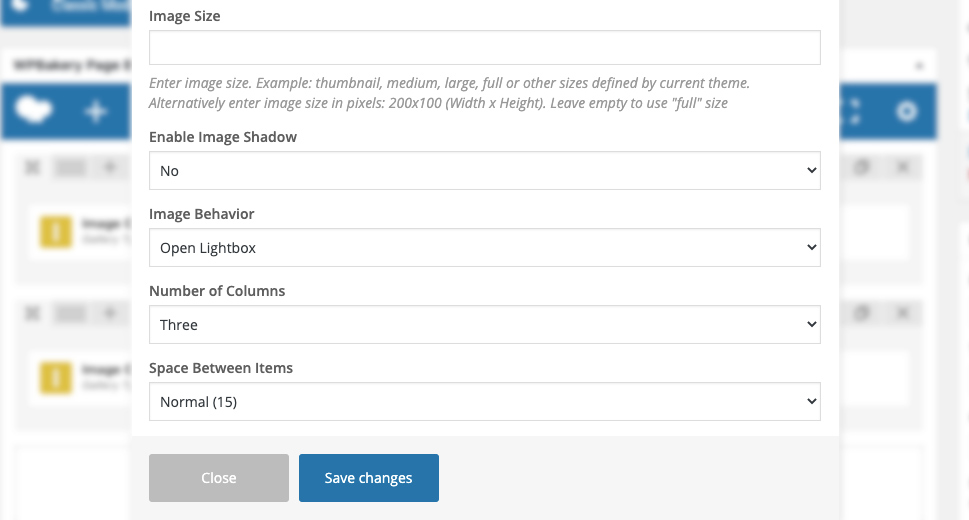
Let’s open the shortcode options, select Gallery Type > Image Grid, and upload desired images.
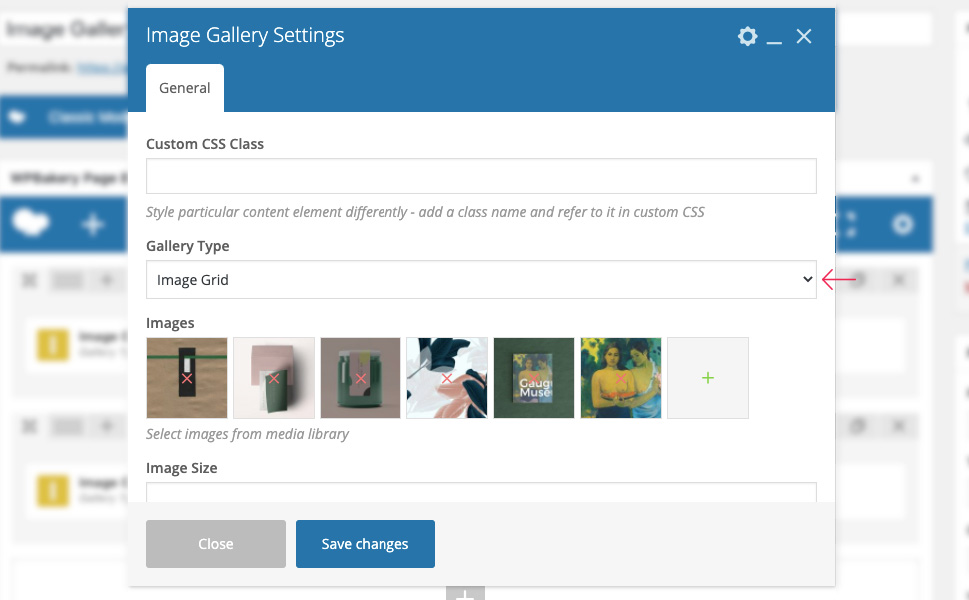
Most of our themes let you choose between several gallery styles, depending on your requirements and preferences. If you can’t decide on just one, no worries because you can add as many gallery types as you like to a page.
As for the Image Size option, if you leave this field empty (as we did), the shortcode will use its default values. To change them, simply enter the dimensions you wish.
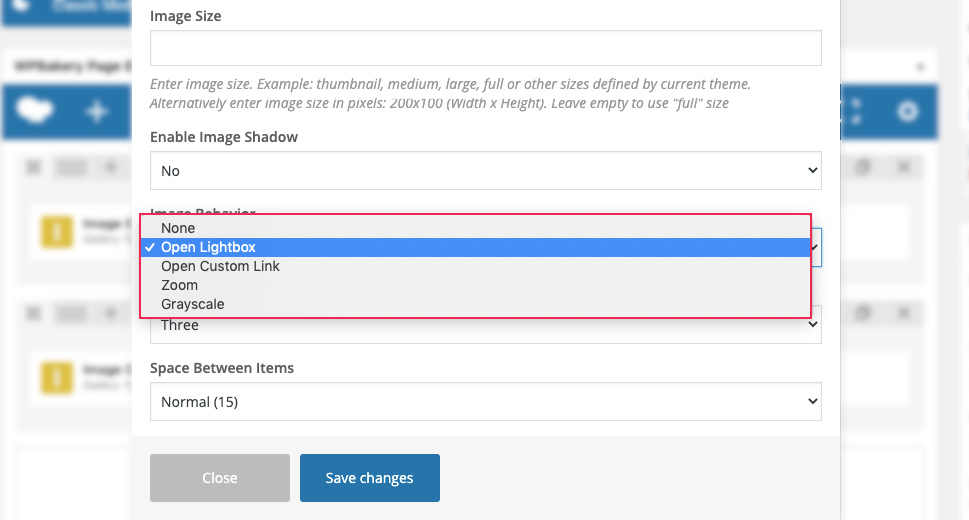
Moreover, the plugin allows you to customize Image Behavior. You can choose Open Lightbox, Open Custom Link, Zoom and Grayscale. We’re going with the lightbox option here.
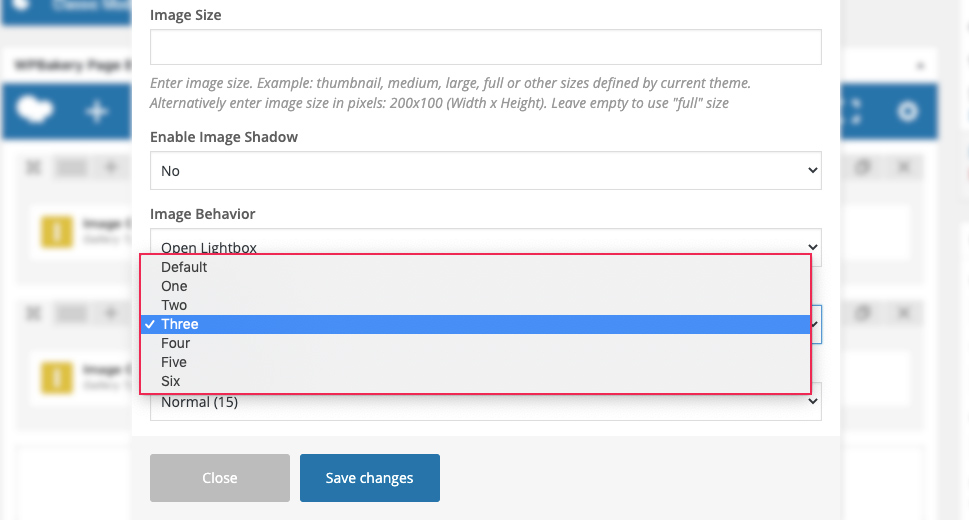
Number of Columns is another handy option that lets you modify the number of columns you would like to display in your gallery. In this particular theme, you can pick between one and six columns. We’ve selected three.
And lastly, you can also Set Space Between Items. We’re going to set this to Normal (15), which means that the padding around an item is going to be 15 px and space between items 30px.
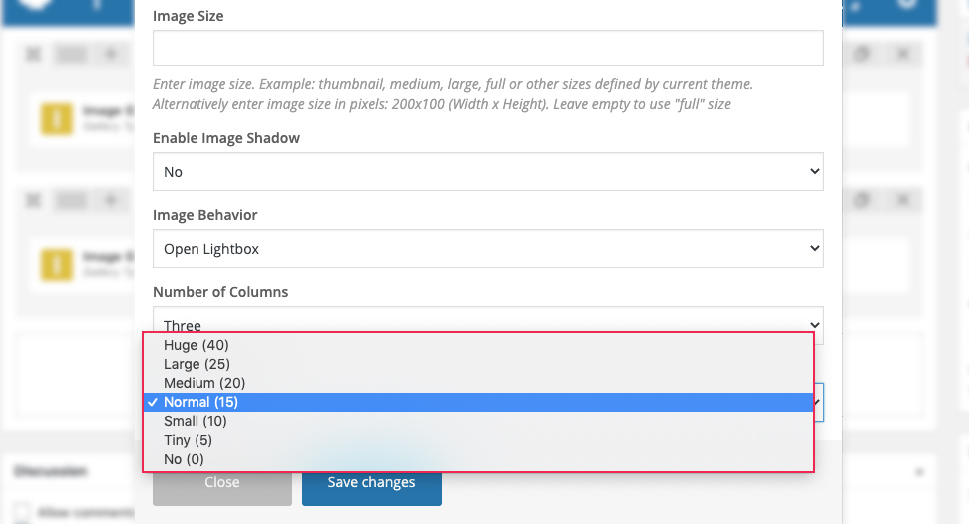
By setting everything the way we did, the final result will look like the one from our demo.
Final Words
Image-rich content is an indispensable tool in bringing you and your work closer to your audience. Appealing and well-organized photo galleries will help you retain your audiences’ attention, keep them on your website longer, and increase user engagement.
To create a WordPress image gallery, you can either rely on the default features of the platform, use some pretty cool widgets and premium themes, or install a photo gallery plugin.
As you can see, the powerful and free Qi Addons for Elementor plugin is a good choice because it packs a myriad of customization options, allowing you to craft an image gallery to your taste. Alternatively, you can purchase a Qode Interactive premium theme that contains the powerful Image Gallery shortcode. You could also try the great Photo Gallery plugin by 10Web – the free version includes lots of handy features, while the premium edition raises the bar even higher.
The bottom line is, the WordPress’ default gallery features will suffice if you wish to create a simple photo gallery. However, if you would like to have more editing options at hand, go for either Qi Addons, a premium Qode Interactive theme with the Image Gallery plugin, or a third party plugin. If you would like to save some money and still have lots of cool options at hand, we suggest you choose Qi Addons for Elementor. You can install it free of charge and get another 59 widgets, including a variety of slider and gallery widgets (besides the standard gallery) that will allow you to showcase your images in a plethora of immersive and attractive ways.
