How to Connect Your WordPress Media Library to Your Google Drive

If you run your own WordPress site, there are many things you can do to save up file space and maintain your WordPress storage in general. For example, you can optimize images for the web in order to reduce their size while preserving their quality, or back up your files using one of the many available WordPress backup plugins. But, another great way to store all your images and documents and save some storage space is by using one of the online cloud services, like Google Drive. All you have to do is connect your Google Drive to your WordPress media library, and you’ll be able to import the files from this popular service directly to your WordPress website.
Luckily, connecting Google Drive to WordPress is quite easy to do. In this article, we will demonstrate all the steps required to do so.
The Benefits of Connecting Google Drive to your WordPress Media Library
As one of the most used cloud storage services today, Google Drive is a handy addition to anyone dealing with data online – be it for personal, or business purposes. Namely, Google Drive offers a whopping 15GB of free cloud storage to all Google account users. And this can definitely improve the way you handle and store your website content.
By connecting your Google Drive directly to the WordPress media library, you will be able to import all your photos, images, and other files you plan to use directly to your website, and insert them into any page or post. This can benefit you no matter if you run a blog of any kind, a news publication, an online store, a photography website, or any type of online portfolio.
So, without further ado, let’s see how you can connect Google Drive to your WordPress Media Library.
Qode Themes: Top Picks
View Collection


Connecting Your Media Library to Google Drive With a Plugin
First and foremost, you should install a WordPress plugin called External Media.
After the plugin’s installation and activation, go to Settings >> External Media to connect the plugin with your Google Drive and set it according to your preferences.
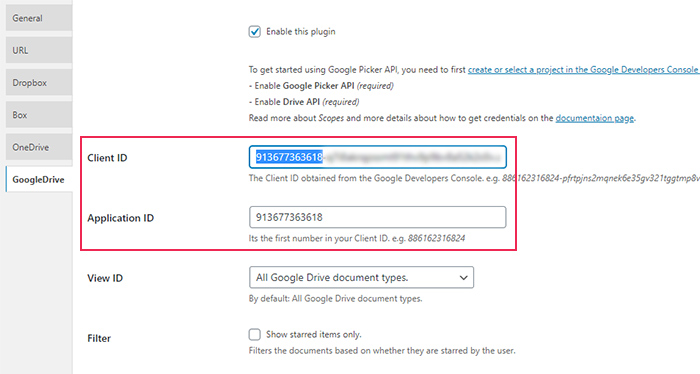
Once there, you will see various tabs that allow you to connect to different storage services, such as Dropbox, OneBox, and of course, Google Drive. You should head to the Google Drive tab and tick the “Enable this plugin” option.
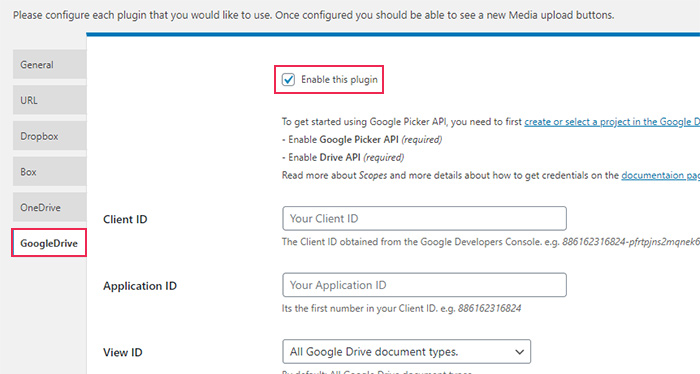
Right below, you will also notice fields that require you to enter Client and Application ID.
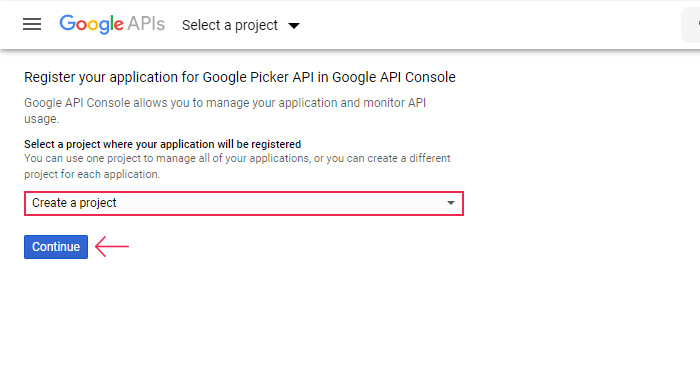
You will be able to acquire both IDs if you go to the Google Developers Console page and create your own project. So, for your next step, you should head there and start creating your project by clicking the Continue button. By doing so, you will allow Google to enable the Google Picker API.
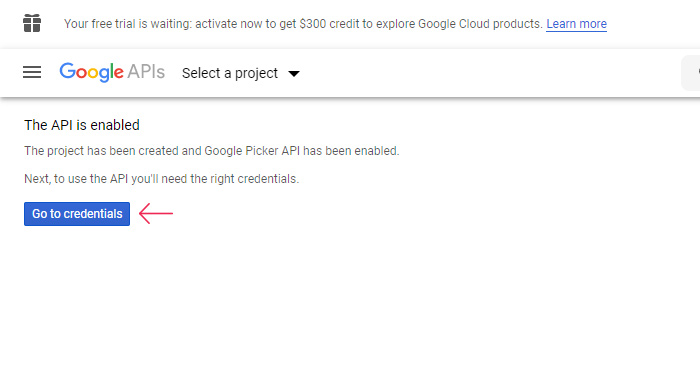
After that, you will need to click on Go to credentials.
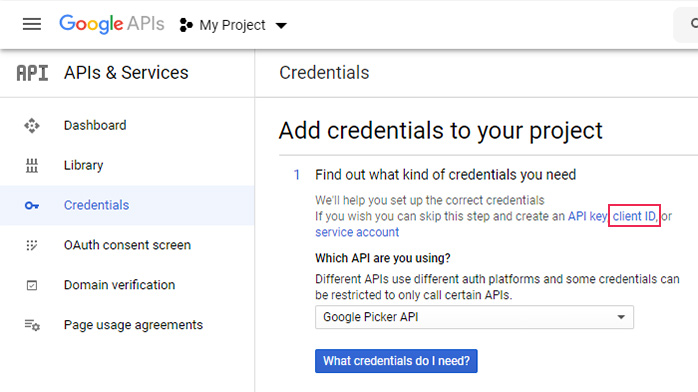
Since you will be needing a Client ID, simply click on the link named Client ID.
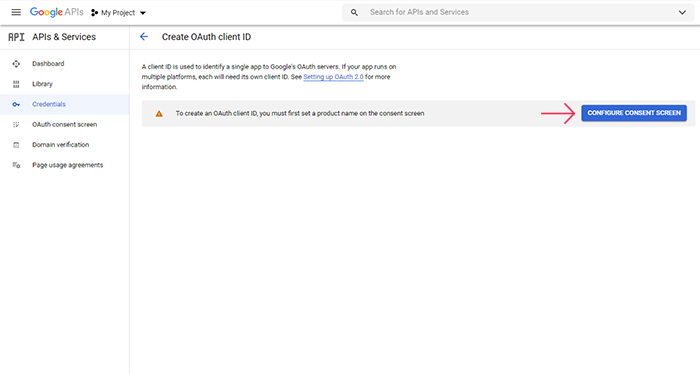
Next, you will be required to configure the consent screen. Click on the Configure consent screen button.
You will be asked to choose how you want to configure and register your app. The Internal user type is only available if you are a G Suite user, so if you’re not, pick the External option and hit the Create button.
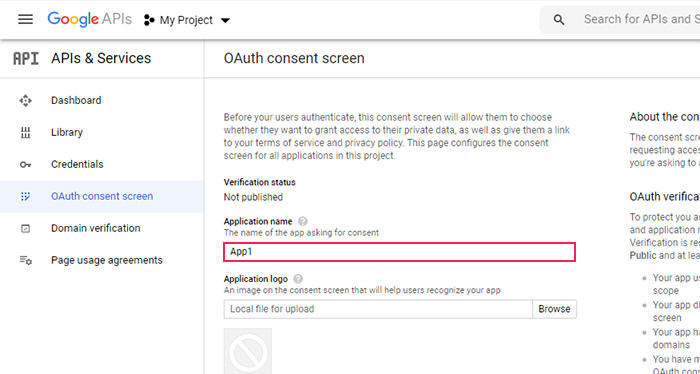
You will be led to the OAuth consent screen, where you should give a name to your app. Hit the Save button once you are done naming your app.
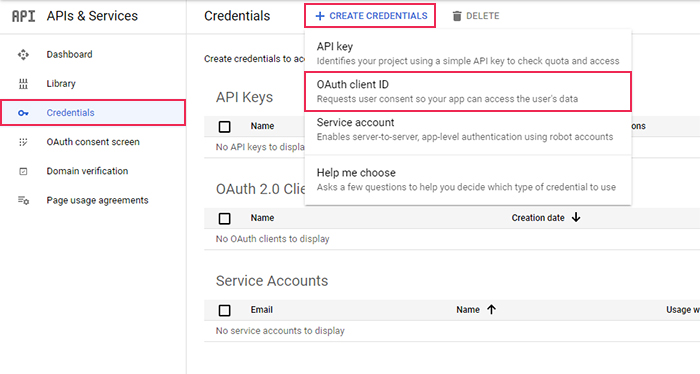
If you are not automatically redirected to the Credentials screen, make sure to click the Credentials tab, and then go to +Create Credentials >> OAuth Client ID.
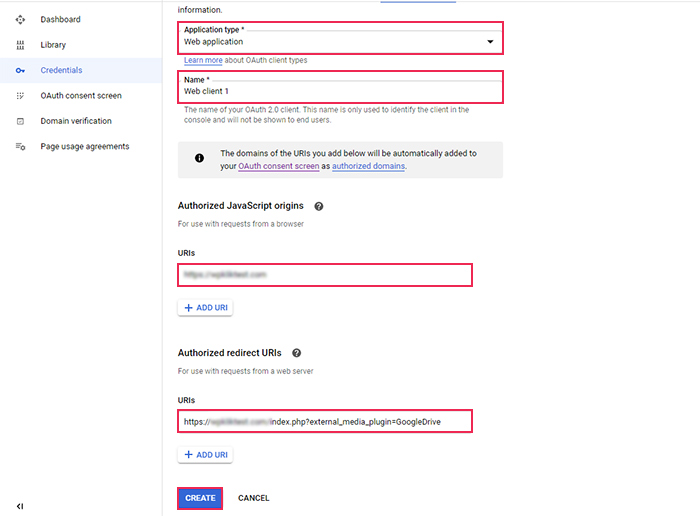
Choose Web application for your Application type. You should also assign a name to your client and insert your website’s URL, as well as the oAuth Callback URL. As for the latter, you will be able to find this URL in the External Media Plugin’s Google Drive settings, at the very bottom of the screen (under the name Redirect URL).
Hit the Create button when you’re done.
A popup will appear with your client ID information.
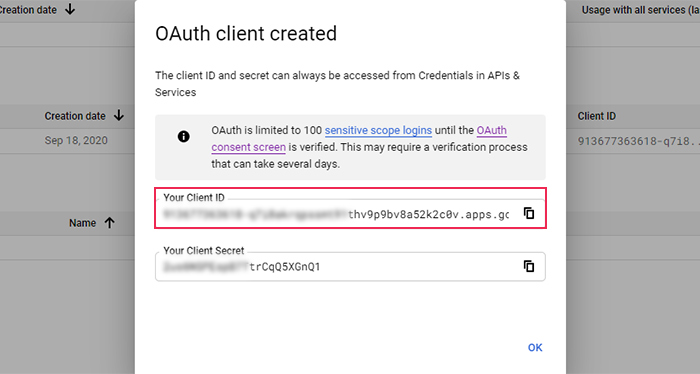
You should copy and paste this ID into the Google Drive settings of your plugin, in the Client ID field. Also, in the Application ID field, you should copy the first 12 numbers (before the dash) from your Client ID:
After you’re done with copying Client and Application IDs, configure the rest of the options according to your preferences, and hit the Save Changes button. This action will connect your WordPress site to your Google Drive.
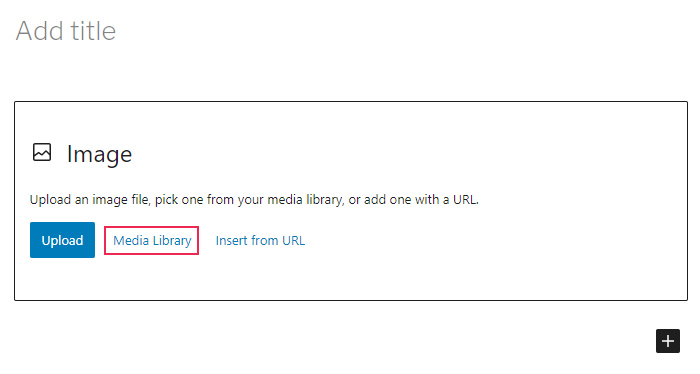
Now, you should go ahead and create a new page or post. Hit the Add Media button if you are using the Classic editor, or choose the Gallery/Image block >> Media Library if you’re using Gutenberg.
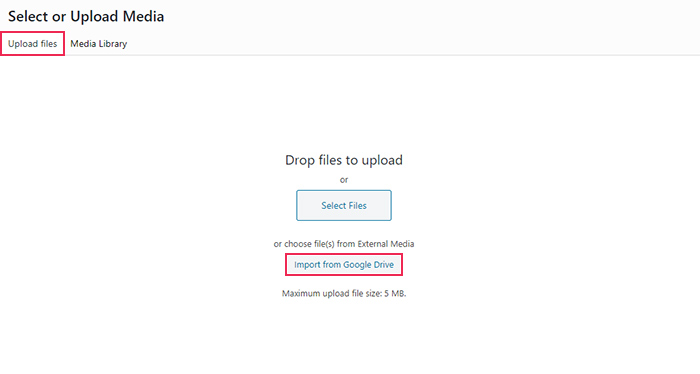
In the Upload Files tab, you will now see the option to import your files from Google Drive.
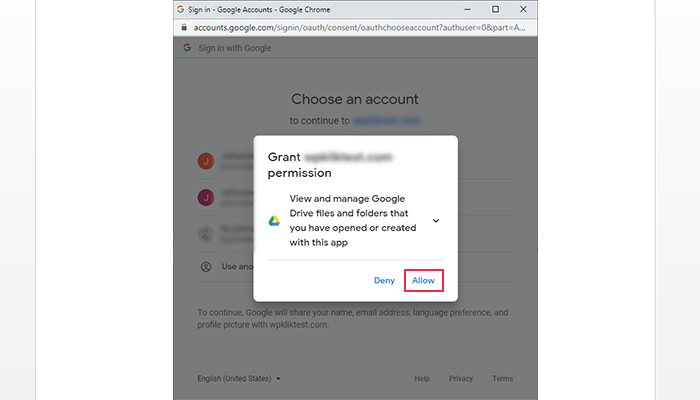
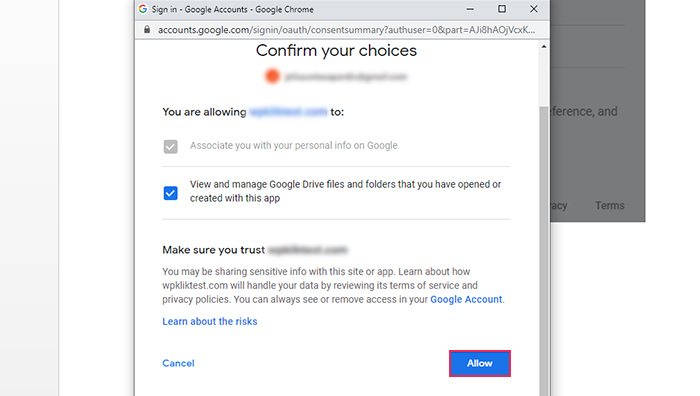
After you click on it, you will be redirected to a window allowing you to choose your Google account (if you have more than one). Once you click the preferred account, a popup will appear, asking you to allow access to your website to view and manage Google Drive files and folders.
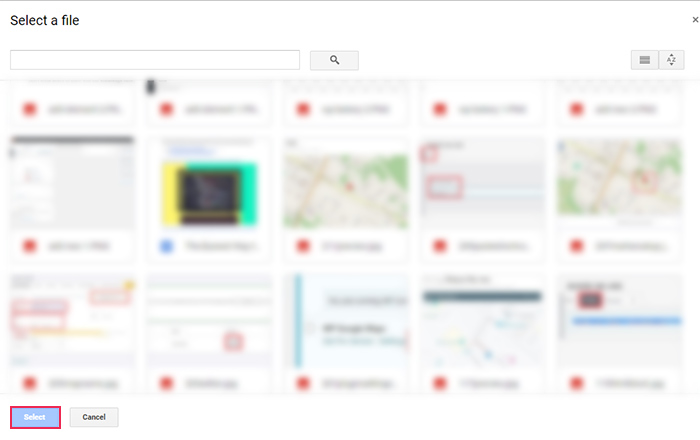
Finally, you will be able to look through your files and folders and import them by clicking on the files in question and hitting Select.
Once you import all the files you want, you will be able to add those files from your media library anywhere on your pages and/or posts.
Finally, we should mention that all the files you import into your WordPress media library from Google Drive will remain there, even if you end up deactivating the plugin in the future.
Wrapping Up
As one of the safest and most convenient ways to back up and access all your files, it’s no wonder that Google Drive is one of the most popular cloud services to date. And if you own a WordPress site, connecting your Google Drive to your media library will greatly benefit the way you use and handle your website content. Not only will you be able to access all the files from your Google Drive and insert them directly to your website, but you will also have plenty of extra storage at your disposal, which is valuable for any website – be it a blog, an eCommerce store, or any other type of online business. As you could see from the steps we presented above, connecting Google Drive with WordPress is quite easy to do. All you have to do is create an app, go through its options to obtain the client and application ID, insert the provided client ID information into the External Media plugin, and you’re all set.
