How to Add Google Translate in WordPress

Even though English is the most widely used and universally understood language on the internet, many people all over the world only use (or at least prefer to use) their native language instead. So, if you own an online business and want to reach more customers and audiences worldwide, the best way to do so is to provide them with the way to translate your WordPress site to their mother language.
Allowing users to translate your website content in different languages can bring many benefits to your business. Not only will you be able to reach your target audience in a more straightforward manner, but you will also make your website more accessible on a global scale.
If you’re not already using a WordPress multilingual website, or don’t have a plan to install one of the WPML- ready WordPress themes, you can always Google Translate your website using a translate plugin. And even though the Chrome browser does come with the option to translate websites to other languages, other browsers do not support this option. That’s why we still recommend adding a plugin so that all your visitors can have the translate option available at their disposal – regardless of the browser they’re using.
Without further ado, here are all the steps you need to take to add Google Translate to your WordPress site.
Qode Themes: Top Picks
View Collection


Adding Google Translate in WordPress Using a Plugin
First things first, you need to install a WordPress plugin called Google Language Translator.
This useful plugin allows users to translate your site on the fly, as well as individual posts/pages, categories and tags, menus and widgets, and all other areas of your site.
Aside from the free Google automatic machine translation and the ability to translate different sections of your website, this plugin also allows users to make their own suggestions for better translations using a “Suggest better translation” popup. This way, if you have a big visitor base, you can give them a chance to help improve the translation of your entire website. What’s also great is that you don’t have to bother with getting the API key or register or activate anything with Google.
Upon installation and activation of the plugin, head to Settings >> Google Language Translator in your WordPress admin dashboard. Here you will be able to configure all the translation settings according to your needs.
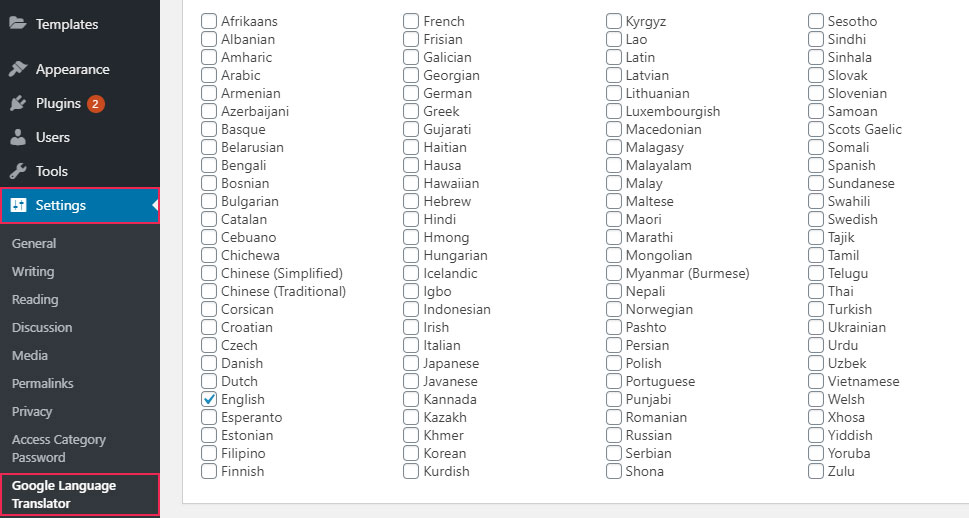
The first thing you should do is check if the Plugin Status checkbox is marked (this will ensure that your plugin is activated). Next, you should pick the original language of your website.

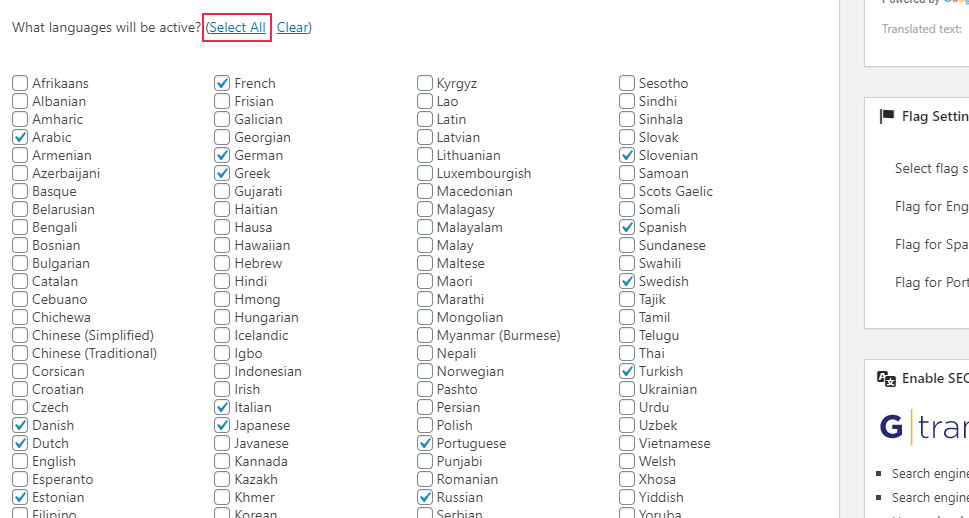
Then, you can proceed to select the languages you want to be translatable on your website. You can mark the ones you prefer, or simply click the Select All button if you want to enable all languages on the list.
What’s also great about Google Language Translator is that it lets you display the translator in two different ways – either by using the language switcher or with a floating widget. We will go through the options of each one.
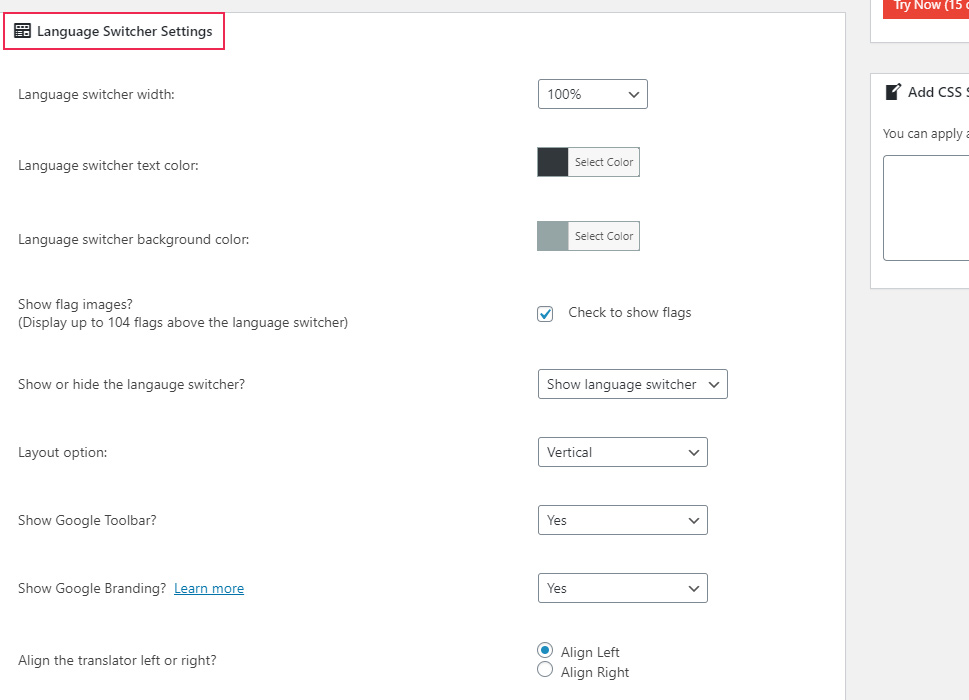
The Language Switcher Settings screen includes the options to pick the language switcher width, text, and background color, choose whether to show flag images (you can display up to 104 flags), show or hide Google branding, align the translator left or right, and so on.
As we already mentioned, you will also have access to the Floating Widget settings. Once you choose the option to show the floating translation widget, more options will appear where you will be able to configure your custom text for the floating widget, background color, position, and more.
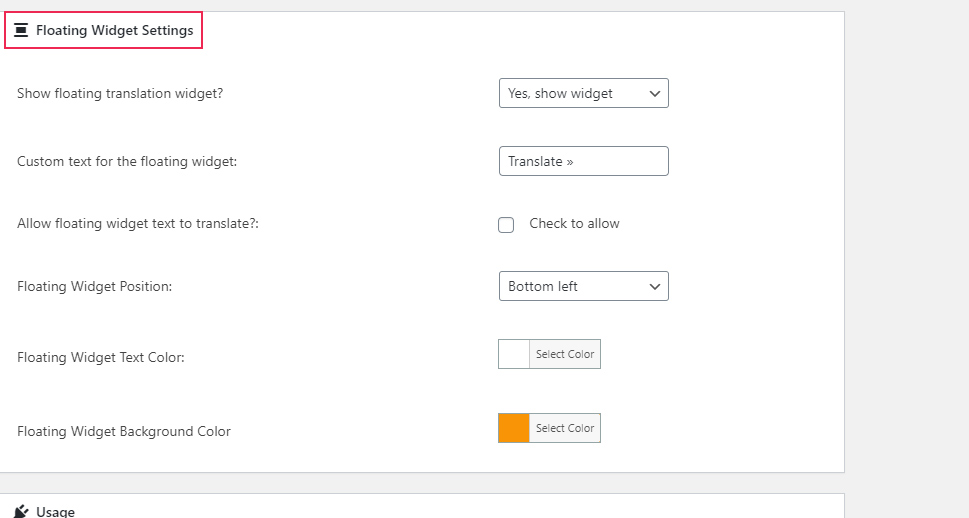
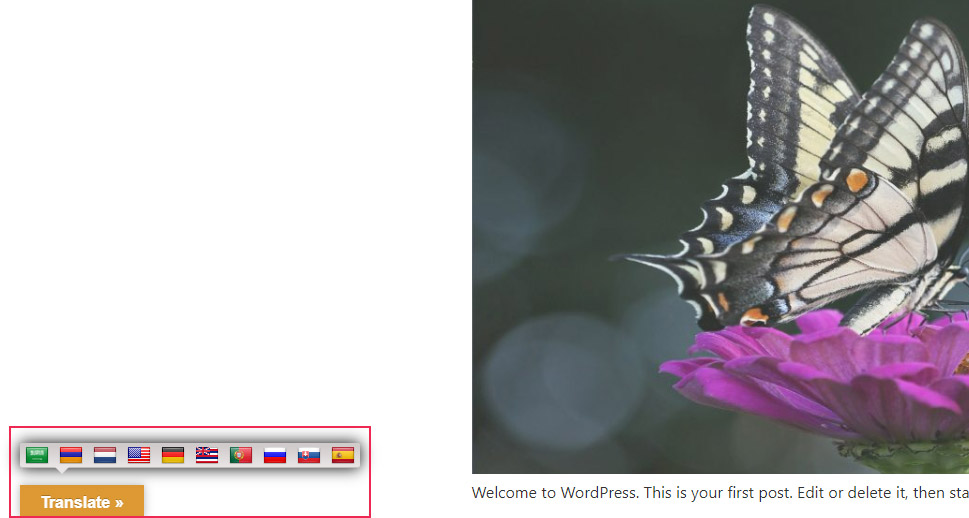
After clicking on “show widget” and configuring its options, the only thing you have to do is save your settings at the bottom of the page, and your floating widget will display on every page on your website, like this:
Now, if you want to place the language switcher into different areas of your website, you need to copy the shortcodes and/or theme function from the Usage screen. You have three different options at your disposal – the shortcode which you can insert into your pages or posts, the code you can use in your header, footer, or page templates, or the shortcode you can place in menus, pages or posts for the single language usage.
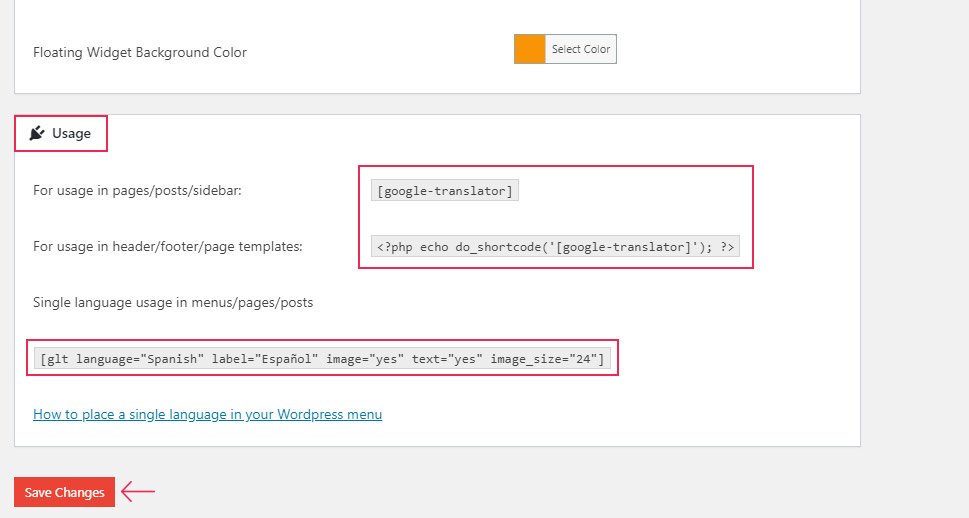
Don’t forget to Save Changes when you’re done with configuring all the settings.
In case you also want to add the Google translator language switcher as a widget into one of the widget areas on your website, simply go to Appearance >> Widgets and find and drag the widget called Google Language Translator into any widget area you want (or click on the widget to open the dropdown, select the desired widget area, and hit the Add Widget button).
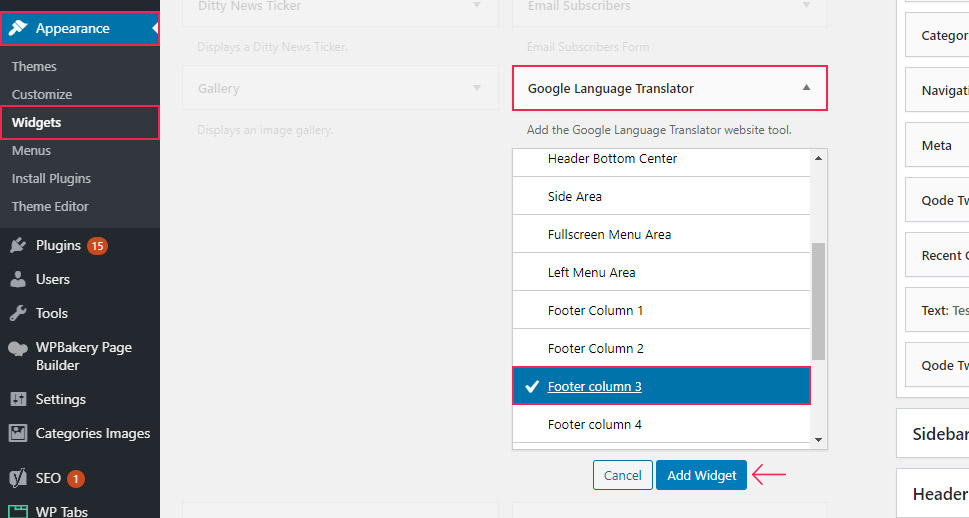
If you want, you can change the title of your widget, and then hit the Save button.

After adding your widget, you can go ahead and check out what your language switcher looks like live.
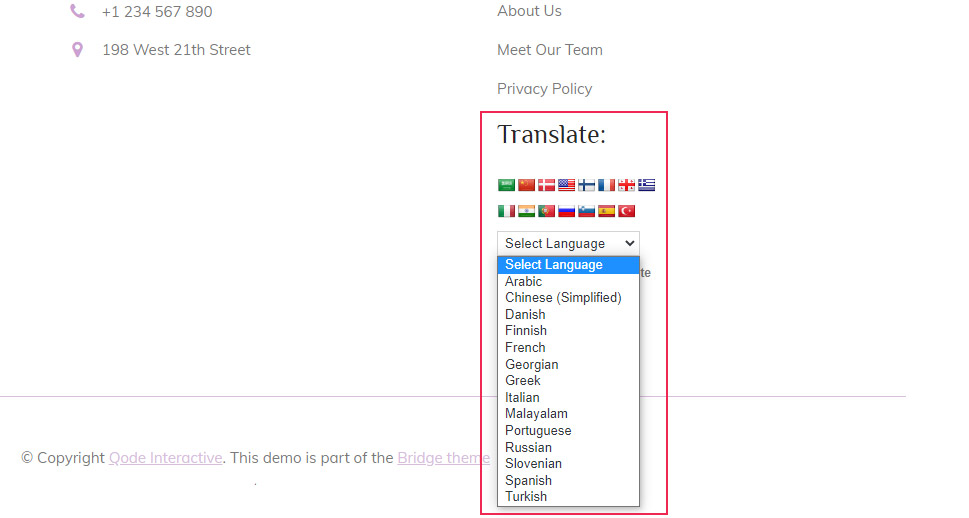
Aside from the ability to click on the flag of the desired country whose language you wish to translate your page to, you also have the option to click on the Select Language dropdown (like we did in the picture) to pick one the available languages instead.
Conclusion
Adding the Google Translate option to your WordPress website is one of the most effective ways to reach global audiences and get international customers, regardless of where they come from. As you could see from the steps we presented above, the Google Language Translator plugin is fairly easy to use and offers plenty of options that allow you to adjust it completely according to your needs. You can choose to display your Google translator in a form of a floating widget (it will be shown on every page of your site automatically) or in any area of your website as a language switcher. You can add the language switcher using shortcodes or a widget, or insert it directly into your theme templates using a code snippet. So, go ahead – install and customize the plugin, choose your preferred method to add Google Translate to your WordPress site, and start expanding the influence of your business.
