How to Add an Image to the WordPress Sidebar

Sidebars are widget-ready areas created to improve the user experience on your site. They can be placed on either side of the main content area, taking up a considerate amount of screen estate. As such, they play an important role in effective web design, especially if you add a different sidebar to each page.
The purpose of sidebars is to assist users and allow them quick access to information or links you believe may be of their interest. Because of that, it’s important to keep sidebars decluttered, to avoid distracting visitors from the primary content and interrupting the site’s flow.
In most cases, sidebars contain supplemental information or options that could be of use to any site visitor, such as a search field, social media icons, most recent or most popular articles, or email sign-up forms. But what makes them visually appealing to users are images.
An image sidebar is a great way of unobtrusively displaying your brand’s logo, Instagram feed, or imagery that is related to your business. But how does one add an image to their sidebar in WordPress? There are two most common ways of going about it and we will go into great detail explaining how to use both methods:
Qode Themes: Top Picks
View Collection


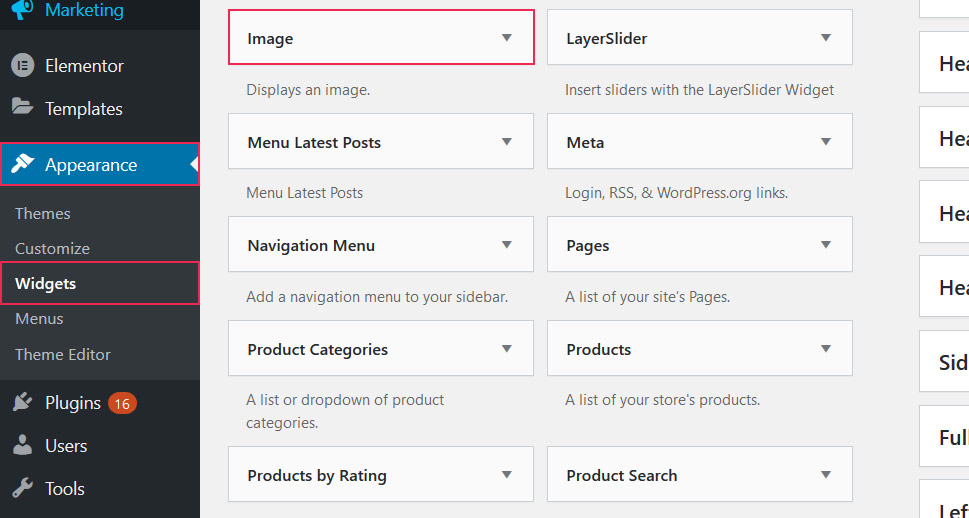
In WordPress, you can use a myriad of practical and useful widgets to make your website really mean and lean. They stand as a fast and easy way of adding numerous handy elements to your sidebar areas, photos included. In fact, you can use two widgets to include images – the Image and Text widgets. We will show you how to do it with both.
Adding an Image to the Sidebar With the Image Widget
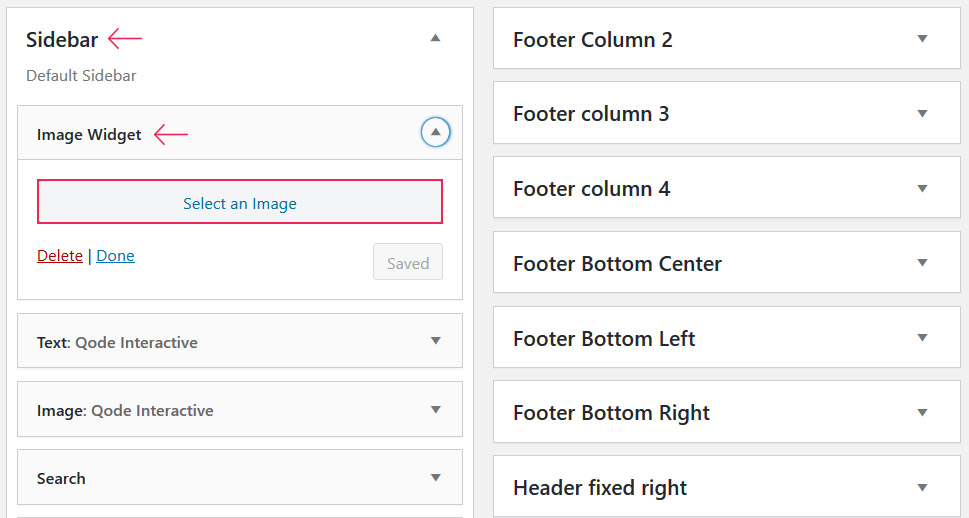
Start by clicking on Appearance > Widgets and then locate the Image widget.
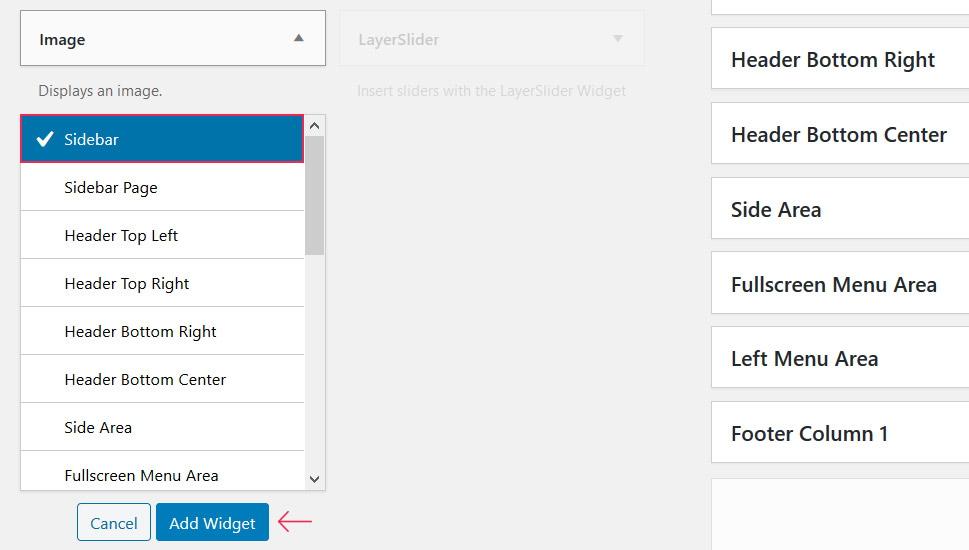
Next up, add the Image widget to your sidebar. Click on the down-pointing arrow in the right corner, and from the dropdown menu select Sidebar. Then, press Add Widget.
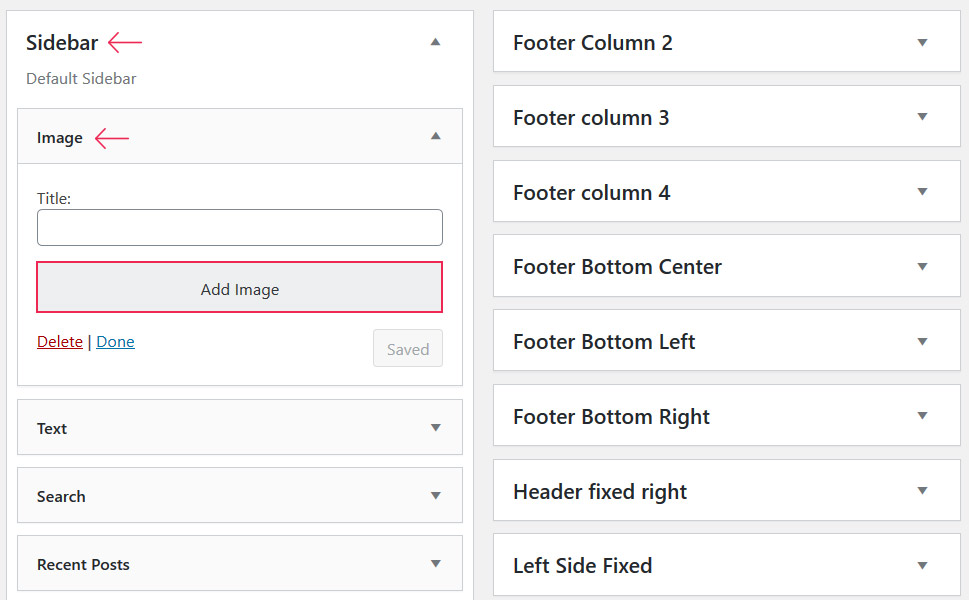
Then, click on the Add Image button.
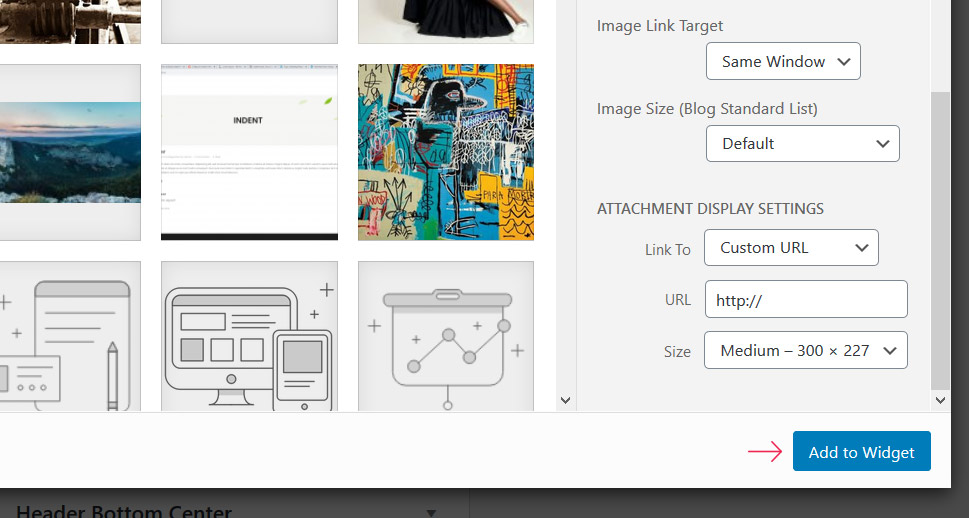
This action will launch your Media Library, letting you either select a photo that already exists in the library or upload a new file. Before you press the Add to Widget button, consider optimizing your image for search engines by adding the title, caption, description, alt-text, and link.
The image will now appear inside the widget, where you can enter the title and link (in case you skipped adding them in the Media Library).
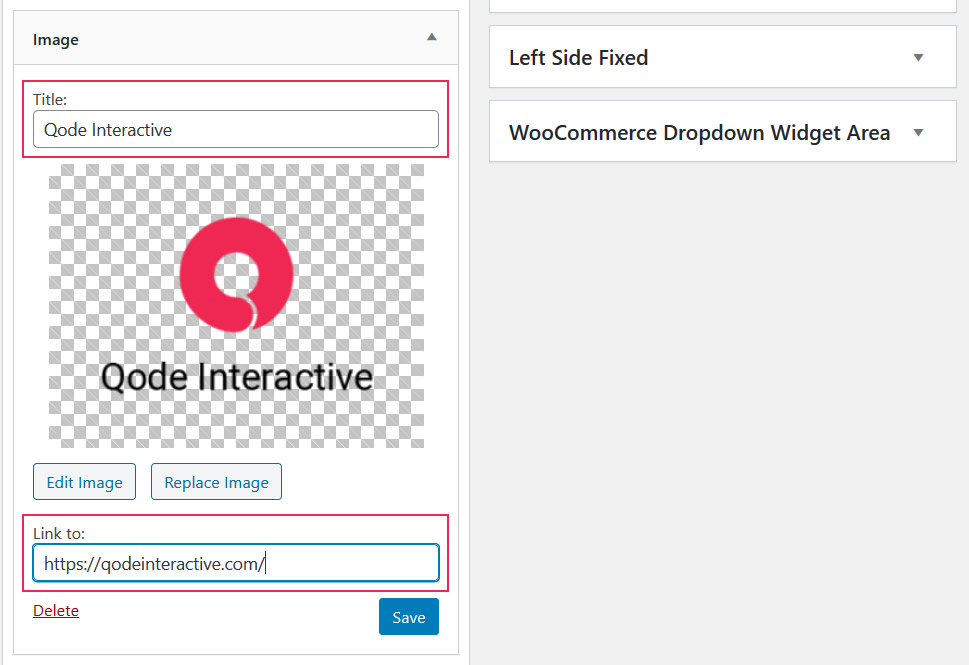
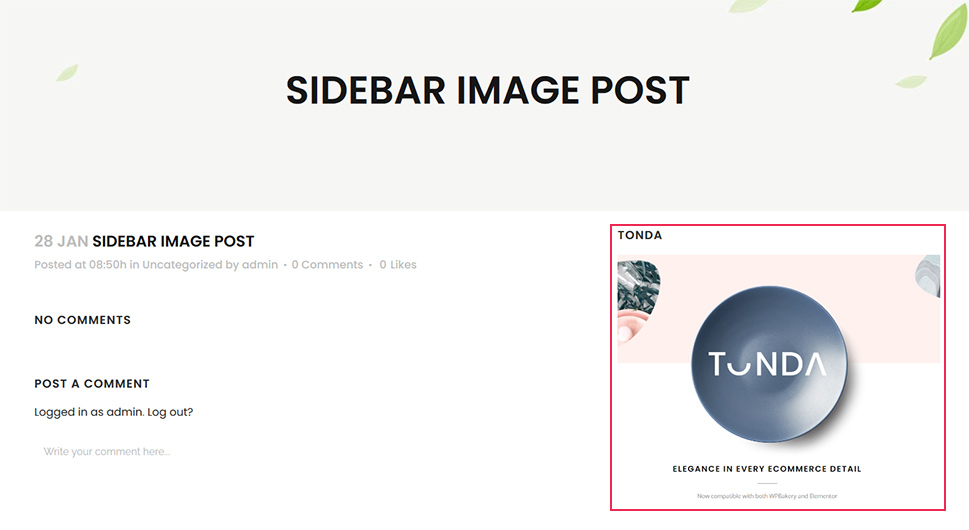
Once everything’s ready, click Save and the image will now appear in your blog’s sidebar.

If you would like to create an image sidebar on your pages, consider installing one of our themes, as most of them include the Sidebar Page widget area. The process would be the same, except that you would add the Image widget into the Sidebar Page area.
Adding an Image to the Sidebar With the Text Widget
The Text Widget is very versatile and a great choice when you wish to add different types of content to your sidebar. Aside from text, you can use it to include images, GIFs, and videos.
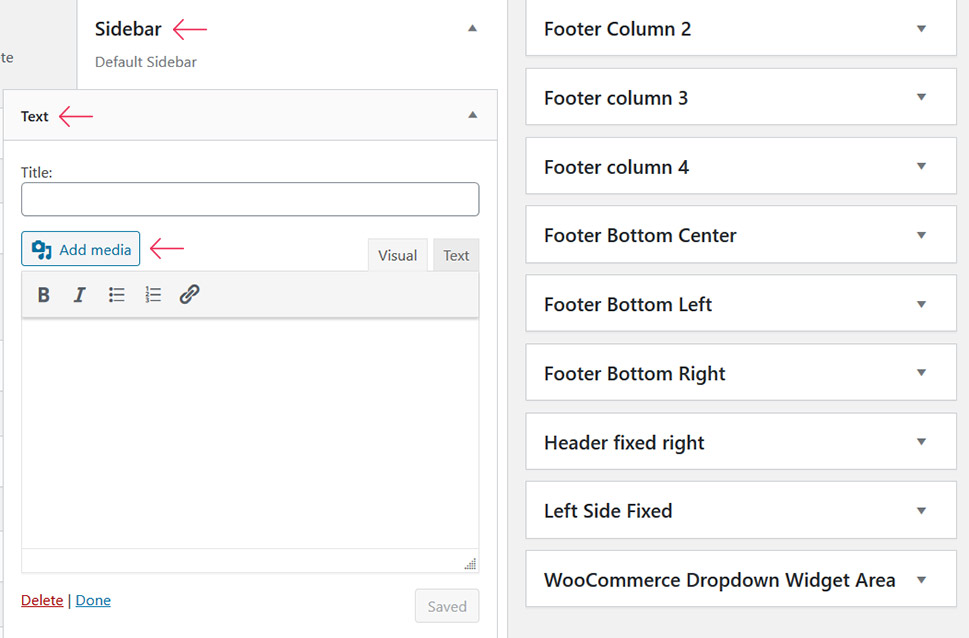
The first step to creating an image sidebar with the Text widget is to add the widget itself to the sidebar, just like we did in the previous method. Once again, head over to Appearance > Widgets, select the Text widget, add it to the sidebar, and click on the Add Media button.
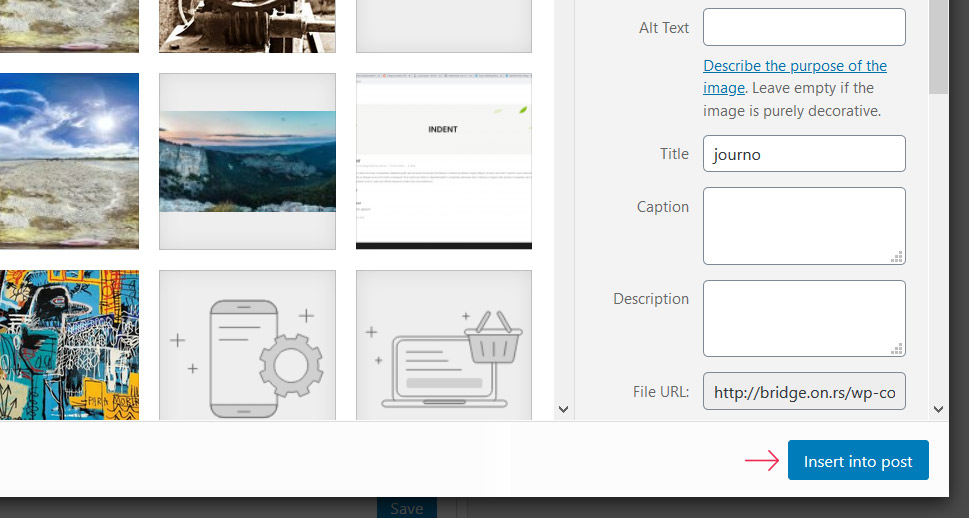
Your Media Library will open next, for you to select the picture you wish to display in the sidebar. Once you’re happy with your choice and you finish with the SEO image optimization, click on Insert Into Post.
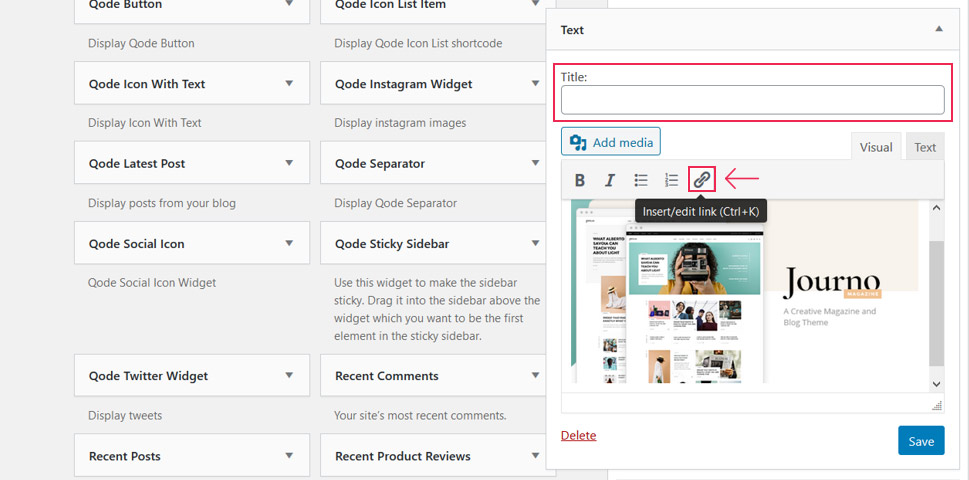
Your image will now appear within the Text widget. You can edit/add a title to your file as well as a link.
Once everything’s ready, click on Save and go take a look at the image sidebar you’ve just created on your site.
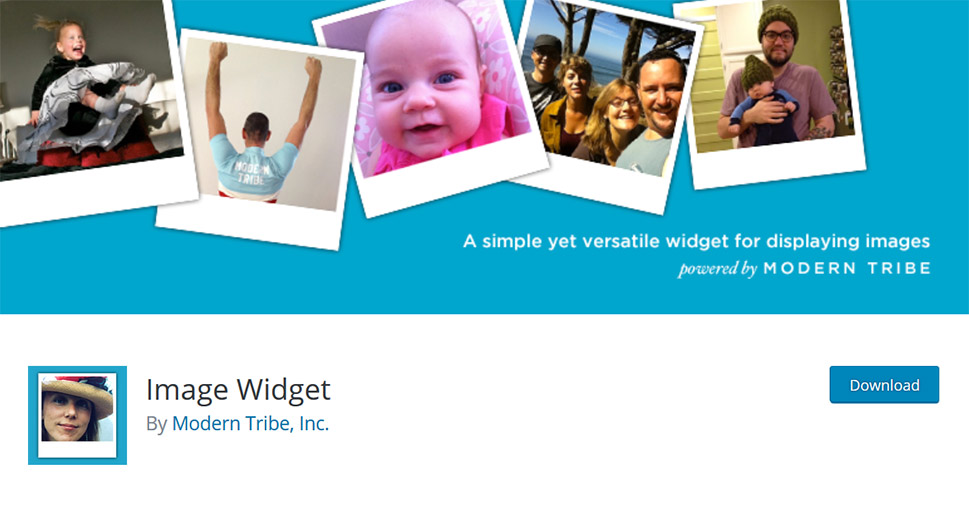
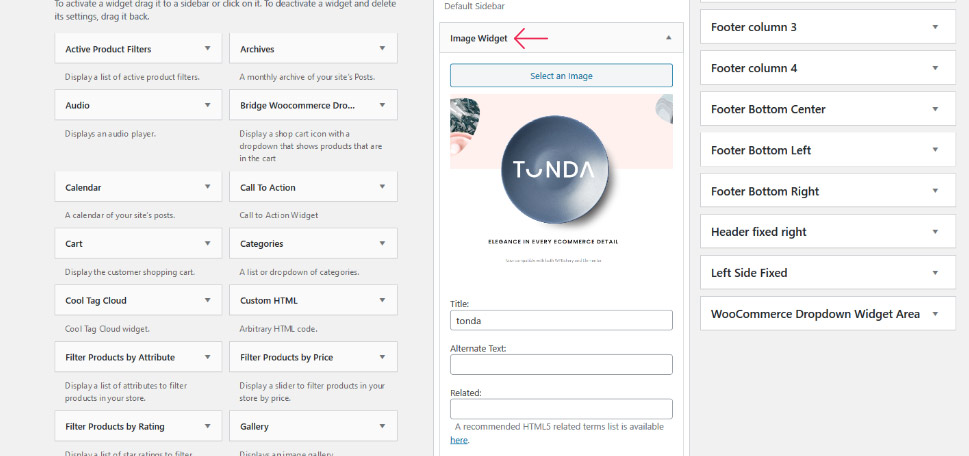
If using widgets isn’t really up your alley or you notice that theme authors (or admins) have removed the widget for some reason, installing a plugin is the way to go. That way, you will have even more customization options at hand than the widget packs by default. We recommend using Image Widget.
Upon installing and activating the plugin, go to Appearance > Widgets, select Image Widget, and add it to the sidebar. Then, press the Select an Image button.
Next up, find the picture you had in mind within the Media Library (or upload it), and click on Insert Into Widget.
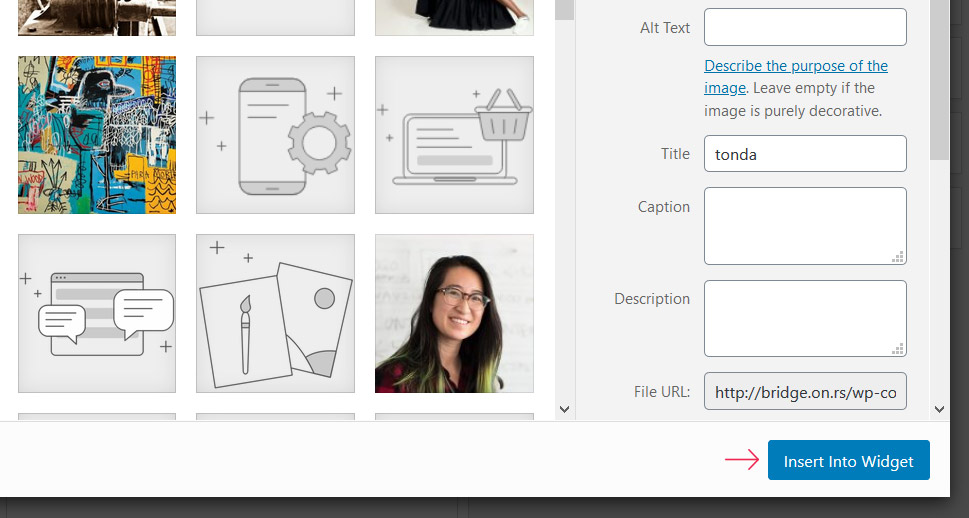
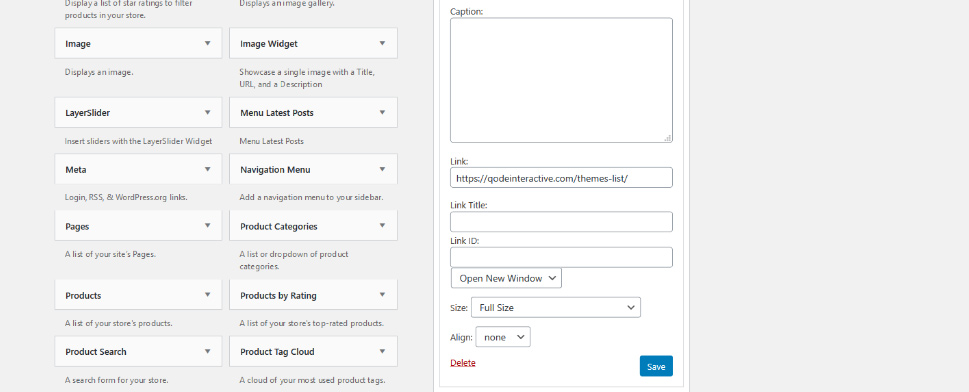
The Image Widget plugin includes several customization options, allowing you to add title, alt text, caption, link, but also link title, link ID, as well as HTML5 extensions. Moreover, you can specify if the inserted link should open in the same or new window, select the size of your file, and adjust alignment.
When you finish making adjustments, click on Save.
Conclusion
Image sidebar is an effective way of subtly displaying photos that are not the main focus on your site but are still relevant to your business. And all it takes to create one are just a few clicks of your mouse. Whether you decide to use widgets or a plugin is irrelevant, as both methods are rookie-friendly and don’t require any coding knowledge.
