How to Create a Chat Room in WordPress

Growing a website is a daunting task. In fact, scratch that, even creating a website is hard enough. But once you get it off the ground, you are invariably faced with getting people to visit, and more: to keep returning. A good way of retaining users is doing more for them. Sure, your content is already great, but they are, for the most part, just passive recipients. What if you gave them a way to interact with each other through your website?
If you have an active community, you might want to cater to their desire to interact and discuss your content with a chat room, right there on your website. And this tutorial is what it’s all about. But before we get right down to the nuts and bolts of setting up a WordPress chat room, we’d like to discuss the reasons why you might find it useful in more detail. If you feel sure that you could use a chat room, feel free to scroll down to the section you need.
Qode Themes: Top Picks
View Collection


Well, first of all, it’s an interactive feature. A chat room converts your users from recipients of your content to participants in a discussion of relevant topics. This is also a good way to learn what your visitors are interested in, and provide them with more of the kind of content which sparks the most interesting discussions.
While a chat room is primarily for your visitors, it is not exclusively so. You could (and should!) supply it with a moderator in order to facilitate and moderate their communication, but also be a point of contact between your visitors and the content creators and admins of your website. A crafty moderator can even spot and address potential issues before they even arise in earnest, leading to a better user experience – a key factor in converting casual visitors to regulars.
A chat room has its downsides, too. As a data gathering tool, while useful, chat rooms will only give you an insight into what the most communicative, most extrovert of your visitors think. It‘s too easy to look no further than the low-hanging fruit. Additionally, if left unmoderated, a chat room might turn into a toxic cesspool of vile abuse. If you don‘t have the staff to monitor your chat rooms in real time but still want to allow your visitors to interact, why not consider a forum plugin instead? And if connecting with your users is more important to you then their own interactions, we suggest you look into live chat software.
Still, a direct approach and interactions between users make chat rooms a useful tool in community-building. If you think your visitors will appreciate a place to interact with each other and possibly reach out to you more directly, a chat room might be just the thing you need.
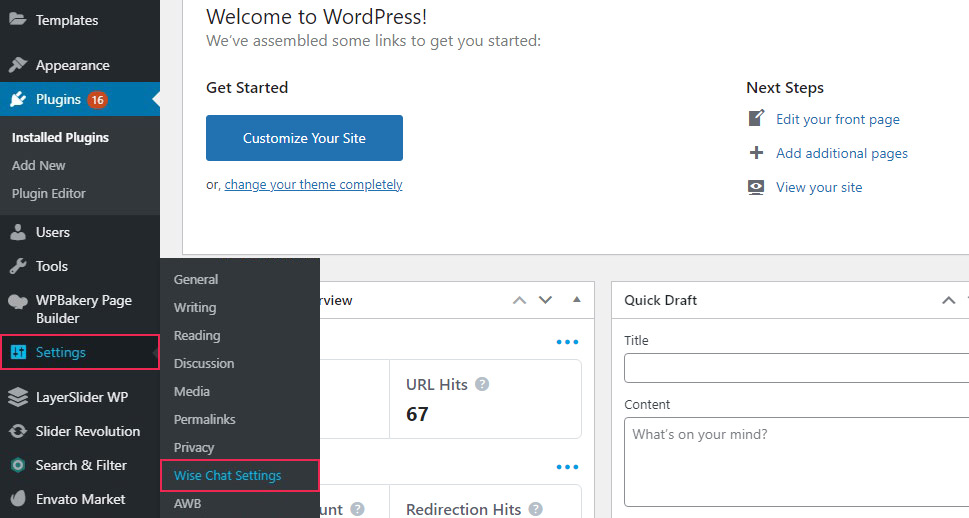
WordPress does not have a chat room functionality by default. But, as is often the case, this functionality can be provided by a plugin. The plugin we will be using is Wise Chat. Once you have installed and activated the plugin, you will need to configure it. You can reach the configuration settings from your WordPress dashboard. Navigate to Settings/Wise Chat Settings.
Even in the free version of this plugin, there is a slew of settings for your WordPress chat room. We‘ll go over the most important ones.
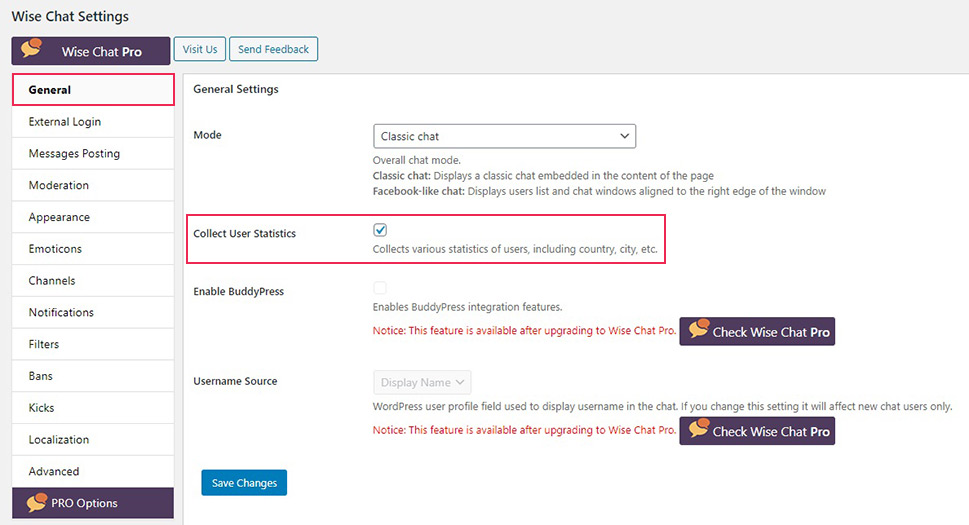
In the General screen, under General Settings, you have the option to Collect User Statistics if that is useful for your business. Of course, it goes without saying that you should obtain prior and informed consent of your users to do this. The legal details of dealing with user data vary from jurisdiction to jurisdiction, with GDPR being the standard in Europe, but you can easily set up an opt-in form or a disclaimer in the form of a pop-up or even on the same page as your chat room.
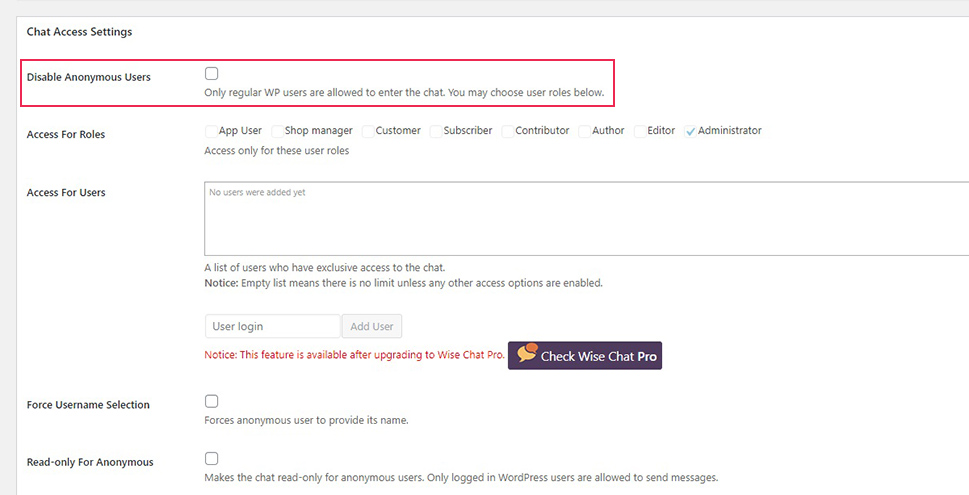
Scrolling down, under Chat Access Settings, you will find the option to Disable Anonymous Users (i. e. only allow logged-in users to use your chat room) as well as options to make the chat read-only for anonymous users or users in certain kinds of roles.
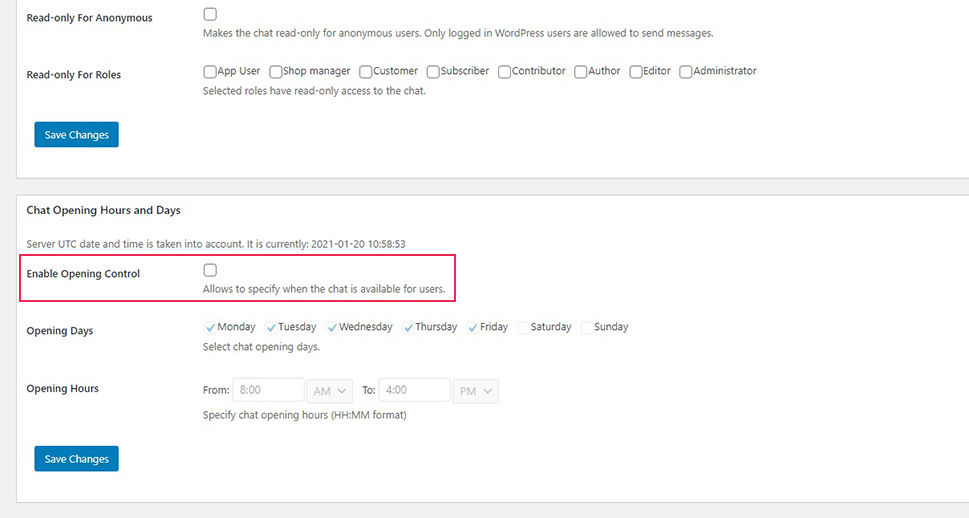
Finally, at the bottom of the screen, you will have the option to Enable Opening Control, making the chat room available only on the days and in times specified.
In the Messages Posting screen, you can set the maximum length of messages, and enable or disable links, Twitter hashtags, and emoticons.
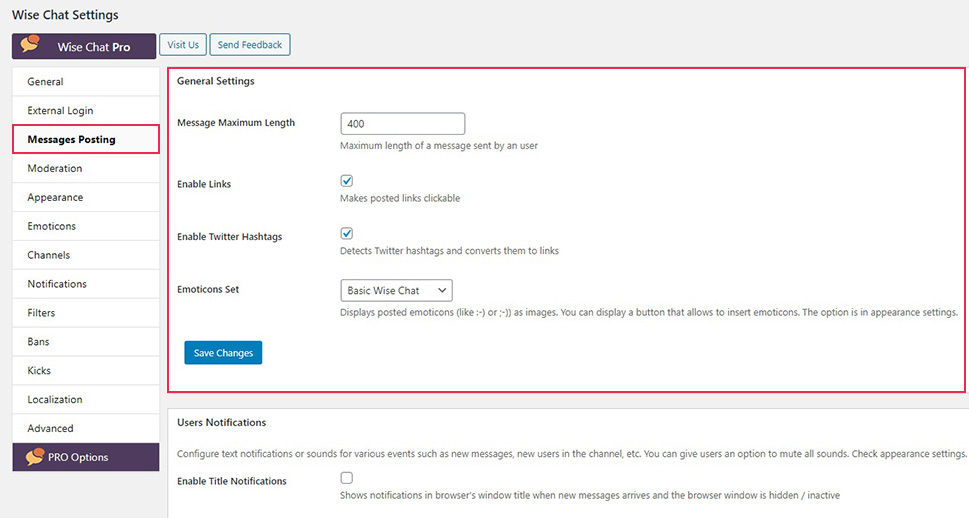
This screen also deals with user notification options (sounds and title notifications), attachment settings (images and other files), and YouTube video settings, which you can play within the chat window.
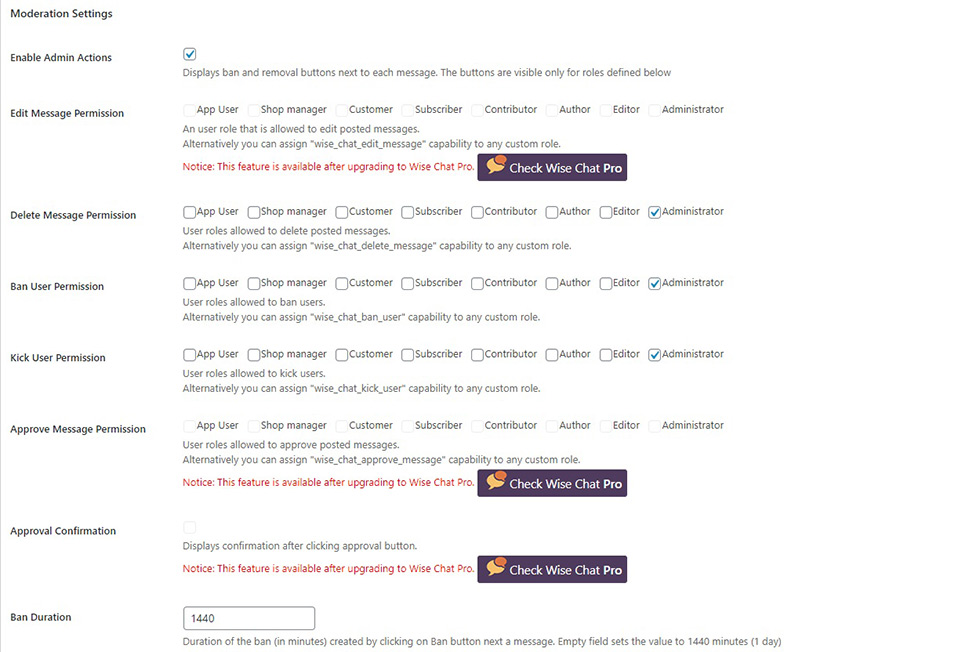
The Moderation screen deals with moderation settings: you can leave the chat room completely unmoderated, or you can also allow various users (by role) to delete messages and kick or ban users.
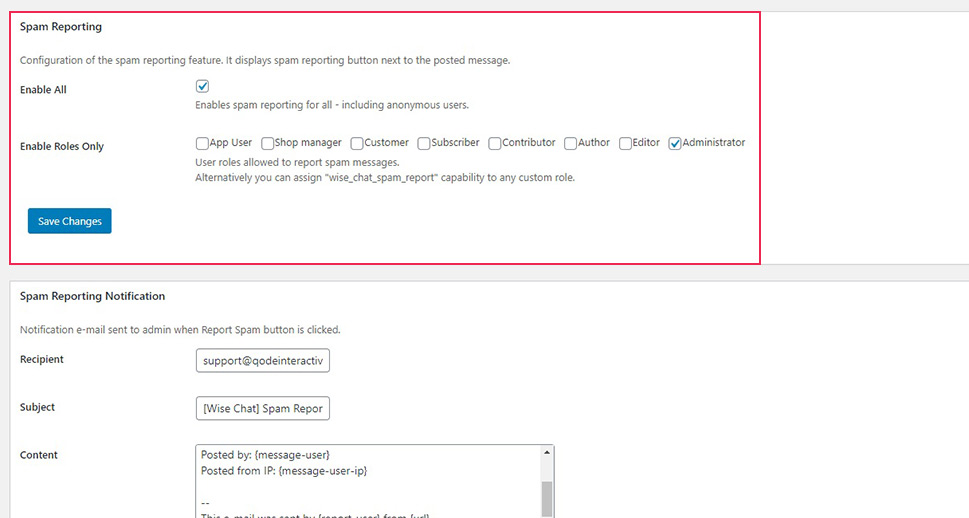
Scrolling down on the same screen, you will find the options for Spam Reporting. You can allow all or only some users to report spam on your chat channels, and customize the notification email.
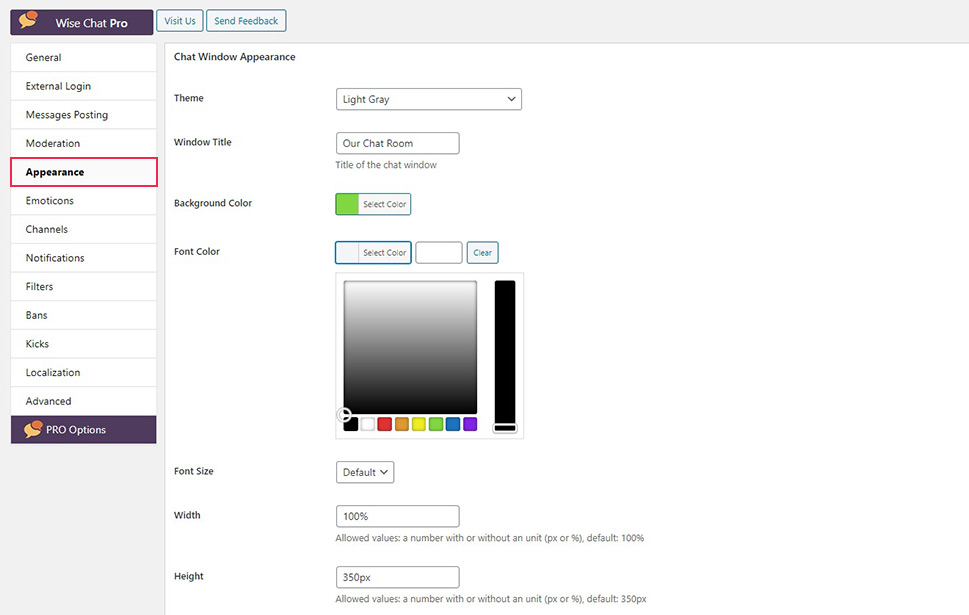
Next down in the selection menu you will find the broad range of Appearance options. Here you can select a theme and define the look and feel of your chat window, message windows, and even usernames, assigning different colours to different kinds of users (admins, subscribers, editors…). This is also where you configure font sizes and colours as well as date formats additional CSS, if needed.
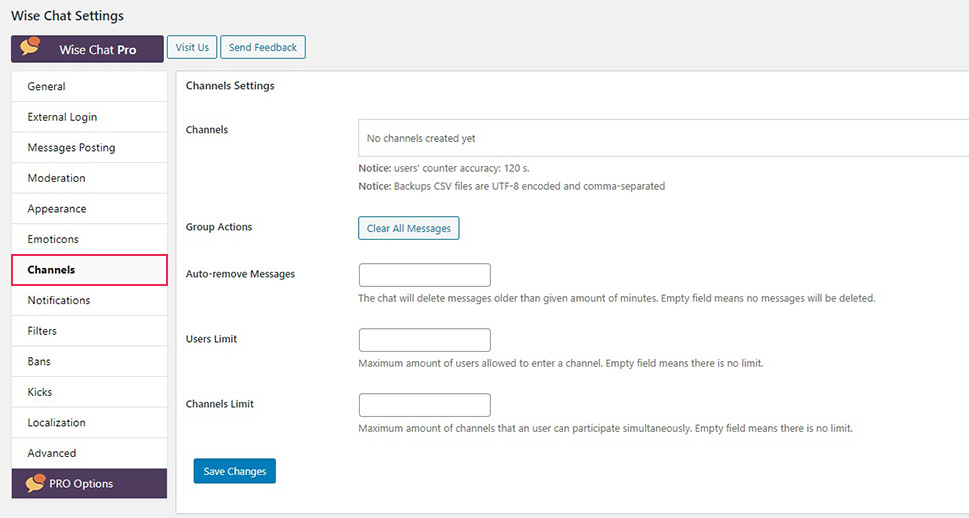
On the Channels screen, you can set limits to user numbers in channels, or private chat rooms.
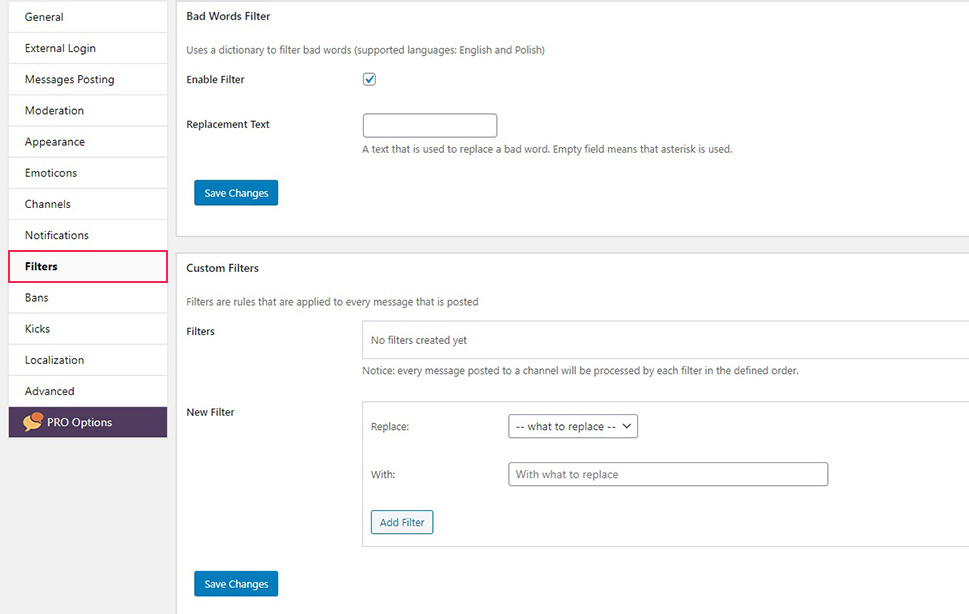
If you want to make sure your chat room is family-friendly, you can disallow specific words on the Filters screen. You can also set the replacement text for each of these situations, making it clear that a user has used a filtered word. Be aware when configuring it, though: many users will be annoyed if innocent words or phrases are banned by accident (a situation known as the Scunthorpe problem).
The Bans screen will allow you to ban users yourself for however long you like, and even set up an automatic banning system based on disallowed words or flooding (a large number of messages in a short space of time).
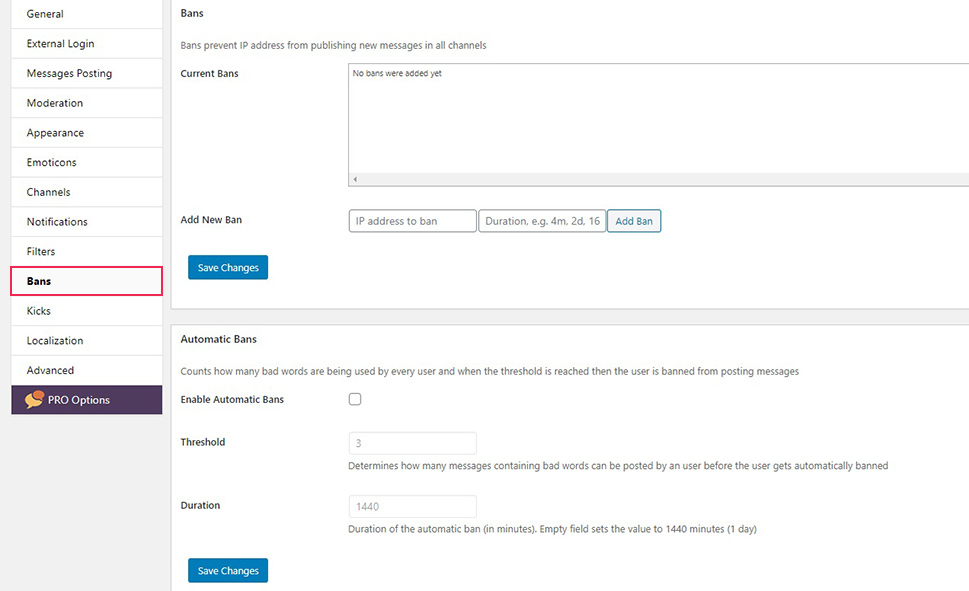
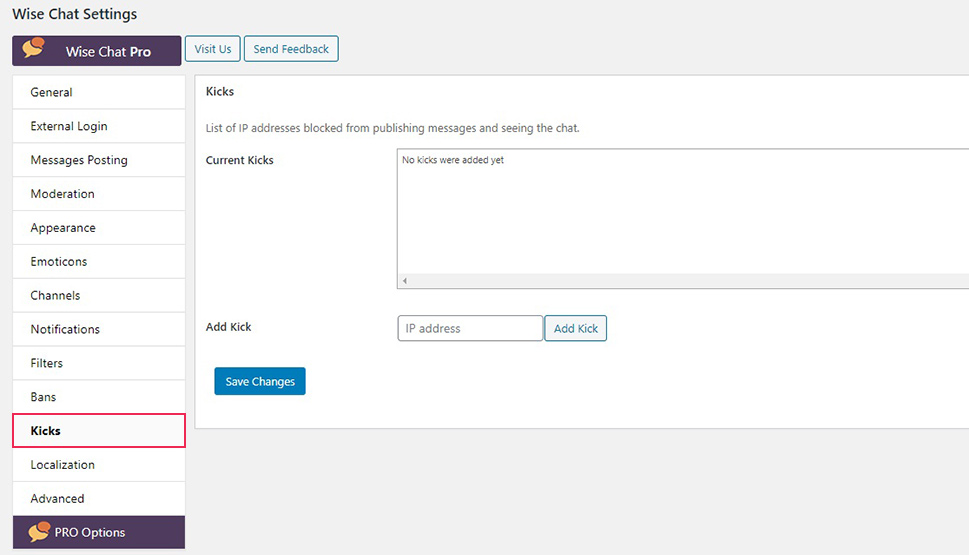
Banned IPs will not be allowed to post messages on any channel for a set amount of time. On the Kicks screen, however, you can kick IPs: these users will not be allowed to publish any messages or see the chat until you unkick them.
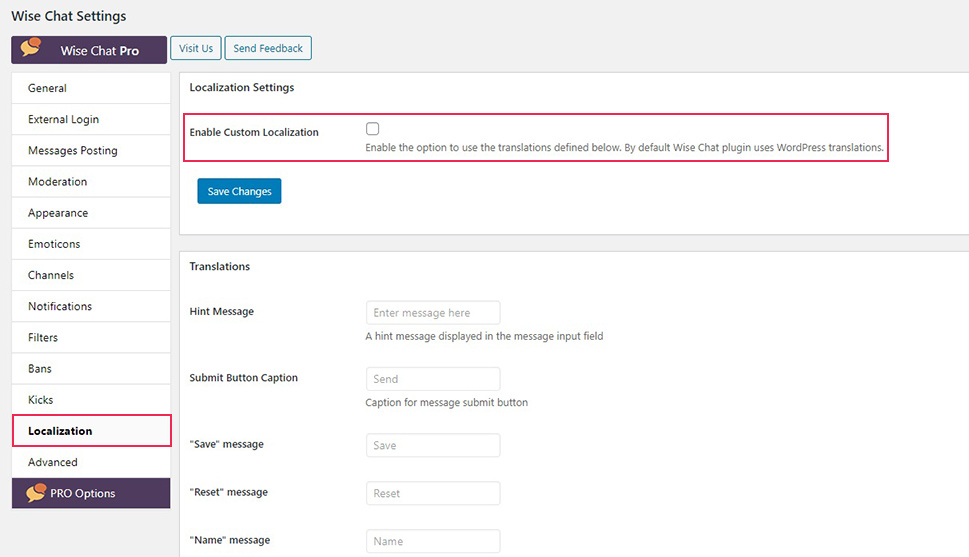
Finally, on the Localization screen you can Enable Custom Localization. Once checked, this option will allow you to customize all the text which appears to the users of your WordPress chat room. You can use it to translate all the default text into a language preferred by your users, but also to make it fit your website’s writing style better.
The Advanced screen will let you configure user authentication, chat engine, and other topics of possible interest to admins and web designers. They are not for the general user. The configuration options which we have not touched upon in this tutorial are mainly reserved for the Pro users.
Whatever changes you make from the default, click Save Changes underneath each section.
So, you have installed Wise Chat and configured your chat room. How do you make it accessible to your users?
With Wise Chat, it‘s very easy. Once you configure your chat room, you can embed it into your website using the [wise-chat] shortcode. As an aside, we will say that the developers have made it easy and quick to use this plugin even if you don‘t want to take your time going through all the configuration options by adding parameters to this shortcode. The allowed parameters list with detailed instructions can be found on the developer‘s website, but we only suggest using it if you don‘t want to stray too far from the default values.
Insofar as chat rooms are concerned, we suggest you set them apart from the rest of your website, with clear links, and a handy reminder to chat rules, making it obvious to your users that they are entering a shared space.
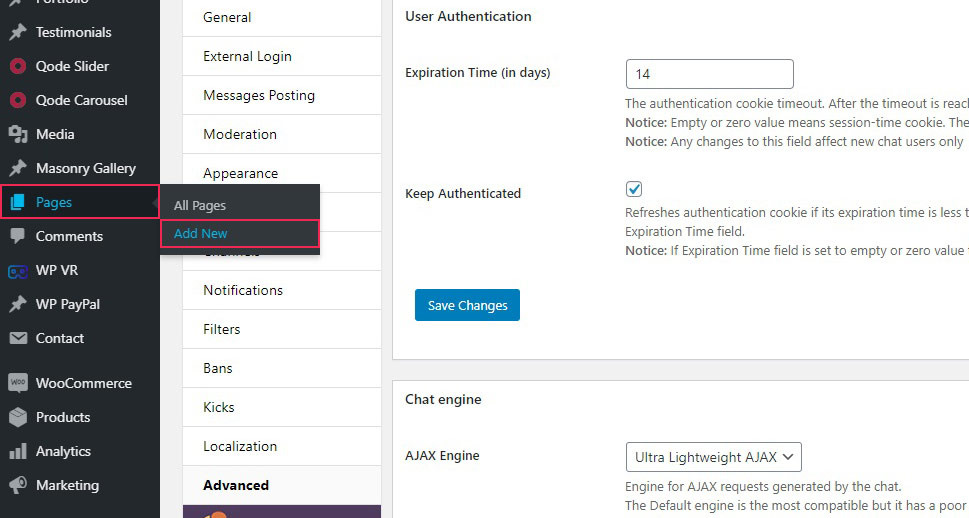
We will start with creating a page. You can do this by simply navigating to Pages/Add New on your WordPress dashboard.
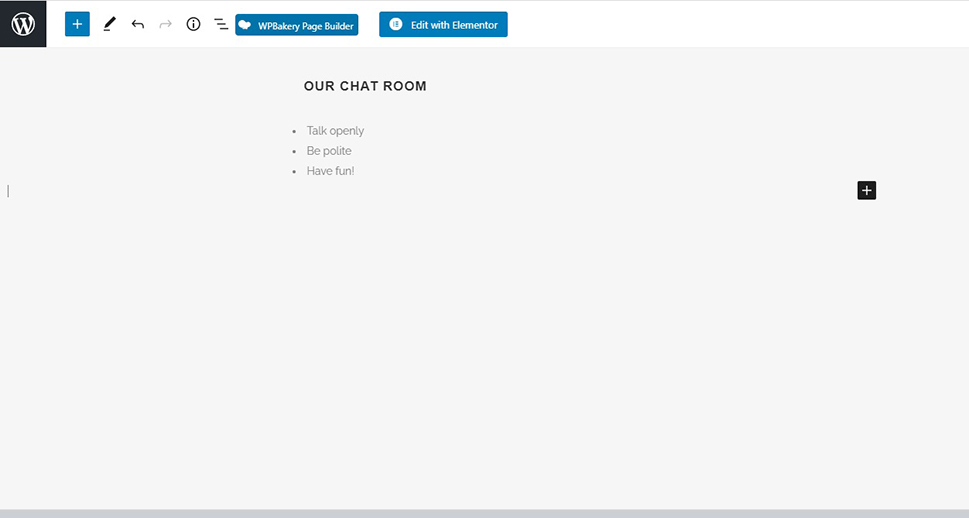
Here you can do what you like to make your chat room stand out. We will add a title and some ground rules, but this is also a good place for a disclaimer of some sort, if you feel you need it.
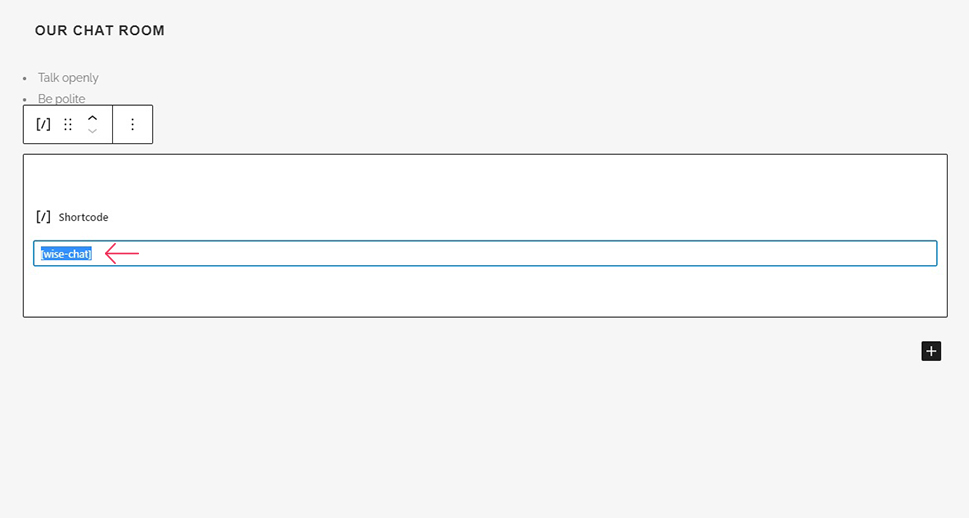
Then, we will simply select the plus sign to add a shortcode block. Elementor users can use the shortcode element, while Classic Editor users can simply place the shortcode wherever they like while using the HTML view of their page editor.
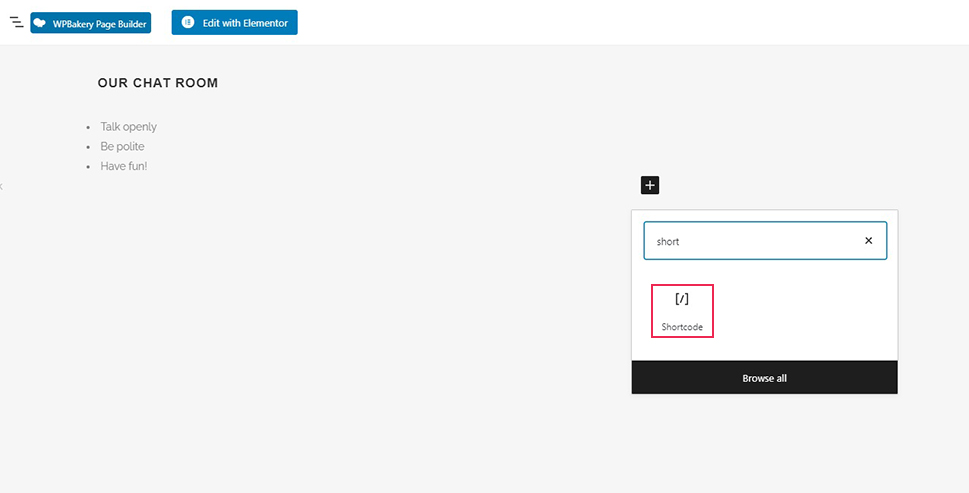
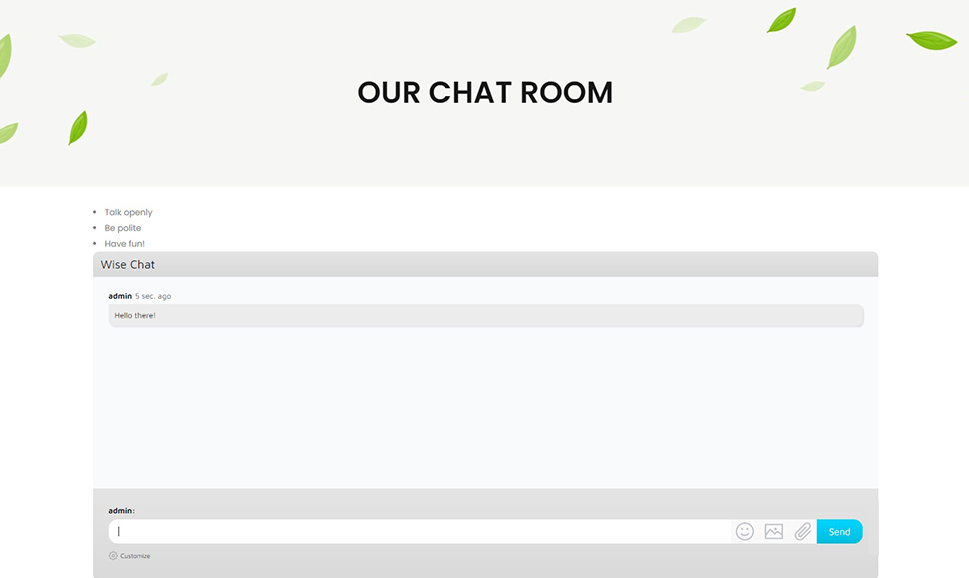
We will then paste the [wise-chat] shortcode and click Publish to open our chat room.
And just like that, your chat room is open for business. Hello there, website visitors! Feel free to join the conversation.
In Conclusion
And that is how you set up a WordPress chat room. As we said, it‘s easy enough, and even the free plugin we‘ve chosen has a comprehensive set of options designed to make your visitors‘ interactions dynamic and safe. If you feel your website can benefit from it, why not let your users exchange opinions freely and dynamically? They will appreciate it.
