How to Update URLs After Migrating Your WordPress Website

The decision to migrate a WordPress website is never an easy one. Even if the migration in question is something that would benefit the website and you as its owner – a rebranding-driven change of the domain name, for example – it’s still a process that can leave you with lots of work that has to be done. Updating all the URLs is just the type of work you’ll have to do.
Good thing we have WordPress plugins, though! Thanks to them, you can get the tedious task of updating URLs after migrating your WordPress website done in a jiffy. And we’ll show you how!
In this article, we’ll cover:
When WordPress assigns URLs to things such as files, pages, or posts to your website, they are stored in a database. When you do something that changes the URLs – change the domain name, add an SSL certificate, or even move parts of the website to a subdirectory – these URLs need to be updated.
If you don’t, your website won’t function properly. It’s as simple as that. And it’s much easier to change the address of your website and the WordPress address than it is to visit every post and page and update them or track every URL in the database and change it manually.
You could do it via the command line, too. But if the words “command line” sound too technical to you or you don’t have access to it, a plugin might be the best – or the only – choice you have.
There are two things you need to do before you start the update. The first thing is to back up your website. Since the changes are made to the database, you can only make a backup of it. If you already have a WordPress backup plugin, just make sure you have a recent backup on hand in case something goes wrong.
The second thing you need to do is choose a plugin. You’ll have a few options, but the two that come highly recommended are the Velvet Blues Update URLs plugin and the Better Search Replace plugin. Either will work fine for this purpose, but the Better Search Replace might come in handy if you want to do a search and replace on your whole website.
Qode Themes: Top Picks
View Collection


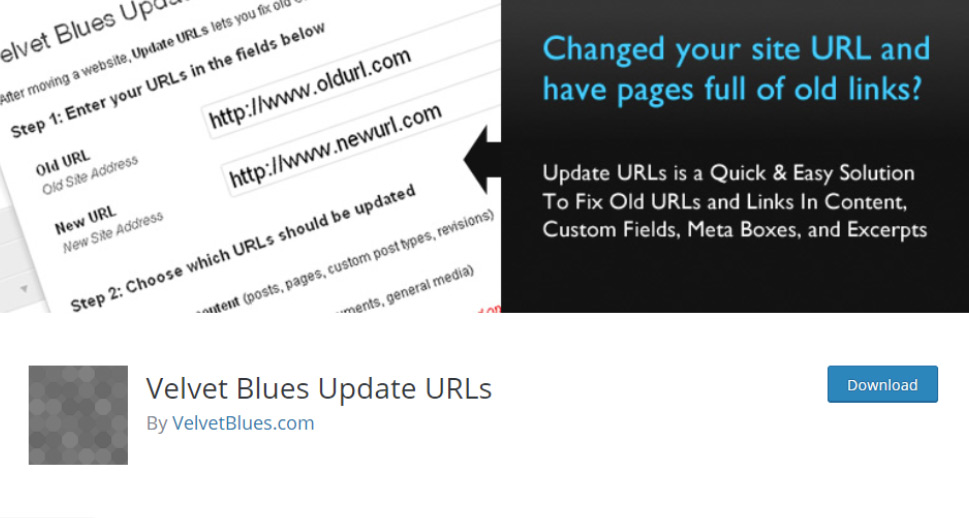
If you want to do a quick and easy update and nothing else, Velvet Blues Update URLs is the choice for you. Head over to Plugins > Add New and do a quick search using the name of the plugin. Install it and activate it, and then head over to Tools > Update URLs.
You’ll notice that the plugin works in two steps. In the first step, you’re supposed to add the old URL – site address – that needs to be replaced, as well as the new URL with which you want to update your website URLs.
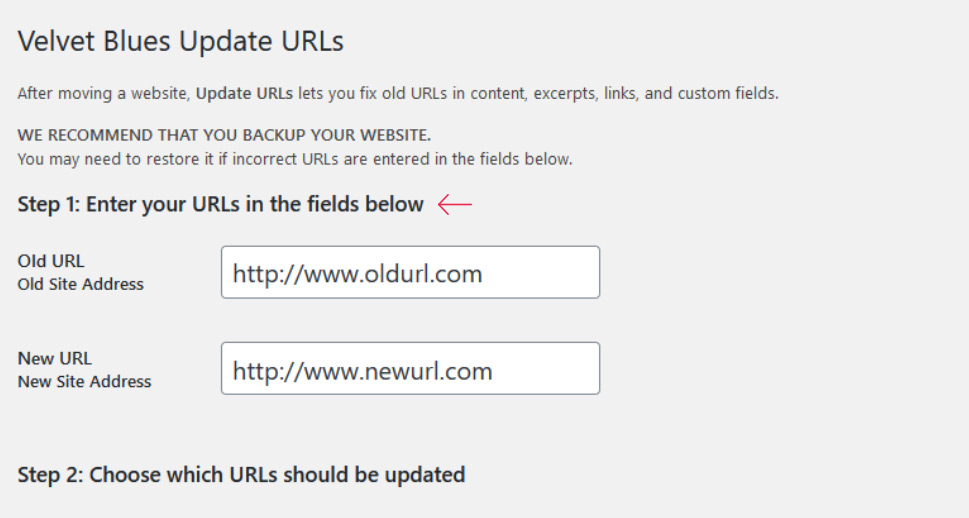
In the second step, you get to choose which URLs should be updated. You’ll be able to narrow down to updating only page content, excerpts, links, attachments, or custom fields or meta boxes. You’ll be able to choose any combination of the above for updating.
You’ll also be able to update all GUIDs, which is something you should only do if you know what GUIDs are and you’re specifically trying to change them. The plugin will let you know you should be doing it only on development sites.
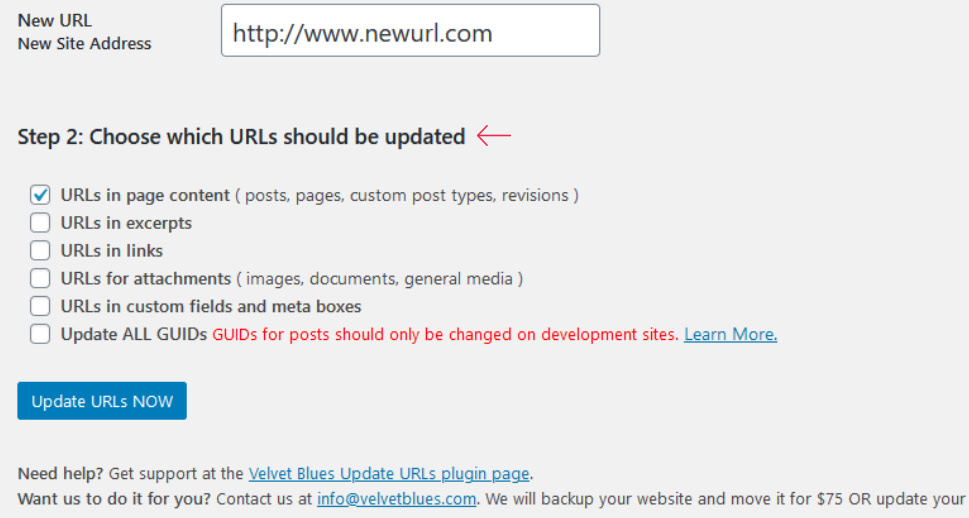
After finishing step 2, you can click on the “Update URLs NOW” button and let Velvet Blue Update URLs do its thing. You’ll be able to view how many items have been updated, and you can check the success of the process by visiting whatever you were updating using the changed URLs.
Want to do a bit more than just update URLs? Better Search Replace is a plugin that will let you do cool things such as change a single word on the whole website or replace things just in certain database tables. If this is something you think you should do besides updating your website URLs, head over to Plugins > Add New and search for Better Search Replace. After finding the plugin, install and activate it. Then, head over to Tools > Better Search Replace.
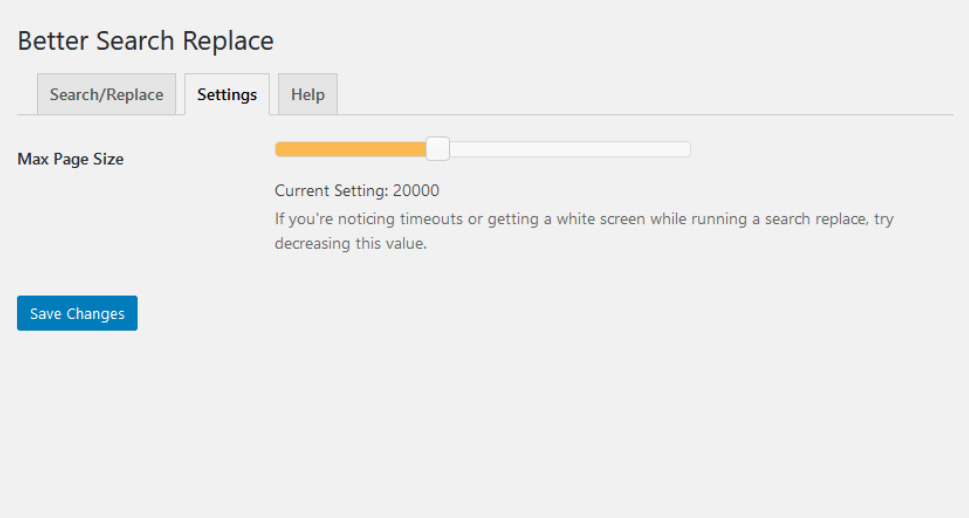
If you want to check out the plugin settings before you put it to work, go to the Settings tab. You’ll find little there – only a slider that lets you choose the maximum page size. Usually, this is what you want to decrease if you experience issues such as timeouts or white screens when running a search and replace with the plugin.
Switching to Search/Replace tab, you’ll see that the first thing you need to do is define what is it that you’re searching for, and what you want to replace it with. Because you’re updating URLs, you should enter the old URL and the new URL here.
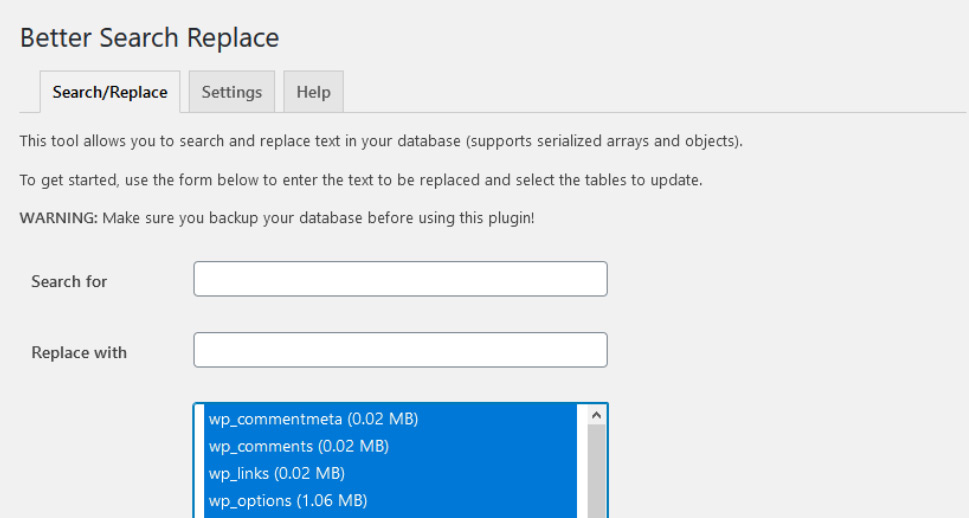
In the next step, you’ll get to choose the tables in which you want to perform the search and replace. Unless you know specifically which table contains the data you want to search and replace, you should select all of the tables. Shift + click is the easiest way to do it.

Finally, you’ll be able to set whether the searches should be case-sensitive or not, whether you want to replace the GUIDs – something you should be careful with – and whether you want to run a search/replace as a dry run or the real thing.
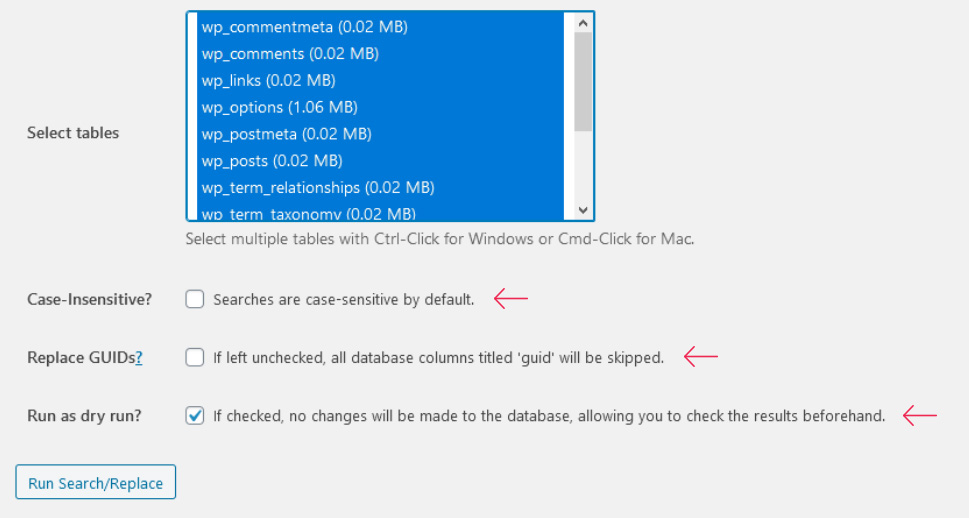
The best strategy to use the plugin would be to perform a dry run first. After finishing it and getting the notification on what would have been updated, you can uncheck the dry run box and do the search and replace for real. And that’s all there is to it.
Let’s Wrap It Up!
Updating the URLs is one of the most important things you should do after migrating your website to a different address, subdirectory, or switching to HTTPS. The easiest way to do it is using one of the two plugins we’ve listed here. Just remember to back up the website first.
