How to Make Your Entire WordPress Site Private
Although sharing is the entire point of blogging, sometimes we simply need to make our entire blog or site private, at least for a little while. It may be because we need to fix something and we don’t want anyone to see the site until it’s done, or we just want to see what it feels like to have our content on a live site, without anyone actually being able to access it.
When it comes to managing access to your website, you have several choices, in addition to making it completely public. You can make just some of your pages and posts private, you can restrict access to the entire website, or you can password-protect some of your pages and posts so only those with the proper credentials have access.
If you’re interested in making your entire WordPress website private for whatever reason, here’s how to do it.
Who Could Use a Private Site
The purpose of websites and blogs is to publish things, not to keep them private, but, like we said, there are some contexts and situations in which it can be useful to make a site private, temporarily or permanently.
Here are some situations that warrant a private website:
-
A personal blog or journal. Sometimes people want to put their thoughts and dreams out there, on a web page, without anyone reading them.
-
A private sharing website. It can be a blog where you will share your wedding photos with the registered guests, a baby photo album to share with family, or anything else along those lines. Basically a “members-only” club of sorts.
-
A collaborative website. It can be a place where everyone who’s working on a project can log in and view the website content, while it remains off-limits for everyone outside of that registered circle.
-
A school or classroom website. Making a website private and accessible only to those with the right permissions is a great way to manage homework, share reading materials, and so on.
-
A site that is under construction. By making it private, you can continue to work on it and release it for public only when you’re absolutely sure it’s good and ready.
-
A website that just needs tweaking. It actually makes a lot of sense to temporarily make a site private while you fix the design or the content, and then make it public again.
Making a Site Private Using a Plugin
As is often the case with WordPress, there is a cool little plugin you can use to easily make your entire website or blog completely private.
The plugin is called My Private Site, and it is completely free. It’s easy to use and quite popular, with over 20,000 active installations.

How It Works
The My Private Site plugin basically allows the admin to restrict access only to logged-in users. Any attempt to view or access any page of the site results in a simple login screen, after which the registered and logged in users can proceed to view the pages.
The plugin allows users to set exclusions, creating a list of URLs that are always going to be visible, despite the general privacy settings. It is also possible to set which location the user will see immediately after logging in, plus a ton of other options.
How to Use the Plugin
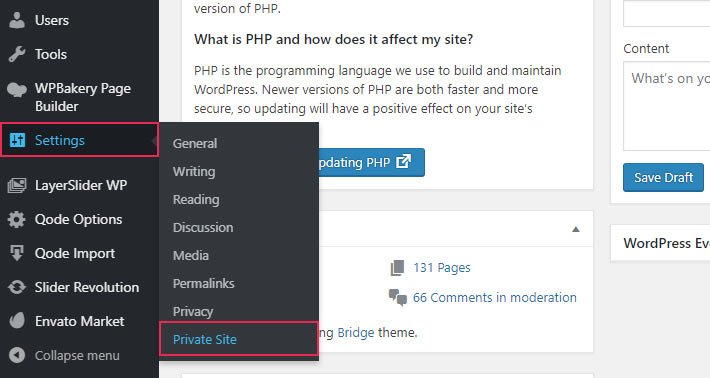
After installing the plugin, in your admin area navigate to Settings > Private Site to access the options.
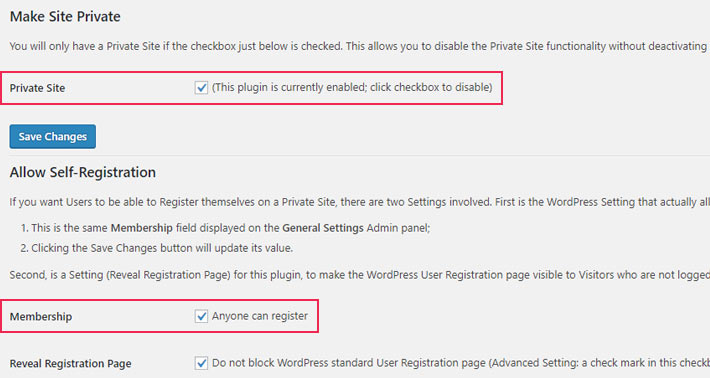
The first thing to do here is to check the box next to Private Site.
Now, if you want your website to be a member-only site, you will have to set some membership parameters. Under Allow Self-Registration, check the box next to Membership, which will allow anyone to register.
Also, make sure to reveal the registration page by checking the box just below. This is important since new users can’t log in if they’re not registered, and they cannot register if the registration page is not revealed.
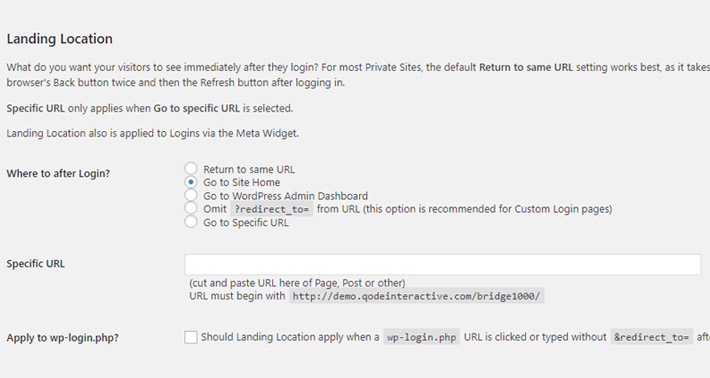
The next thing you should specify is where you want your users to land after successfully logging in. It can be the same URL they initially requested to access, or it can be the homepage of your site, among other options. You can also set a specific URL you’d like to redirect them to, and set whether you want the settings to apply to the wp-login.php page as well.
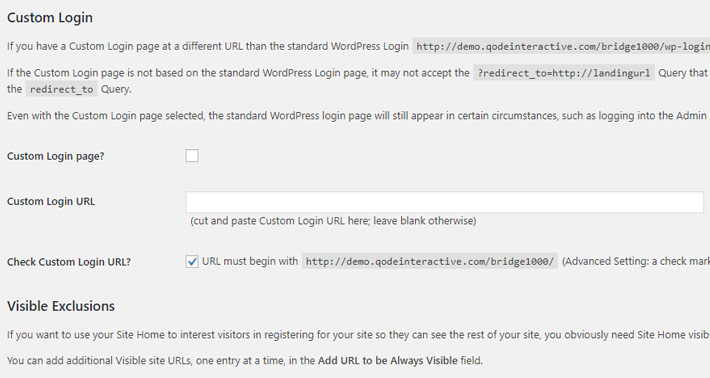
In case you’re using a custom login page, and not the usual WordPress login, then you will have to specify it in the plugin settings.
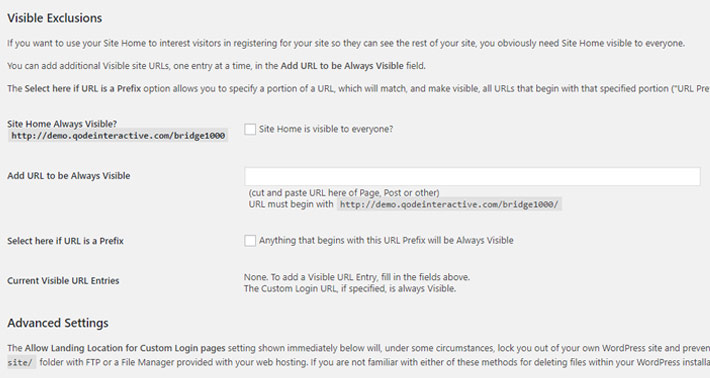
Sometimes it can be a good idea to leave some of the site pages visible to everyone, for instance the homepage. This can be useful if you want to make sure your visitors know they’re in the right place, or if you want to spark the potential users’ interest in registering and exploring the rest of your site.
If you’d like your website’s home page to remain visible and just make the rest of your site private, check the box that says Site Home is visible to everyone? You can also specify any other URLs you want to keep visible to everyone. If you have a group of URLs with the same prefix and you want to make all of them public and visible, you can do that, too.
Finally, the plugin developers warn the users to be careful when allowing landing location for custom login pages, as this can potentially lock you and your users out of the website. If you don’t feel like taking the risk, you may want to skip this option.
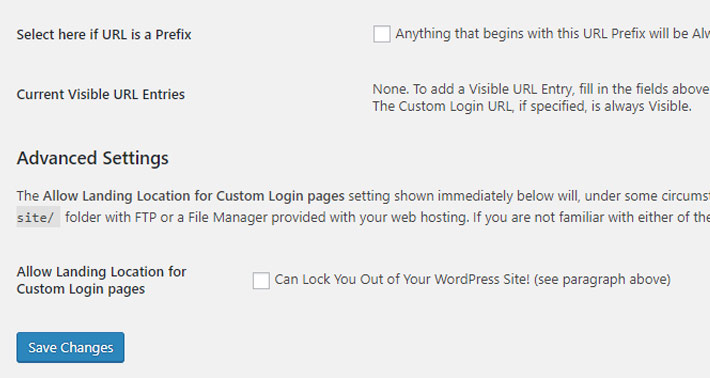
When you’re all done setting up, click on Save changes and your website will now be private for everyone except you and the registered and logged in users.
When a user types in or clicks on your website’s URL, a login panel will appear, and it will look just like the one you use for logging into your admin. The only difference is that, when users log in, they, obviously, won’t be taken to your admin but to the page you have set as your landing location.
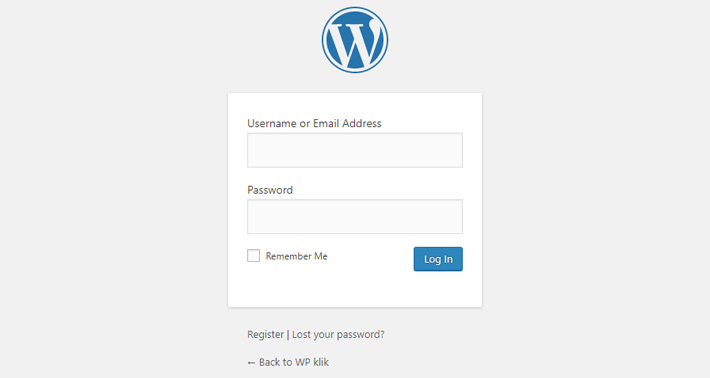
And if you want to log into your admin, you will still have to add wp-admin to your website’s URL, as always.
Qode WordPress Themes: Top Picks
View Collection


Final Thoughts
These days, privacy is more important than ever. Making an entire WordPress website completely private is a piece of cake with the plugin we have discussed in this article. Whether you want to be the only one with access to your website’s content or you want to share it with a selected group of users, now that you know how to do it, it’s completely up to you.
