How to Import External Images in WordPress

In most cases, when you’re transferring a website from one platform to another, you also need to import external images to the new platform. Migration to WordPress is no exception. Images that load in your content from a different website or URL than your primary WordPress website are referred to as external images.
Most frequently, WordPress users have external image issues when switching from Blogger, from Weebly, Joomla, or from WordPress.com to WordPress.org. If you use one of the WordPress importers, it will by default attempt to import images. But, for some reason, this doesn’t always work quite as it is supposed to.
In this article, we will explain how to import external images in WordPress the easiest way.
Stay tuned to read more about:
Qode Themes: Top Picks
View Collection


As we mentioned, external images can be imported into WordPress using WordPress importers. To check whether the import was successful, go to your WordPress admin dashboard and head over to Media>Library.
You should be able to locate your imported photos there. If you don’t see all the images you need in your media library, you will need to import them, as external images, using a different method.
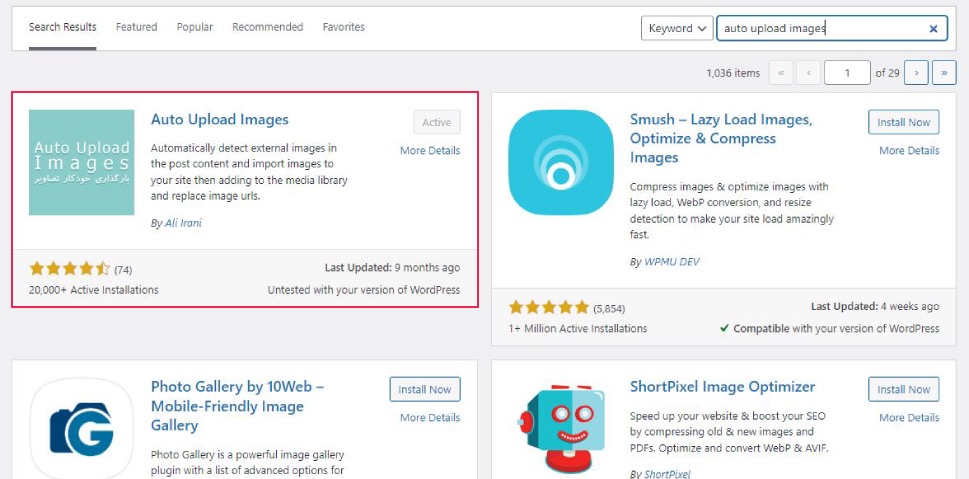
The most straightforward way to successfully import external images in WordPress is to use a plugin. The Auto Upload Images plugin is a free solution that automatically uploads and imports external images to the WordPress upload directory, adds images to the media library, and replaces new image URLs with old URLs when you wish to save a post. It also looks for image URLs that are already in the post.
The Auto Upload Images plugin has to be installed and activated first. See our step-by-step tutorial on installing a WordPress plugin for additional information.
After the successful installation, go to Settings » Auto Upload Images page to review the plugin settings.
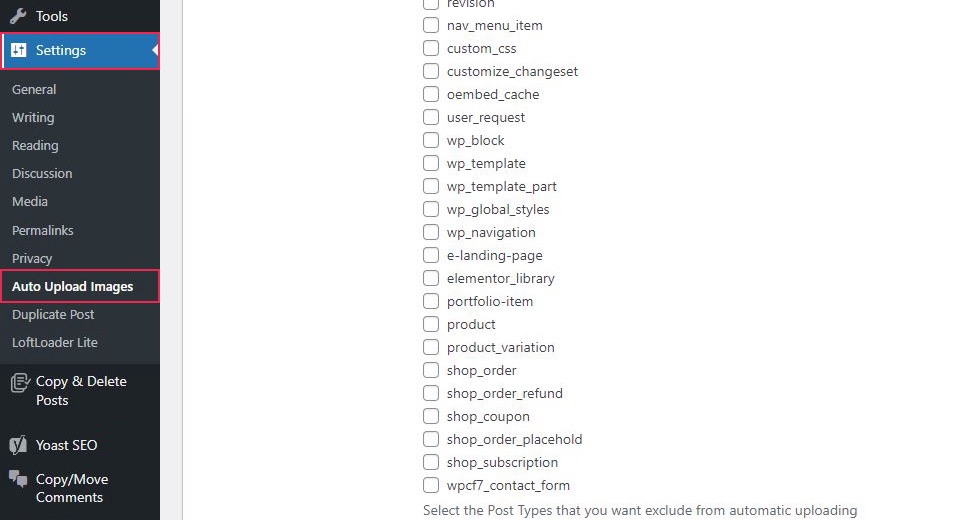
The default settings would be adequate for the majority of users, but you may alter them if necessary.
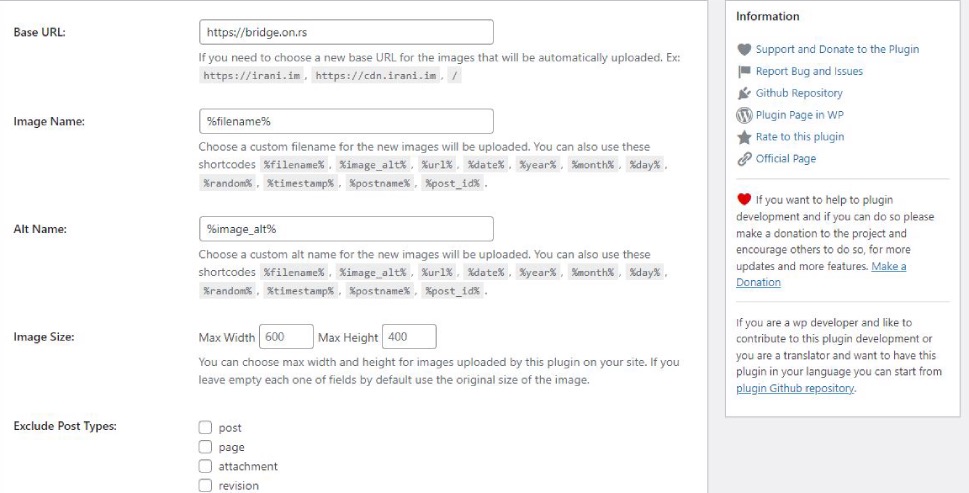
The plugin will import images, for instance, into your regular WordPress media uploads folder. By providing an alternative base URL, you can set the images to be imported to a different location. Along with that, it also gives you the option to exclude certain post types and specify the filename, image alt tag, and image size.
Don’t forget to click the “Save Changes” button at the bottom of the page if you do make any changes.
After that, you should edit the pages or posts that the external photos are on. If you have a lot of content, it can get exhausting to edit all the posts and pages manually.
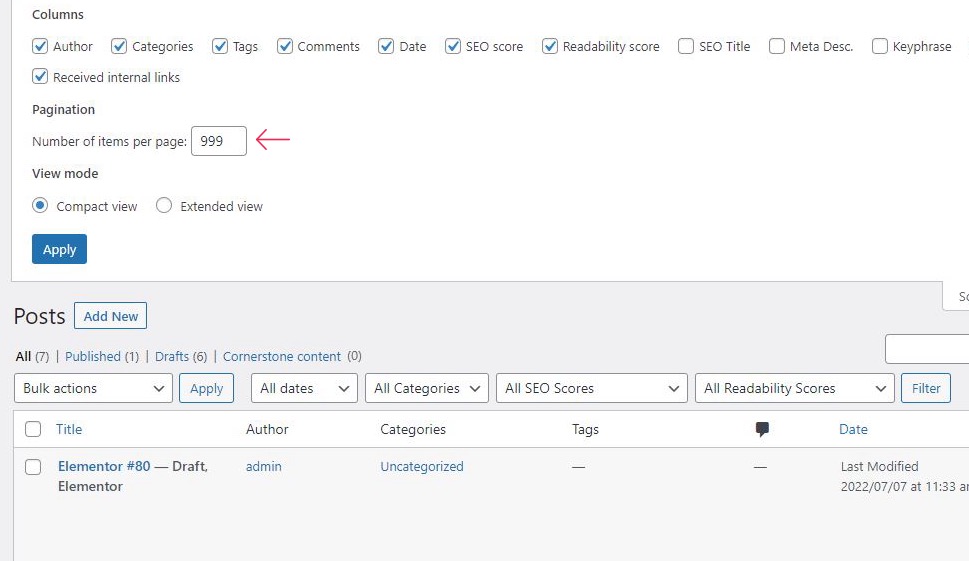
Luckily, there is a simple method for updating all articles that contain external images. Simply head over to the Posts > All Posts page and select the Screen Options option in the upper-right corner.
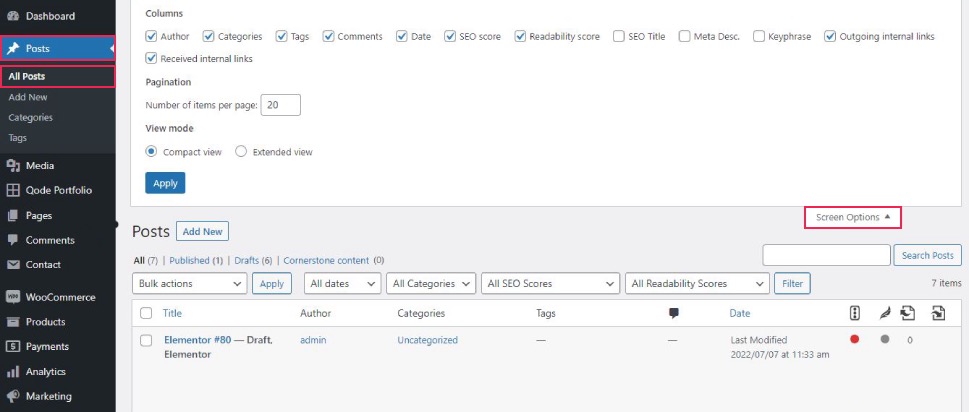
The “Number of items per page field” value needs to be increased to “999” before you can click the “Apply” button.
WordPress will refresh the page and display up to 999 posts at once this time.
Your server might not be able to handle updating that many posts at once if your web hosting is sluggish. In that case, you might try upgrading to better WordPress hosting (if that makes sense for you considering the other aspects of site performance and requirements as well) or simply submit fewer posts at once.
The next step is to tick the box next to “Title” to pick all of your posts on this page.
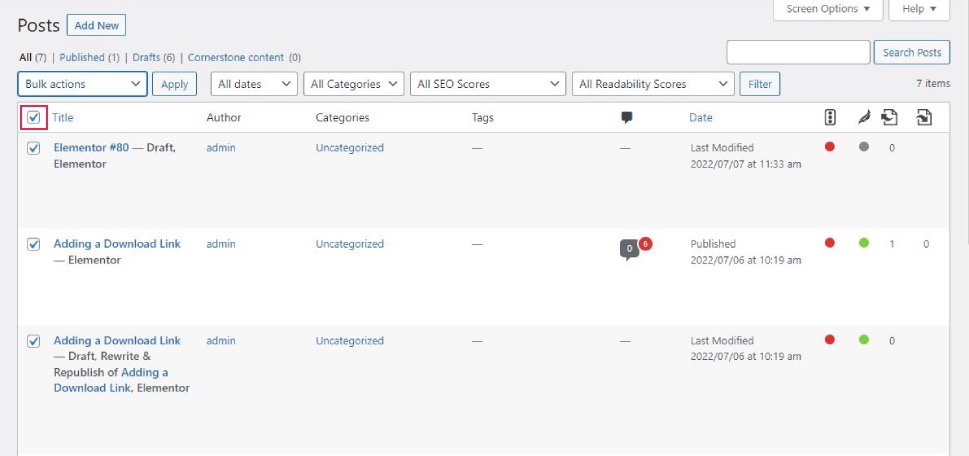
Then you should choose “Edit” from the list of bulk actions and then press the “Apply” button.

Your whole selection of posts will now be displayed in a “Bulk Edit” box by WordPress.
All you have to do to update WordPress’s posts is click the “Update” button.
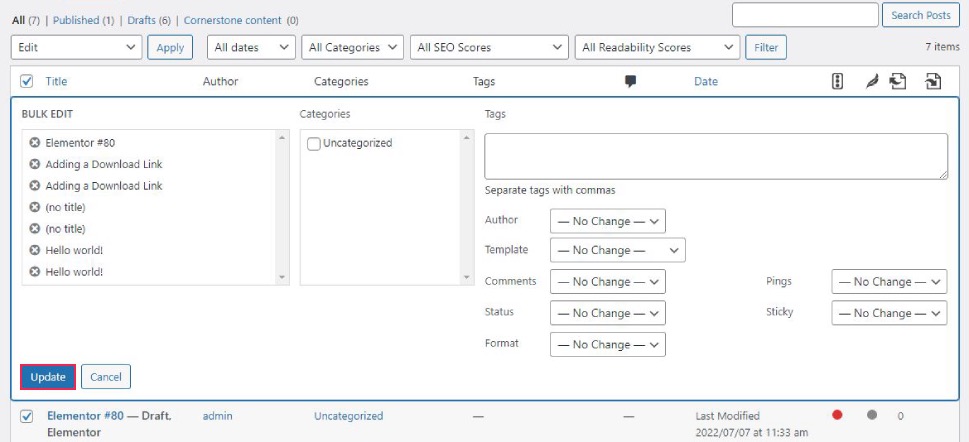
Bear in mind that you should not alter any of the settings in the bulk edit settings that you see, but keep them as they are. All you have to do is press the “Update” button.
By pressing this button, the plugin will scan the content of the articles you’ve chosen and import any external images it finds.
In case you have more than 999 posts, the remaining posts must be chosen from the next page.
That should do it; you should now notice that WordPress has retrieved all of your external images, and they can be accessed in the Media Library, associated to their relevant articles and pages. They function the same way as any other image you’ve posted to WordPress.
One of the many benefits of WordPress is its user-friendly system for uploading and managing media assets, particularly images. This enables users to instantly change the visuals of their website and generate completely different designs and effects. Images play a vital part in any WordPress website, and as a site owner you should learn more about this topic to make the most of your website’s imagery.
If you are interested in optimizing the imagery of your website you may find yourself in need of tools that can help you create a visually impressive experience for your users. It’s simple to add a picture to a post or page. However, merely stuffing your posts with images isn’t any better than walls of text. A gallery is a sophisticated approach to exhibiting goods and services by showcasing several photographs in a more attractive format. You might also want to try an interactive or a 360-degree image to give your visitors a fresh viewpoint. There are plugins and collections of widgets or addons that come with an array of solutions for displaying images in a visually immersive and exciting way – as galleries, carousels, sliders, animated elements, and more. And Qi Addons for Elementor is probably the best of such collections.
You’ll also find plenty of tools that will help you compress, change the format of your pictures and optimize them in a technical sense. Since exploring all the possibilities you have to customize your images may be time-consuming, we recommend you read our article about most practical and well-rounded WordPress Plugins for managing images.
In Conclusion
Importing external images is very simple when you have the right plugin. Simply by following the procedure we described, you will ensure all your external images are successfully imported in WordPress. There are, of course, other ways to import external images in WordPress, but they are either more complex or more time-consuming or both so our voice definitely goes for the Auto Upload Images plugin.
