How to Add a LinkedIn Badge to Your WordPress Website

LinkedIn has become an integral part of many business and professional processes and practices, including recruitment, job search, and business-to-business marketing. If you’re looking for a job, looking to hire online or want to find customers in the business world, LinkedIn is the place to be. But it’s not the only place where you want to be.
Besides having LinkedIn pages, businesses will usually have a website. With plenty of business themes to enhance the looks and business plugins to add functionalities, it’s easy to see why WordPress is a common choice for a business website.
Professionals can also use websites to fill out the gaps left by LinkedIn and create online portfolios. Websites can also make money for their owners, which makes them a potential side gig, or even a main one. Either way, someone who has both LinkedIn and a website might want to link them in some way, and that’s exactly what a LinkedIn badge is used for.
In this article, we’ll show you:
A LinkedIn badge is exactly what its name says – a badge you can add to your website that should show LinkedIn’s logo, profile photo, name, and title. Finally, it should also contain a button people can use to get to your LinkedIn profile. The badge is available in both light and dark mode.
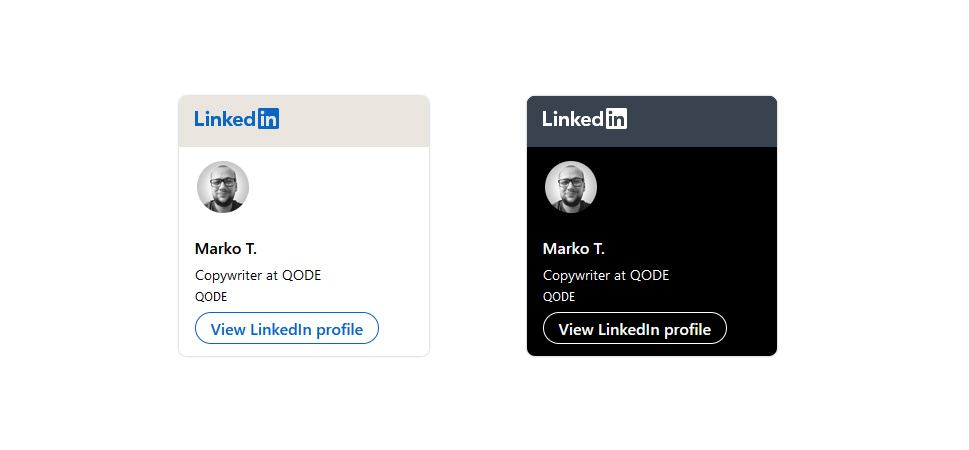
The main reason for adding a LinkedIn badge to your website is to let your website visitors know they can find you on LinkedIn and give them a quick and efficient way to do just that.
That would all be great if it weren’t for the fact that a lot of the time the badge doesn’t work the way it’s supposed to. Instead of seeing the image, you can end up with just a link to your LinkedIn profile and your name as the anchor text.
Apparently, this doesn’t always happen – in some cases, the badge might display correctly. For that reason, we’ll show you how to add the badge using the method LinkedIn recommends, but also a couple of things you might try if it doesn’t work out for you. You won’t be able to use a plugin to fix this one, sadly, as the most popular plugin for adding LinkedIn profile info to WordPress was apparently made unusable by a LinkedIn API restriction.
The recommended way to create a LinkedIn badge and add it to your website has changed over time. We’ll show you the version of the instructions as of May 2021. Please note that your profile’s public visibility will have to be put to “on” for this to work.
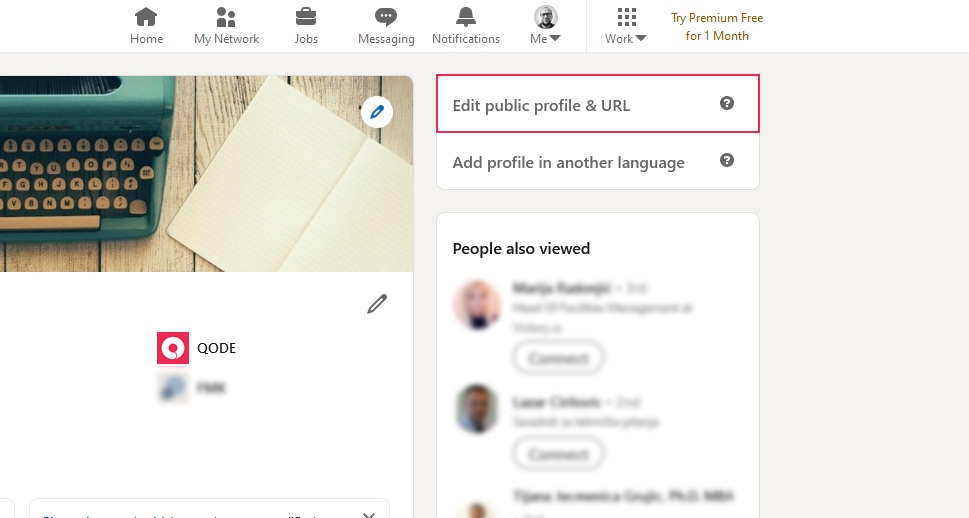
To start, go to your LinkedIn profile page. From there, click on the Edit public profile & URL link. You’ll find it in the top right-hand side corner of the page.
This will take you to your public profile settings. There, you’ll be able to set your profile’s public visibility to on – which is, as we mentioned, a requirement for this method to have a chance to work – and then scroll to the bottom of the page. In the bottom right-hand side corner, you’ll find the Public Profile badge shortcut.
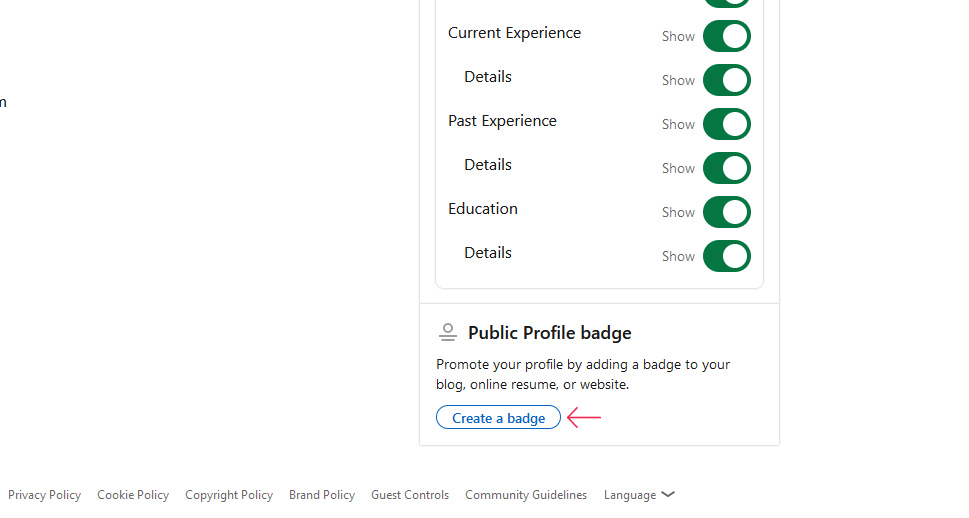
Clicking the “Create a badge” button will take you to the Public profile badge builder, a page where you’ll get the instructions and the code necessary to try to create a functioning LinkedIn profile badge.
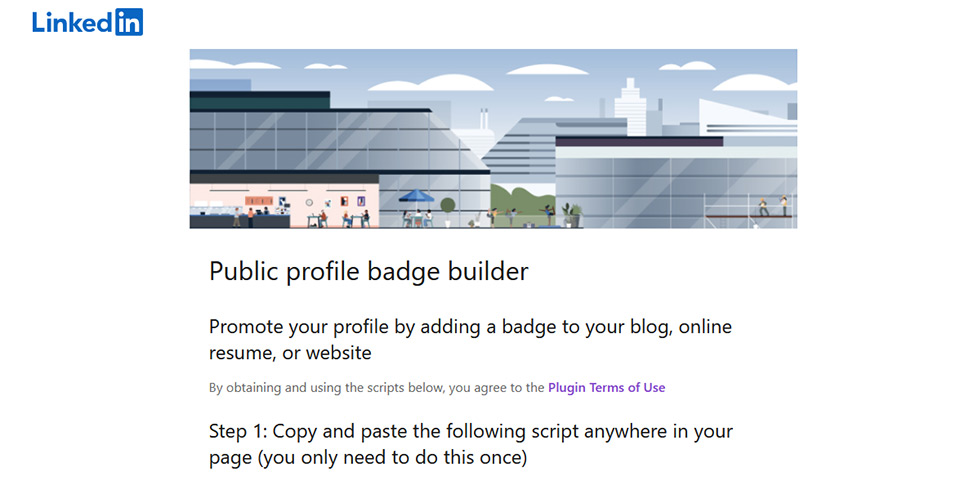
The first step you’ll be required to do is to take the provided script and post it anywhere on your page.
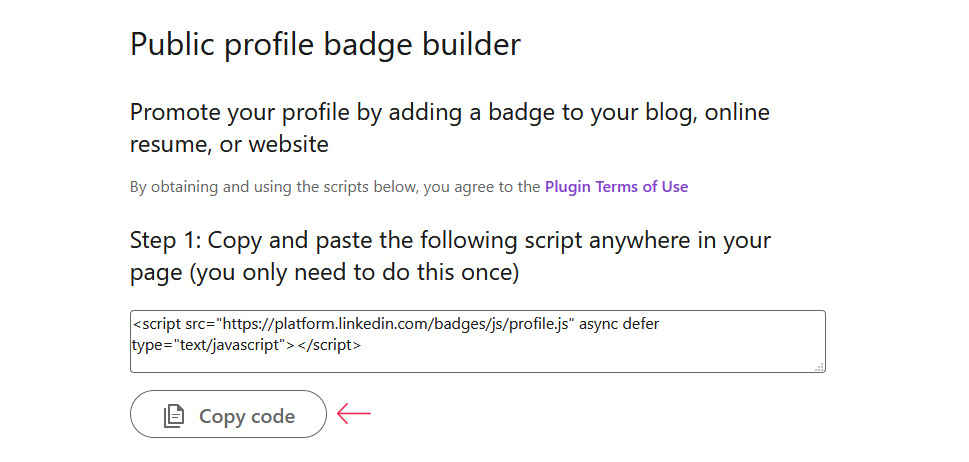
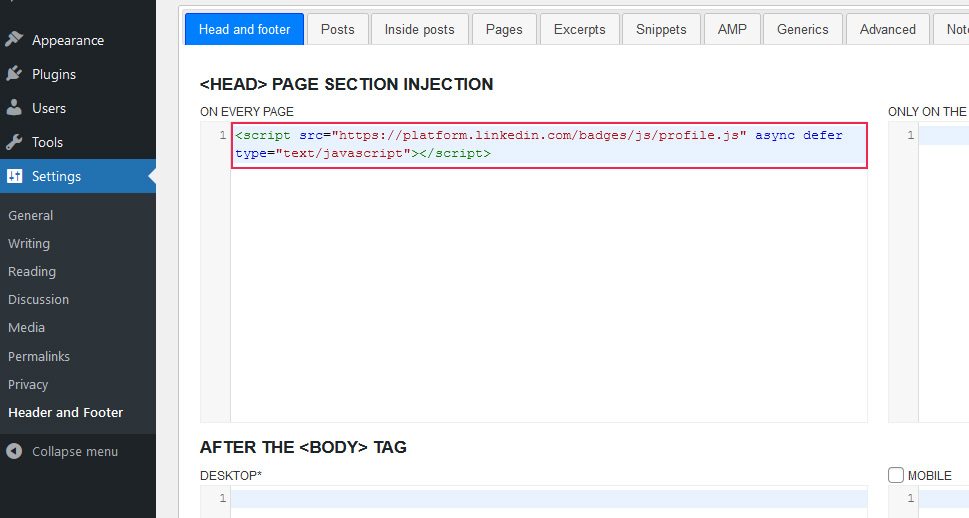
A way to safely add the code to your WordPress website would be to inject it into the header using the Header, Footer, and Post Injections plugin. We’ve already created a tutorial on how this plugin works, so you might as well check it out. The short version is – install it and activate it, navigate to Settings > Header and Footer, and paste the code in the first field you see.
Now, you can move on to step to, where you get to choose which version of the badge you want to display, and how big you want it to be.
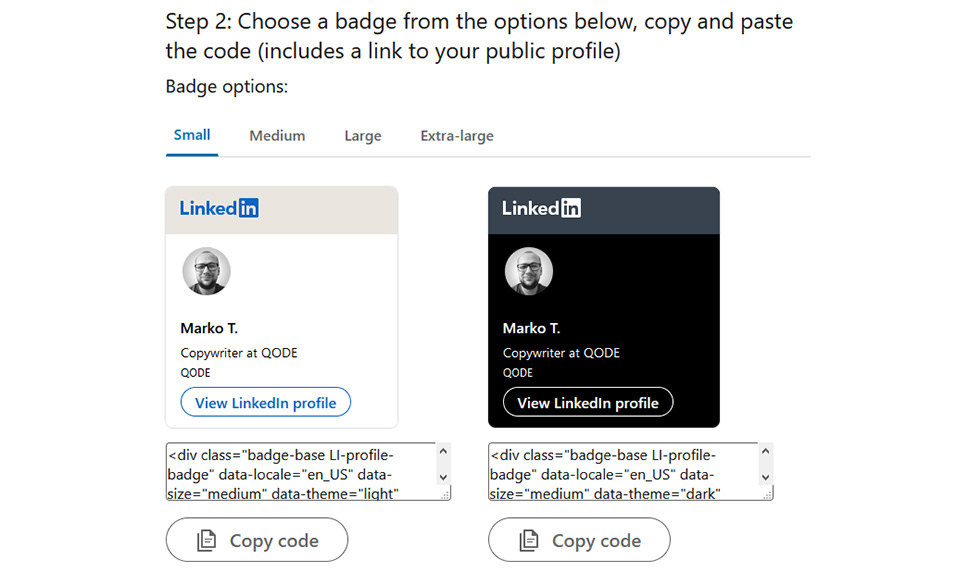
When done, you can add the code to your website in a couple of different ways. You might use the Classic Editor plugin and simply add it as text to any of your posts and pages. You can also navigate to Appearance > Widgets or Appearance > Customize > Widgets, and add the code as a widget using the custom text or the custom HTML widgets. If you choose to add the code to a page or post, you’ll have to do it for each page separately. With a widget, you can have it in every page’s or post’s footer or sidebar.
With that, you’re done. If you’re lucky – because luck appears to be a defining factor, at least instead of any officially confirmed factors – you’ll get a full badge on your website. Otherwise, it’s a hyperlink to your profile with your name as the anchor text. Not impressive at all.
If you’re stuck with a hyperlinked LinkedIn non-badge, it’s pretty reasonable to feel disappointed. You’re more than free to try different ways to add the code to your website. You can skip the header and footer injector and just add the first line of code to a page. You can add the second line of code as a widget or directly to a page. You can do away with the first line of code altogether – we tried all the possible combinations and got the same disappointing feeling you get when you encounter an otherwise neat feature that just seems – broken.
But you shouldn’t give up that easily – there are still some elegant(ish) solutions you can use to add a LinkedIn badge or its equivalent to your website.
For example, you can use the Buttons block in the block editor to add a button.
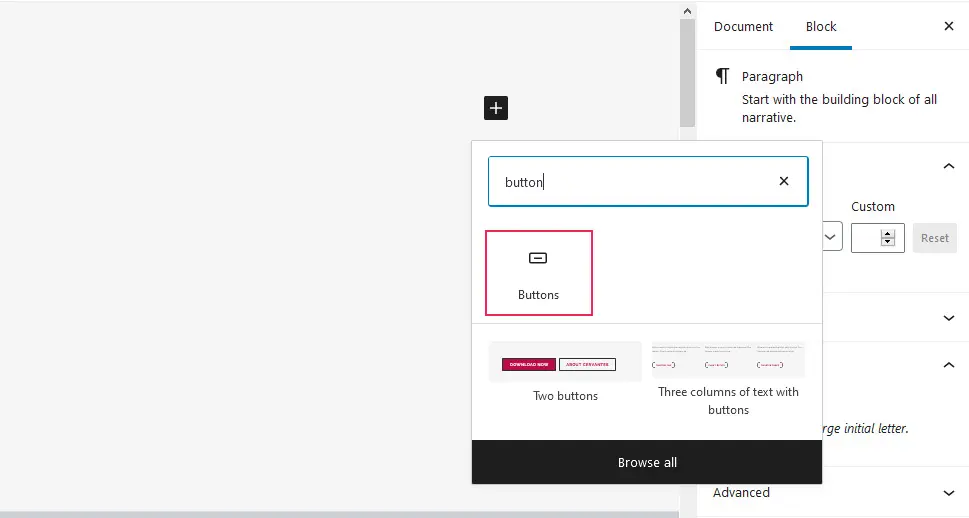
Then, enter the text you’d like for the button (we used My LinkedIn Profile), and remember to add a link to your LinkedIn profile. We’ve also set it to open in a new tab.
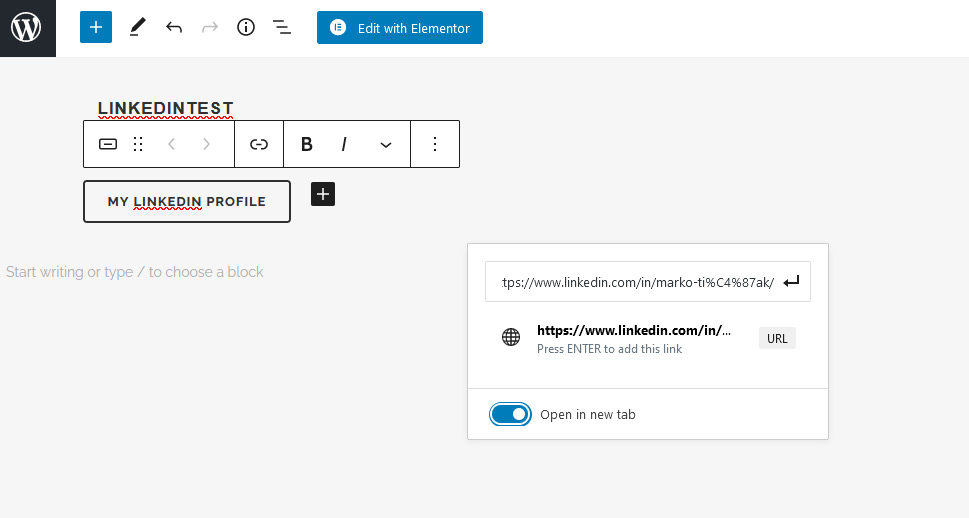
And just like that, you’ll get a button that will lead people to your LinkedIn profile. You might need to repeat this method for every page or post, however.
For a prettier solution, you can grab those images out of LinkedIn and link them to your LinkedIn profile. Go ahead and grab one of the two recommended badge images. Then, using the image block, insert them into the media library and then the block.
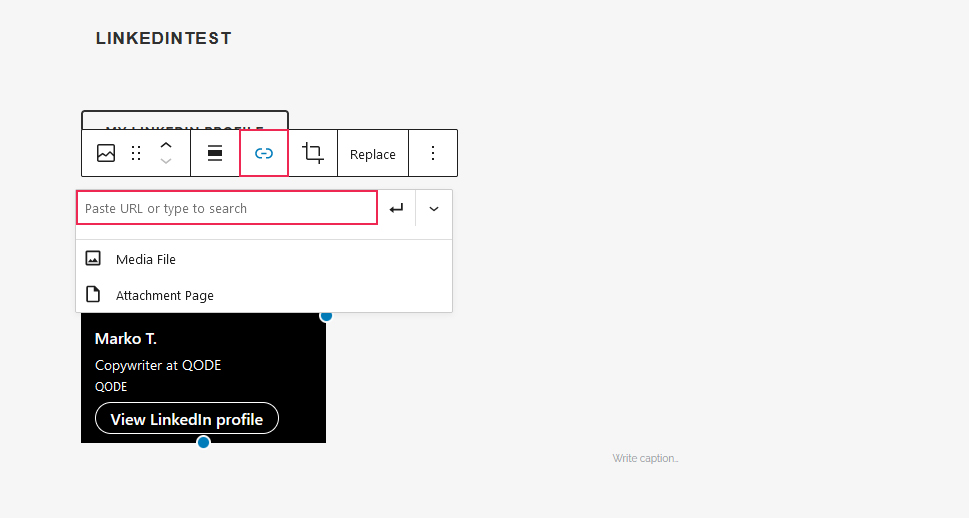
When done, you’ll get a fully clickable image that will lead anyone who clicks it to your LinkedIn profile. Not as elegant as the original badge, but still – not bad.
Finally, if you want a solution that works on all pages, you need to create an image widget and insert it in the header, footer, or sidebar. Go to either Appearance > Customize > Widgets or Appearance > Widgets. Add an image widget to the sidebar, footer, or header of your choosing.
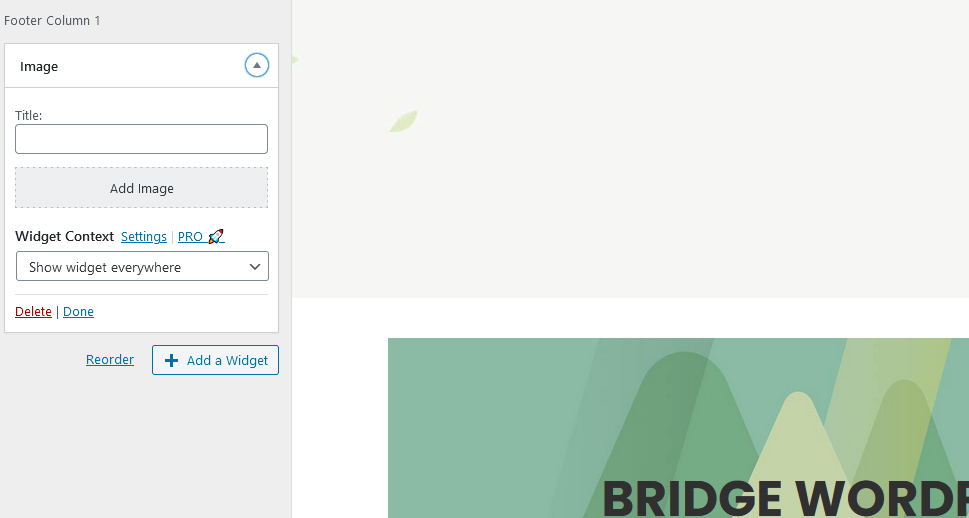
Remember that, when you add the image, you’ll also get to choose where it links to, as well as where it appears. Link to your LinkedIn image and make your pick of the visibility options.
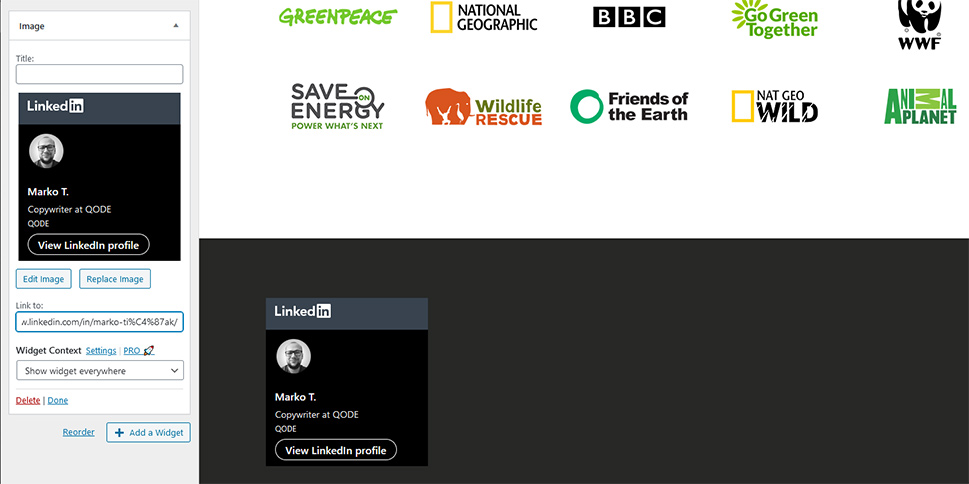
By the time you’re done, you’ll have what’s probably the next best thing to having a working LinkedIn badge on your WordPress website.
Let’s Wrap It Up!
No matter how useful – or nice-to-have – the LinkedIn badge might be for your website, the very fact that its implementation is faulty at best and broken at worst takes away from its usefulness. Easy use matters and people shouldn’t jump through lots of hoops just to bring traffic to a website, especially where acquiring traffic is how websites work, in general.
Still, you might be one of the lucky ones to have the recommended method work like a charm. If you’re not – don’t worry. We’ve listed a couple of “workarounds” you might use. And if it’s any consolation, at least you’ll have the opportunity to dabble with WordPress a bit and maybe learn something new.


