How to Add Image Hover Effects in WordPress
If a picture is worth a thousand words (which it isn’t, else you’d be looking at a single picture instead of reading this whole article to get useful information), what’s a gallery worth? A judiciously curated gallery? A judiciously curated gallery of correctly optimized images with discreet image hover effects? Probably a lot. But what are image hover effects, exactly, and does WordPress accommodate them?
Image hover effects are a way to make the best possible use of your images. They add more interactivity to your images and image galleries, giving you more freedom and more options in creating engaging experiences for your visitors. They are also very useful for letting your users know if an element is clickable or not, which is why they are often used for navigation elements. You could also use them to convey important information, such as, say, reveal the price of an art print when a user hovers over it with their mouse, and so on, or for purely aesthetic effects.
There are several ways to add image hover effects in WordPress. Here’s what we’ll be talking about:
The first plugin on our list is our proprietary plugin with a functionality designed with simple, elegant, and beautiful galleries in mind, but there’s nothing stopping you from using a single image in a gallery if you like the effect. The second one is a little flashier, and uses animated captions and text if that is the effect you want. The third one is a solution much sought-after by webstores: a zoom effect to show off the details of your products.
If you are an Elementor user (and why shouldn’t you be; Elementor is flexible, easy to learn, intuitive, visual, and has a fully functional free version), you are in luck. Our proprietary plugin, Qi Addons For Elementor, expands on Elementor’s already considerable array of options with 60 brand-new, professionally designed widgets. So, if you are looking for a way to make your image galleries stand out, one thing you may want to look at is the image gallery widget.
The first thing you need to do, though, is install the latest version of Elementor and then install and activate Qi Addons For Elementor. Qi Addons is itself free and will work just fine with the free version of Elementor, so the whole thing needn’t cost you a penny.
As with all the other Qi Addons widgets, setting up a gallery with hover effects takes literally only minutes.
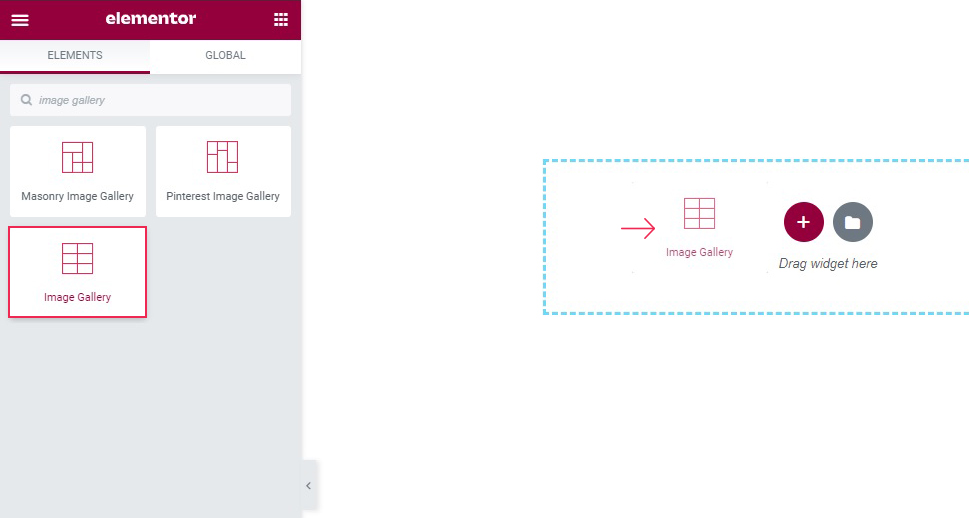
We will start with a simple post and some placeholder text. In order to add a gallery to your page, you need to drag the Image Gallery element to where you want it.
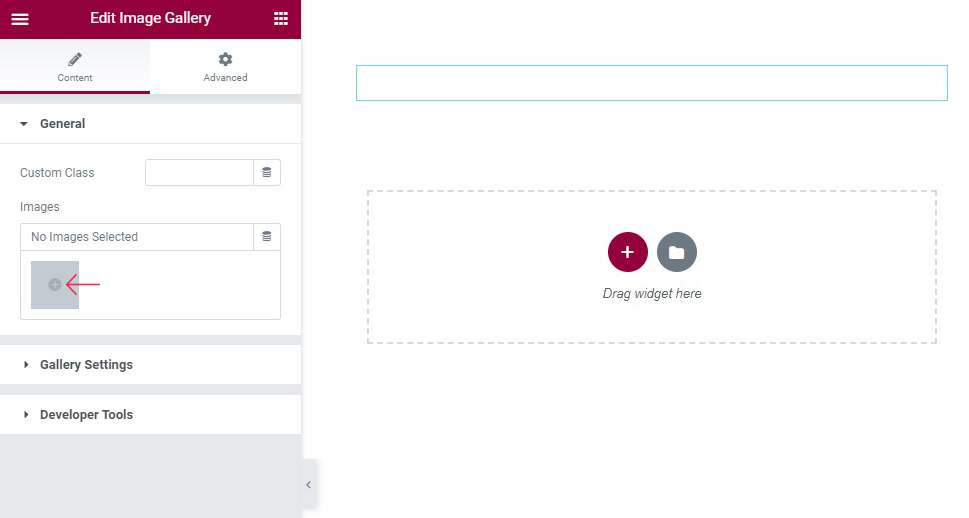
Once the placeholder gallery element is set, you need to populate it with some images. In the General tab, click on the plus sign under Images to add images.
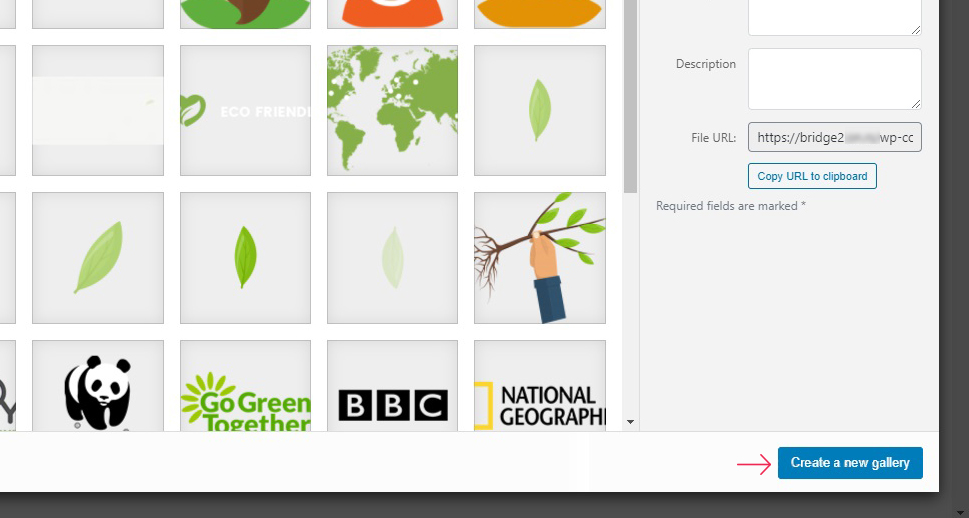
You can choose images from your media library or upload them, and, when they are uploaded, make sure they are selected (marked with checkmarks), click on Create a new gallery.
Once you have created a gallery, you can change the order of the images, or assign them captions. We are satisfied with our current settings, so we will click Insert Gallery.

And your gallery is now inserted. If you hover your mouse over it in the preview section, you will see that it already has a hover effect by default: a zoom in animation. But in order to really make the gallery pop, we need to visit the Gallery Settings.
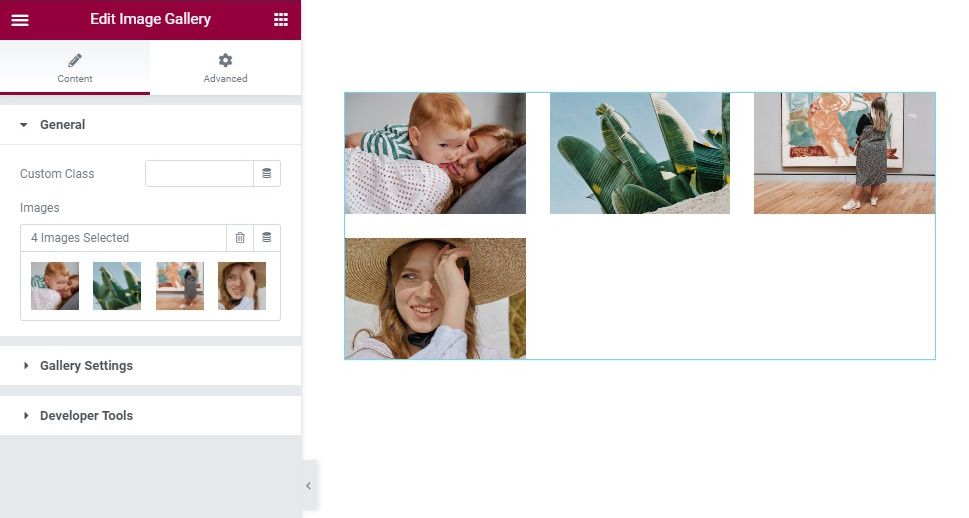
The Gallery Settings is where you can find all of the options for styling a gallery, including hover effects. As you can see, the gallery widget is not short on options, but they fall beyond the scope of this tutorial. You can find the exact settings we used in the image below.
What we are most concerned with is the Image Hover controls. Here you can choose between Zoom In, Zoom Out, Move and None. We will select Zoom Out. Below is the Image Hover Zoom Origin control. You can choose between Center, Left, Right, Top and Bottom. We will set ours to Bottom.
The final two controls are Overlay Color and Overlay Hover Color. You can use them to set up colour overlays for your images. And a different colour overlay on hover. If you set up an image overlay to an opaque colour, for instance, and the on hover colour to a transparent layer, the image will be revealed only on mouse hover. We are happy with our discreet zoom out effect, so we won’t be using them.
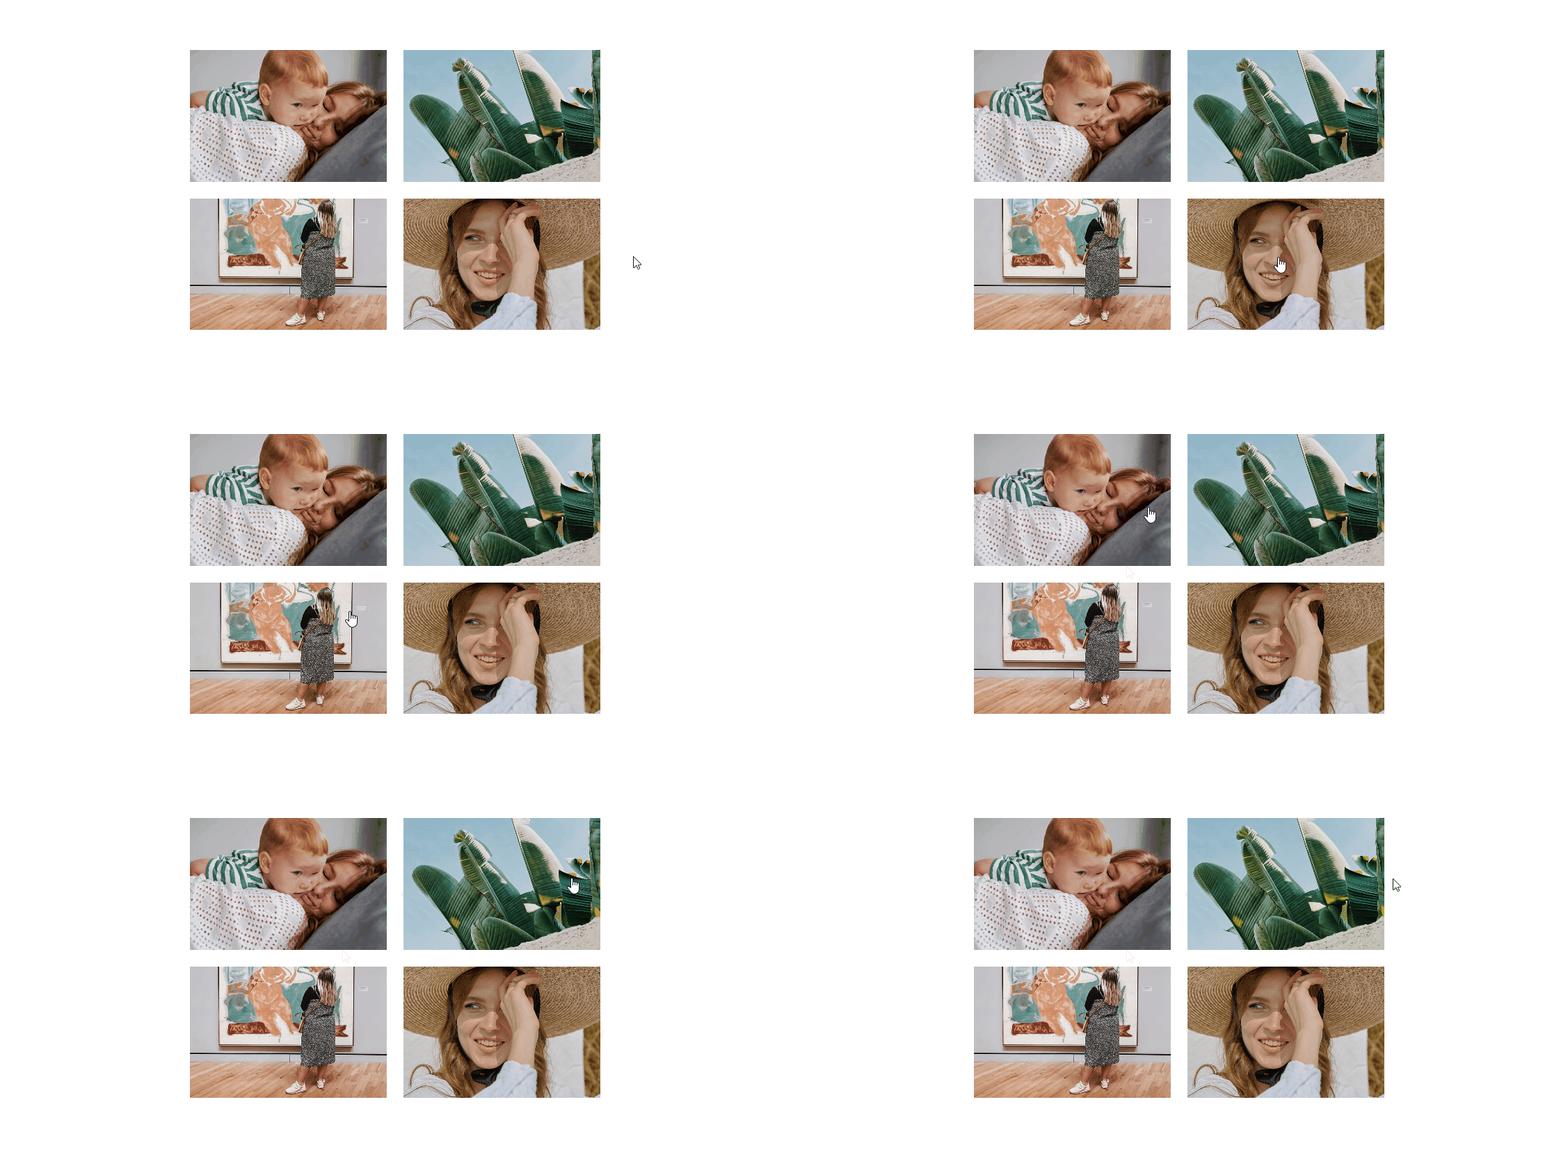
And there you have it, an elegant gallery within minutes. You will find the same versatility with two other gallery widgets: the Masonry Image Gallery and the Pinterest Image Gallery widgets, too.
Image Hover Effects is a plugin that provides you with a toolkit for creating several flashier on-hover effects using captions. We will be using the free version of the plugin, so we won‘t be concerned with the pro features.
After having installed and activated the plugin, access its settings by navigating to Image Hover Effects/Image Hover Effects from your WordPress dashboard.
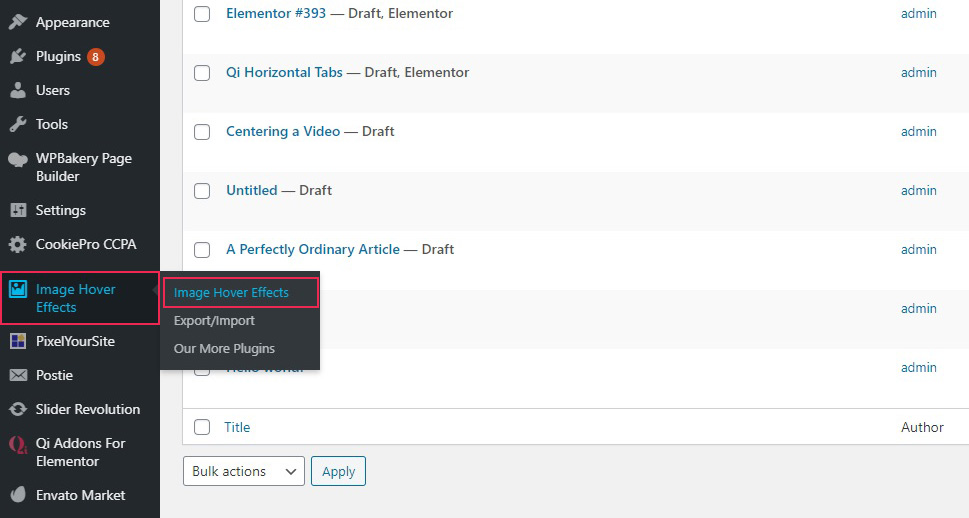
You will be taken to the caption editor. You can create sets of images (Categories) containing multiple images each, and then place this set anywhere on your website using shortcodes.
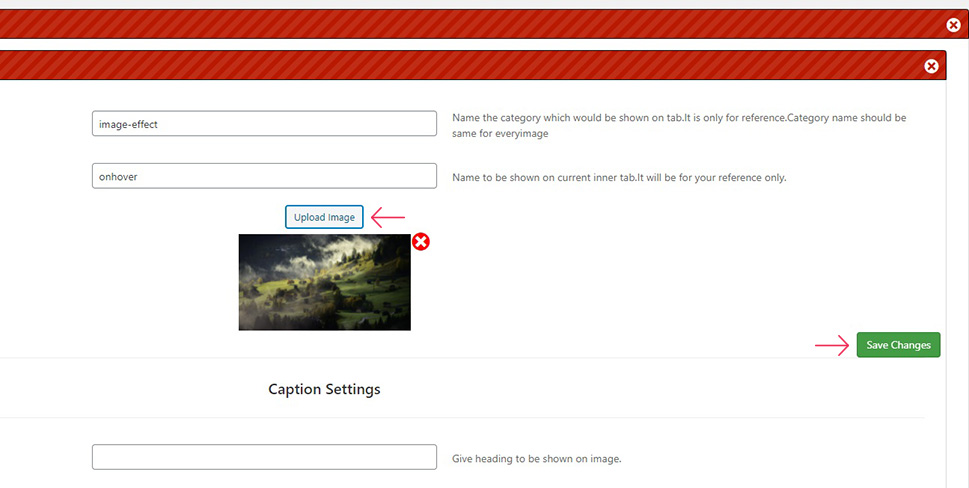
You can use the developer’s guidelines on the right-hand side of the screen to guide you through it. First up, you’ll need a Category Name and Image Name. Choose them so that you can remember them easily for later use. The Category Name needs to be the same for every image in the same set, while Image Name is the text in the inner tab. These are not very important for the user experience.
Next down is the Upload Image button. It will take you to your media library, from where you can select an image, or upload one as you would when adding an image to a post or a page. Click Save Changes and scroll down.
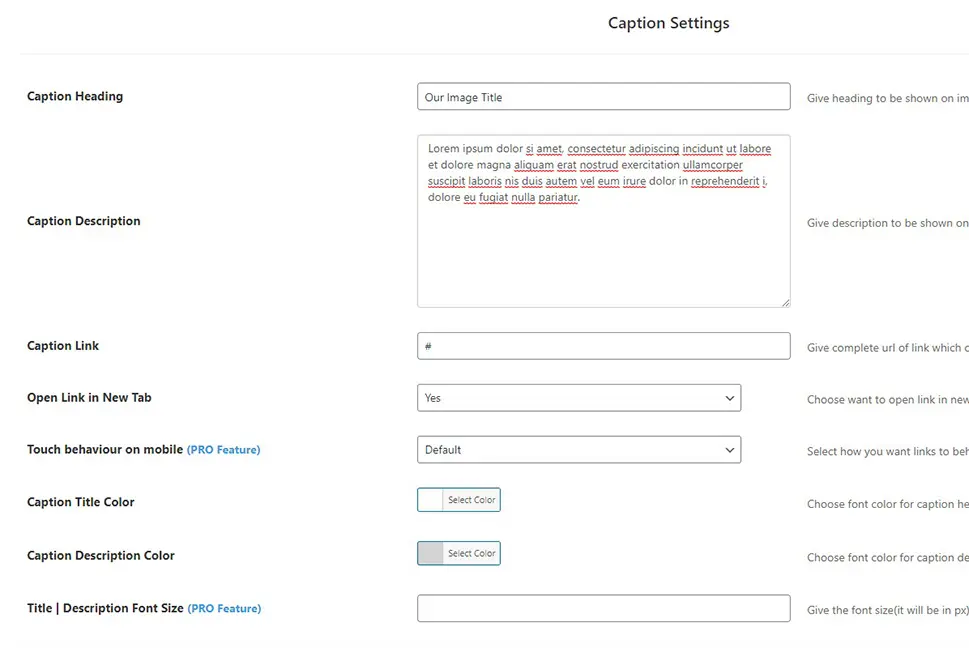
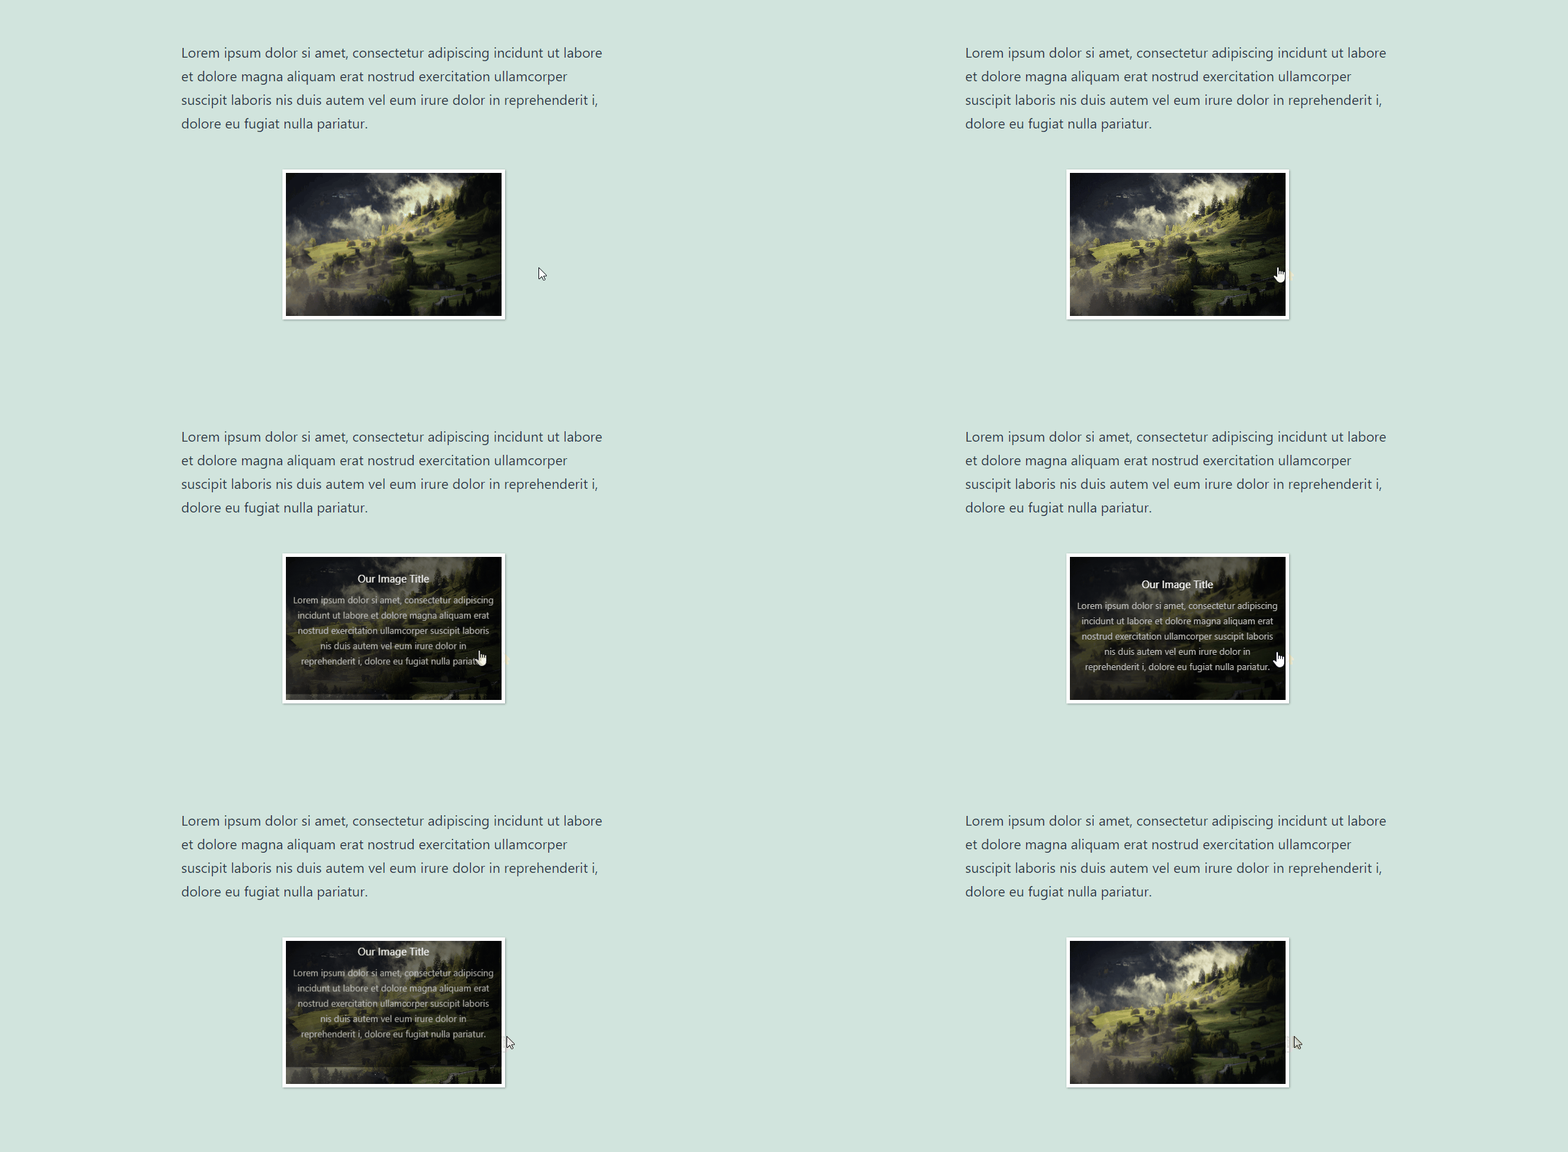
In the Caption Settings section, enter the Caption Heading. This is the part of the text which will appear on mouse hover. You may also enter the Caption Description, which is the other, smaller part. We have gone with Our Image Title for the Heading and some placeholder text for the Description.
You can also add a Caption Link – a link to which you can take your visitors when they click on the image. We don‘t want a particular link, so we will enter a hash sign (#). You can choose whether to Open Link in New Tab or not, but since we don‘t have a link, it doesn‘t affect us.
Next down are the Color Controls. You can enter a hex code or choose from the colour picker. For Caption Title we went with the default white, while for the Caption Description Color we have gone with a light grey (#d3d3d3).
Click Save Changes and scroll down again.
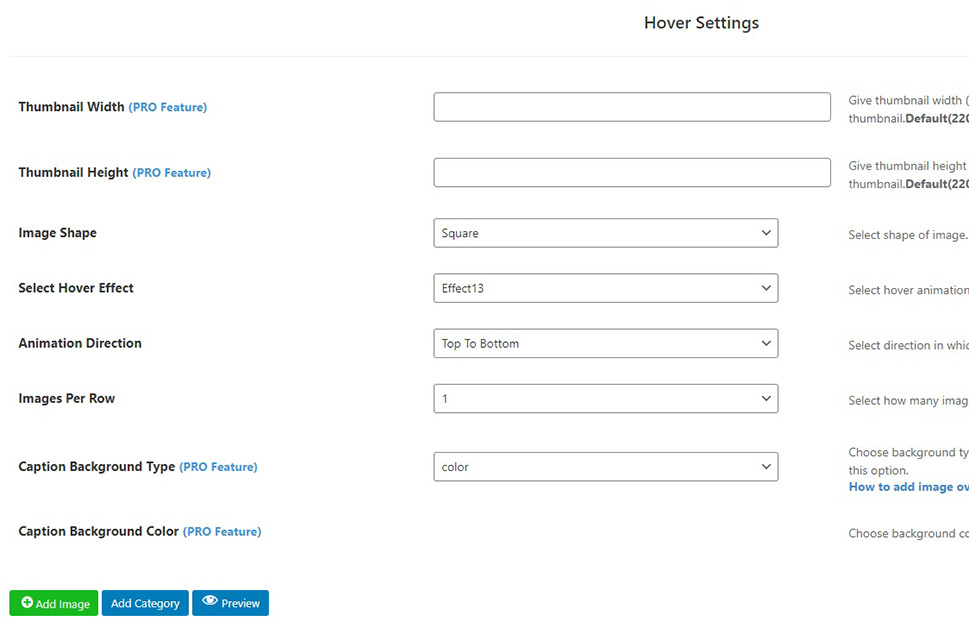
Finally, we arrive to the Hover Settings. This plugin works with circular or square images. We have selected Square for our Image Shape.
Image Hover Effects lets you choose between 20 different effects from the Select Hover Effect drop-down menu. You can see what they look like in the developer‘s demo or the Check All Effects link. We like Effect 13.
Finally, the Images Per Row control lets you choose how many images to display per row. Since we only have one image, we need one. You can have as many images with as many different effects and links as you like.
The Add Image button adds another image which you can work with in the same way. The Add Category button lets you create a new set of images. You can click Preview for, well, a preview, and the Get Shortcode button will let you have the shortcode for the active Category.
Finally, Save Changes again.
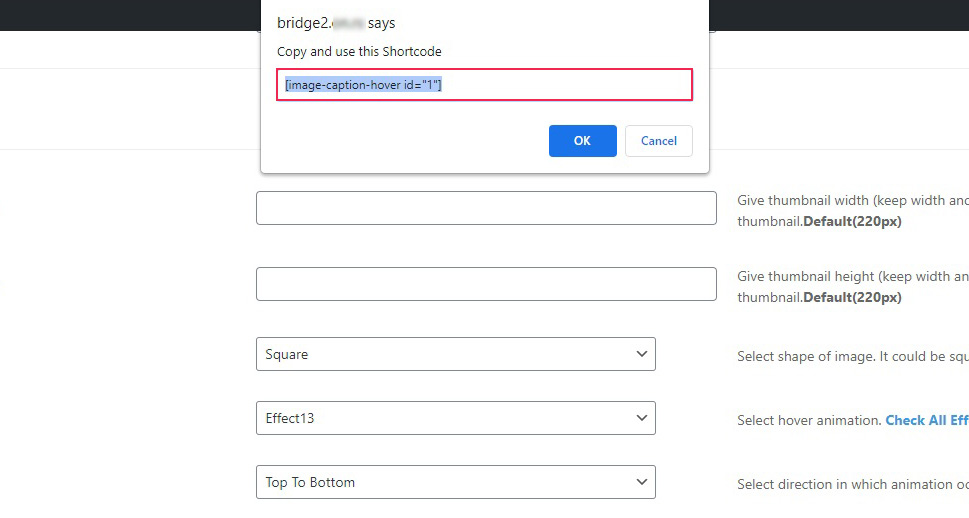
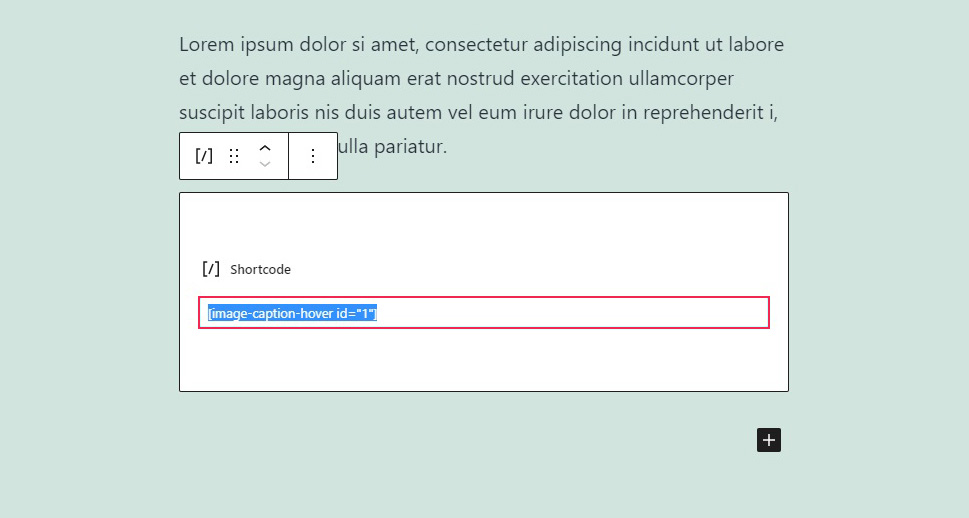
To add this image to a post or page, click the Get Shortcode button and copy the shortcode.
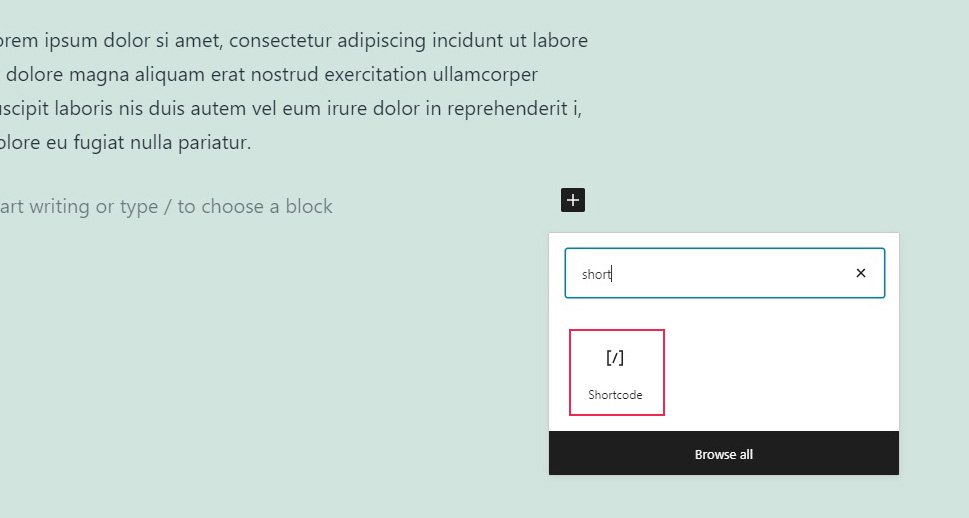
To add a shortcode in Gutenberg, click on the plus sign to add a block, and search for the shortcode block. If you are working with Elementor, you need the shortcode element, while if you are working in the classic editor you just need to place your shortcode wherever you want while editing using the HTML more.
Paste the shortcode into the block‘s shortcode field, Save your post, and you‘re done.
And your images are all set up.
Another useful effect, particularly popular with online stores, is the zoom effect, which allows your visitors to check out your products in detail. You can achieve it using another free plugin: the WP Image Zoom plugin.
We have, however, already covered how to create image zoom effects with this plugin in another article in detail. We stand by our recommendation – just make sure you know what makes a good product image and use the On Hover controls for your zoom tool.
In Conclusion
And there you have it, three very different hover effects which can be set up in minutes. Of course, this barely touches upon the myriad ways in which you can use image hover effects in WordPress. There are many other plugins you can try out in order to find the ones that work for you. Whether you are looking for a way to add a little more punch to your galleries or draw your users’ attention to some other aspect of your website using an animated image, this is only the tip of the iceberg. The possibilities are quite literally endless, but we feel we’ve provided you with a decent set of tools.

