How to Add a Button to Slider Revolution
This article is part of our ongoing series of Slider Revolution tutorials. You can find all the articles from this series in our Comprehensive Slider Revolution Guide.
Whether they’re calls to action, parts of the user interface, or simple links, buttons are an essential element of any website. When designed with care and consideration, they can help guide users through your site and improve the overall experience of your visitors. But besides knowing how to design an effective button, you also need to consider where you position your buttons. And an above the fold slider is always a good choice for the placement of any important website elements. So, in today’s tutorial, we’ll show you how to add buttons to Slider Revolution. This can be done either by adding a button shortcode to the slider or by creating a new button layer. We’ve already covered how to add shortcodes to Slider Revolution in a dedicated article, so make sure to check that out if you’re interested in adding other shortcodes to your sliders.
You can also check out our video on how to add buttons to Slider Revolution:
Or, if you prefer a step-by-step text guide, read on.
Adding a Button Shortcode to Slider Revolution
Adding a button to your slider via shortcode is pretty simple. But before you add the actual code to your slider, I recommend you ‘build’ a button on a test page, and make sure that everything looks how you’d like it to.
For the purposes of this tutorial, we’ll be using the Evently WordPress theme. We’ll build our button with the theme’s custom button shortcode.
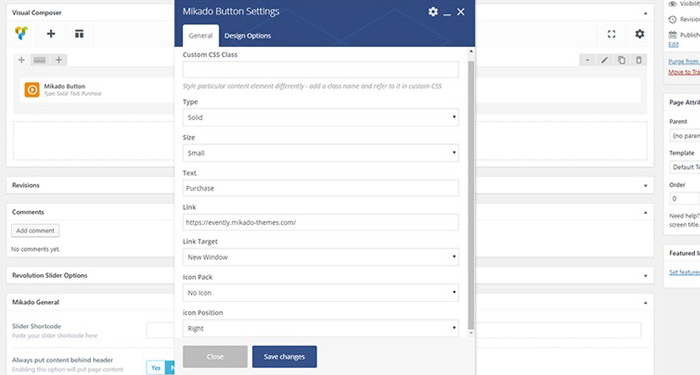
In the shortcode’s General settings, you can see that we have various customization options. Exactly how you set the options for your button will depend on the theme you’re using and the button style you’re going for.
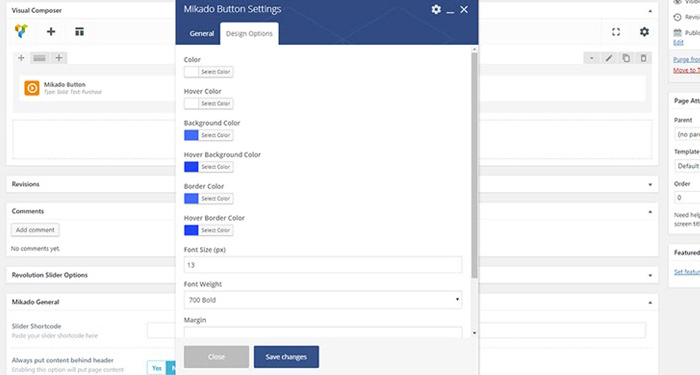
This theme’s button also has Design options so you can ‘design’ the button on your own. You can pick the initial and hover colors for the button’s background, text, and border, as well as choose a font-size, font-weight, and customize the button margin and padding.
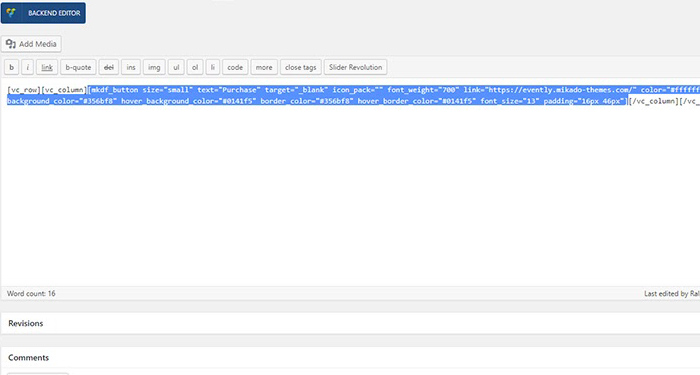
Once you have defined the look of your button, switch to Text editing mode and copy the button shortcode. In my case the code is [mkdf_button size=”small” text=”Purchase” target=”_blank” icon_pack=”” font_weight=”700″ link=”https://evently.mikado-themes.com/” color=”#ffffff” hover_color=”#ffffff” background_color=”#356bf8″ hover_background_color=”#0141f5″ border_color=”#356bf8″ hover_border_color=”#0141f5″ font_size=”13″ padding=”16px 46px”].
Now, go to your slider and add a simple text layer. Then paste the code you previously copied into that layer. It will show up in your work frame as text.
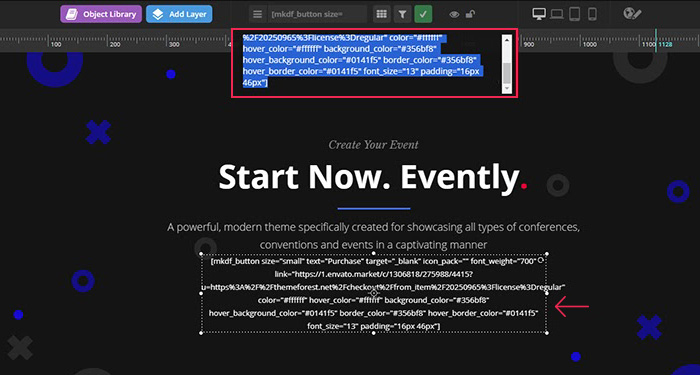
However, when you save your slider and navigate to the page it’s placed on the button should display correctly. Now you can play around with the button’s position, responsiveness and animation.


Adding a Button Layer to the Slider Revolution
Maybe you’re not a fan of the design of the buttons that came with your theme. Or maybe the theme doesn’t have a predesigned button shortcode at all. Whatever the reason for your decision to create your own button in Slider Revolution, you will now learn exactly how to do that.
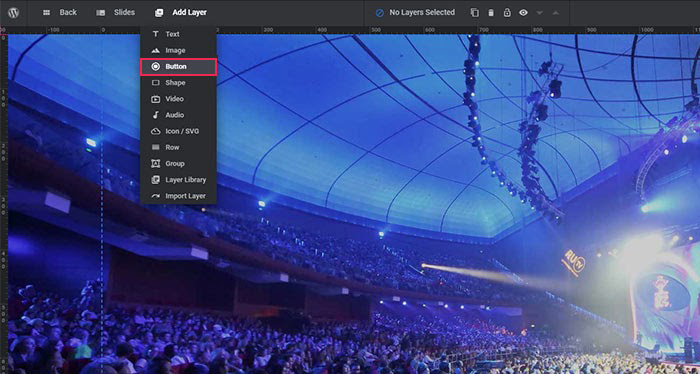
First, add a button layer to the slider workframe.
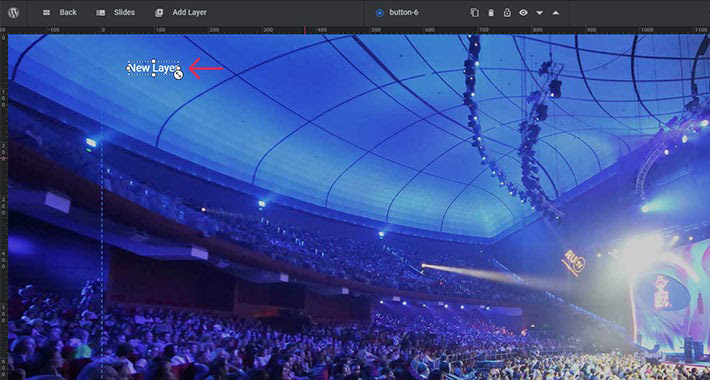
When you add the button, it will appear as text in your workframe, until you customize it.
On the right side of the screen, you will find a lot of predesigned button styles, and you can simply choose the one that fits your website style.
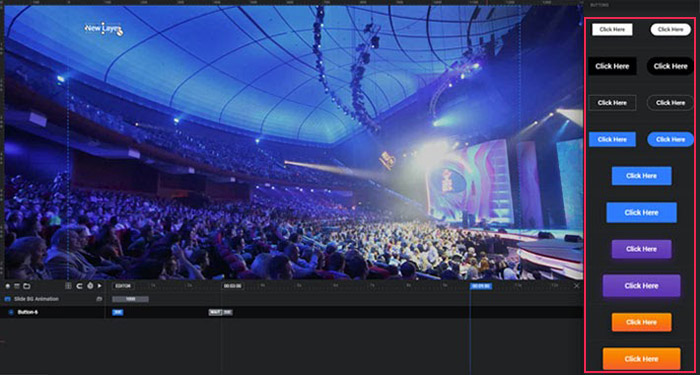
Beside these common button styles, you can also go with something a bit different, like play buttons for example.
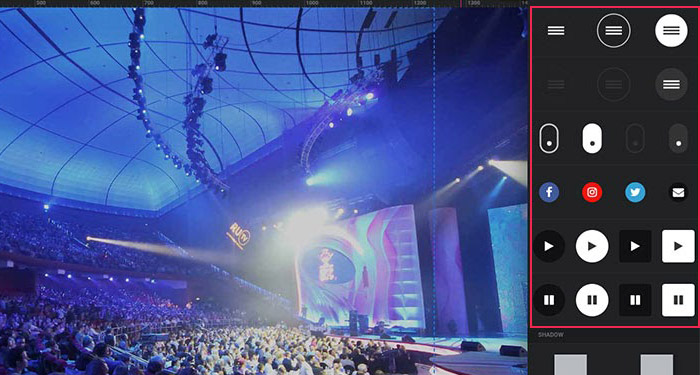
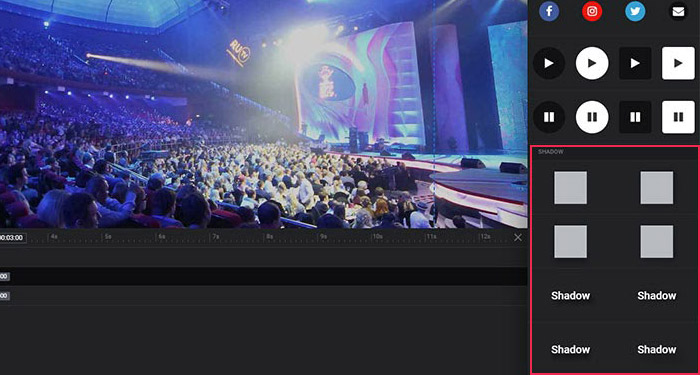
Furthermore, you can add a shadow effect to your button.
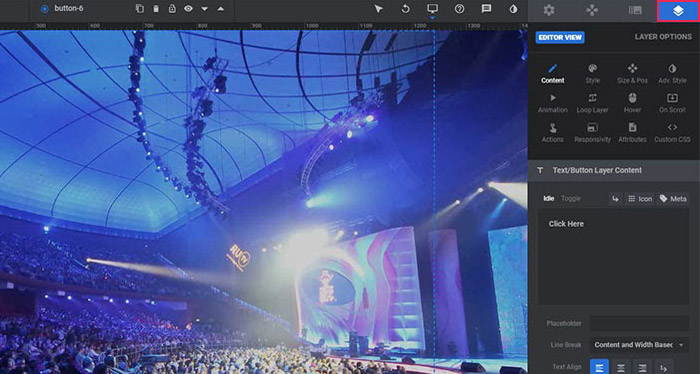
Once you have defined the basic button style, you can go and change its advanced settings to better fit your website’s look.
Customizing the button is the same as customizing any other layer from the Layer Options. Everything you need is over there, from changing the button’s initial look, to change how it’ll display on hover, and adding animations and easing to it.
And that’s all there is to it. Once you’re done with setting up your button layer, you can work on more advanced options like its responsiveness and incoming animation. Here’s an example of an incoming animation from the Evently theme:

Make sure you check out our whole Slider Revolution series of articles to learn more about animating your slides and making your layers responsive.
In Conclusion
Whether you create your button as a shortcode or via a Slider Revolution layer, you can easily customize its styles and try out different text to see what works best for your website visitors. But now that you’ve learned these two extremely simple ways to add buttons to Slider Revolution, you can make sure that each of your slides has a call to action or a link that will let your visitors know what you’d like them to do or which page on your site you’d like them to visit next.
