How to Add the “Connect with Facebook” Login Option to WordPress
If you’re a WordPress website owner, you must’ve noticed that some sites allow users to log in with their social network credentials, including services like Facebook, Instagram, Twitter, etc. This third-party login system can bring some useful benefits to your business, which is why you might want to consider adding it to your own website as well.
Since Facebook is easily the most popular social network worldwide, it is also among the most common types of social login out there. So, this time around, we will talk about why you should add a WordPress Facebook login option to your site, and also provide you with all the necessary steps to do it using the Nextend Social Login and Register plugin.
Why Add the Facebook Login Option to Your WordPress Site?
It is an undeniable fact that people dislike registration forms. Simply put, many of them would rather avoid all the hassle that comes with having to create a new username and password every time they run into a new website, blog, or online forum. Not only will they potentially have to think of a new username and password combination from scratch, but there’s also a chance they’d have to wait to receive a confirmation email until they can finally login to a website. So, if your site only offers a single login option to users, there are high chances that some users will be discouraged from registering or even using your website as a whole.
Aside from being inherently valuable when it comes to the user experience of your visitors, the option to login with Facebook can bring some other advantages to you as a site owner as well. Namely, you will get access to some useful user data, such as their full name, real email address, and other characteristics like age, gender, location, Facebook likes, etc. All this information can help you strengthen your marketing efforts, and allows you to adapt the way you promote your brand and products according to your audience’s preferences.
With that said, here are all the steps you should take to add a Facebook login option to your WordPress site.
Qode Themes: Top Picks
View Collection


Adding a Facebook Login Option With the Nextend Social Login and Register Plugin
Nextend Social Login and Register is a free plugin that will not only allow your users to log into your website using Facebook, but other social profiles as well – including Twitter, Google, LinkedIn, and so on. However, this time around, we will only focus on how to add a Facebook connect option to your site.
After you install the plugin and activate it, head to Settings >> Nextend Social Login in your dashboard.
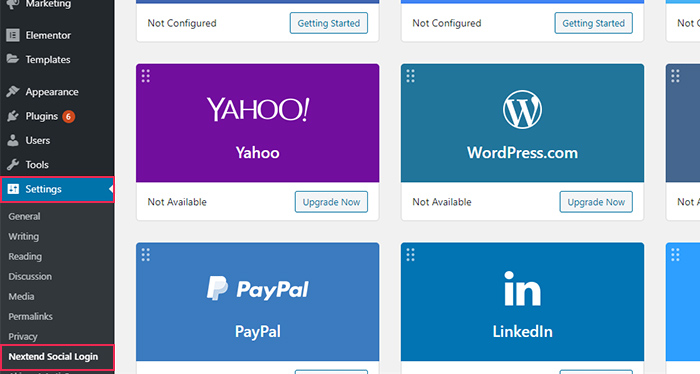
Once there, you should configure your Facebook options by clicking the Getting Started button below a Facebook logo.

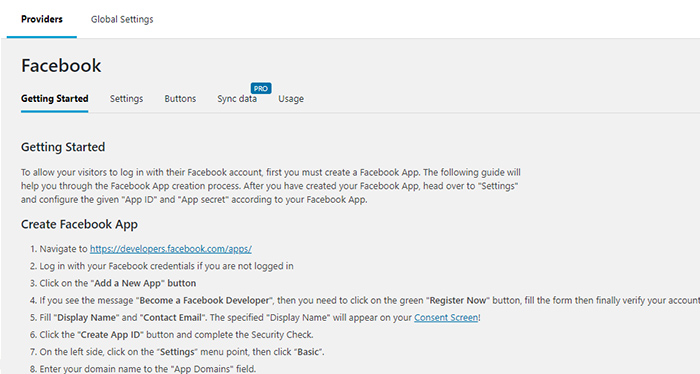
Now, this will trigger a “Getting Started” screen that will display all the different steps you need to take. Essentially, your first, and most important step should be connecting your plugin with a Facebook app. While you should be able to create an app using the instructions provided by the plugin’s creators, we do recommend that you take a look at our guide below for some additional info – including the pictures of most of the steps.
First things first, you should head to the Facebook Developers page in order to create a new app. If you’re not logged in, make sure to log in with your Facebook credentials first and then click on My Apps. If you’ve already added Facebook comments to your WordPress site, then you’ve most likely already created a Facebook app for your site. In that case, you can simply copy the already existing app ID and secret key and paste them into your plugin’s Settings.
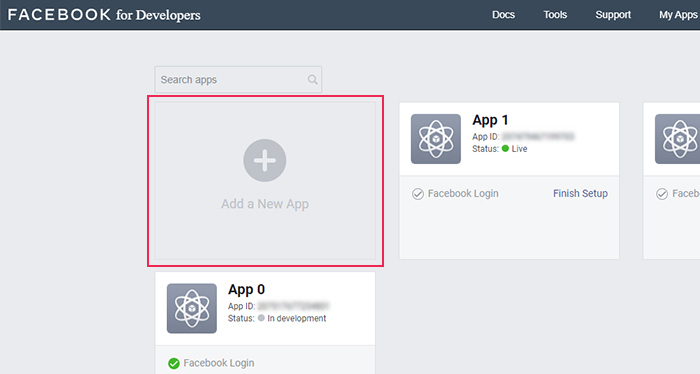
To create a new app from scratch, simply click the “Add a New App” button.
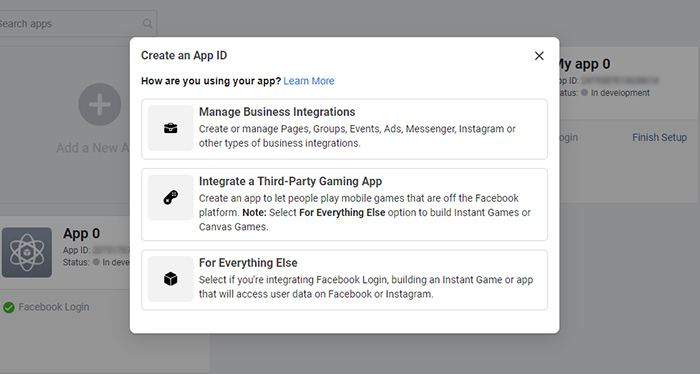
A new pop-up will appear, asking you to choose how you will be using your app. Pick the option called For Everything Else.
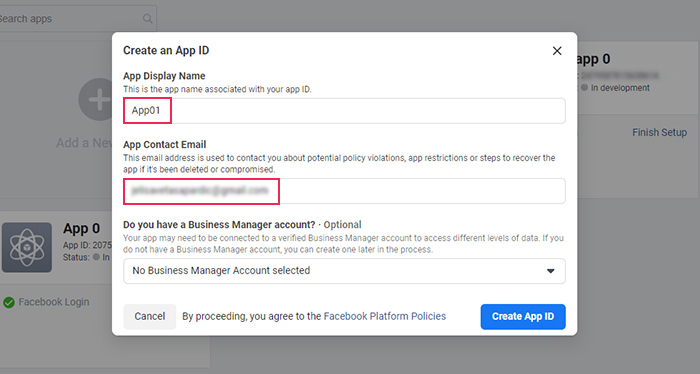
Then, you should create an app display name and add your email address. Hit the Create App ID once you’re done.
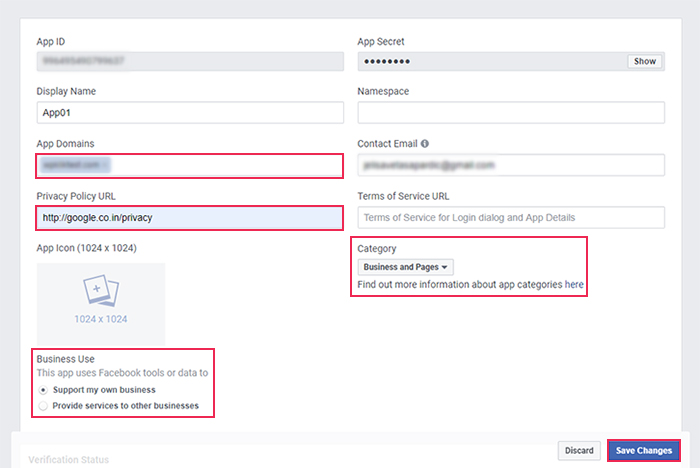
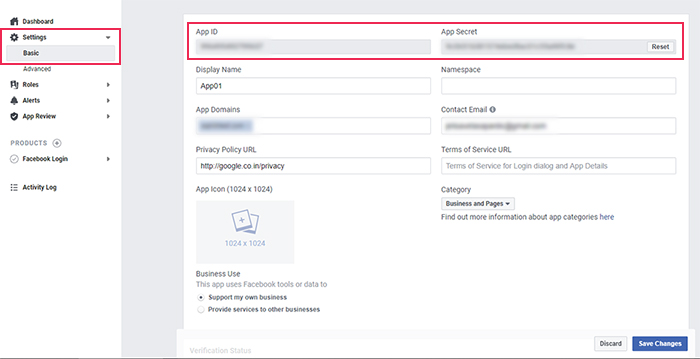
After confirming that you’re not a robot, you will be taken to your app’s dashboard. Next, you should access Settings >> Basic.
In the App Domains field, you should enter your domain name. Then, make sure to add your Privacy Policy URL and choose your business use as well as a category that fits your business the most. Finally, hit the Save Changes button.
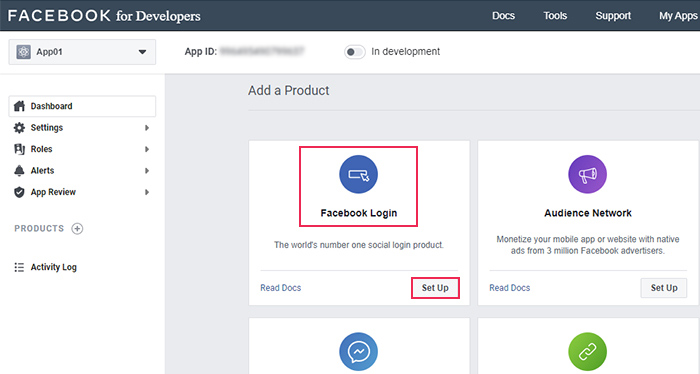
Now, you click on Dashboard and scroll down until you see the option called Facebook Login. Then, select the Set Up button.
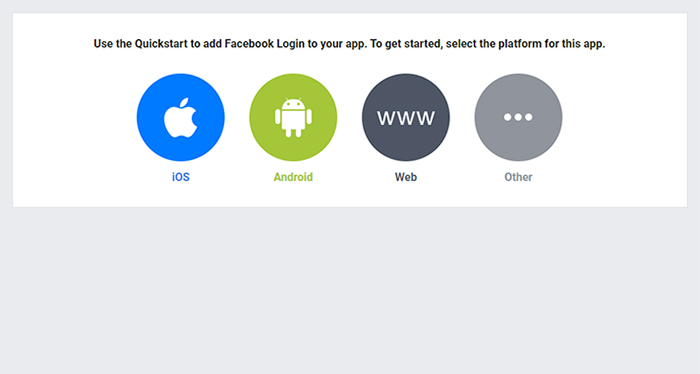
You will get to choose the platform for your app. Select the Web option to continue.
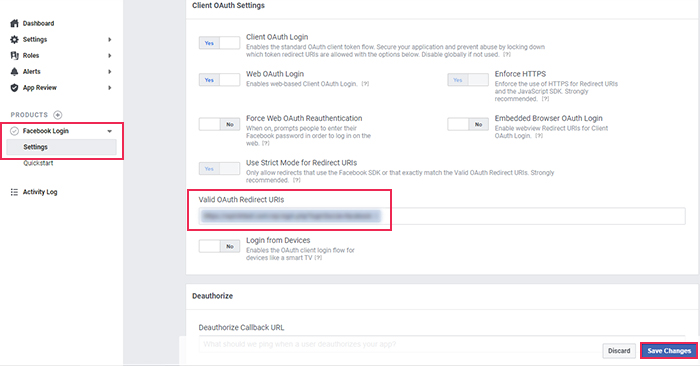
From then on, you should go to Facebook Login >> Settings. Make sure to add the URL (listed in the instructions on the plugin’s screen) in the “Valid OAuth redirect URIs” field and click on Save Changes.
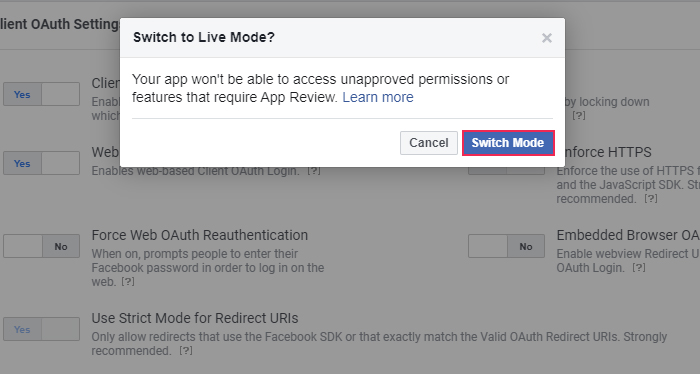
Now, it’s time to switch your application status from “In development” to “Live Mode”. You will find the switch in the top bar of the screen.
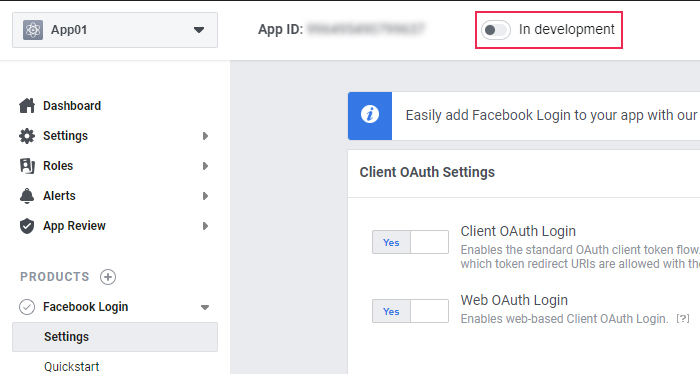
Clicking on the switch will open a screen that will ask you to switch to live mode. Simply click the Switch Mode button, and you’re all set.
There’s only one final thing left to do. Head to Settings >> Basic once again and copy your App ID and App Secret, one at a time.
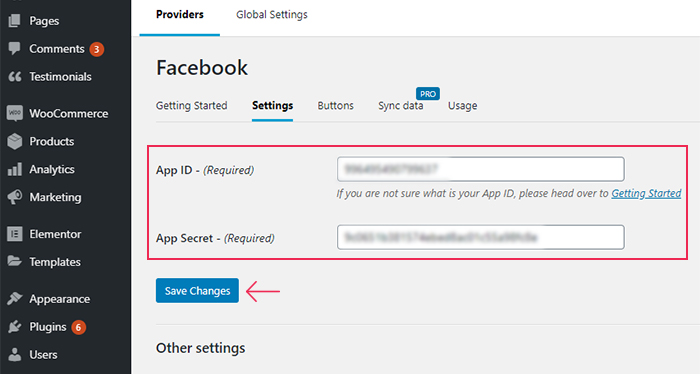
Head back to your plugin’s screen and paste these two codes one by one into the plugin’s App ID and App Secret fields (located in the Settings tab). Click the Save Changes button, and you’re done.
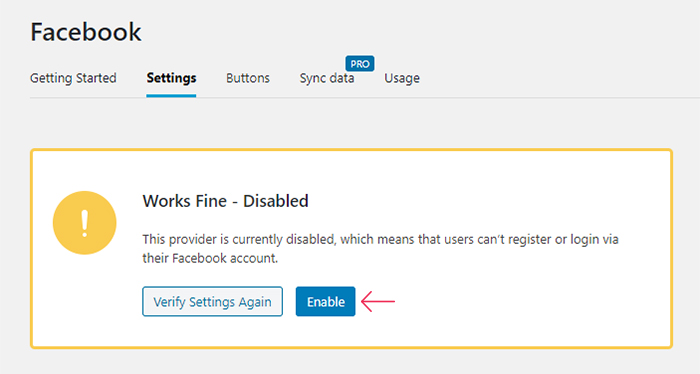
From here, you will be able to verify your Facebook Login settings, and then you should hit the Enable button.
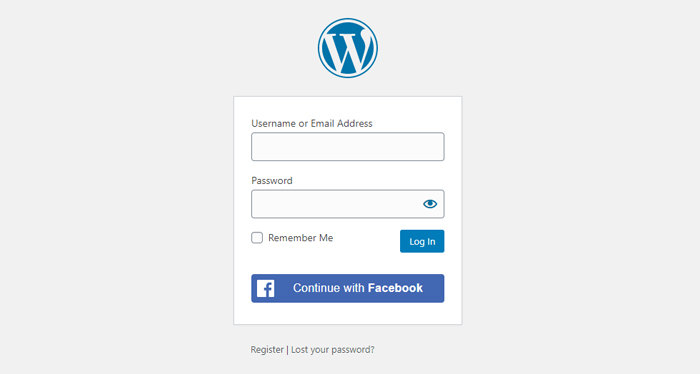
Finally, you can head to your WordPress login page to see how your WordPress Facebook login option looks like in action.
Conclusion
Adding a Facebook login button to your WordPress site is one of the most user-friendly things you can do for your visitors. Apart from allowing them to log into your site with just one click and preventing them from potentially abandoning your site altogether, this is also an excellent opportunity to get to know your audience better. We recommend using the Nextend Social Login and Register plugin to easily create the WordPress Facebook login option and take advantage of all the marketing benefits it can bring to your business.
