How to Create an Event Timeline in WordPress
A WordPress event timeline can be a very effective visual means of conveying data, lending your page a unique aesthetic and interactive touch. A timeline is most often used to display a sequence of events, so it is more than suitable for your company (or band, or relationship) history, personal achievement milestones, or release dates for content. It may also be useful if you are creating a website for an event – it could be a novel way of displaying your schedule. You just have to make sure your chosen method is compatible with your event management plugin, in case you are using one.
There are several ways to create a WordPress event timeline. Our first suggestion, as always, is to use a theme which already has a timeline functionality. If you are working on a budget or don’t want to change your theme simply because it does not use a timeline, you can still create a timeline. We will show you two ways of doing it: with a Gutenberg block and using a specialized plugin.
How to Create an Event Timeline With a Gutenberg Block
You can create an event timeline using the Gutenberg editor, but the block you need specifically for this purpose does not come included – you need to install Gutenberg Blocks – Ultimate Addons for Gutenberg. This plugin will give you a multitude of new blocks to work with, one of which being the event timeline block, the usage of which we will demonstrate for you here. If you don’t know how to install a plugin, we have you covered .
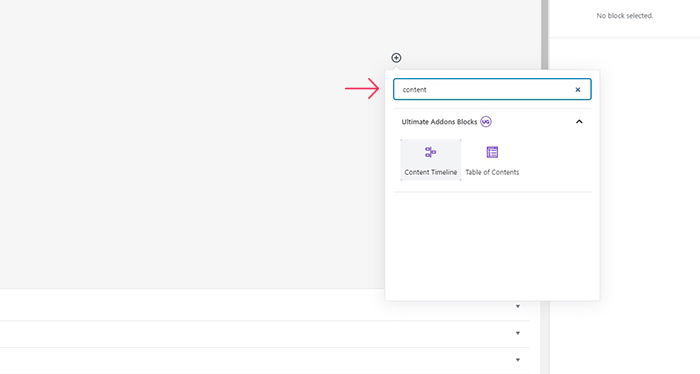
Once you install and activate the plugin, you can create a timeline in a post or page by clicking on the plus sign to add a block and finding the content timeline block. It will be in the Ultimate Addon Blocks menu, but the easiest way of finding it would be to use the search bar.
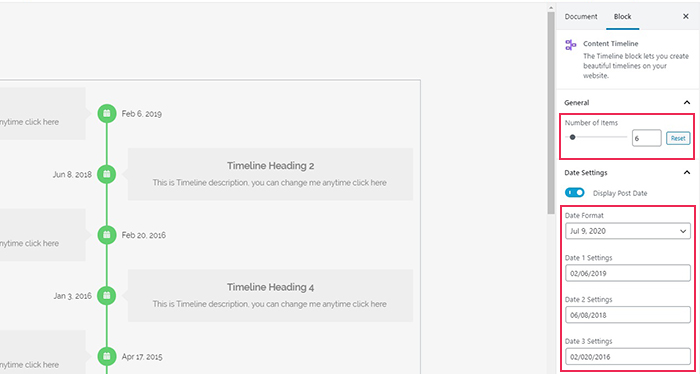
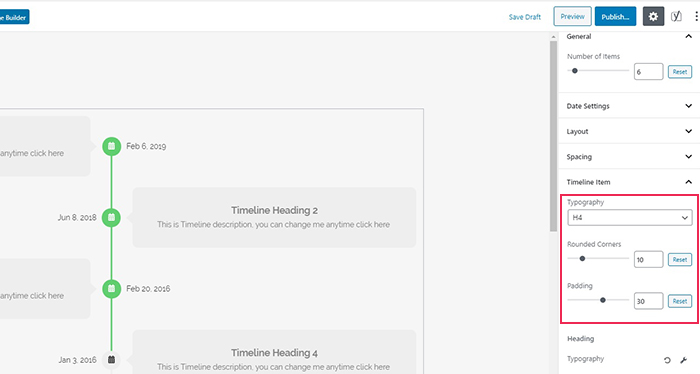
You will now see a placeholder timeline. When this block is selected, you will see several menus on the right-hand side. The one open on default is Number of Items. We will increase it to 6.
The next one is Date Settings. You can choose whether to display the dates or not, using the Display Post Date toggle. In the Date Format submenu, you can change the date format. We will leave both of these controls as they are, but you can set them to your preference. We will change our dates to follow in chronological order. The date format in the Date Settings fields is MM/DD/YYYY. At the bottom of the menu are the settings you can use to choose different colours and change typography options for the date text, but we will leave this as default.
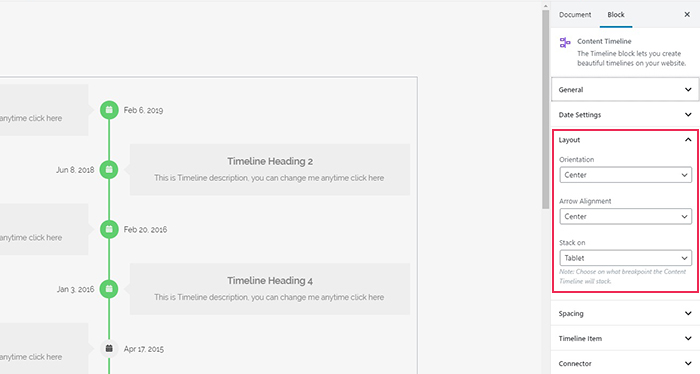
Next up, we have the Layout submenu. These deal with Orientation of the time line itself, Arrow Alignment in relation to the event box, and how the timeline stacks (Stack on), which is relevant for responsiveness and the look of the timeline on tablet and mobile platforms. We will leave the default values.
The Spacing submenu contains options for the behaviour of each timeline box. You can tweak them to your liking, but we find the spacing between the boxes just fine, so we won’t fiddle with them. In the Timeline Item submenu you can select the typography settings for the timeline items. We will leave the main setting on H4, raise the Rounded Corners setting to 10, making our boxes appear softer, and the Padding to 30, to stretch the timeline out a little. We will not change the Heading or Content settings, but you can do so by clicking on the spanner icon. These settings concern the look of the text inside the boxes.
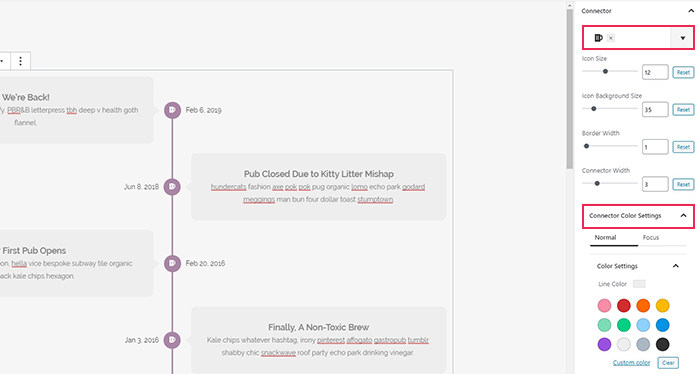
Finally, in the Connector submenu, you can change the settings to the connecting line between the boxes. We will change the icon to a beer mug, but will not change the other icon settings (size, background size, border width, and connector width). The Connector submenu contains its own submenu – Color Settings. We will use this to change the connector colour to mauve (#aa86a6) to change the colour of the Line, Border and Background when they are in Focus, leaving it a light gray in the Normal mode. All the elements’ colours are customizable, though, so you can change them up to suit your website’s design. We will not change the Color Settings. This submenu contains the colour options for your boxes and the text in them. We will also not change any of the settings in the Advanced submenu, as they are not needed for this demonstration. We will also add some text to our events, to flesh them out. You can simply click to edit any heading and description in any box.
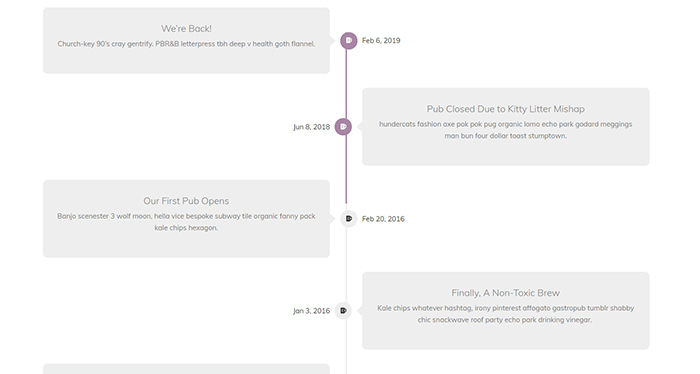
And your event timeline using a custom Gutenberg block is done!

How to Create an Event Timeline Using a Specialized Plugin
For this demonstration, we will be using Cool Timeline. This is just one of our preferred solutions. If you are looking for a plugin, we have made a list of WordPress timeline plugins for you to choose from. You will first need to install and activate the Cool Timeline plugin. If you don’t know how to install and activate a plugin, we have a tutorial for that, too.
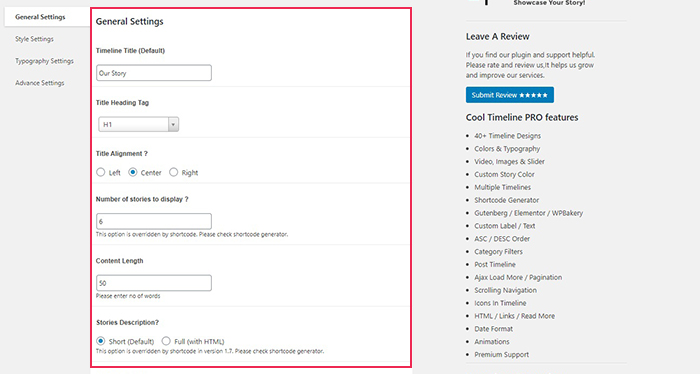
Having installed and activated the plugin, we will now need to configure it. Find the Cool Timeline Settings from your Plugins screen. In General Settings, which govern the default settings for all the stories you will be using Cool Timeline for, we will change the Timeline Title to Our Story, we will leave the Title Heading Tag as H1, but you can choose headings from H1 to H6. We will set the Number of stories to display to 6, while we will leave the Content Length at 50 words. We will also leave the Stories Description and Stories Order at the default values of Short and DESCending.
We will also upload a free photo as a Timeline default image and leave the Display read more on Yes, the default value. We will then Save Changes.

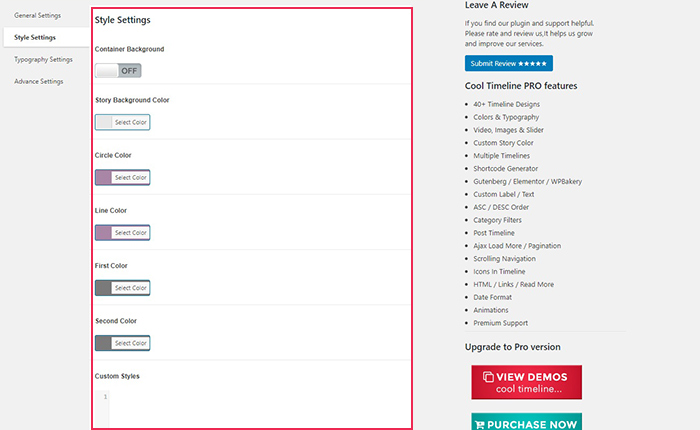
Next, in the Style Settings tab, we will leave the Container Background on OFF. We will choose some colours for Story Background, Circle, Line, First and Second which will fit our overall theme better. We will not touch the Custom Styles section. We will likewise not fiddle with the Typography Settings, which concern the font settings for Main Title, Story Title and Post Content, with the added option of lowercase, uppercase, and capitalized (default) Story Title Style. Similarly, Advance Settings are of no interest to us, as, with the free version we are working with, they include just an overview of the premium features.
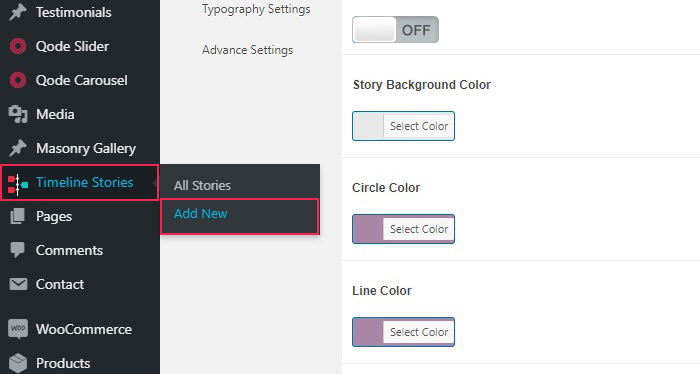
Once we have saved our settings, we will navigate to Timeline Stories/Add New from the left-hand side menu.
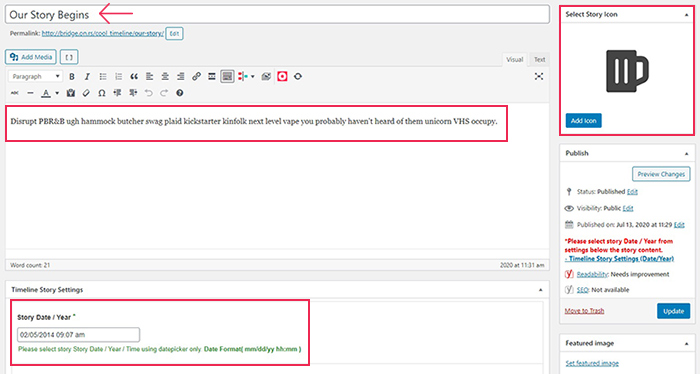
We will generate each story item separately, by giving it a Title, selecting a Beer icon in the Story Icons Menu, a date, using the Date Picker, and some random generated text as a filler. We will repeat this six times, creating six stories. You may also choose a Featured Image for each of these. We will leave it plain for this demonstration.
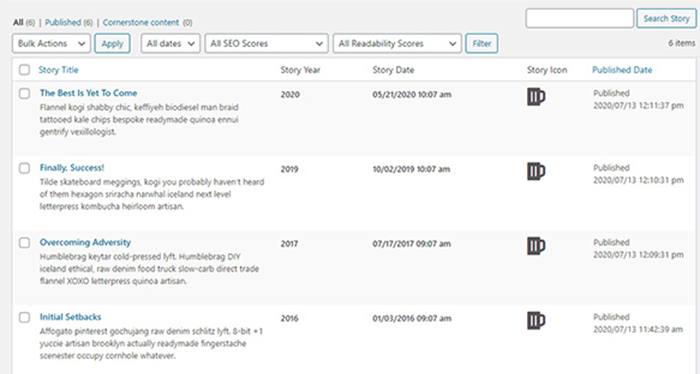
Once you have your stories all lined up in a row, this is what your Timeline Stories/All Stories screen should look like.
The Cool Timeline plugin works best for pages. To create a story page, navigate to Pages/Add New using your left-hand side menu. Make sure you are using the classic editor. We will add a title to our story page and use our new Cool Timeline Shortcode generator to Add Cool Timeline Shortcode.
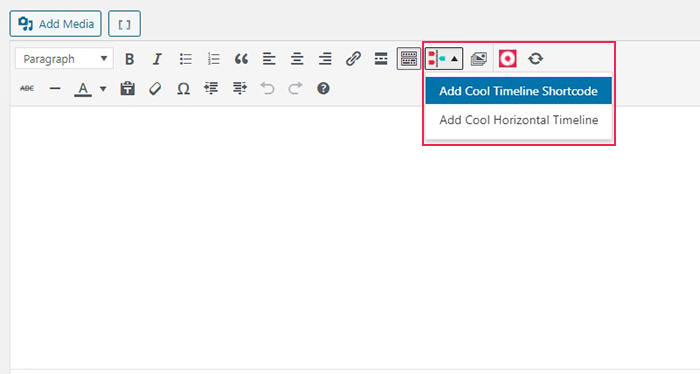
The timeline menu will appear. We will leave the Timeline Layout at default, set the Timeline Dates to Y-m-d, leave the Timeline Skin as Default, select YES for the Story Icon, set the number of Stories to 6, select None for Stories Animation Effect, Summary for Story Description, and DESCending for story order. Note that these settings will override the General settings in the plugin configuration options. When done, we will click OK.

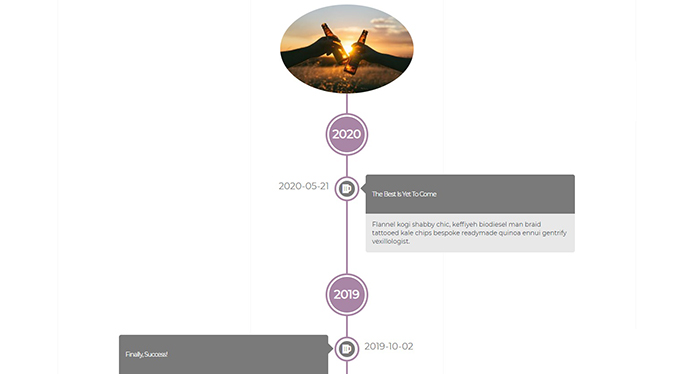
This will create a shortcode wherever our cursor was in the main text field. And now you have an eye-catching timeline for your visitors.
Qode Themes: Top Picks
View Collection


In Conclusion
Now you know two ways of displaying an event timeline in WordPress. Useful for company histories, personal accomplishment timelines, project timelines and similar, but we can also see it used as a novel way of displaying event schedules or as an educational tool showing historical events or developmental stages of organisms – any topic that implies progression. An event timeline is just a data visualization tool, and with a little imagination, you can do a lot of different things with it. So, whether you are using a plugin, a Gutenberg block, or a theme feature, event timelines are a useful tool to know your way around.
