How to Create Rotating Client Testimonials in WordPress

Every business strives to showcase itself in the best possible light and win over the trust of their potential clients. And these days, putting up rotating testimonials directly on your WordPress website is one of the most effective ways to achieve this goal.
Basically, testimonials represent direct statements made by the customers in which they express their experiences and impressions related to your brand and services. They can help you a great deal when it comes to your brand’s credibility since they can humanize your brand and show that real people actually use and value your products or services. This way, many users who are undecided or skeptical can be encouraged by the feedback coming from these testimonials, which can only help you drive more conversions and sales in the long run.

While testimonials are already useful in themselves, adding dynamic testimonials that rotate will make them look more visually appealing and engaging to your potential clients. Stick around as we demonstrate how to add rotating testimonials to your WordPress site using a plugin, as well as how you can do it in Qode WordPress themes.

Adding Rotating WordPress Testimonials With the Testimonials Rotator Plugin
First things first, you need to install a plugin called Testimonials Rotator.
After activating the plugin, head to Testimonials >> Add Rotator page in your WordPress dashboard.
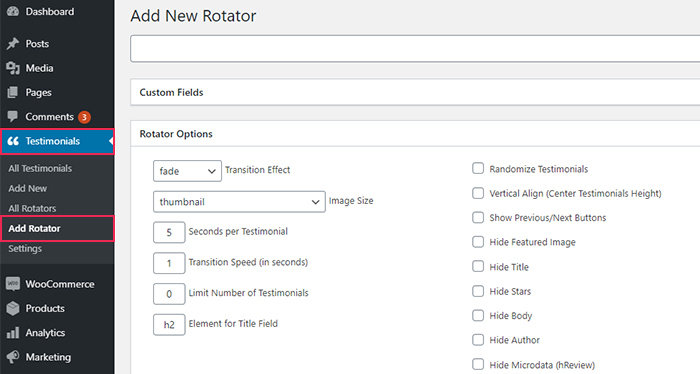
In the Rotator Options section, you will be able to set the behavior of your testimonials carousel. You will get to choose transition effects for the rotator, select the size of your image, set the number of seconds per testimonial, transition speed, show or hide various items (such as featured image, stars, and title), and so on.
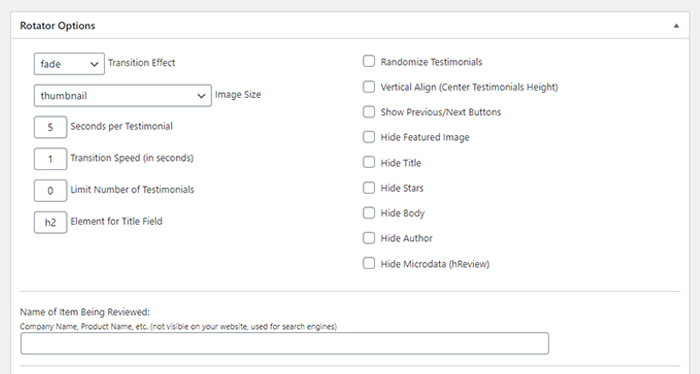
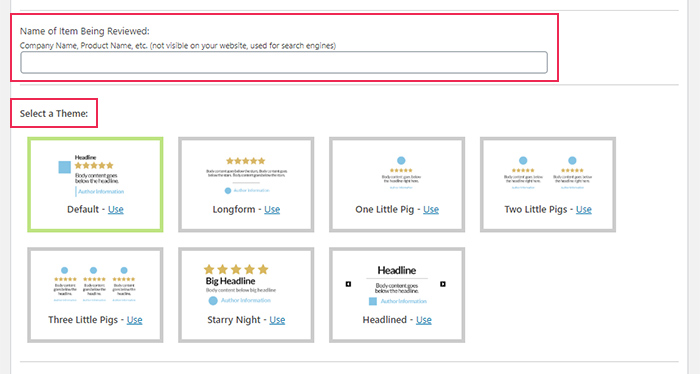
Here you can also specify the name of the item that is being reviewed, such as a company or product name.
Finally, you can also select a theme for your testimonials carousel. As of now, you can choose from seven different theme styles.
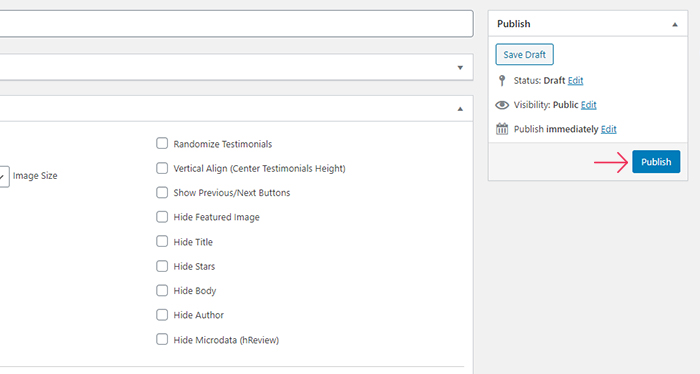
Don’t forget to hit the Publish button once you’re done.
After you finish creating the carousel, you can go ahead and add your testimonials by going to Testimonials >> Add New.
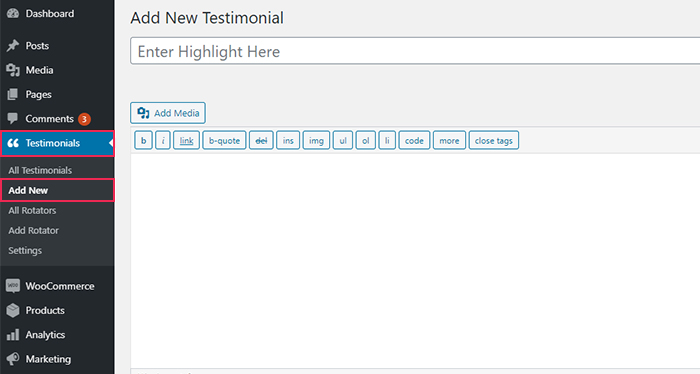
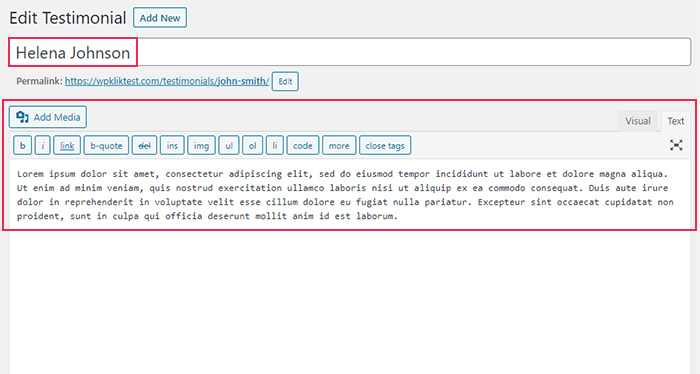
First, you need to insert the customer name, as well as their testimonial in the editor itself.
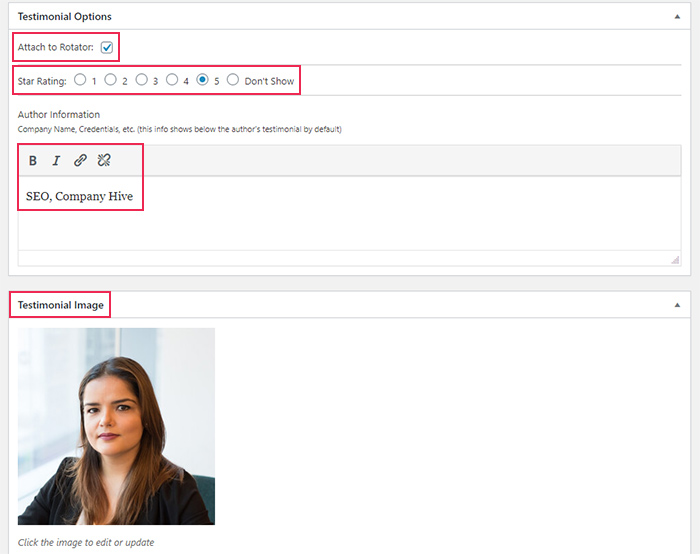
Then, move down to the section called Testimonials Options.
You should add the testimonial to the previously created rotator by marking the “Attach to Rotator” option. Additionally, you can add a star rating (or choose not to show the rating if you don’t want to), author information (such as company name, credentials, etc.), and set the featured testimonial image.
After you hit the Publish button, you can keep adding more testimonials by repeating the same process.
Once you’re done with adding all the testimonials, head to Testimonials >> All Rotators page. Then, copy the Use Rotator Settings shortcode.
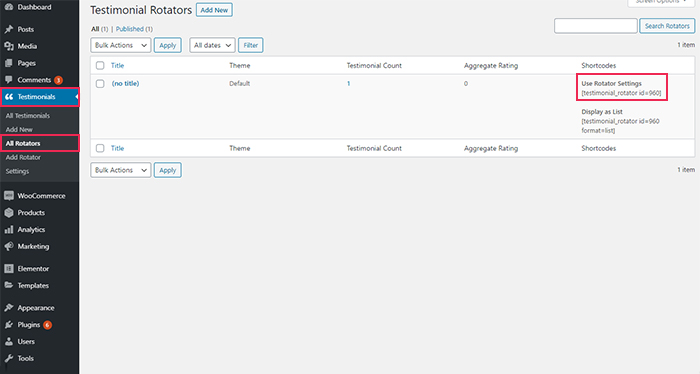
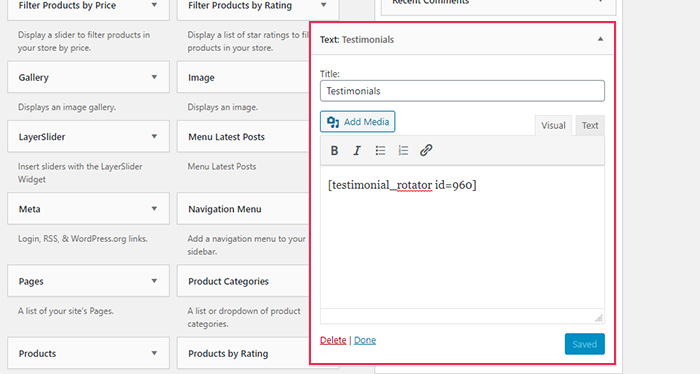
From then on, you can add this shortcode to any page or post where you wish to have your testimonials shown. Also, you can go to Appearance >> Widgets and add your shortcode to your sidebar area by pasting the shortcode in the Text widget.
Finally, go ahead to the page or post in question to preview the look of your testimonials.
Adding Rotating WordPress Testimonials in Qode Themes
Right off the bat, we have to mention that while most of Qode themes have the option to add a testimonial carousel to your page, the look and its options may slightly vary depending on the theme you’re using. With that said, we’re going to show you how to add rotating WordPress testimonials in Qode themes using the Tonda theme as a general example.
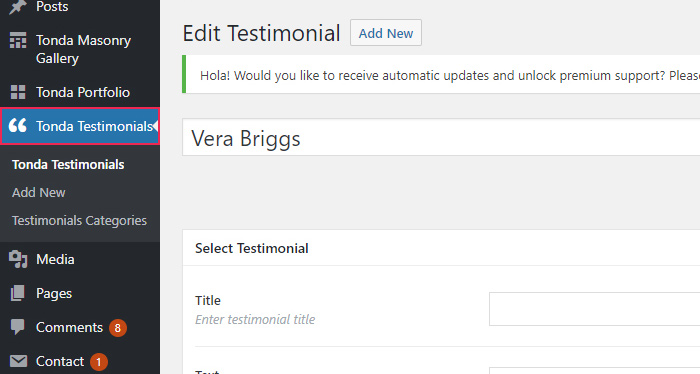
To set testimonials in Qode themes, you should head to Testimonials >> Add New located in your WordPress admin (Tonda Testimonials >> Add New on the Tonda theme). Once you create your testimonials here, you can display them on any page or post with a shortcode.
There is also an option called Testimonials Categories that allows you to create categories and group testimonials according to a specific category.
Also, the Testimonials screen allows you to examine every testimonial that has been created. We have to note, though, that the name of this option varies from theme to theme (Tonda Testimonials, in our case).
After accessing Testimonials >> Add New and adding the title, you will be able to enter some necessary data such as the author name, testimonial text, author’s website, and rating.
On the right side of the screen, you will get to add a testimonials category and an author image.
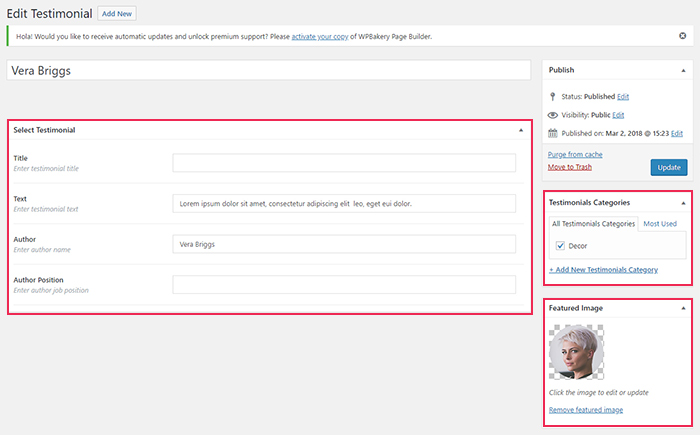
You should hit the Publish button to save all changes.
After you’re done with creating your testimonials, you can proceed to add them to your page or post with the help of a Testimonials shortcode. Even though the Tonda theme in particular only comes with the WPBakery page builder, some Qode themes only use Elementor or allow you to choose between both builders to create their pages. Still, you should note that both WPBakery and Elementor allow you to add the same testimonials shortcode to your page/post, and the shortcode itself is generally very easy to find in both page builders.
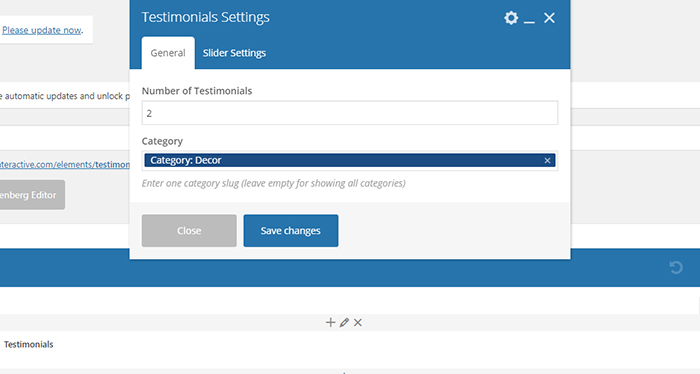
Once you’re in the editor of your page builder, simply click on the plus icon and add a new element called Testimonials.
In the General settings tab, you will be able to set some basic options, such as specifying the number of testimonials, entering the category of the testimonials you wish to add, and so on.
Again, these settings may vary from theme to theme, but they still come with a similar set of options overall.
The Slider Settings tab will allow you to bring your rotating testimonials to life. Here, you will get to enable (or disable) slider loop, slider autoplay, and navigation arrows, set the slide duration as well as the duration of the slide animation itself, etc.
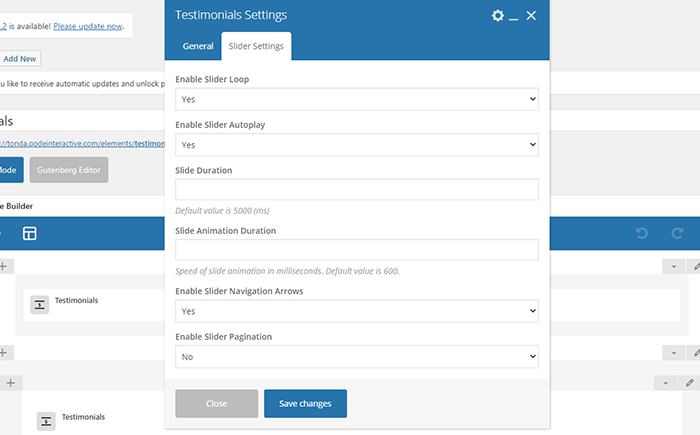
Once you configure all the testimonial and slider settings, click on Save changes and hit the Publish/Update button.
Here’s the final result:
Themes for All Businesses
View Collection


Final Thoughts
If you want to market your brand, products, or services to your customers in a credible and trustworthy manner, you should consider putting up rotating WordPress testimonials on your website. Having legitimate opinions from your satisfied customers displayed on your web page can influence the way other people regard your brand and products, encouraging them to take that final, decisive step and make a purchase of their own.
A plugin such as Testimonials Rotator can help you insert modern and professional-looking testimonials on your website in a manner of minutes, completely for free. Alternatively, if you use one of the many Qode Interactive themes, you will easily add your testimonials using the WPBakery or Elementor page builder. You will also get to adjust your slider settings to make your testimonials even more striking as they rotate on your page.
