How to White Label Your WordPress Admin Dashboard

Who doesn’t like having fun with all the different ways you can make a WordPress website look? All those things you can do to make a website appear and act in different ways are surely some of the best things about WordPress. It’s what can help you create, for example, a legal-themed website and have it look completely different than, for example, a business directory website.
Even though these changes aren’t purely cosmetical – they can affect the way a website behaves – they are aimed outwardly, towards the people who visit the website. But WordPress can also be customized the other way, inwardly – you can white label WordPress if you know how to do it.
And that’s what we’re here to show you! In this article, you’ll read about:
Qode Themes: Top Picks
View Collection


White labeling is the process of taking a product or service created by one company and then putting your branding on it. As a branding or product-sourcing strategy, white labeling has been around for much longer than WordPress. Supermarket store brands are typically white labeled. The same goes for some consumer electronics.
In WordPress, white labeling means changing the whole website to have more uniform branding. Since WordPress already lets users do a lot using themes or website builders to customize how the website looks, white labeling is usually reserved for the areas where regular visitors don’t tend to dwell. Those areas include, but are not limited to, the admin dashboard.
Now, why would anyone want to go through the trouble of white labeling a WordPress website’s backend? It’s not like website developers don’t already have enough work to do when creating a website. Even though the process itself is quick and easy, and there are plenty developers can do with plugins and themes, it can still be a lot of work to get a website just right.
So if that website, the one we need to get just right, is being built for a client, wouldn’t it be neat if there were no breaks in branding between the front end and the back end? The two cannot and should not look the same as they don’t have the same function, but there’s no reason why some branding elements wouldn’t pervade the entirety of the website.
It’s also possible to tailor-make the dashboard menu to fit the exact needs of a client. Usually, you shouldn’t just take the menu options out of the dashboard and hide them, but if you’re working with a client who’s clear with what they want, it can be very useful to have the ability to perform this little customization.
How do you do anything on WordPress that requires coding? You either edit your website’s files, or download and install a plugin. In this case, a plugin will do – it will safeguard any change against future theme updates, and it will save you from having to create a child theme for your website.
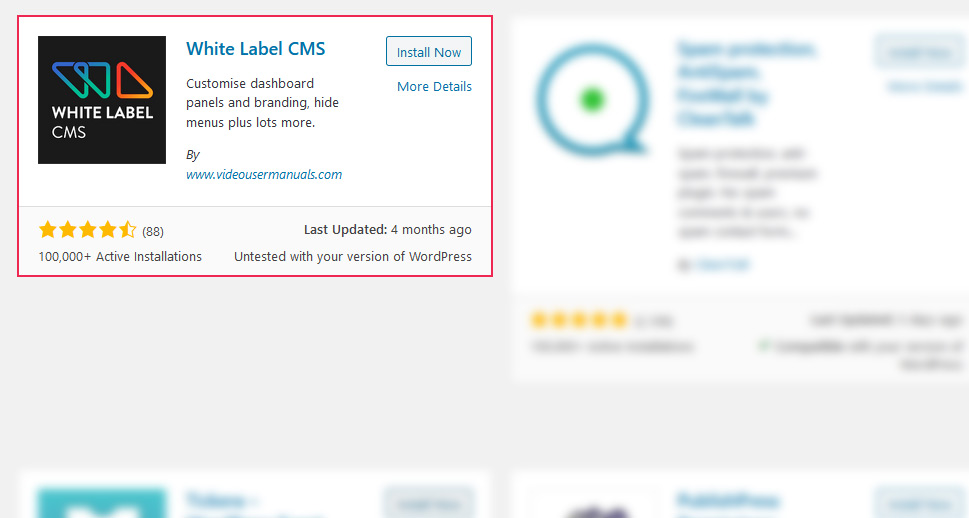
When it comes to white labeling plugins, the one that’s most popular on WordPress.org is White Label CMS, so we’ll use that one to explore white labeling a website’s admin area. You can find and install the plugin as you usually do – go to Plugins > Add New from your website’s dashboard, search for White Label CMS, and install and activate it.
After you’ve installed and activated the plugin, you can go to Settings > White Label CMS and start setting it up. Right off the bat, you’ll be able to choose between performing a Quick Setup Wizard and skipping it altogether. The Wizard will help you set things up faster.
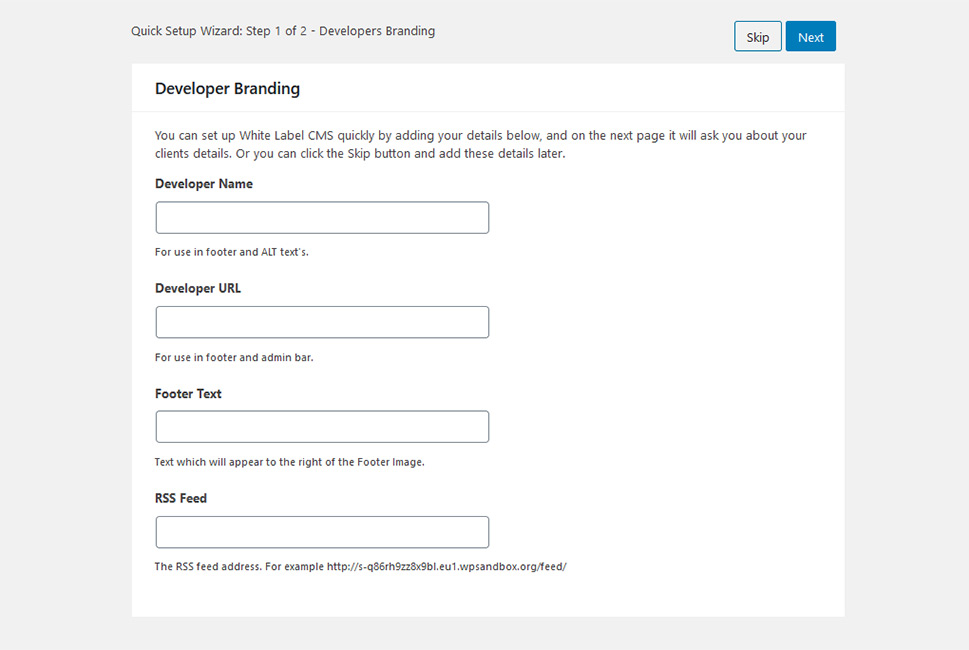
Setting Up the Wizard
On the first page, it will ask you for your – the developer’s – branding. You can provide information that includes your name, URL, text you want to appear in the footer, and even an RSS feed.
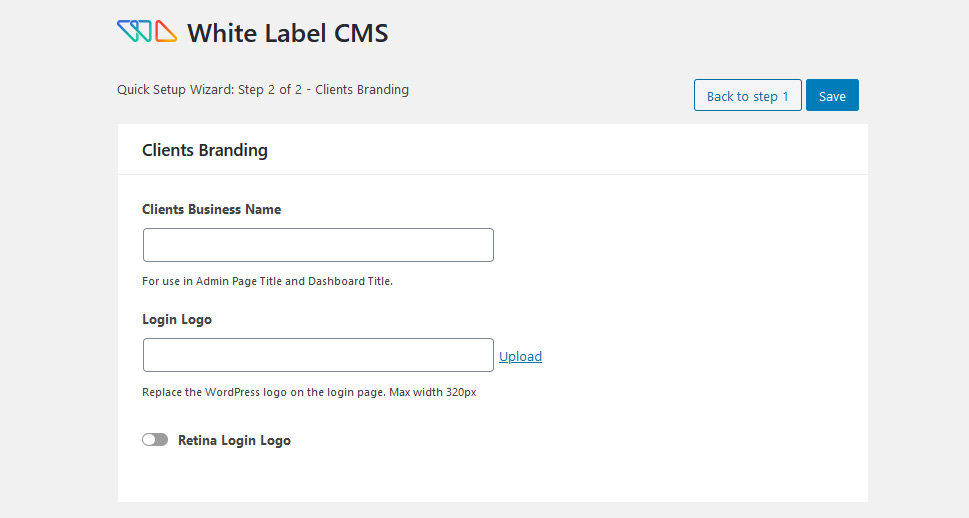
In the next step, you’ll be asked to provide information about the client, including their business name and logo. You’ll also have the option to enable Retina login logo, and you’ll have to provide an appropriate image for it.
The Wizard is optional, so either way, you’ll have to know your way around the plugin’s options. They’re separated into several sections, and we’ll explain them one by one.
Branding Options
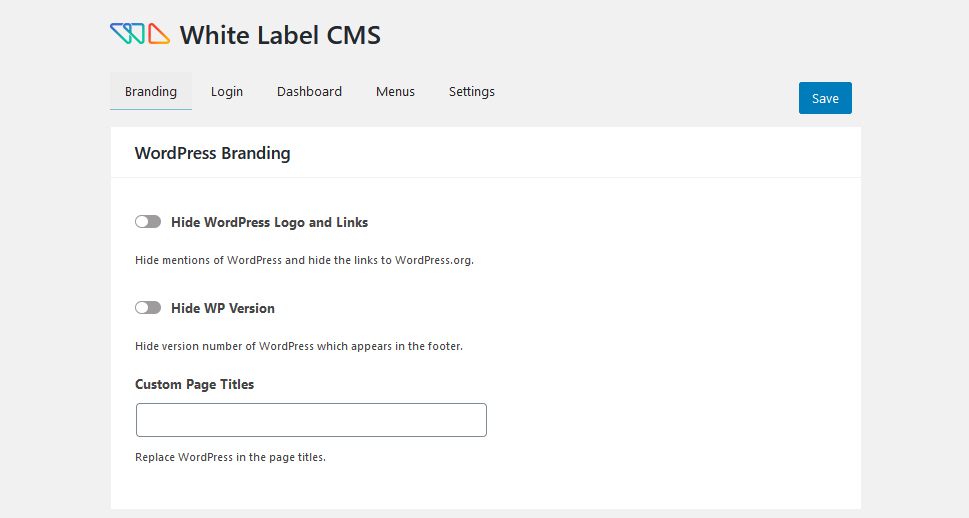
The branding options start with WordPress’ branding. You’ll be faced with the possibility to hide the WordPress logo and links, hide the WordPress version you’re using, and replace the “WordPress” in page titles with custom text.
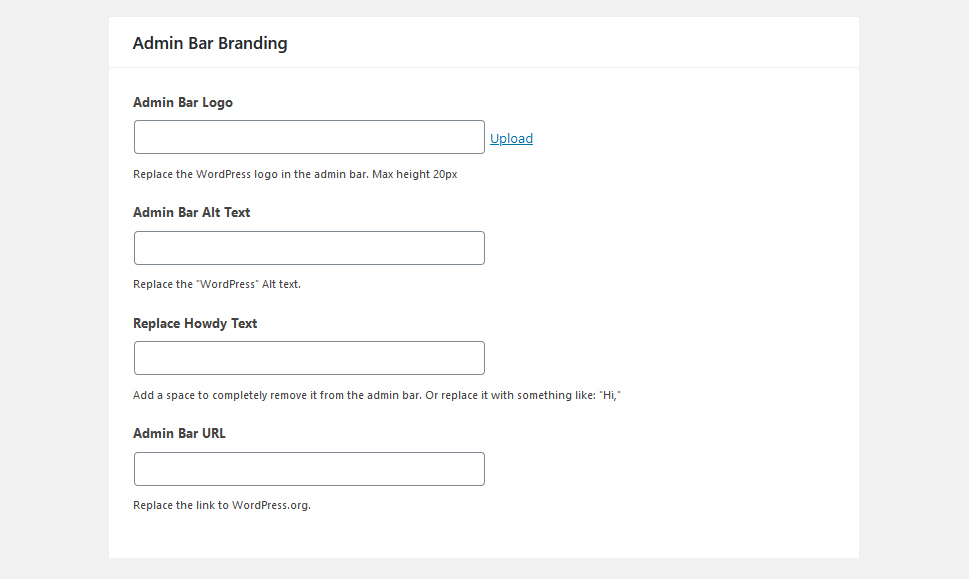
In the Admin Bar branding section, you’ll be able to replace the WordPress logo in the admin bar, replace the WordPress alt text, replace the greeting “Howdy” text, and the WordPress.org link with your own.
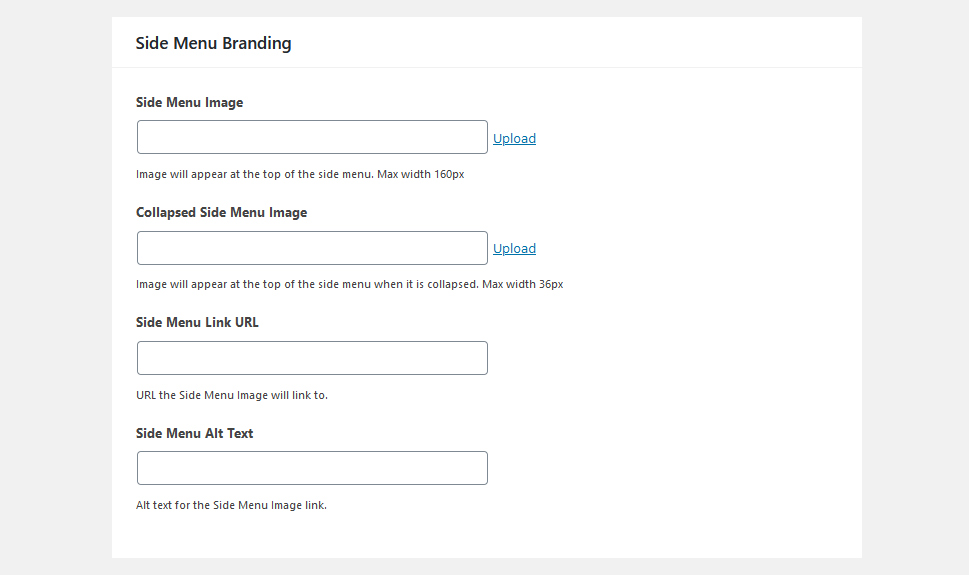
In the Side Menu branding section, you can add an image to the side menu, an image that appears when the side menu is collapsed, an URL to attach to that image, and alt text for the image.
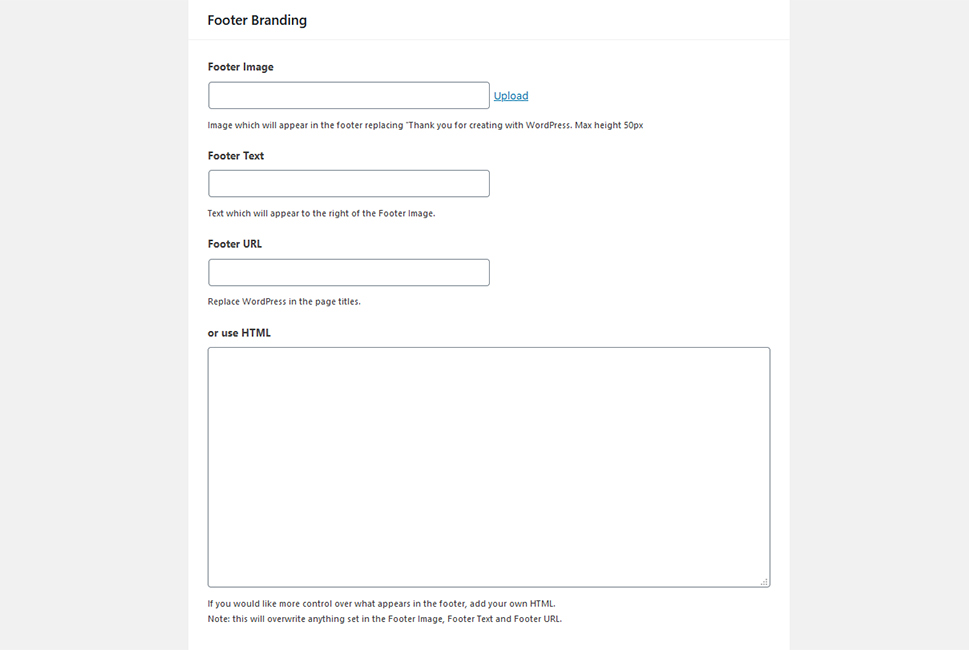
In the Footer branding section, you’ll be able to replace the “thank you for creating with WordPress” copy with an image, add some text to follow that image, or use HTML to create further changes in the footer.
Login Options
In the login options, the options you have are those that enable you to customize the website’s login page. Again, there are several sections under these options. The first is concerned with the logo and the background – besides choosing the logo image, you’ll be able to choose its size, as well as the color and image of the background, its position, and whether it should repeat.
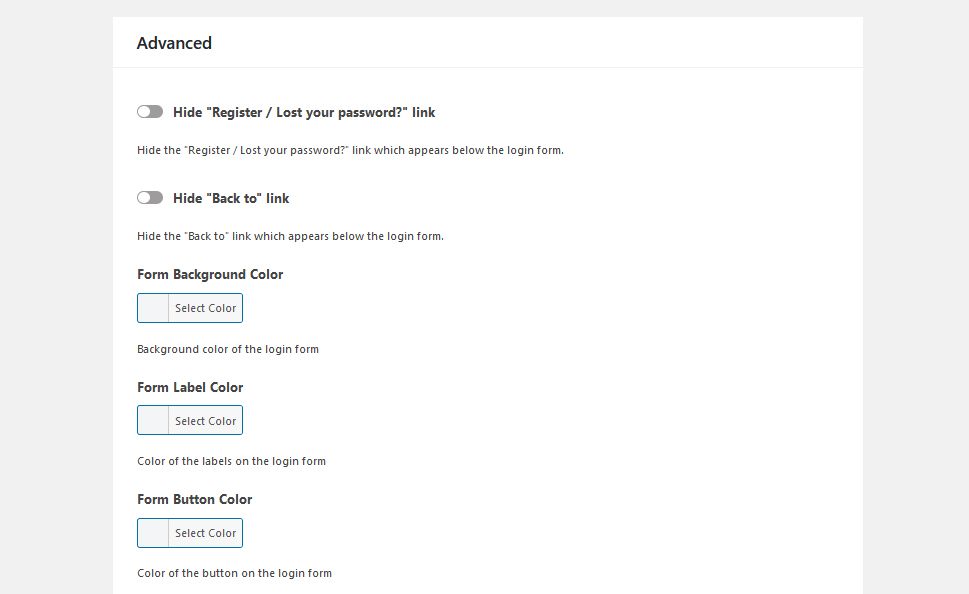
The Advanced section holds options to hide “back to” and “register/lost password” links and choose colors for the buttons and links that are present on the page.
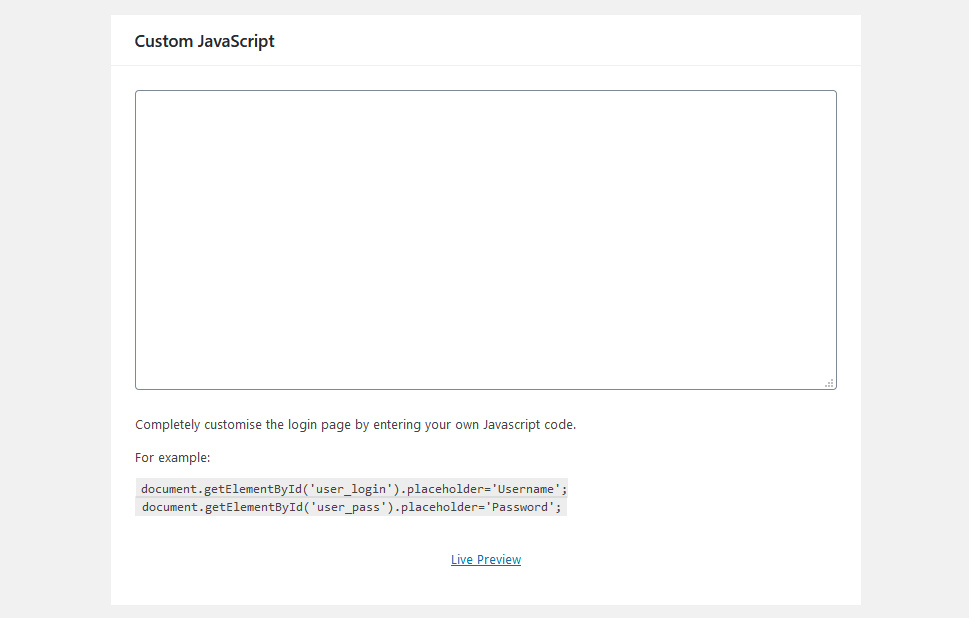
You’ll have room to add custom JavaScript and Custom CSS to change the login page.
Dashboard Options
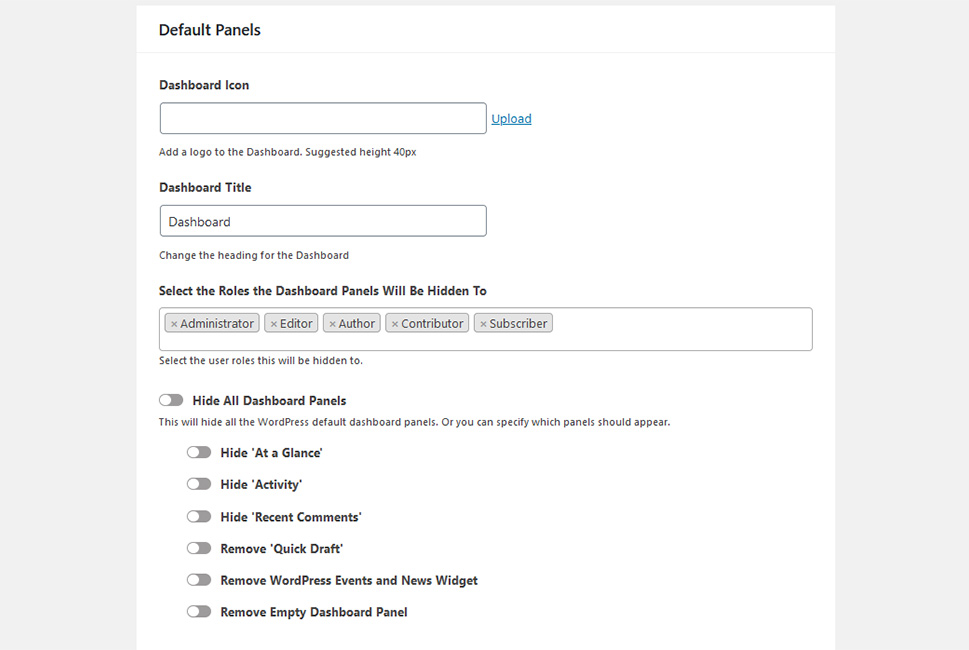
In the dashboard options, you’ll be able to pick the dashboard panels you’ll want to hide. Before you do that, however, you’ll also be able to change the dashboard icon, as well as its name, and select which user roles will see the dashboard panels.
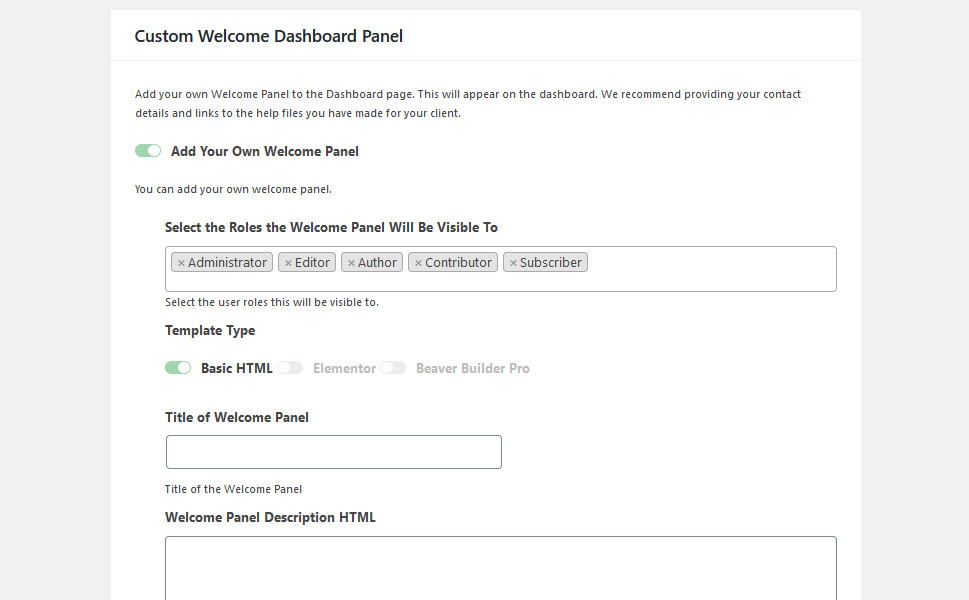
You’ll also see the option to add your custom welcome panel. You’ll be able to choose roles, once again, as well as the type of templates, the title of the panel, and its description HTML. You can make the panel full-width, and even add a second panel if you want.
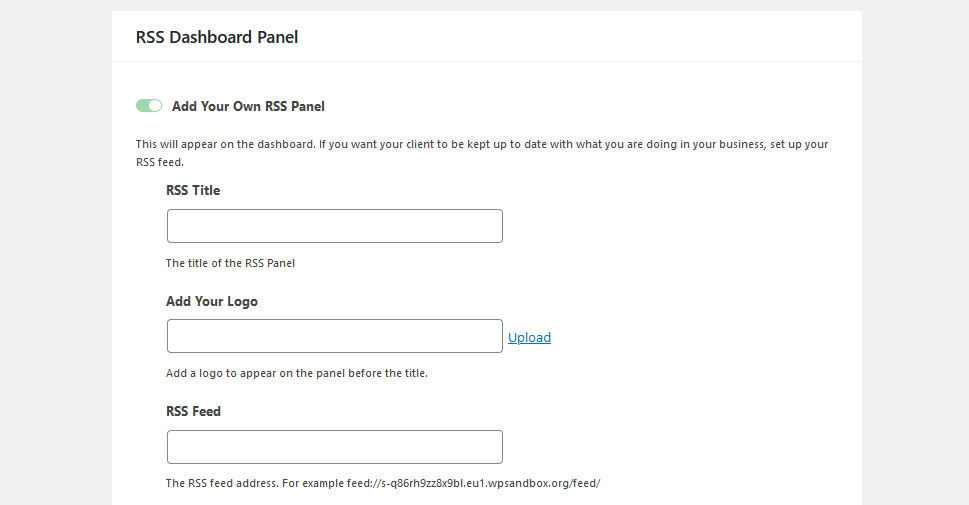
You’ll also be able to add an RSS panel to the dashboard. You’ll get to choose the title and logo of the feed, the number of items that appear, whether you want to show post contents or not, the introduction HTML, and you’ll be able to add the RSS feed address.
Menus
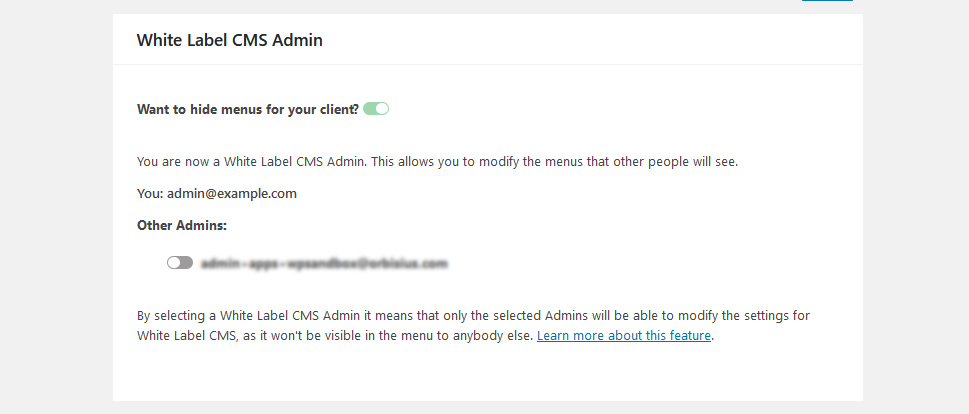
The first thing you’ll be able to do under the Menus settings is to choose whether you want to hide menus from people with other roles on the website.
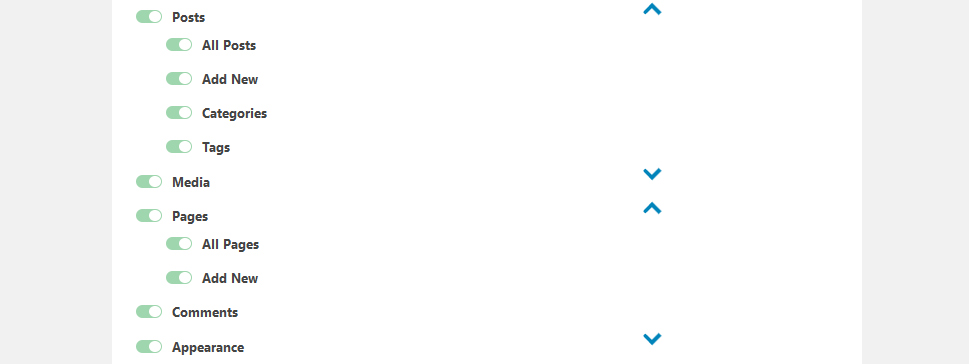
Next, you’ll be able to choose which menus you want to hide, including submenu options.
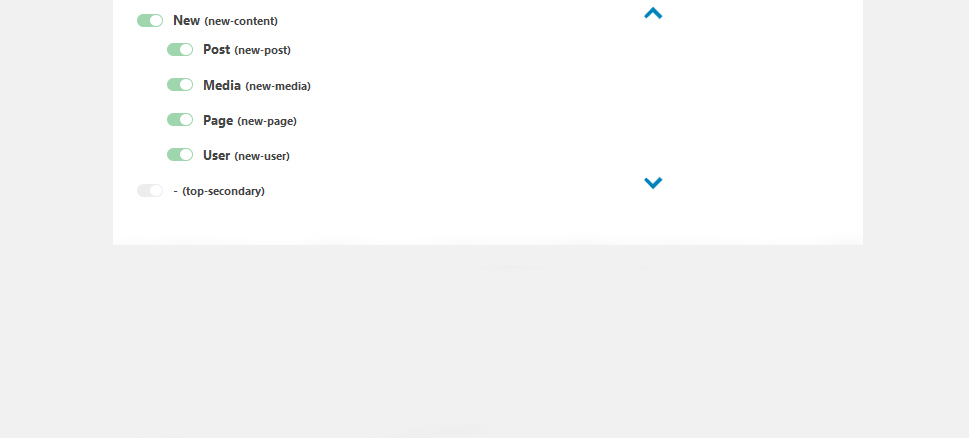
You’ll also be able to do the same for the Admin Bar you can see on the top of your website when you’re logged in.
Settings
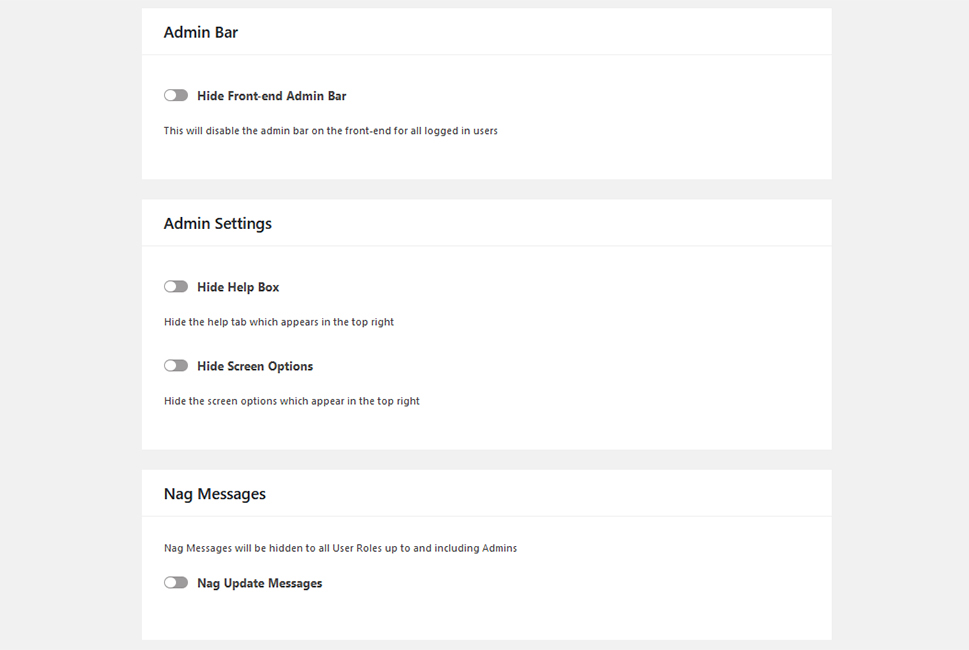
Under the Settings, you’ll be able to hide the front-end admin bar logged in users can see. You’ll also be able to hide the help box and the screen options, as well as turn off the nag messages.
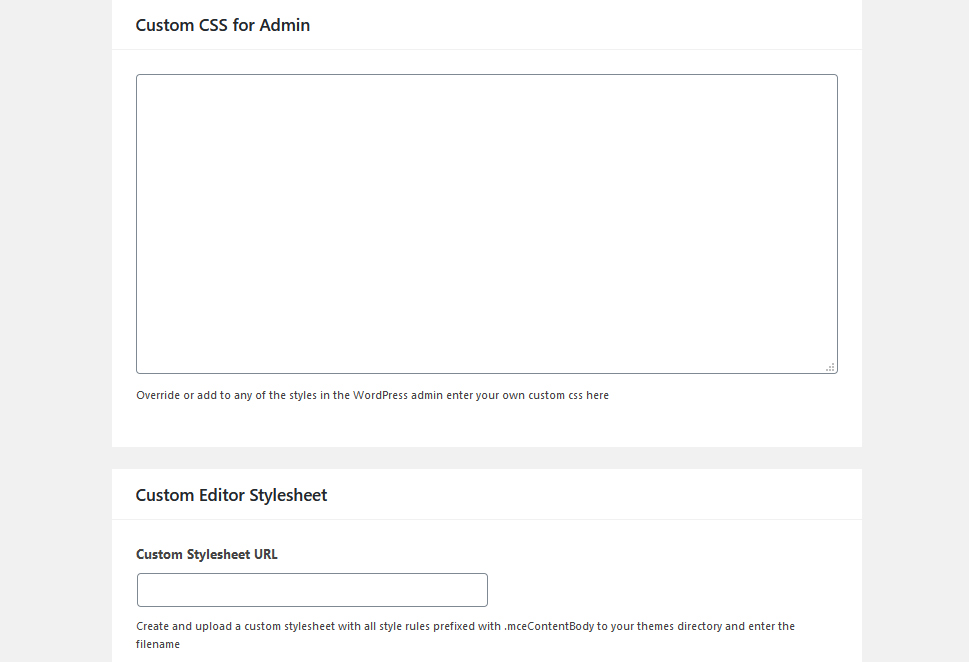
Finally, you’ll be able to add custom CSS for admin and upload a custom CSS stylesheet.
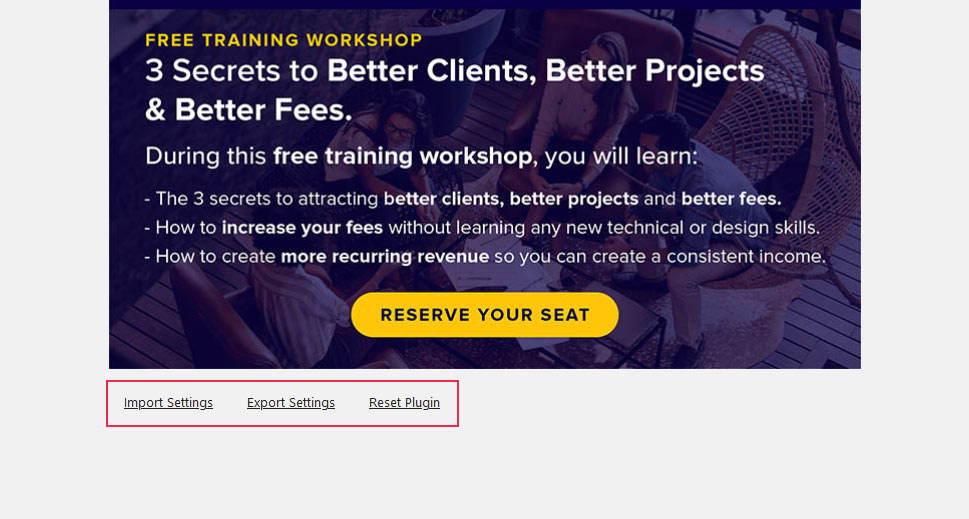
While you’re looking through all of these options, you’ll notice the settings that stay at the bottom of the page. They will allow you to import settings, export them, and reset the plugin if you want to.
Let’s Wrap It Up!
White labeling a WordPress website is a great way to ensure that the front end and the back end provide a smooth, unified user experience when transitioning between them. Thanks to plugins such as White Label CMS, you’ll easily be able to do things such as customizing the login screen and have full control over the dashboard and the back-end menu. Be careful, however, if you’re creating a website for clients and you want to hide some options – you might think that you’re simply moving them out of the way, but for them, they can be completely lost if you don’t set up proper roles and allow someone else to be a Super Admin.
