How to Remove the Date from Your WordPress URLs
Are you one of the WordPress users that preferred having dates in their URLs but now you find that this permalink structure no longer works for you? Whatever the reason – be it that you don’t want your articles to appear outdated or you simply want to make them more search engine- and user-friendly, there is an easy way in which you can remove the date from all your URLs in WordPress. No matter if it’s a page, a post, or a custom post type, you will be able to change each one of your URLs into any other preferred format in no time.
Stay tuned as we show you how to easily remove dates from URLs on your WordPress site. Right after, we will also show you how to redirect all your URLs with the help of a plugin.
Here’s what we’ll cover:
Qode Themes: Top Picks
View Collection


When it comes to the default WordPress URL structure, it originally appears as a structure that isn’t easily decipherable by people. To be more specific, the URL ID itself doesn’t look particularly memorable.
For example:
https://your-site.com/?p=123
That being said, you can easily change this default permalink structure into something that is considered more readable and SEO-friendly in general by going to Settings >> Permalinks.
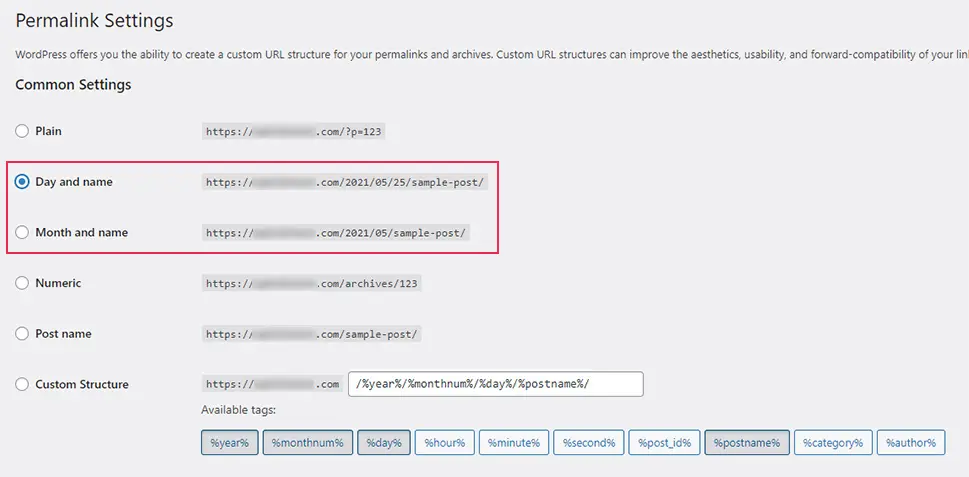
And so, the permalink structure that will have a date within them can be easily added using one of the options in these settings – either “month and name” or “day and name”.
And while these date URLs look more readable than the default ones, there is a chance that the dates will make your posts look outdated – especially if it’s been a while that they’ve been created. This can be detrimental to your overall website or blog reputation as it can make your content appear old and no longer relevant – even if the case is completely opposite.
Here’s an example of what your URLs can look like if you use one of the two structures:
Day and name: https://your-site.com/2021/05/25/your-post/
Month and name: https://your-site.com/2021/05/your-post/
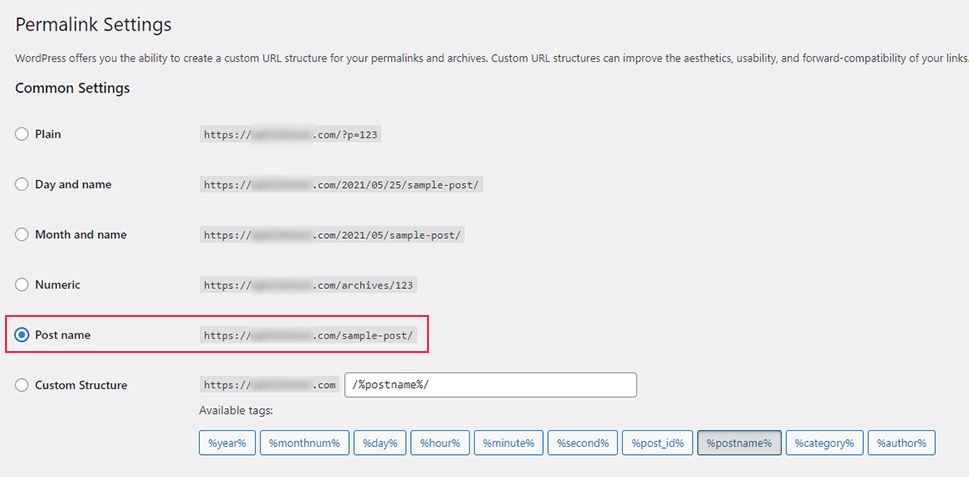
For this reason, we recommend using the Post name URL structure instead. This type of structure will not only remove the dates from your URLs, but it will also use the keywords present in your title, which is one of the best user- and SEO-friendly permalink structures you can use for your WordPress site or blog.
Here is an example of the URL:
https://your-site.com/your-post/
Before you begin the process of removing the date from your WordPress URLs, there are a few things you should be mindful of.
If you have yet to launch your WordPress blog, then you can proceed to remove the dates from your URLs without any worries. But in case you’ve already been using your site for a while, you should be careful when changing your URLs as they can cause the appearance of 404 errors (both to users and search engines). This can affect your rankings and cause some users to not want to visit your site again. In that case, you will need to create redirects (which we will talk about later).
Finally, we suggest that you backup your WordPress site to restore it to previous settings if there are any errors.
Now that we’ve got that out of the way, let’s move on to the actual process of removing the dates from your URLs.
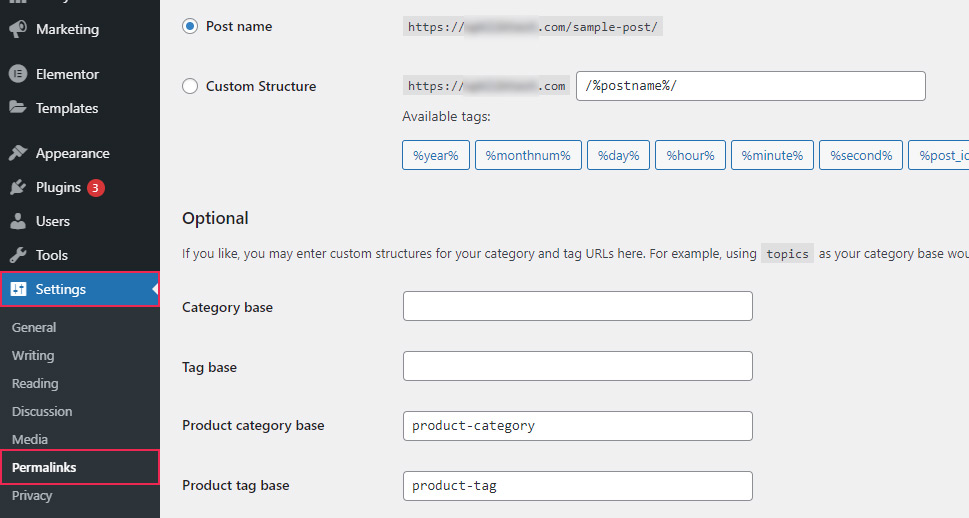
Head to Settings >> Permalinks. Pick the Name permalink option and hit the Save Changes button (located at the bottom).
That’s it – any dates present in your permalinks will be removed and switched to the structure that uses the page/post name.
Now, even though you’ve successfully removed dates from your URLs and you’ve ensured a more user-friendly structure as a whole, the process doesn’t end here just yet. In order to show users your newly set up URLs without a 404 error, you need to properly redirect them to those URLs first. By doing so, you will also let search engines know that you’ve moved your old URLs to the new ones.
To do this, you should install and activate the plugin called Redirection. This is one of the best redirect manager plugins around that will allow you to easily manage all your redirects, fix 404 errors, and so on.

Upon activation, head to Tools >> Redirection and begin your setup by hitting the Start setup button.

You will be able to set a few options here, such as enable the ability to monitor all permalink changes in WordPress posts and pages and keep a log of your redirects and 404 errors. Or, you can unmark one or both of these options.
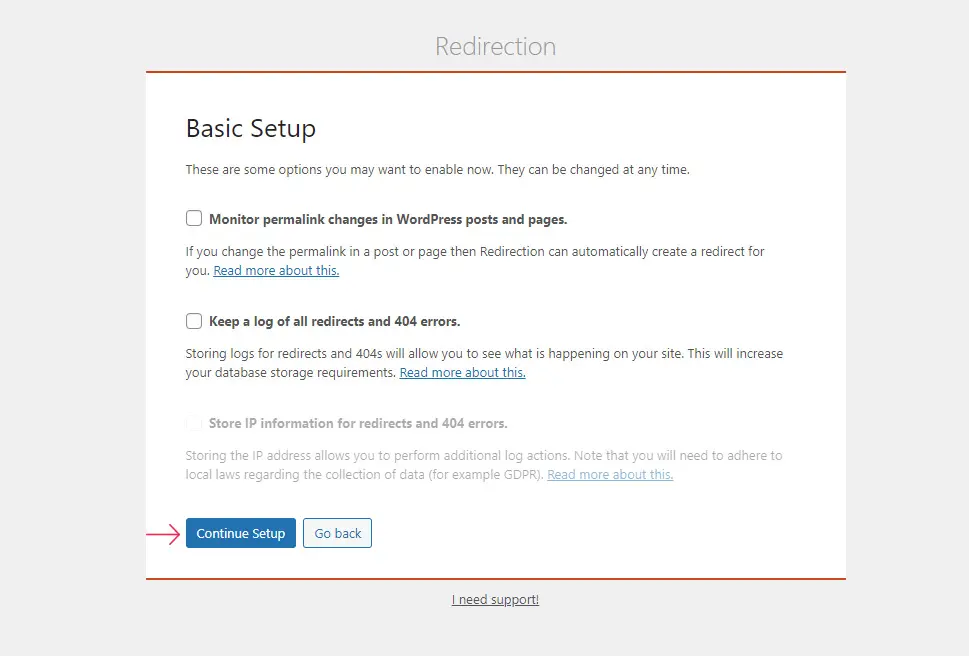
Hit the Continue Setup button once you’re done.
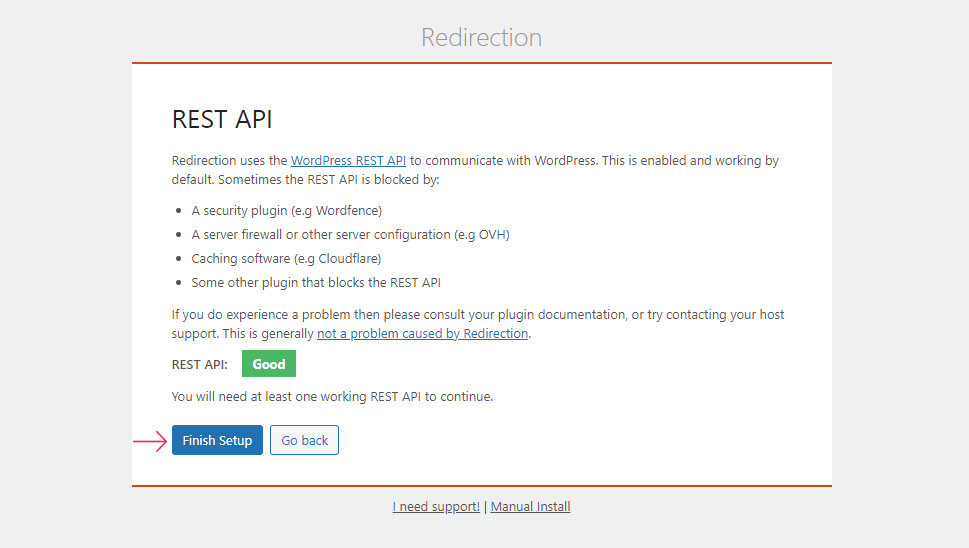
After the plugin is done with running a few tests, you will be able to click on Finish setup.
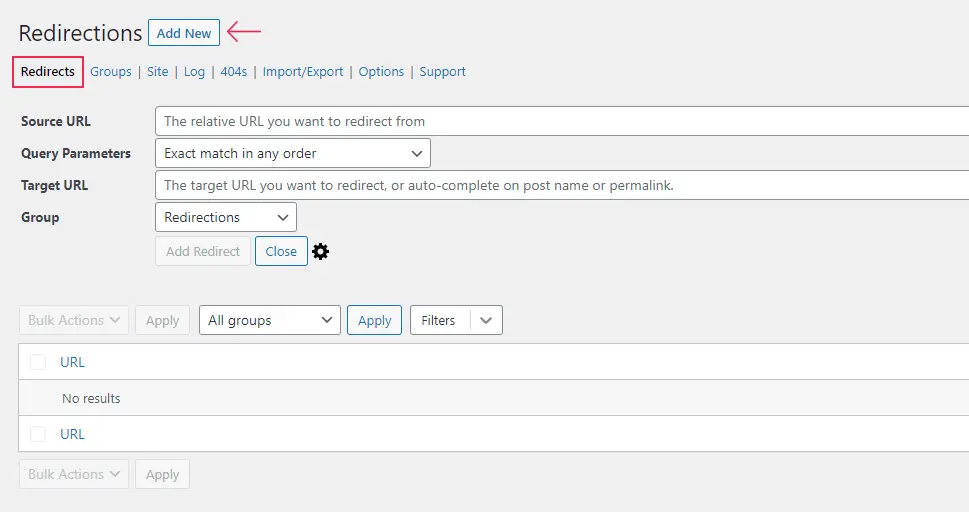
From then on, you will be able to access the plugin’s settings and add your redirects using the Add New button (located in the Redirects tab).
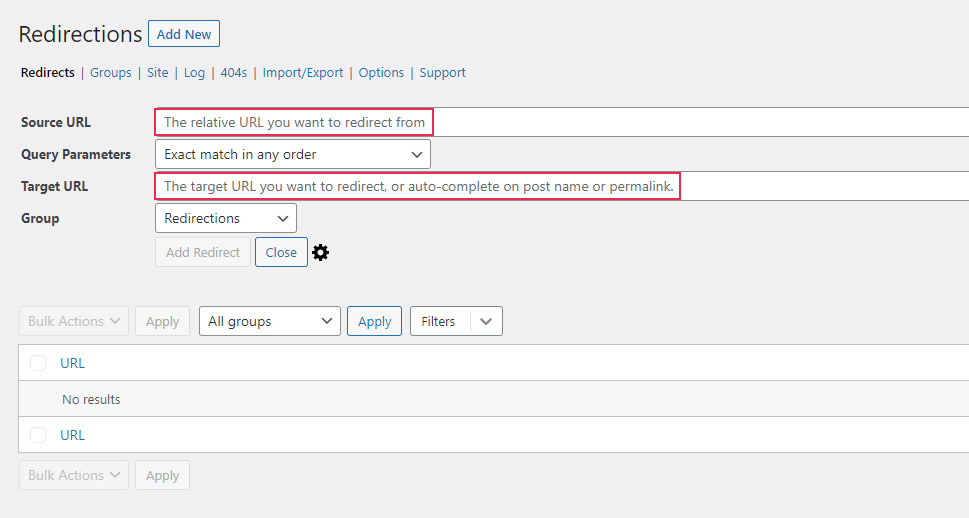
Once there, you will be able to add Source (for your old URL structure) and Target URLs (location of your new URL).
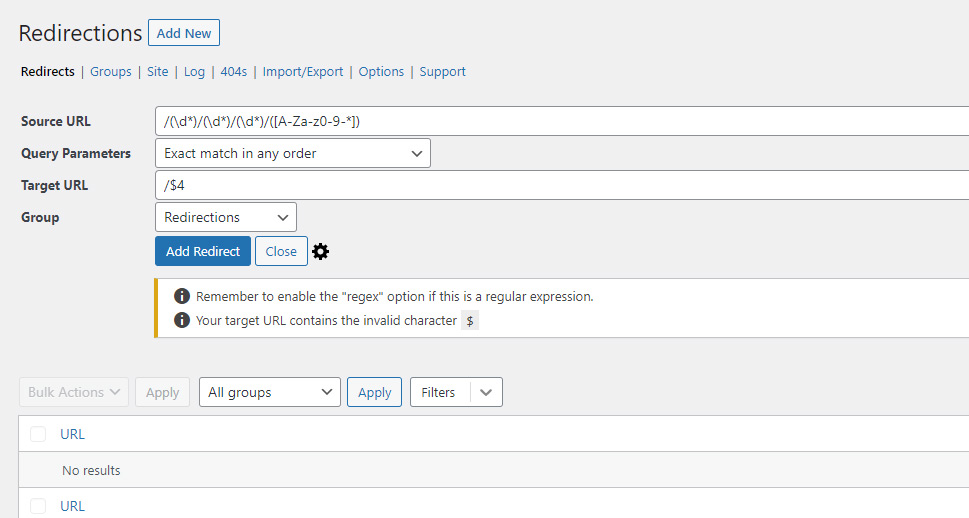
In case your URL structure was set to “Day and name”, you should insert these values:
Source: /(\d*)/(\d*)/(\d*)/([A-Za-z0-9-*])
Target: /$4
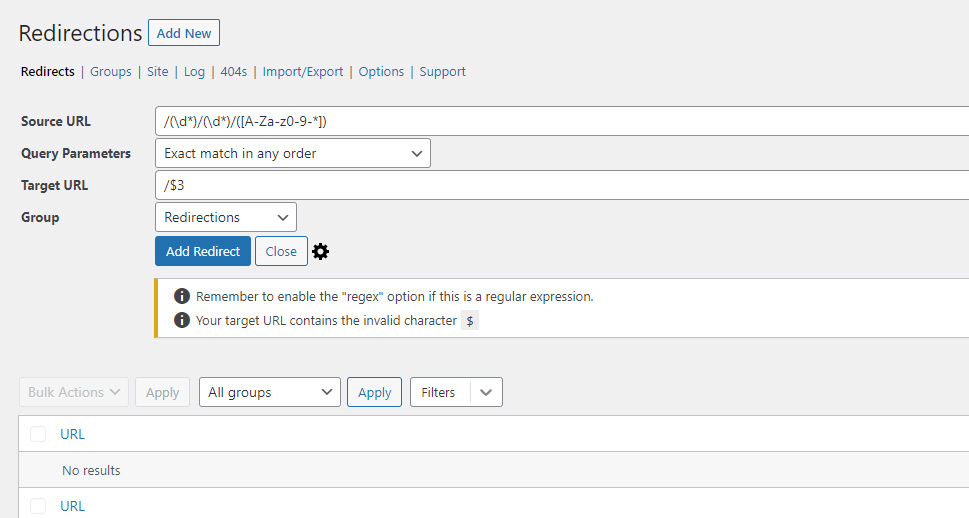
And if your URL structure was set to “Month and name”, then you should insert the following:
Source: /(\d*)/(\d*)/([A-Za-z0-9-*])
Target: /$3
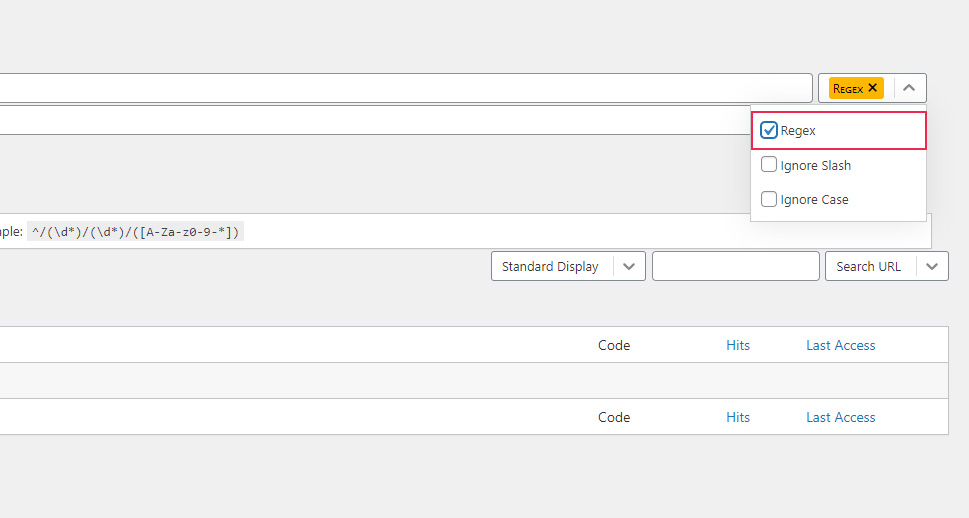
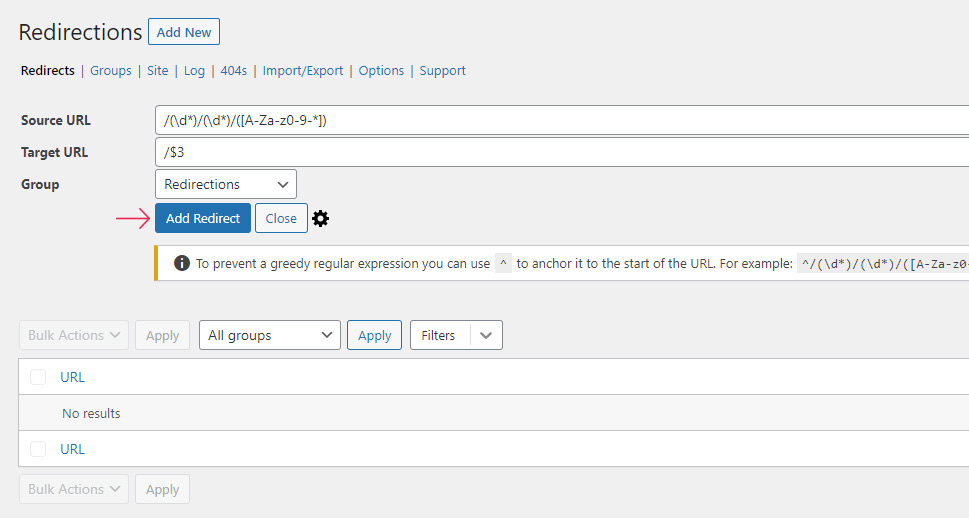
Finally, make sure to mark the Regex option (which will allow you to bulk update your redirects) and hit the Add Redirect button.
Conclusion
If you are using dates in your WordPress URLs but you find that this permalink structure is no longer cutting it for you, you can easily remove them by using the permalink settings in your WordPress admin area. By following our simple guide, you will be able to switch to a more SEO-friendly URL structure in no time. Also, to prevent your visitors from running into any 404 errors after you change your URL structure, you can always install one of the available redirection plugins. Personally, we recommend a Redirection plugin for this task.
