How to Find and Use Stock Photos Right From Your WordPress Dashboard

Images have always played an important role in human culture and it would be a pity not to use their power on your website. Actually, it has been found that articles that used relevant images throughout the text enjoyed 94 % more views than those with little or no visual content. Therefore, it is safe to say that smart choice of high quality, relevant images can actually transform even an otherwise average article into a great one.
However, finding a photo that matches the topic and style of your content is often challenging, and very time-consuming. Luckily, there is something you can do to make this process a bit more simple. A number of plugins that allow you to import stock photos directly into your WordPress posts are at your disposal for free. Every minute you can save on technicalities is a minute you can invest in your content quality.
In this article we will show you how to find and use stock photos without ever leaving your WordPress dashboard. Stay tuned to find out more about:
Qode Themes: Top Picks
View Collection


A number of free stock photography services like StockSnap.io, Pixabay, Unsplash, Stockvault.net, Wikimedia Commons, PikWizard and similar offer high quality photos at no cost. Although these kinds of websites generally offer free images, the types of licences they come with may actually differ a bit. Nowadays, a misuse of a photo is often considered a serious offence which could cost you a fortune, so always check what kind of licence is provided for the photos of your choice. You will most often deal with these types of licenses: the public domain licence that grants free image usage, even for commercial purposes and the creative commons licence that implies some restrictions. The type of licence you should aim for is the CCO licence that allows you to use the image at no cost both for private and commercial purposes, without having to ask for permission or credit the author.
Note that, if you are just starting your website from a clean slate, you’ll probably need a lot of quality images. Some premium WordPress themes include a licence for stock images they are using, and they are a great solution that could significantly speed up the process of setting up your site, not to mention improve its visual appeal. Although you will certainly need many more photos apart from those included with the theme, this is still a great way to start and define the tone and aesthetics of your site without wasting too much time on exploring design trends and rules. Not only will you get great photos instantly, but you’ll also have your style defined and that will make it a lot easier to select more quality images for your posts in the future.
However inspiring may be the process of finding and adding beautiful photos to your website, it often turns into a time consuming technicality. You have to find the right photos, download them to your computer, then upload them into the Media Library, resize and optimize them and so on. But, there’s an elegant way to skip these not so inspiring steps and find and add quality photos to your posts right from your WordPress dashboard.
There are a variety of plugins, both free and premium, that allow you to import photos to your website without leaving your dashboard. Typically they are compatible with one or a set of stock images platforms. For the purpose of this article, we focused on free plugins, and platforms that we found are among the top most popular among users – Unsplash and Pixabay. Both of these platforms offer free photos with CCO licence. While Unsplash is more focused on offering high quality photos and does not yet have as large image collections as other similar sites, Pixabay provides you with a very wide choice of all kinds of images. The plugins that support these platforms are Instant Images and Pixabay.
Instant Images plugin is a smart, free and fast performing plugin that enables you to upload high quality stock photos from Unsplash directly to your WordPress media library. More than 70,000 active installations and excellent ratings speak about its reliability. It is extremely simple to use – you don’t even have to have an account on Unsplash to use it to its full capacity.
Installing this plugin is no different from any other WordPress plugin installation. In case you need detailed instruction take a look at our tutorial for installing a WordPress plugin.
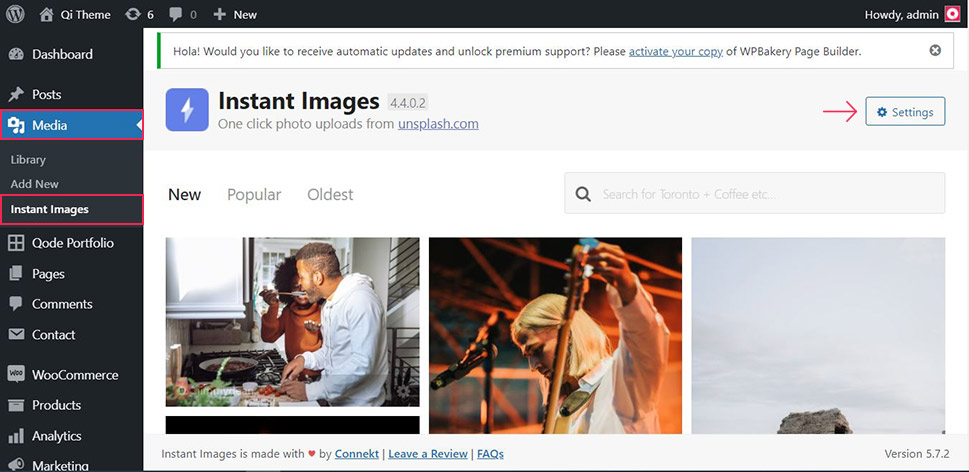
After the installation, you will see the new Instant Images option in the Media screen. When you click on Instant Images, the Settings button will appear in the upper right corner of the screen:
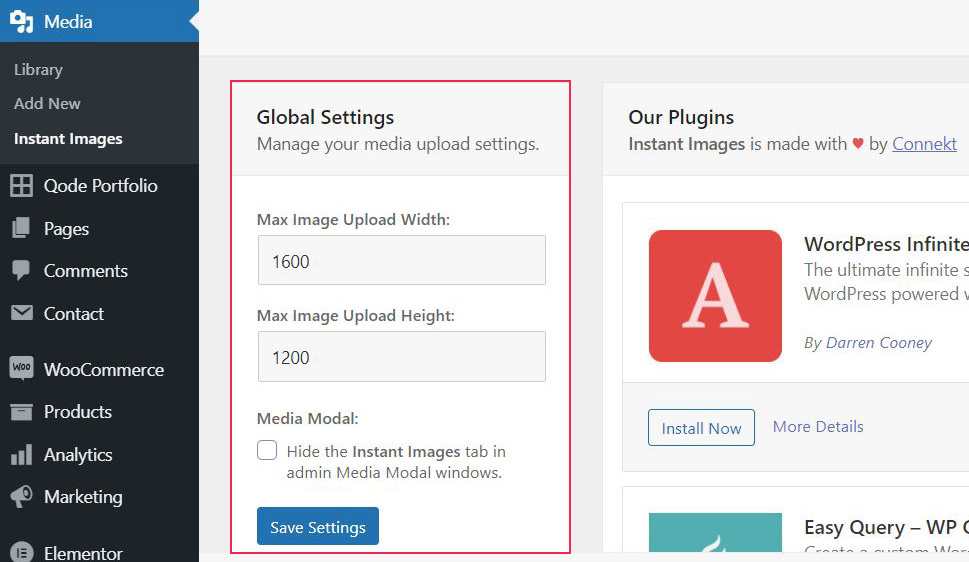
When you click on Settings, you will see the options for the maximum height and width of the images. It is necessary to set these values because images on Unsplash are usually in high resolution. Since massive photos can significantly slow down your page load time it is best to set the optimal image dimensions by yourself to keep your pages running smoothly. So, enter the desired values and remember to click the Save Settings button in the end.
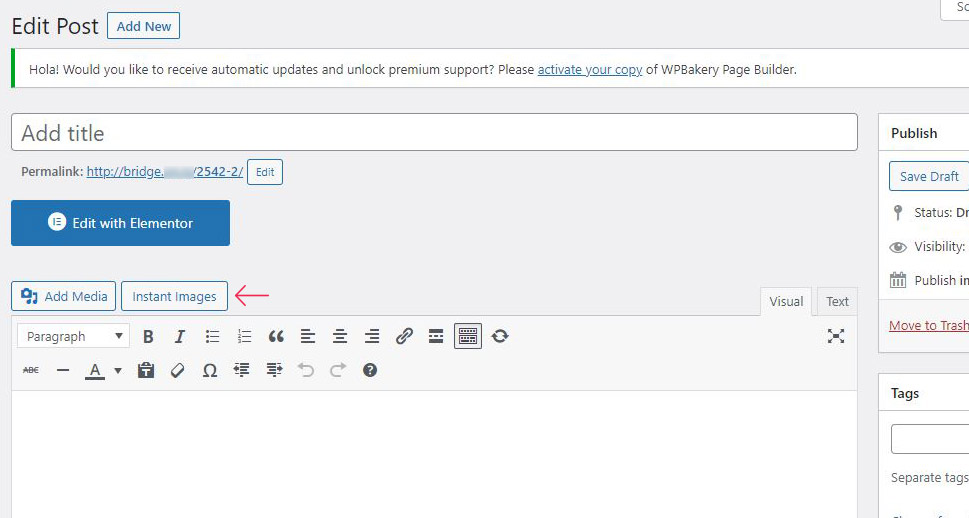
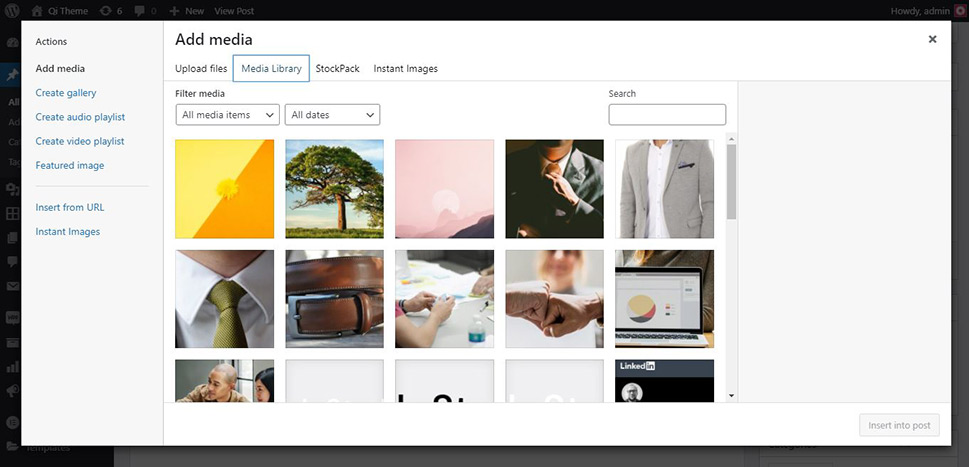
After setting the image dimensions, you can start adding images to your posts. Go to the desired post, and click on the media block to add a new image to your post. Choose the Media Library option for adding images.
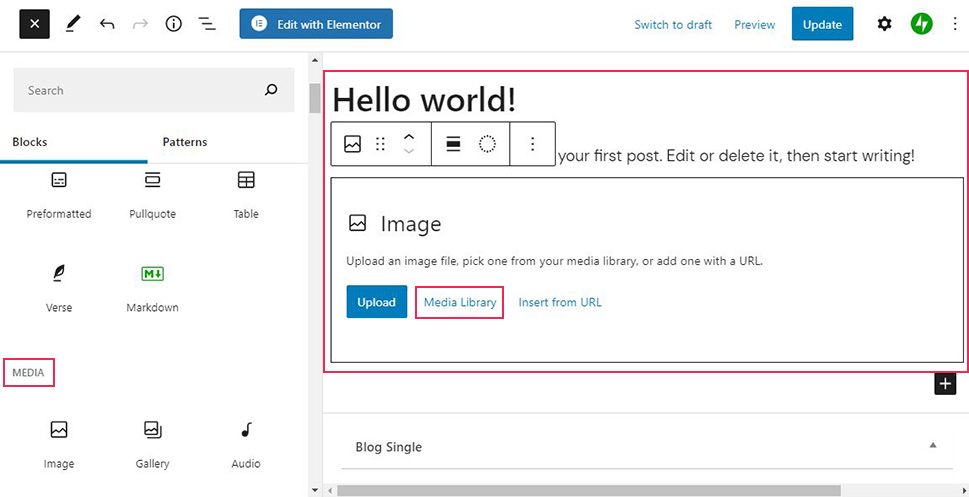
When you click on Media Library you will see the new Instant Images tab. In case you are using the Classic Editor, you will notice the new Instant Images button next to the Add Media button. Either way, the next step will look the same.
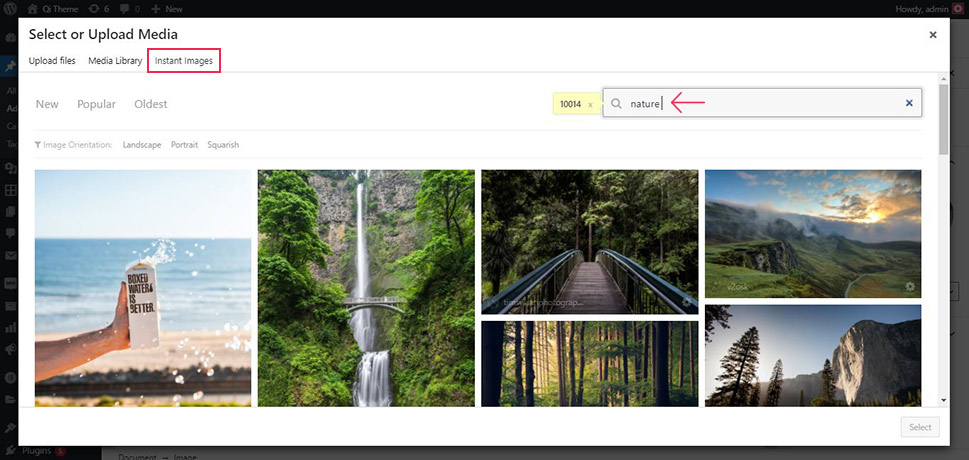
Click on the Instant Images tab/button and search for the image that you need by entering a search term in the search field. In our case it was nature:
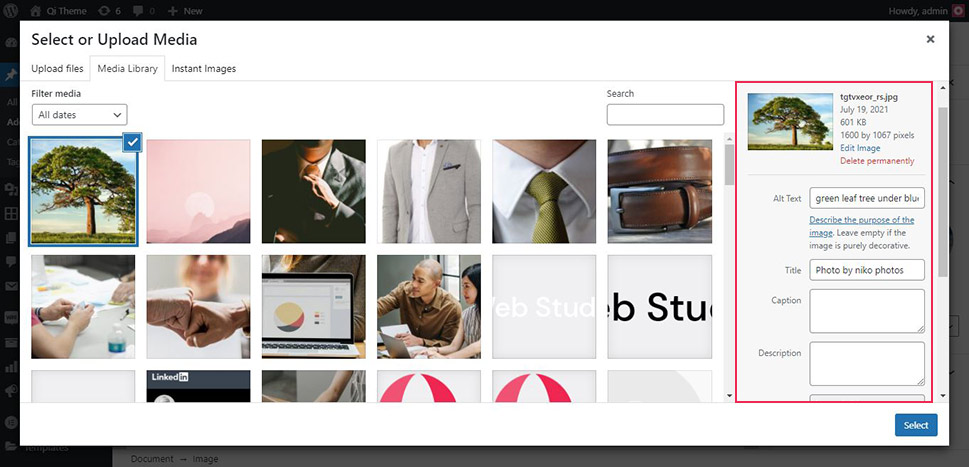
After you select the photo, on the right side you will see a menu with info fields you can provide about the image. The author’s name will be in the Title field, but you can simply delete it if for any reason you don’t want to publish the name of the author. No field is mandatory, you can leave them all empty. The image will automatically be resized to the dimensions you previously set and downloaded to your Media Library.
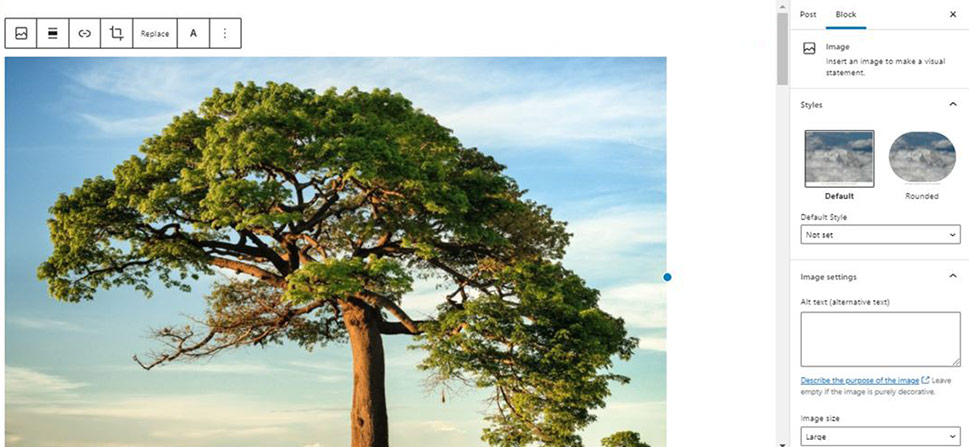
And just like that, the image from Unsplash is in your post. You can continue customizing it – add text, change its position, etc to match your needs, just like any other image from your Media Library.
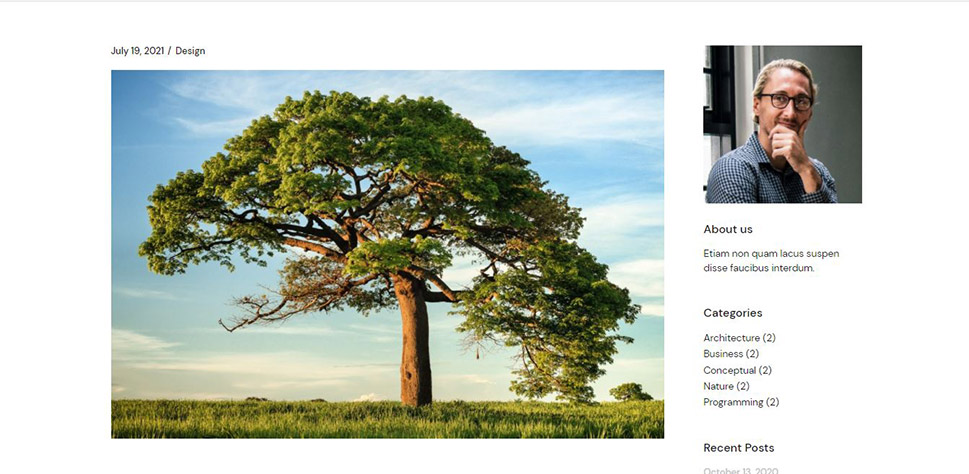
This is how the photo looks like on an actual page on our site:
The Pixabay Images plugin is just as easy to use as the Instant Images plugin. It allows you to browse the entire Pixabay’s library and insert images in a few clicks without having to leave your dashboard for a minute. The images you upload this way are saved as actual files on your server and you can access them anytime you need them in your Media Library.
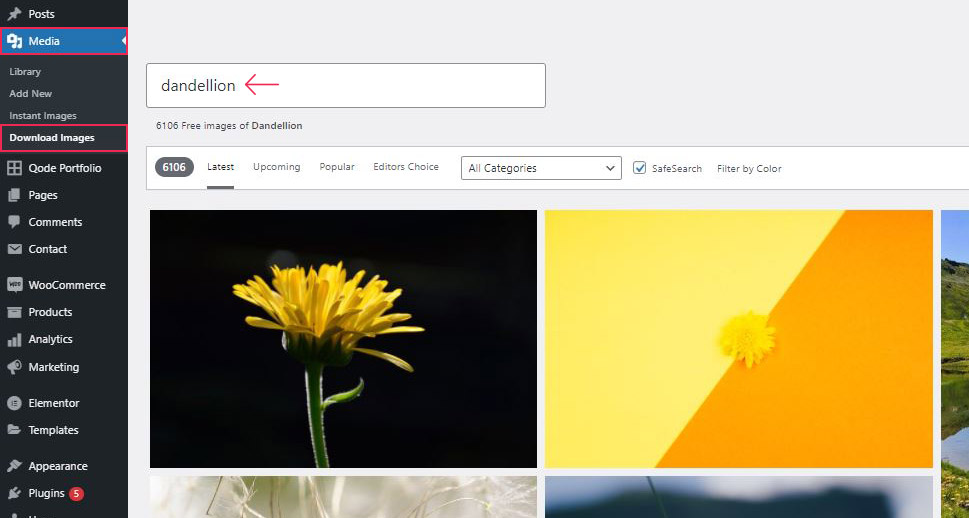
After you installed the plugin, go to Media – Download Images. A gallery will show up that looks pretty much like your Media Library. But, it’s actually the Pixabay image library now connected to your WordPress website. To find the image that you need, enter a related search term in the search field and browse until you find the one that suits you. You can also use the category tab to narrow your search, or search by proposed tags.
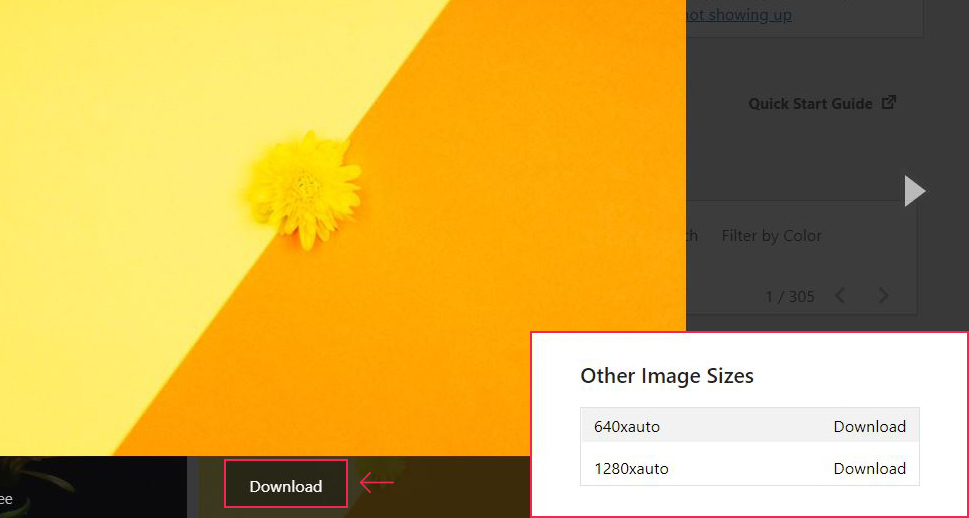
Click on the image you like and it will pop up in a lightbox with an option to download it as it is, or, if you want to resize it you can choose between a few size options in the settings that show up in the bottom right part of the screen. When you are sure about the size that you need, click on Download.
And that’s pretty much all. The image will now be saved in your Media Library and you can access it just like all the other images in the Media Library.
Final Thoughts
We are sure these two plugins can cover a very wide variety of needs of both personal and business websites, and if at any point you want to explore other possibilities there’s a variety of WordPress plugins for finding images from your dashboard at your disposal.
Our goal was to provide you with the most simple ways to import images to your site right from your dashboard. You may be wondering what if you wanted to upload images from other platforms, not just from Unsplash or Pixabay. There are plugins like StockPack, Image Inject, and similar that allow you to use images from multiple stock photography providers. The more advanced the plugin is, the bigger are the chances you’ll have to create an account, register, or subscribe for a premium version to enjoy all of its advantages. The upside of using the above two free plugins is that you don’t have to worry whether the images that you find are allowed for commercial use, royalty-free, etc – you simply find and add the desired photo directly to your post.
