How to Downgrade Your WordPress Website (And Why)

We have often said that regular updates are a safeguard against various negative consequences, such as getting blacklisted by Google, as well as protection from defacement. However, is there something to be gained by doing just the opposite: downgrading a WordPress website? In this article, we will be discussing why you might want to downgrade a WordPress website, as well as how to downgrade it safely. For clarity’s sake, by downgrading we mean rolling back WordPress (or a WordPress theme or plugin) to a previous version.
In the first section of this article, we will be discussing the whys and wherefores of reverting to a previous version of WordPress or other software, while in the subsequent ones we will be showing you several ways of what it may entail and how it‘s done.
As we‘ve set out in the introduction, we generally recommend never to run your website on obsolete software. This means always using the latest version of WordPress, of every theme, and every plugin. However, there are reasons why you might want to use an earlier version of WordPress, of a theme, or a plugin. Firstly, however, we suggest you create a backup of your website before you roll anything back.
The reason why you might want to downgrade a piece of software you are using is compatibility. One or more of the elements you are using to build your website may not be compatible with the latest core WordPress installation, or you may be experiencing a plugin conflict. You want to test for that and make sure that any conflict can be resolved – perhaps all you need to do is just wait until the developers iron out all the kinks, or you might need your website up and running while you are searching for an alternative.
That said, we strongly recommend that you only temporarily downgrade any piece of software you might be using, until you resolve any urgent issues. Whether to check if a plugin or a theme is causing a conflict, or to use an older, working version of a piece of software for a while until you find an alternative, running out of date software is a big risk.
WordPress does not offer easy version switching by default. And when a functionality cannot be found in WordPress‘s core functionalities, it is very often the case that a plugin can be found to supplement it. We will be using a free plugin called WP Downgrade to, predictably, downgrade our WP.
After installing and activating the plugin, access it by navigating to Settings/WP Downgrade from your WordPress dashboard.

Having done that, all you need to do is enter the number of the version you wish to revert to into the WordPress Target Version field, and click the Save Changes button. The plugin also notifies you of the current version and the language of your installation.

In order to fully perform the downgrade, you will be prompted to go to the Upgrade Core screen. To do so, simply click the Up-Downgrade Core button.

Finally, you will be taken to the WordPress update screen, where you will see a button to install whatever version you wish. To downgrade WordPress, click the Re-install Version X.X.X, where X.X.X is whatever your target version is.

Whenever you wish to return to the latest version of WordPress installed, simply enter that version number into the WordPress Target Version field, or leave it blank, and click the Save Changes button.
If you are looking to roll back a plugin, rather than the core WordPress installation, you‘ll need another plugin. In this case, we are going with WP Rollback.
After having installed the plugin, navigate to the Plugins screen. You will see that every plugin now has a Rollback link. Say you want to roll back the WP Rollback plugin itself. To do that, start by clicking on its Rollback link.

You will be taken to a page listing all the versions of the plugin. To roll it back, simply select a version from the list and click the Rollback button.

You will be prompted to confirm your selection. To roll back the plugin, click the Rollback button in the popup window.

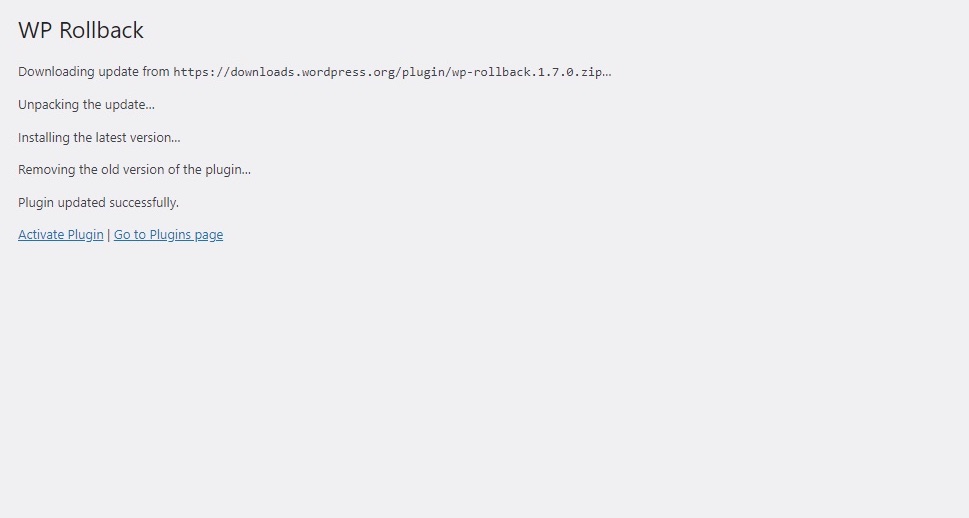
Once that is done, you should get a report that the plugin has been rolled back successfully.

You can use the WP Rollback plugin to roll back a theme, too. To start, navigate to Appearance/Themes from your WordPress dashboard.

Once there, select a theme you wish to roll back. We will go with our very own Qi Theme, but your selection of themes may, of course, vary. This will open the Theme Details screen.

You will find that the Theme Details screen now contains a Rollback button. Click it.

And you will be taken to the list of versions you can rollback your selected theme to.

From there on, the process is similar to the process of rolling back a plugin described in the previous section.
In Conclusion
As you can see, rolling back WordPress, a WordPress theme, or a WordPress plugin is easy enough, and you don’t even need to know your way around WordPress particularly well to do it. However, it is very important to understand why you are doing what you’re doing, especially if it is something as significant as running old software.
We will reiterate here that we by no means recommend rolling back anything permanently, be it core WordPress, a theme, or a plugin, no matter how much you feel you need it. Running out of date software is a huge liability, and may end up undoing a lot of the hard work you have invested into your website if you so much as fall afoul of one unscrupulous hacker. However, be it for testing or as a temporary fix, a version rollback can be done, quickly and easily, using a couple of free plugins. And now you know how.


