How to Customize the Admin Panel Footer in WordPress

Besides coding the functionalities of their themes or plugins, developers also need to think about expanding their outreach and branding their content. While this can be done in a lot of ways, including creating customized landing websites and using social media, there is one simple thing that is often overlooked. And that is the fact that theme and plugin authors can customize the footer within the WordPress Admin panel.
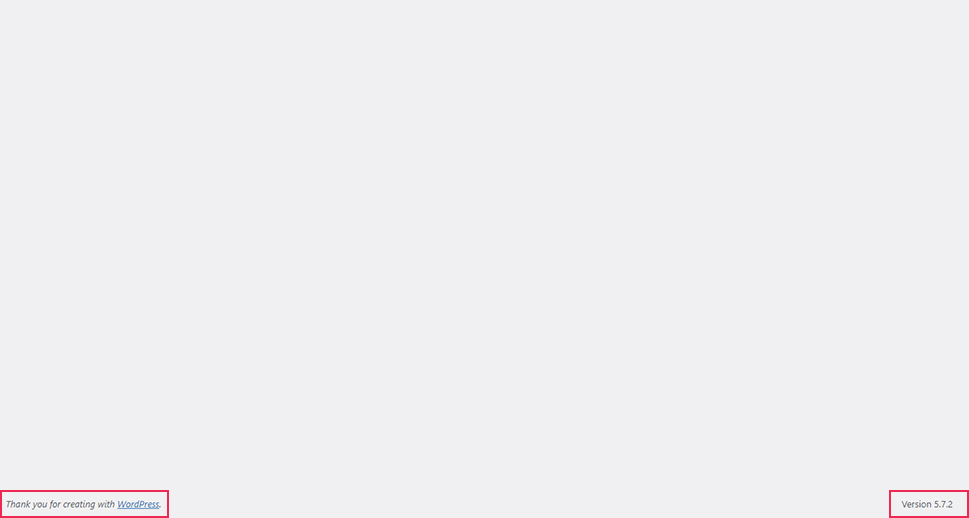
Instead of the default admin footer labels, shown above, developers can include valuable links and messages specific to their content.
Fortunately, achieving this is simpler than it might seem at first glance, and we will be showing you how to do it in this article. Before we dive in, you should bear in mind that this process relies on the use of WordPress hooks. We will take care to cover them in-depth, so this article can prove interesting for any WordPress users interested in learning more about hooks. Given that they are one of the most important advanced WordPress concepts this will be a useful way for anyone to expand knowledge.
Qode Themes: Top Picks
View Collection


Before we start
Whether you’d like to customize your WordPress admin panel footer as part of your promotion efforts or for some other reason entirely, you’ve come to the right place. We have separated this article into two sections, which will let us cover all you need to know about this topic. The first section will provide an in-depth overview of WordPress hooks and the second will showcase the custom snippets that utilize specific filter hooks. Let’s begin!
Understanding WordPress hooks
Simply put, WordPress hooks represent small code placeholders that developers have left inside the files. By “hooking” custom functions onto these placeholders, you can add a custom functionality to your website or edit an existing one. The great thing about hooks is that, by using them, you don’t have to directly edit any existing WordPress template files or your theme and plugin files. This lets you avoid the risk of losing your modifications when the theme, plugins, or WordPress core get updated.
By “hooking” your code onto the appropriate hook, you will achieve the same functionality as if the code you created was placed in the same spot as the hook. And, you can easily keep track of all your code, as it’s recommended practice to place it either in the functions.php file of your child theme or a site-specific plugin.
There are two types of WordPress hooks. Action hooks, or actions, are used for adding new functionalities or features. Filter hooks, or filters, are used to alter existing functionalities. Let’s examine what makes them different.
First, actions can have input parameters, whereas filters must have them. Actions can perform some operations on their input but they don’t need to return the altered value, only echo or print some output. On the other hand, filters return the altered value of the input after performing operations on it. Then the altered value, which is returned as the output, is used in the code.
There are also differences between the two types of hooks in the way they are put as placeholders in the code, as well as how you need to “hook onto” them. The action hooks are placed inside template files using the do_action() function, while filter hooks use the apply_filters() function. These functions are responsible for the placement of the hook and the execution of any function “hooked onto” it.
As for how “hooking onto” works, you will first need to create a custom function, called a callback function or simply callback. Then, you will need to use the add_action() function or the add_filter() function to “hook onto” a specific action or filter hook. Both these functions—add_action() and add_filter()—accept the same arguments. Those are the appropriate hook name, the name of the callback function that is hooked onto it, the priority of the hooking process, and the number of arguments the callback function accepts.
The priority is a natural number that specifies the order in which callback functions are hooked onto a single hook. The lower the number, the sooner they are executed. In the case of multiple callback functions that share the same priority, they are executed in the order that the calls of the add_action() or add_filter() function are added. The default priority is 10, while the default number of arguments of the callback function is 1. If both values are omitted then the default ones are used when calling the add_action() or add_filter() function. Although the priority may be omitted in some cases, it is important to understand its purpose and how it affects the code, both in terms of actions and filters.
Since action hooks are used to add new functionalities, the outputs of the callback functions hooked onto them are displayed one below the other. They are shown in an ascending order based on the priorities of the respective callback functions.
However, this is not the case for filter hooks. Every callback hooked onto a filter hook alters the input value differently and returns it differently. This means that every callback that is executed will override the output of a previously executed one. Therefore, if hooked onto a filter hook, the output of the callback function with the highest priority will be displayed on the website. You should keep this in mind when using filter hooks.
For additional flexibility, you can use the remove_action() and remove_filter() functions, which “unhook” a given callback function from a specific action or filter. Both functions accept three parameters—the name of the hook, the name of the callback function being removed (i.e. unhooked), and the unhooking priority, which should be higher than the priority used when the callback was hooked.
With this, we conclude our overview of WordPress hooks. You’ll need to have some grasp of them to be able to understand the code below. We deliberately separated the explanation and the code to make it easier for our readers to navigate the article and quickly find any information they need.
With that being said, let’s move on to the code snippets. These provide a way of editing the WordPress admin panel footer labels. And they do so using filter hooks.
Using custom code
When adding any custom code snippets to your WordPress website, there are several things you should know beforehand. Generally speaking, making a backup of your website before adding any code is a security precaution against any potential mishaps or website breaks due to faulty code. And we encourage you to do this. You can opt to manually back up the website or automate the backup process using a suitable backup plugin.
Additionally, it is important to know where you can safely insert the custom code snippets. The two locations we recommend are either in the functions.php file of your child theme (using FTP) or in a suitable site-specific plugin. Now let’s move on to the code snippets ew prepared.
-
Editing the left admin footer label
To edit the left admin footer label, you will need to use a custom code snippet similar to the one given below. The snippet we created for this article represents a custom callback function named qode_change_footer_admin_label(), which is hooked onto the admin_footer_text filter hook. The function is very simple—it takes the default label value (“Thank you for creating with WordPress”) and changes it into “Created with WordPress | Powered by Qode Interactive”. Furthermore, both the words WordPress and Qode Interactive are linked to their respective websites. The links are set to open in separate tabs.
function qode_change_footer_admin_label( $default_value ) {
$default_value = 'Created with <a href="https://wordpress.org/" target="_blank">WordPress</a> | Powered by <a href="https://qodeinteractive.com/" target="_blank">Qode Interactive</a>';
return $default_value;
}
add_filter( 'admin_footer_text', 'qode_change_footer_admin_label' );
Since we covered what the code does, we just need to insert it into one of the two previously suggested locations. After you’ve done so, you will notice the following result.
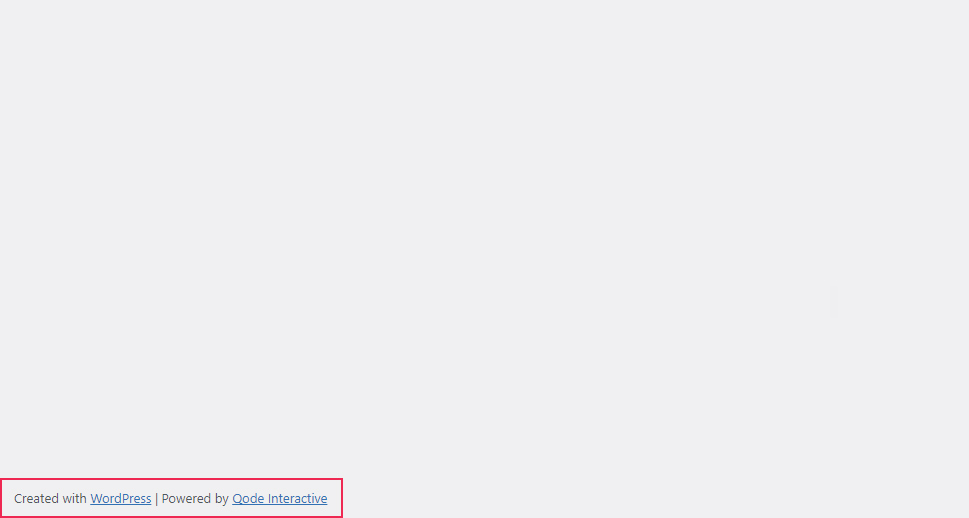
You can change the left admin footer label as you see fit. This is done by changing the string value of the single PHP variable used in that code, called $default_value.
However, there is another thing you should be aware of, and that is the priority of the code. In the code snippet example above, we omitted the priority since it wasn’t necessary. Therefore, the priority was set to 10. But, some plugin or theme authors whose products you’re using may have chosen to customize the left admin footer label on specific screens as well. In that case, you may notice that the label changes on specific screens, depending on the plugin(s) or theme(s) you might be using. We will examine the issues of priority in the next code snippet, given below.
-
Editing the right admin footer label
To change the right admin footer label, you will need to create a suitable callback function and hook it onto the update_footer filter hook. We have done just that in this example. The callback function we created is called qode_change_footer_admin_version_label(). It returns the label “WordPress news, resources and tutorials: Qode Magazine” instead of the default one that displays the current WordPress version. Similar to the previous example, we included a link. This one leads to the Qode Magazine homepage and it opens in a separate tab.
But, the difference from the previous code snippet, apart from which filter hook we used, is that we inserted a priority value. We’ll explain why we added it now.
The default right admin footer label—“Version ”, followed by your current WordPress version is added using the following line of code:
add_filter( 'update_footer', 'core_update_footer' );
This code is located in this template file: wp-admin/includes/admin-filters.php, which is part of the WordPress Core files. Therefore, if we hadn’t added a priority higher than 10 (the default value) to our code, then the code that would be executed—between ours and the default WordPress one—is the one loaded second. In this case, the line of code that is added in the wp-admin/includes/admin-filters.php template file is the one that’s executed. Meaning, without a priority higher than 10, our code wouldn’t do anything, as it would be executed first and then overridden by the default WordPress code. This will end up restoring the default right admin footer label. Therefore, we opted to use a priority of 11, as it was high enough in our case.
function qode_change_footer_admin_version_label( $default_value ) {
$default_value = 'WordPress news, resources and tutorials: <a href="https://qodeinteractive.com/magazine/" target="_blank">Qode Magazine</a>';

return $default_value;
}
add_filter( 'update_footer', 'qode_change_footer_admin_version_label', 11 );
Sometimes, as we mentioned previously, your plugins or theme may hook onto the same filter hook to achieve a specific custom functionality or feature. And, even though the examples we mentioned in this article are quite simple and harmless, you should always take special care when adding custom functionalities in general.
As a word of caution—your custom code can override specific theme or plugin functionalities leading to compatibility issues, or, even, breaking your website. Therefore, it’s a good rule of thumb to consult with theme or plugin authors before overriding any custom functionality. Also, make sure to prepare a backup of your website beforehand, just in case.
After adding the code, you should expect to see a result similar to the one we got, visible in the bottom right corner of your admin dashboard screen.

As with the previous code snippet, you are free to edit the example we provided according to your needs. Just make sure to carefully review all the points we made regarding its purpose and functionality.
Final Thoughts
The WordPress Admin panel footer area can be customized to showcase messages specific to your website, theme, or plugin. This is done with the help of WordPress hooks. In this article, we took a look at how the admin panel footer can be changed using only a couple of lines of code. The examples we put together are both straightforward, so you can easily implement them on your end. Additionally, we covered the concept of WordPress hooks, which should make this article a helpful resource on that topic. That knowledge of WordPress hooks will help you when adding any new functionality to your website. So we invite you to learn more as well as bookmark this article to keep on hand.
