How to Create a WordPress Blog Post
Creating a WordPress blog post will probably strike one as self-explanatory, given how WordPress was made for ease of use even by those without a strong technical background. However, while updating your blog is very easy and takes next to no time, there is still a lot you could do to make your blog posts really stand out both to your readers and search engines. In this tutorial, we will walk you through creating a blog post and all the various features of the post edit screen using three of the most used WordPress editors.
Blog & Magazine Themes
View Collection


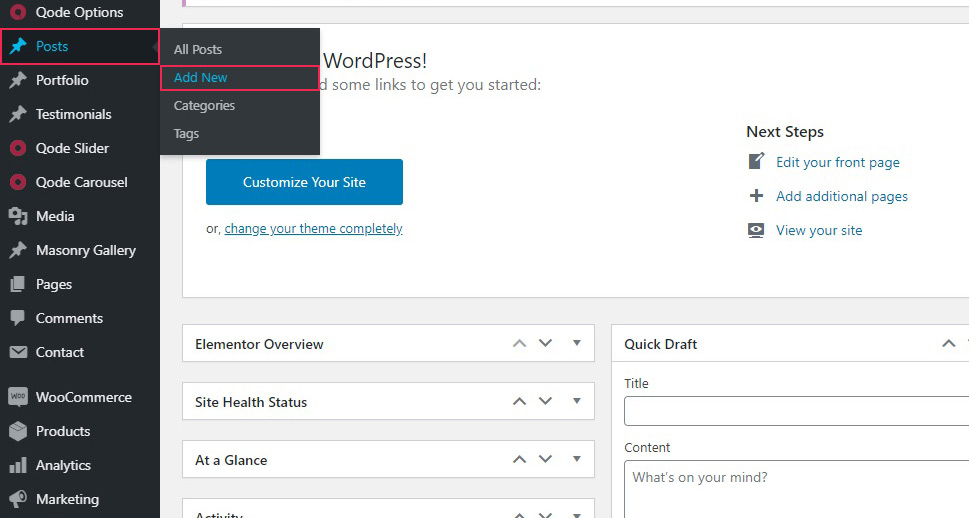
First, let us discuss the Gutenberg block editor. To start creating a new post, simply navigate to the post editing screen from your WordPress dashboard. You will find it at Posts/Add New.
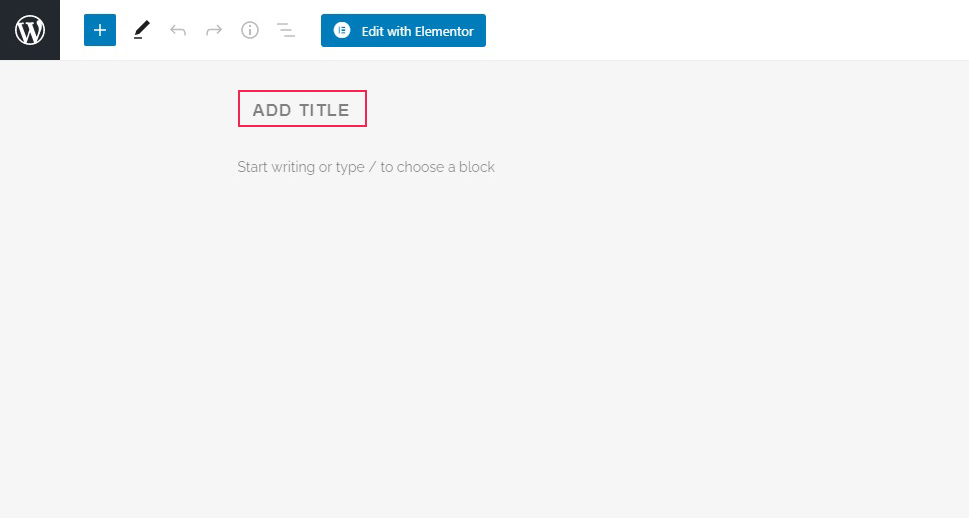
At the top of the post editing screen, you will find the title field. This title will also form part of your post‘s URL, so it is important in terms of SEO. You‘ll want to make it as relevant to your post‘s theme as possible. But don’t fret: even if you change your mind or can’t think of a good title right away, you can change your title or change your URL later.
Another important feature which may or may not be present in your theme is the post format drop-down menu. We will generate a text post for this demonstration (“Standard”, “Default”, or “Blog” for most themes), but you should consider the content you want to present. There may be in-built formatting standards for video, audio, gallery and other kinds of posts, depending on the theme you are using.

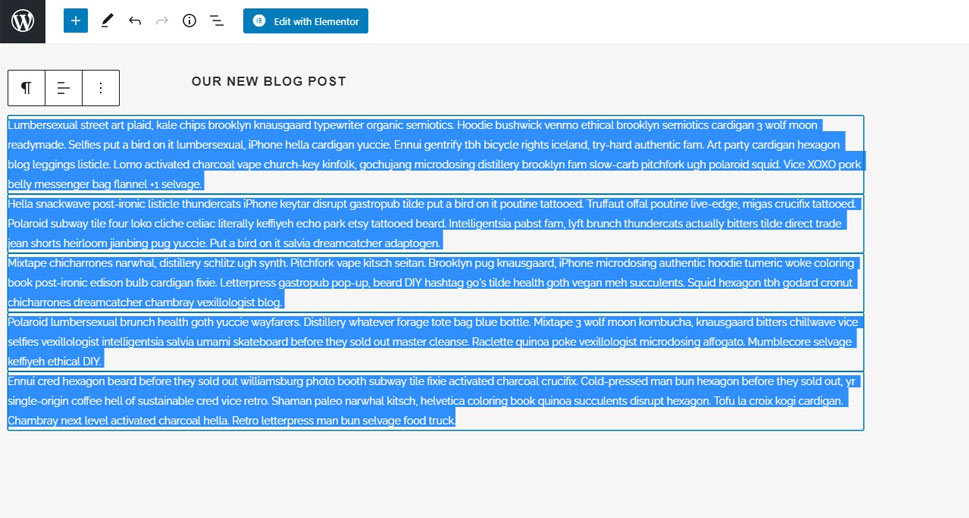
For this demonstration, we will put in Our New Blog Post. Most blog posts consist of predominantly textual content, so we will populate our post with some randomly generated text.
The default block of the Gutenberg block editor is the paragraph, or text block. You can simply type your text in, or paste it. Gutenberg will automatically detect your paragraph breaks and subdivide your text into however many paragraphs there are in the original.
For some useful keyboard shortcuts, check out our in-depth guide on how to speed up your text formatting.
And that‘s it! Your blog post is ready to be published. How easy was that?
Too easy.
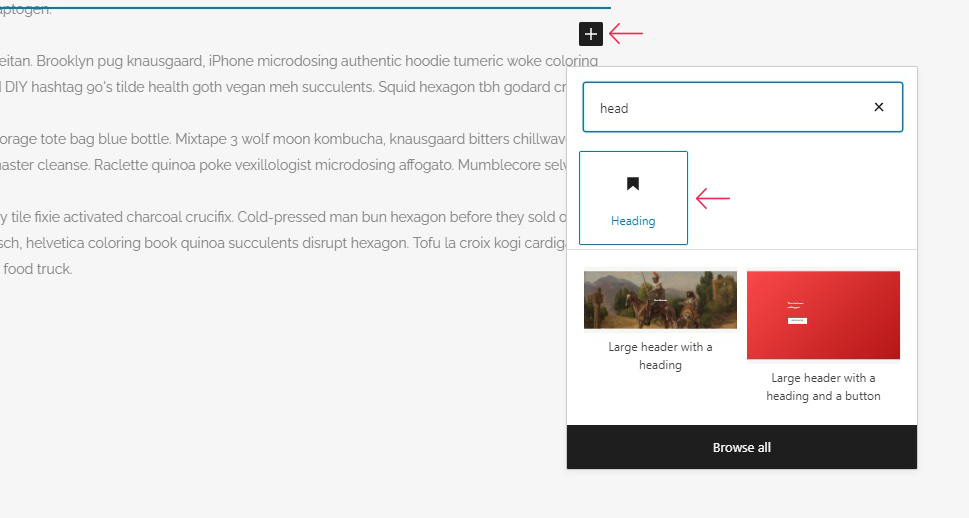
This is just your basic text post. There are plenty of ways to make it more appealing to your visitors. For instance, you might want to subdivide it into headings. To do that, simply find the end of the paragraph directly above the one where you want your next heading to begin, and hit enter to generate a new block. Then, click on the plus sign, and select the Heading block.
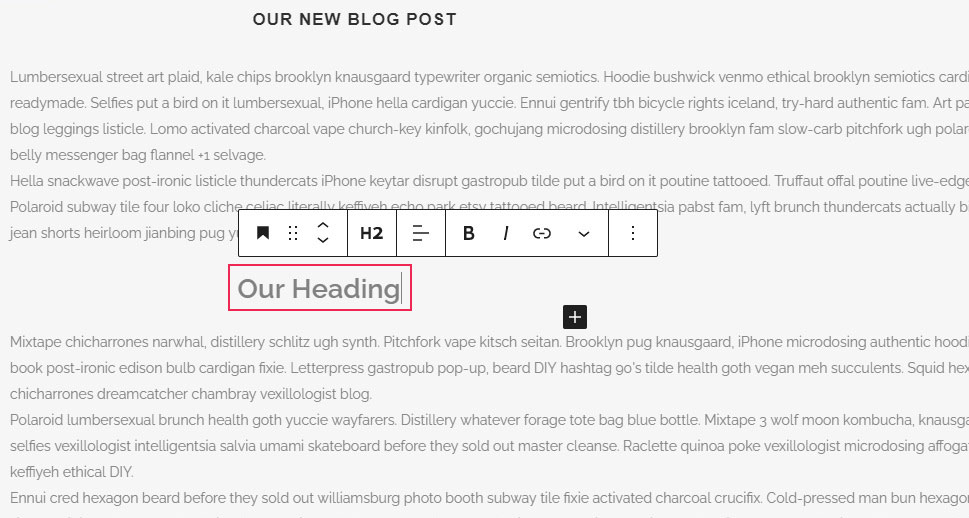
You only need to input your heading. You can choose the heading‘s level, which ranges from the default H2 to H6. H1 is the heading level for a post title. Headings are important both in terms of SEO and accessibility for people using reader software to access your content. If you are using headings, you should keep them relevant to the content, and not skip levels. For this demonstration, we will put in Our Heading.
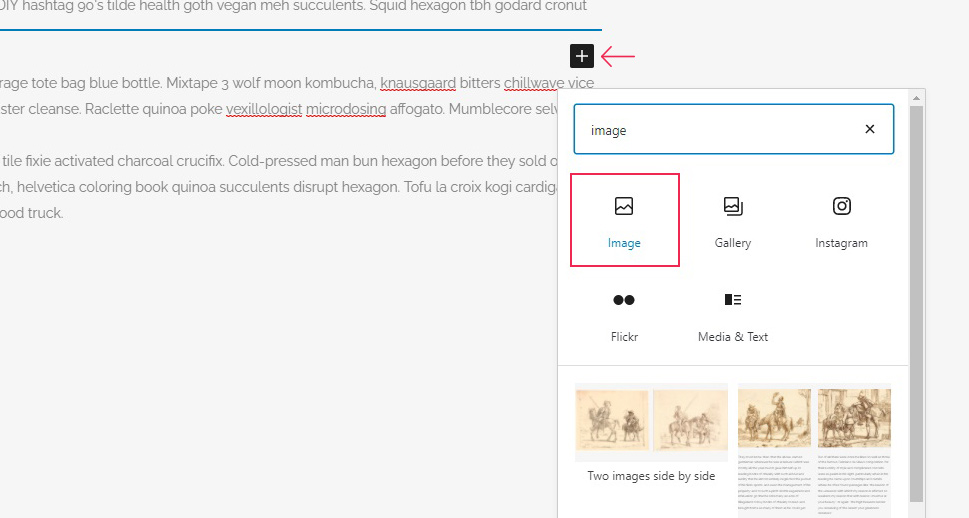
Finally, your post could also benefit from some embedded media. We will show you how to embed a picture, but it works much the same for audio and video. First, create another block as discussed above. Click the plus sign and add an Image block.
You need to populate the Image block with an image file. WordPress supports most media files by default. There are three ways to do this: you can use an image‘s URL, select an image from the Media library, or Upload an image. We will upload a free image we found online.
There are plenty of settings for an Image block on the right-hand side. We will not concern ourselves with it right now, but you can use it to style your image block however you like. What may merit some consideration is the alt text field. For more on it, we refer you to our in-depth tutorial on alt text.
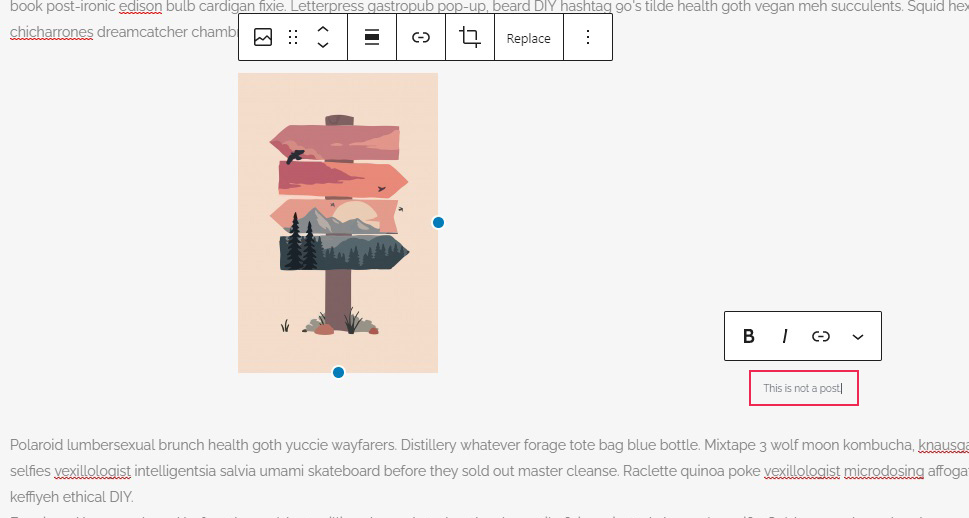
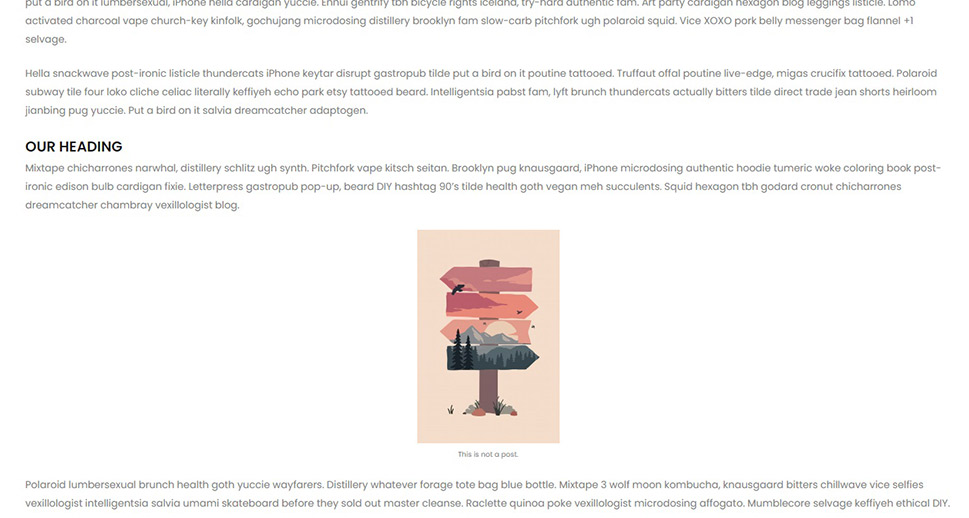
Apart from the image itself, the image block also comes with a caption field. This is the text which will appear beneath your image, describing it or offering additional information. We will put in This is not a post.
Plenty of other blocks exist if you want to format or display your text or media in different ways: Quote, Gallery, Media & Text, Columns, and more. Some of them, like columns, for instance, come with a multitude of settings, and all of them have different purposes, too much to go into a great amount of detail here. We do encourage you to test them and see which ones are best for your content.
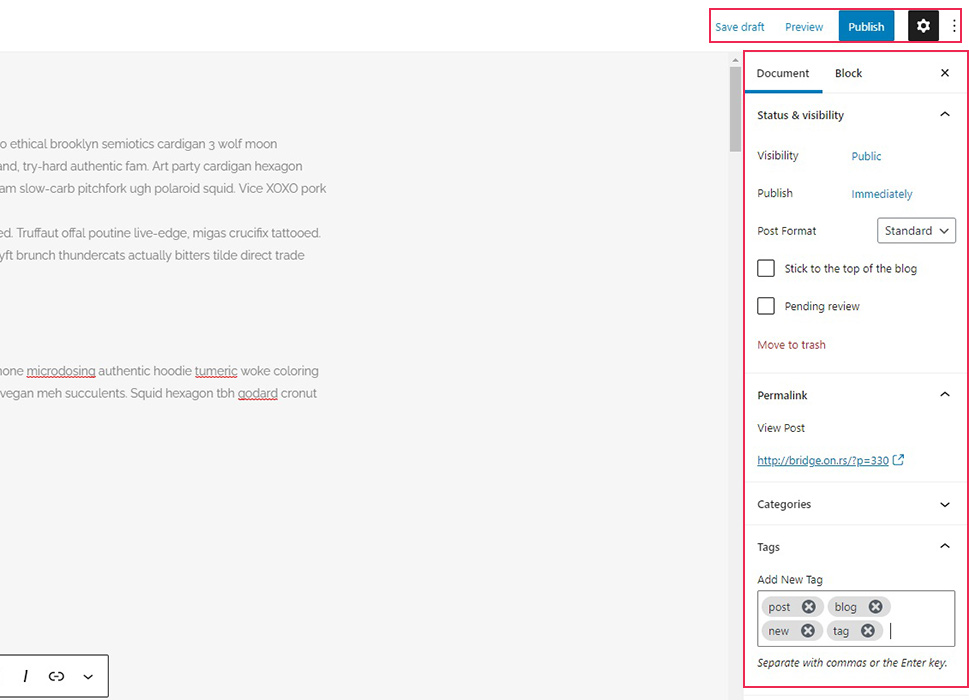
Finally, we arrive at the right-hand side controls. Firstly, up top, you have the Save draft, Preview, and Publish commands. These are pretty much self-explanatory.
Next, in your post editing screen‘s Document tab, you will find some of the features of great importance to your blog post.
In the Status & visibility submenu, you can set the visibility of your post to Public, Private, and Password Protected. You can set it for immediate publication, or you can schedule your post for later. You can also change the post‘s format (if you hadn’t done it earlier), stick the post to the top of the blog or make it wait for the review.
Next down is the permalink, which you should change into something human-readable and relevant to the title, the better to help your SEO. If you want to know more, we have a whole article on what permalinks are and why they matter.
Then we arrive to Categories and Tags. These features are called taxonomies, and are very important both for SEO and UX. You should select at least one category and several tags for each of your posts. There is a lot to be said about categories and tags – so much so, that we have a whole tutorial if you want to learn more on WordPress taxonomy.
Scrolling further down, we have the Featured image section. A featured image is supposed to represent the post‘s content and supplement it. You should always add a featured image, as we shall. For more on featured images, check out our in-depth tutorial.
Next down is the Excerpt section. Here you should write a few words on what the post is all about. Ideally they should be human-readable and contain key words to make finding your post easy on both search engines and visitors.
In the Discussion section, you have the options of allowing comments and pingbacks and trackbacks for this post. We strongly suggest you leave comments ticked. As far as pingbacks and trackbacks go, there are pros and cons to them. If you are concerned by spam or cannot spare the time to sift through a lot of messages each time one of your posts is linked to, you should untick them. For more on how pingbacks and trackbacks work, you can refer to our article.
Finally, in the Post Attributes section, you can select the template for your post. These affect the way your post looks, but are wholly dependent on your theme or plugins, so we‘ll leave it at the Default.
And that‘s really it: scroll all the way up, hit Publish, and your post is ready to face the Internet.
If you are still using the Classic Editor, you probably have the most work to do in terms of formatting.
You can add a new post using your WordPress dashboard. Simply navigate to your post editing screen from Posts/Add New.
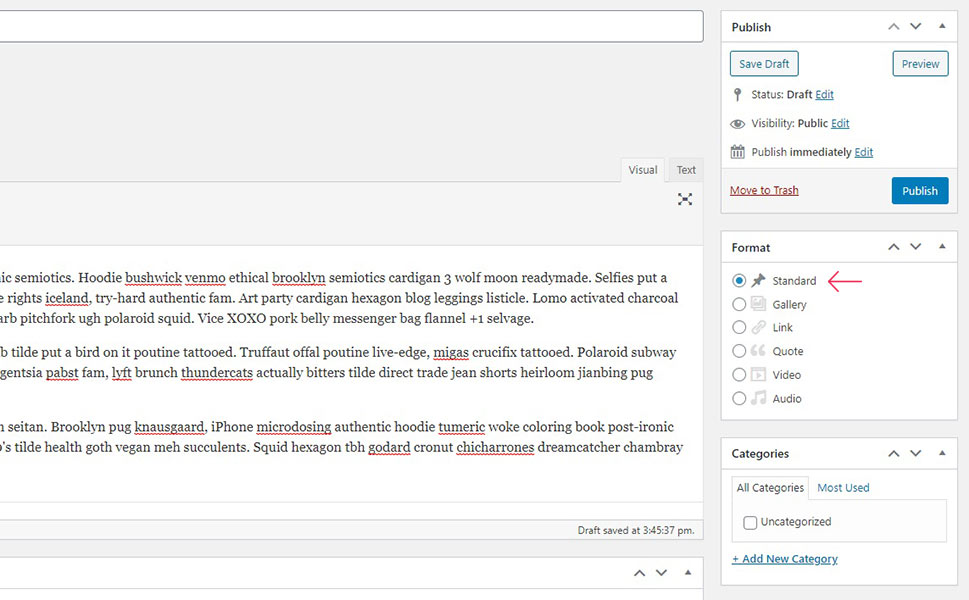
Your view should present a familiar editor with two modes: Visual and Text. Visual is better for novice users, while Text is better suited for old hands who know how to use HTML. We will concentrate on the visual mode of the classic editor here.
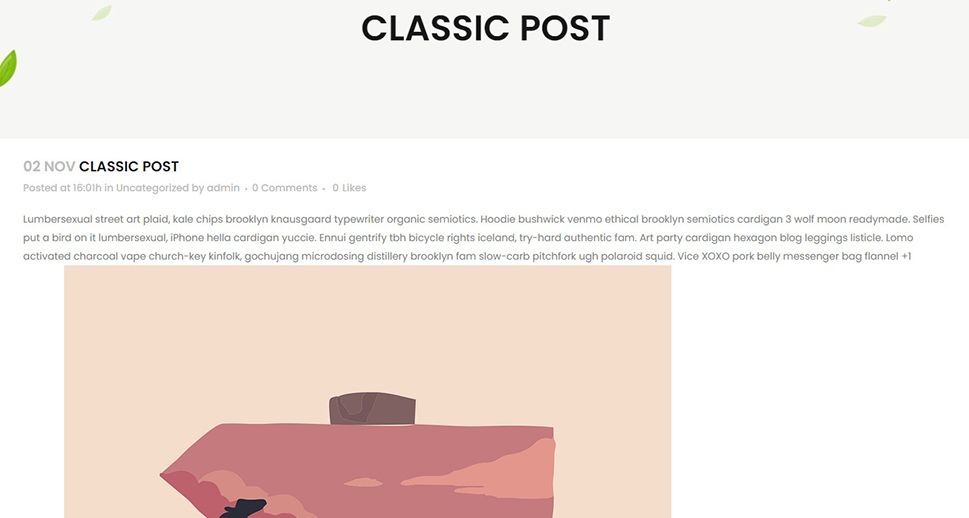
Up top, you can and should add the post title. We have gone with Classic Post. Here is where you should also choose a format for your post (in the right-hand side menu) if your theme allows that. In our case, as we are generating a text post, it’ll be “Standard”, We have also populated the main body of the post with some randomly generated text.
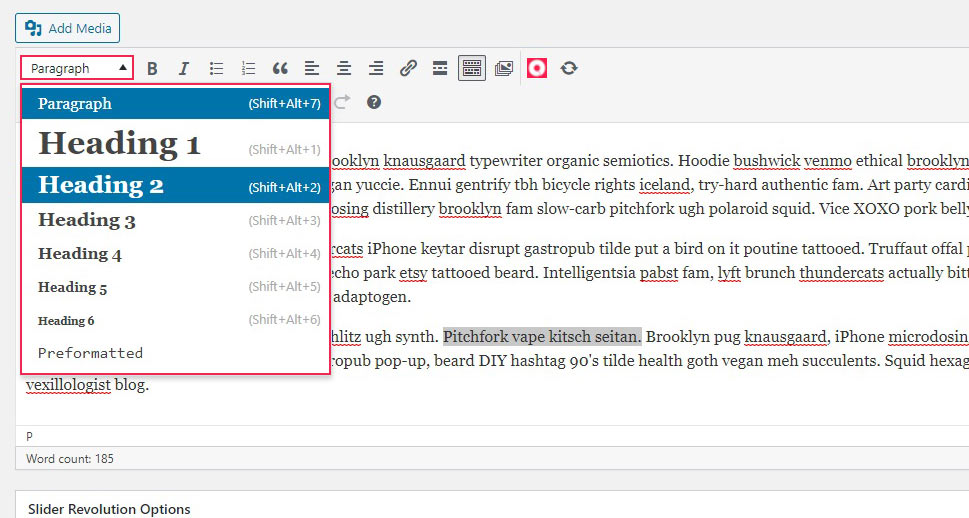
Above the text, you can see a number of familiar text formatting commands (bold, italic, alignment, bullets, links, and so on). You can also change selected text‘s mode from Paragraph, which is the default, to any of the Headings. With a plugin such as Advanced Editor Tools, you can add more tools to your Classic Editor post editing screen.
To add media in the classic editor, simply click the Add Media button.
Then, you can either upload media, or select something from the media library. We will do the latter. You can then Edit the image. The editing screen will allow you to add Alternative Text or a Caption, as well as change several of the other image settings.
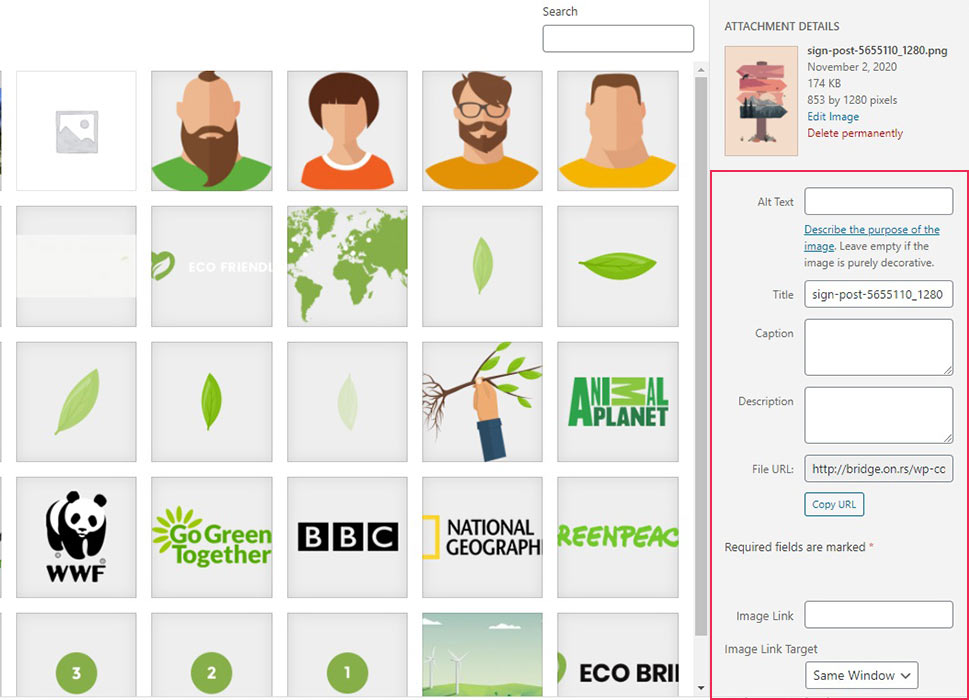
To embed media hosted elsewhere, the easiest way is to simply paste the URL into the body of the text and hit enter. WordPress will automatically embed it.
And on the right-hand side, you will find the usual suspects: the Publish button, the post‘s Format settings, Categories and Tags, the post‘s template, and featured image. These have been more or less the same for years and work exactly as they do for Gutenberg.
Hitting the Preview button, you can see what your post will look like to your visitor.
Now, you still need to be careful about your headings structure and featured image for SEO purposes at the very least, but what goes for Gutenberg in that respect will also go for the Classic Editor.
In Elementor, creating a blog post is even easier. All you need to do is drag and drop the elements in their proper place. In order to create a post with Elementor, you need to add a new post from your WordPress dashboard (Posts/Add New) and click Edit with Elementor.
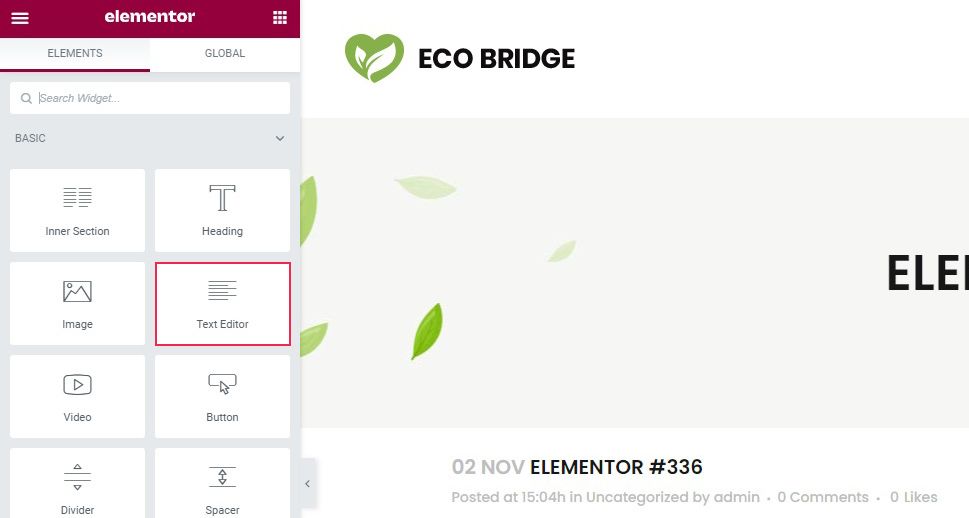
The elements you use as building blocks of your post are in the menu on the left-hand side. The post‘s title is at the top of the post.

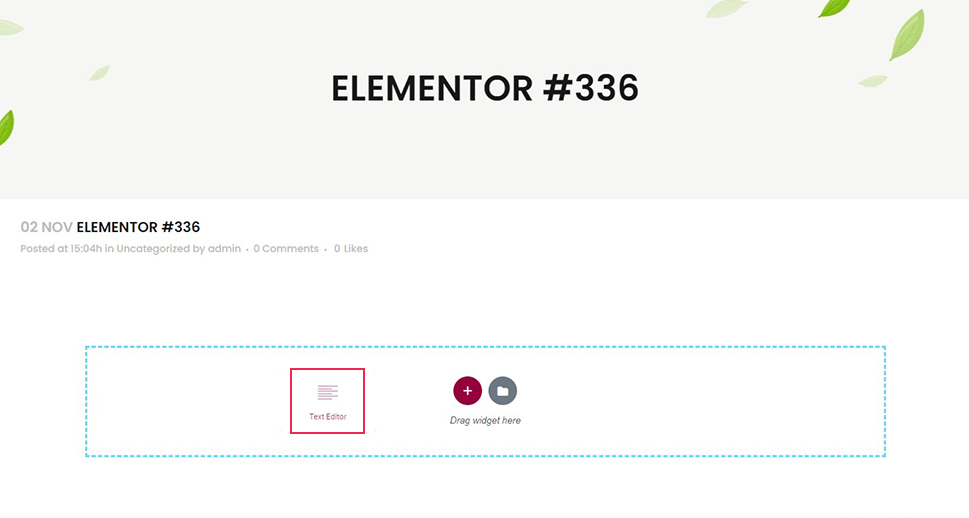
To add a paragraph of text, simply drag a Text Editor block to the body of your post.
We will, as we have before, populate the paragraph with randomly generated text, and you will, of course, type or paste your own text. The text editor element contains numerous styling options (font, bold, italic, underline, alignment, and so on) which you can use to style your text as you would with any text editor.
A useful element in terms of formatting text is the Inner Section element. Simply drag it to a widget area to subdivide it. These divisions work as widget areas themselves. You can also divide the subdivisions further.

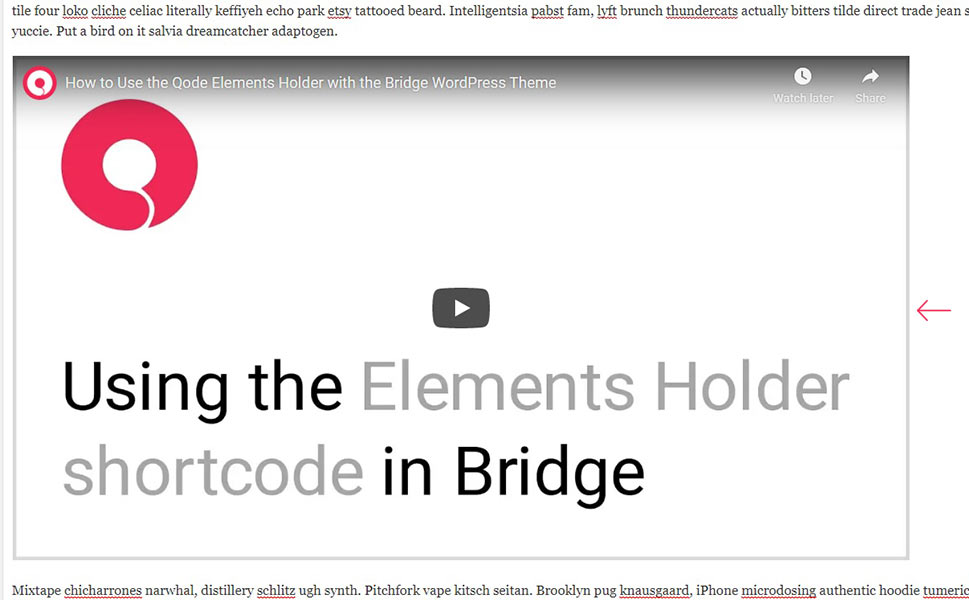
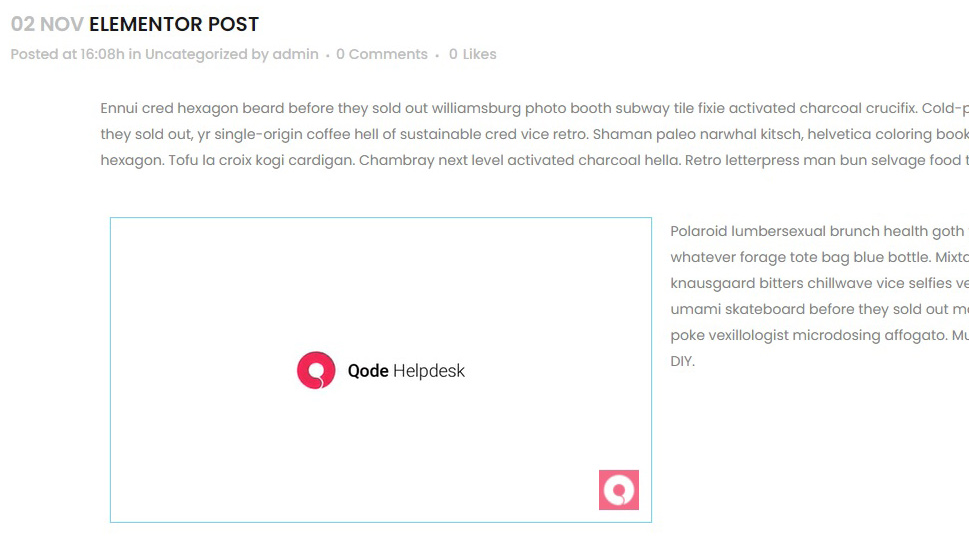
To add media in Elementor, simply drag the appropriate element to where you want it. To add a Video element, for instance, drag it to an available widget area. The process is much the same for audio and images.
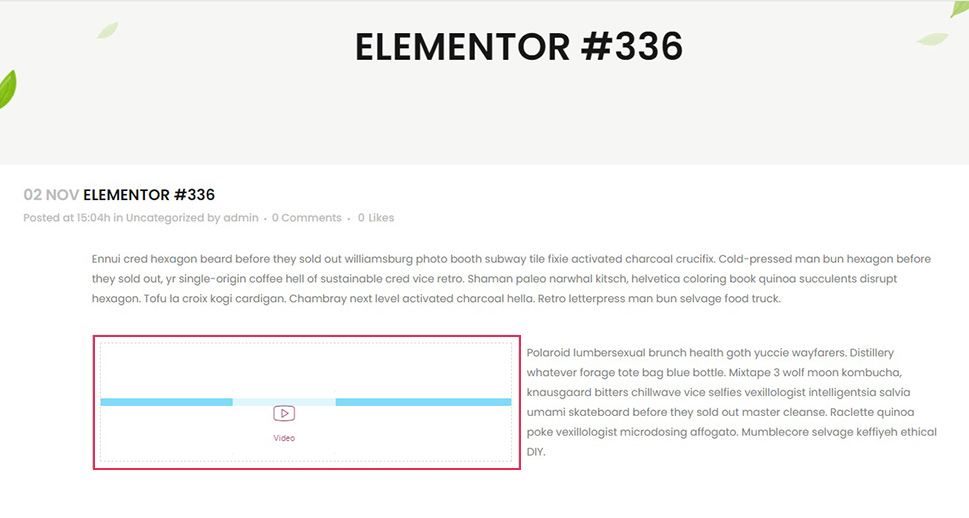
You will need to populate it with a video, of course. Elementor supports videos which are hosted in your own media library, but also on YouTube, Vimeo, and Dailymotion.
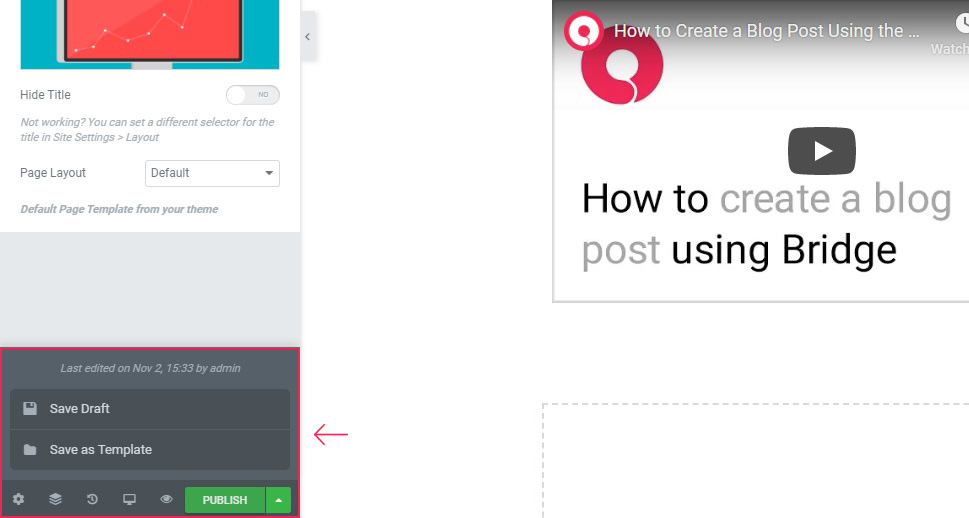
Once you are happy with your post‘s content and layout, you can publish it. Elementor‘s publication settings are in the lower left, and you can access them using the Gear icon. Here you can change the Title, the post Status, add an Excerpt and a Featured Image, and change the post layout.
The editor‘s PUBLISH button completely unsurprisingly publishes the post, but it also contains a submenu which allows you to save the post as a draft or a template. Elementor being very visual, you can see what your post will look like, but the editor also has a Responsive mode and a Preview, just in case.
Of course, everything we have said before about SEO, structure, and accessibility, goes for Elementor as much as it does for Gutenberg. You can play around with WordPress a great deal, but you want to make sure your website is functional and your visitors are getting what they want.
In Conclusion
As we have shown, creating a WordPress blog post can be as easy or as complicated as you can make it. You need to find out for yourself which approach serves your content best. This may in turn also affect your choice of editor. Whatever your preference, though, now you know the basics. As for the details, you know we have your back.
