How to Add Custom Meta Boxes in WordPress

Using custom meta boxes is a great way to insert some additional metadata into your content. Namely, by adding different custom meta boxes to your WordPress pages, posts, and/or custom post types, you will be able to make your editing interface appear more organized and user-friendly as a whole. In fact, many plugin developers use them to create and add custom plugin meta boxes.
We should also mention right away that every content type in WordPress has its own set of metadata used to provide more information about the content in question (such as date, title, and so on). And while WordPress does come with the default custom field box that you can use to add your own custom meta boxes and metadata, this meta box does not offer that many options in general.
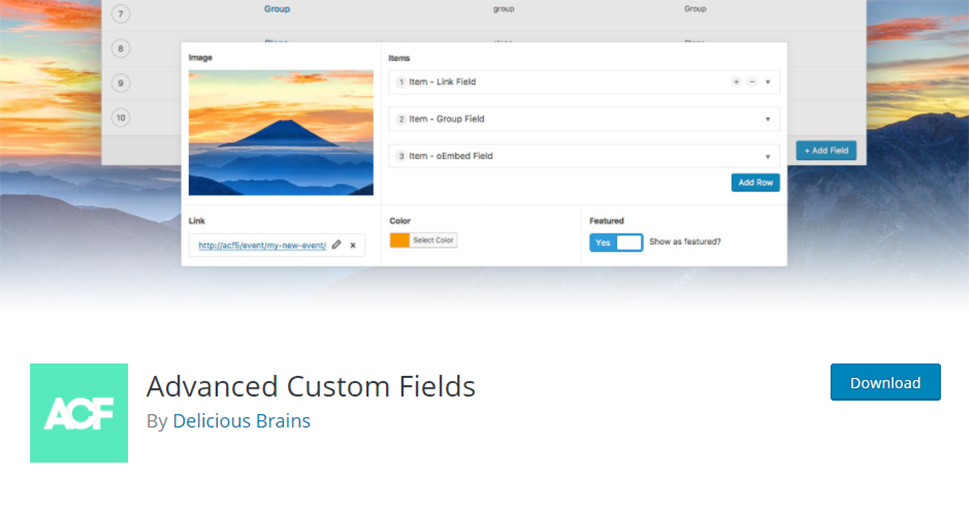
Thus, we’ve decided to show you how to add custom meta boxes in WordPress posts and post types using the help of one of the most popular plugins in this category – the Advanced Custom Fields plugin. Stick with us as we explain how to create and add custom meta boxes to your WordPress content, as well as how to display your custom field metadata on your site.
Qode Themes: Top Picks
View Collection


Creating Custom Meta Boxes in WordPress With a Plugin
The plugin we recommend for this task is called Advanced Custom Fields. This is a rather popular and comprehensive plugin option for generating custom fields on your site, and for a good reason. If you use this plugin, you will be able to add your custom fields virtually anywhere you want on your site (including pages, posts, taxonomies, users, etc.), and you will get to do so quickly and with ease.
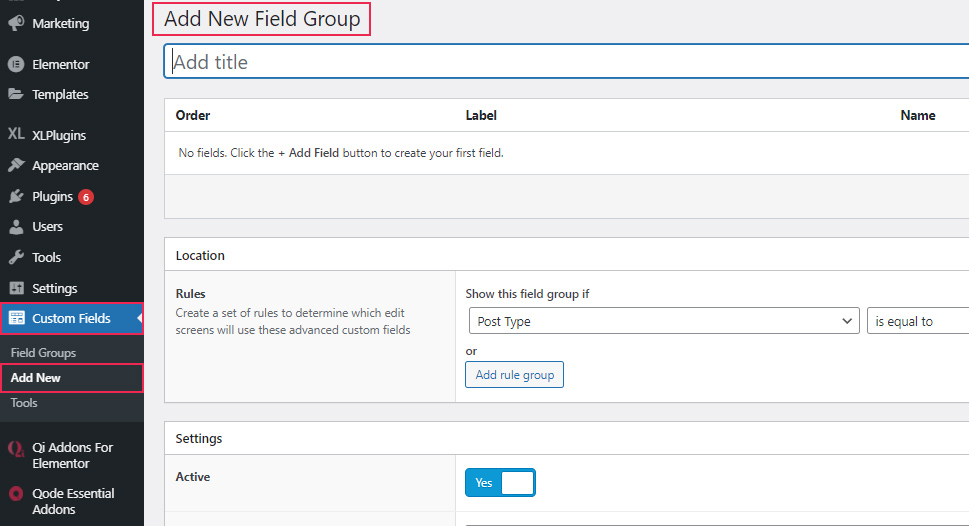
Once you install the plugin and activate it, you will be able to see a new menu item called Custom Fields in your admin bar. Go to Custom Fields >> Add New to create your custom field. By doing so, you will be redirected to the page called Add New Field Group.
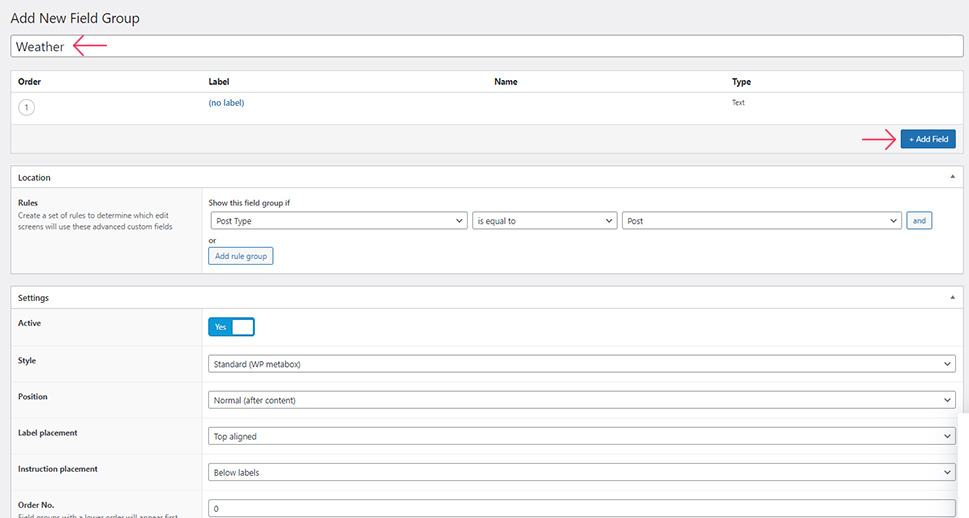
Add a title to your field group (this will be your meta box title). Then, hit the “+Add Field” button to create a new field. This will open a whole new row of settings.
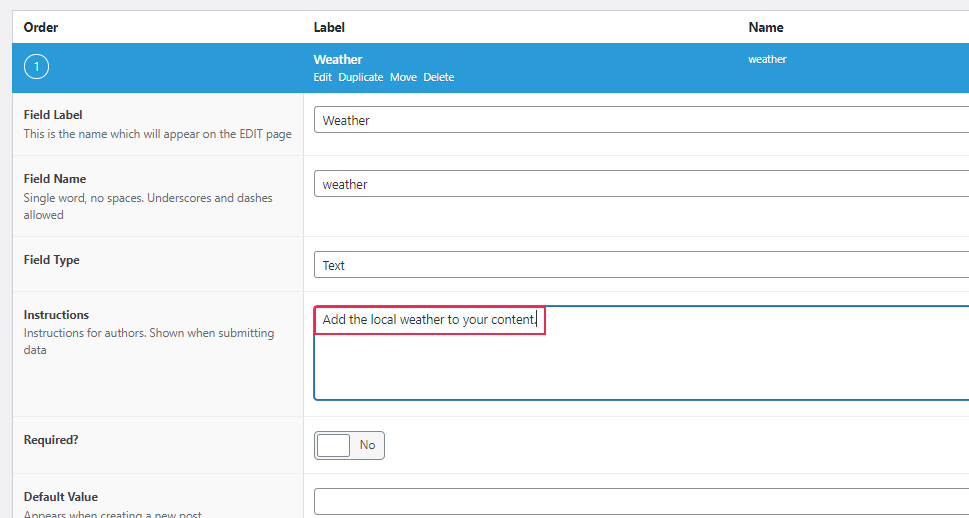
The Field Label option allows you to set a name for your meta box. This will be the name of the entire section that will appear in the page backend itself.
The Field Name option allows you to enter an additional name for your field. It should be a single word with no spaces (although you can use underscores and dashes). You will copy this name to display your custom field metadata on your site, but more on that later.
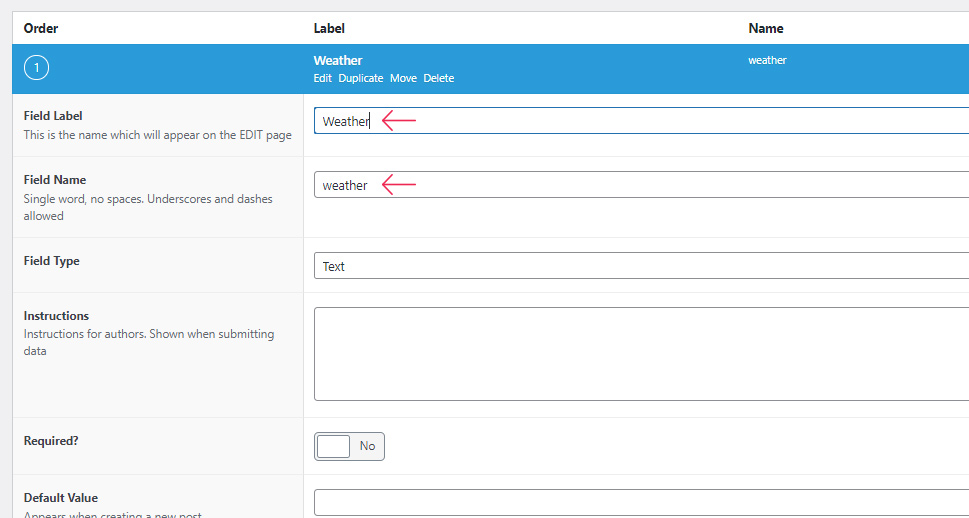
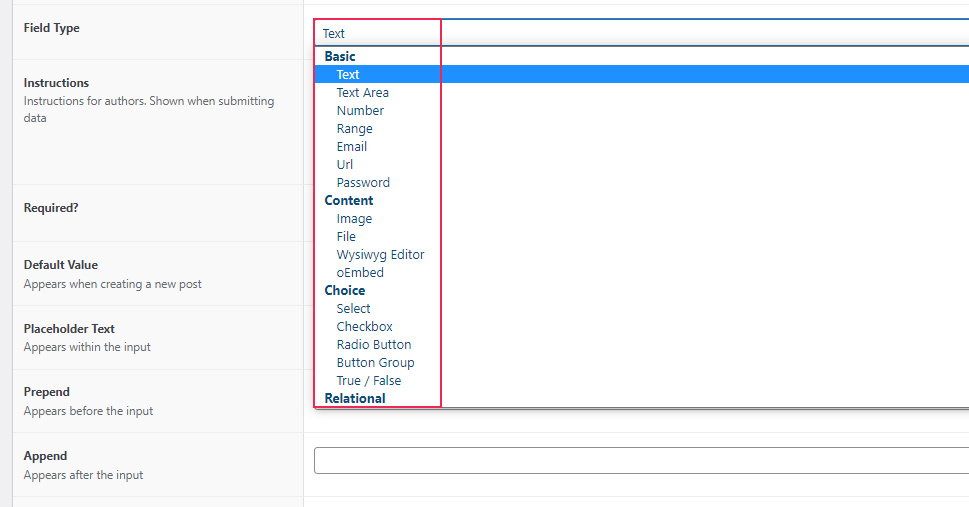
Next, you will be able to select the Field Type. You will have plenty of options at your disposal – from text, radio buttons, checkboxes, and numbers to images, files, users, taxonomies, and plenty more.
You will also get to insert field Instructions that can be particularly useful since they let a user know what they should insert into the given field.
Afterward, you will be able to set a whole bunch of other options such as the Default Value, Placeholder Text, Character Limit, and so on.
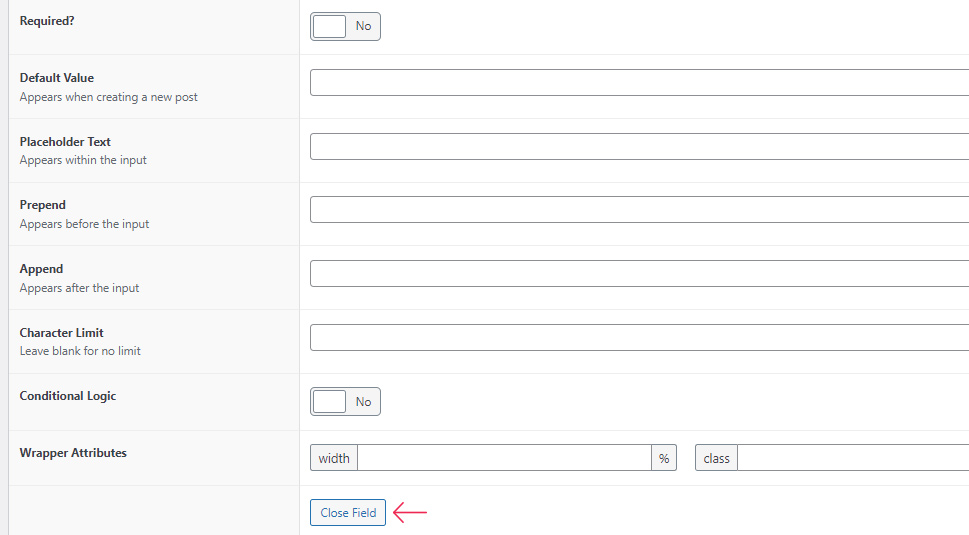
Hit the Close Field button to hide it once you’re done with setting your options.
In case you need more fields in your meta box, simply hit the “+ Add Field” button again and adjust its options according to your preferences.
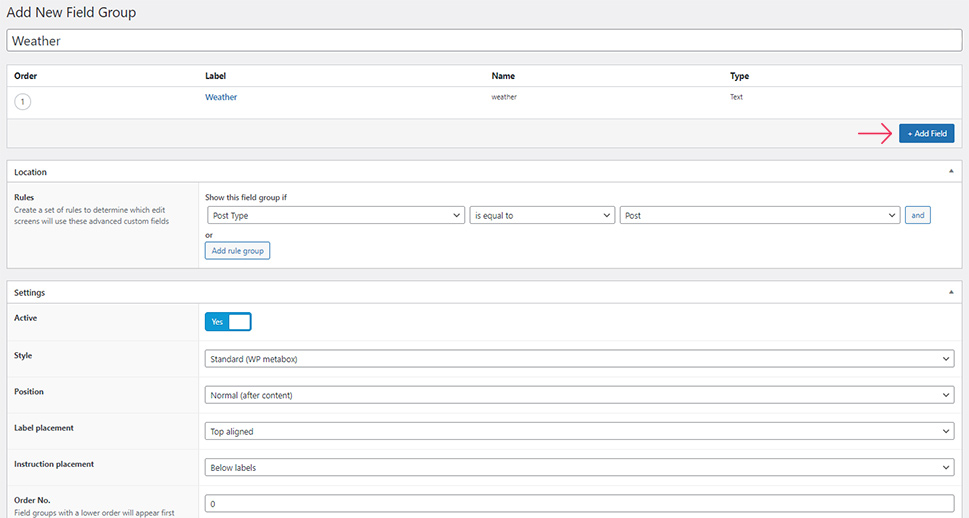
Next, the Location area will allow you to set the rules which will determine the types of edit screens on which your custom meta box will be displayed. You will be able to select different post types, post categories, taxonomies, etc.
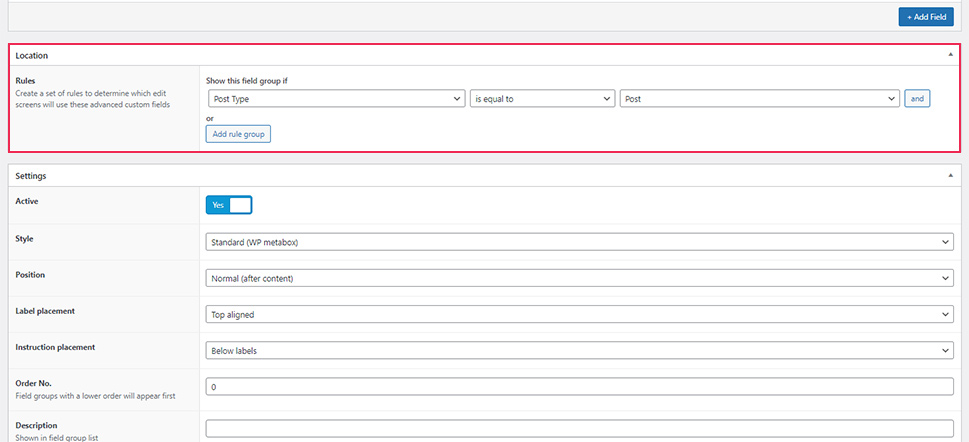
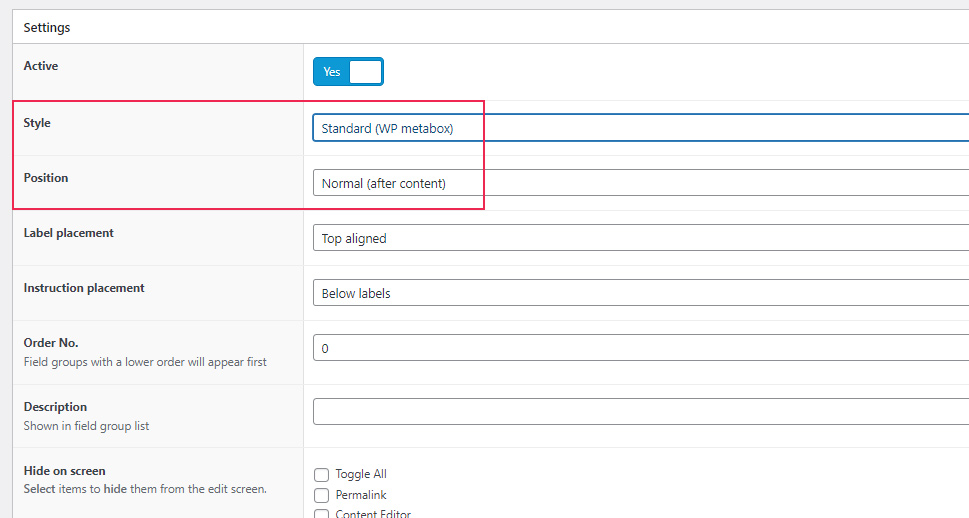
Now, in the Settings field, you will be able to pick the meta box Style (standard or seamless). We recommend setting it to Standard.
You will also get to select the meta box Position in the page backend (after the content, before, or in the right column).
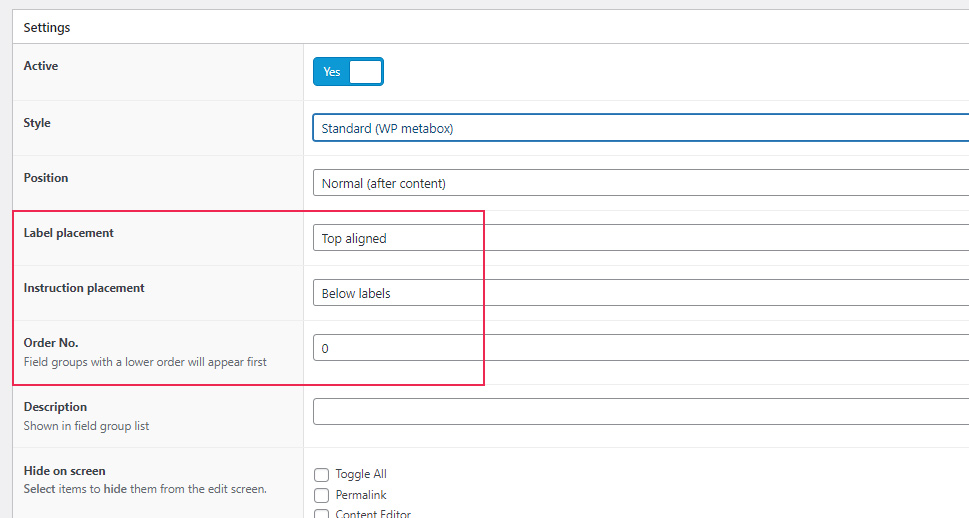
In addition, you will be able to set the position of your Label and Instruction placement and pick the Order number (the number that will define the order of your field). The latter is useful in case you have more than one field group set on one location (otherwise you can set this option to 0).
Finally, the Hide on screen option will allow you to check or uncheck certain meta box fields to show or hide them on your post or page editing screen.

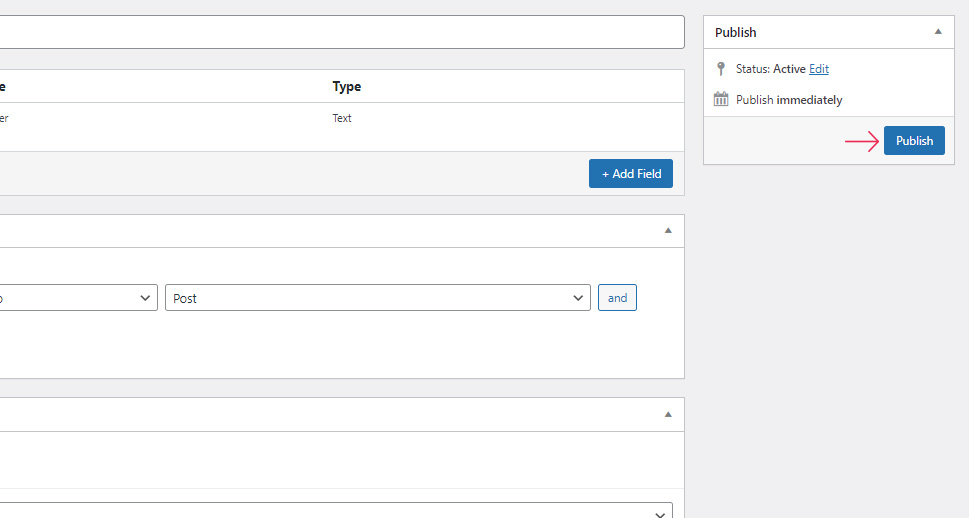
Hit the Publish button (located in the upper right corner of your screen) once you’re done.
Feel free to go ahead and visit the backend of one of your pages/posts to see what your custom meta box looks like live. Once there, you will also be able to use your new meta boxes to add your custom metadata.
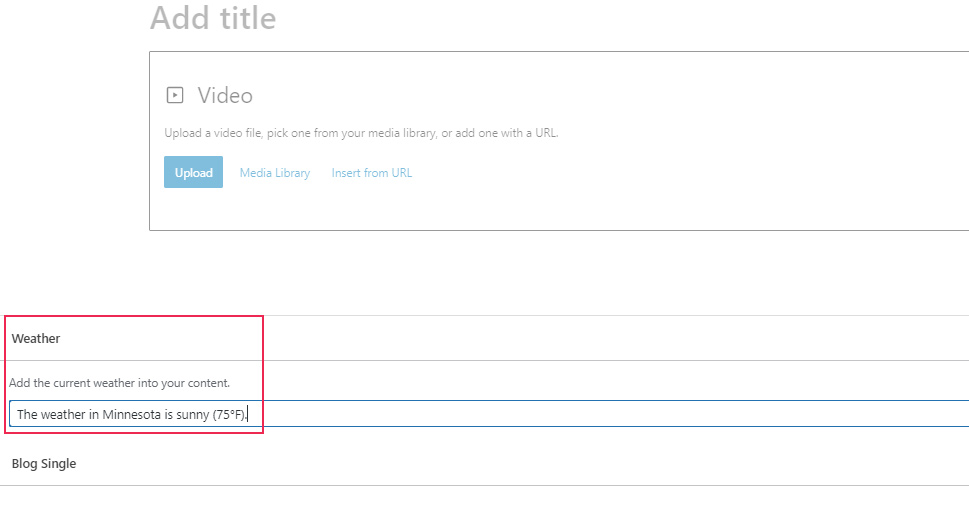
Displaying Your Custom Meta Box Data on Your Site
Now that you’ve succeeded in creating your custom meta box, it’s time to display the data that you entered in your fields on your site itself (i.e. your page, post, etc.).
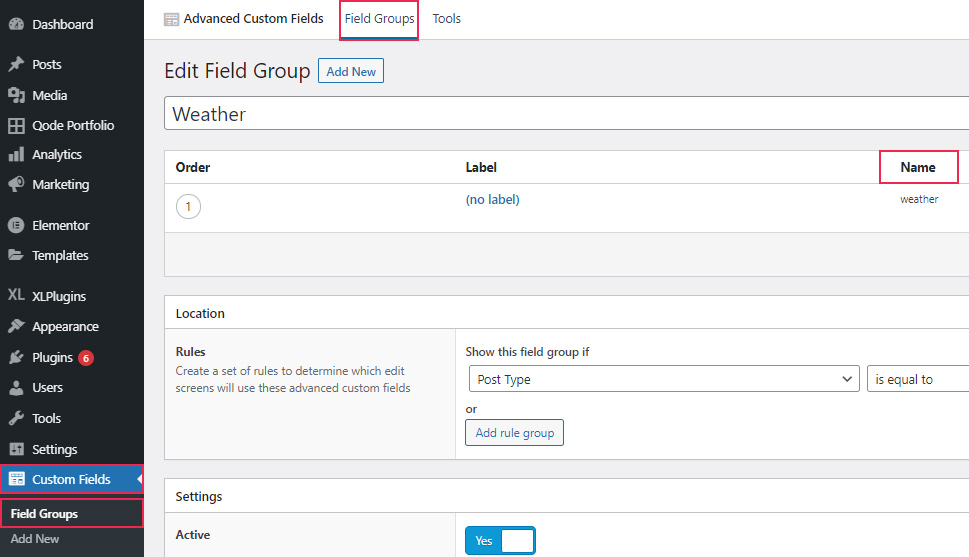
Go to the Field Groups page. Once there, you will be able to access your custom fields. What you need to do is to copy the text displayed under the “Name” field:
Now, to display the data entered in your custom fields on your site, you can use two different options. You can either add them via a shortcode or using a PHP code.
To display your custom field data on a single page or post, simply add this shortcode into your content:
[acf field="weather"]
Of course, you should add the name of your own field in the quotes.
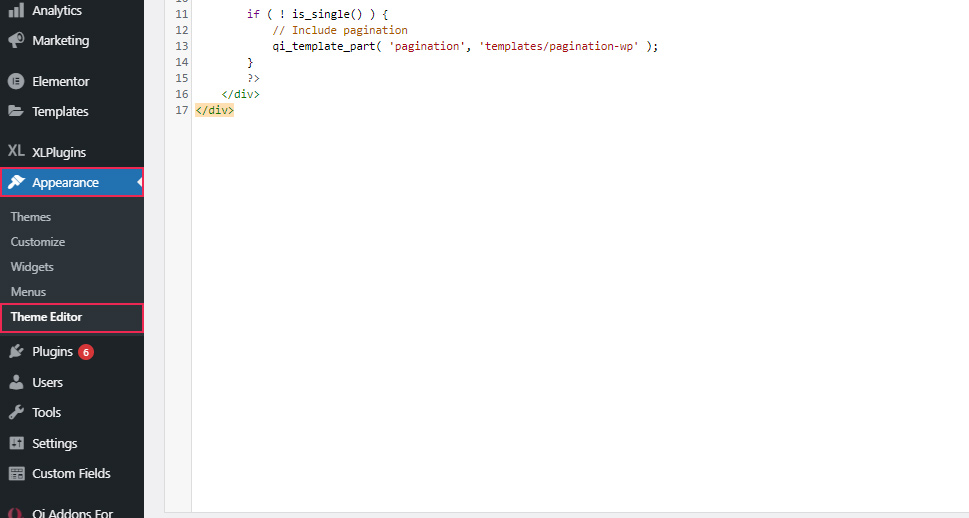
Another way to do this is by inserting a line of code into one of your theme files. This method is great if you want the metadata to automatically appear on all pages of a certain type.
Access the theme file you wish to edit by going to Appearance >> Theme Editor. Which file you will edit depends on where you want your data to be displayed. These can be files such as single.php, blog.php, page.php, etc.
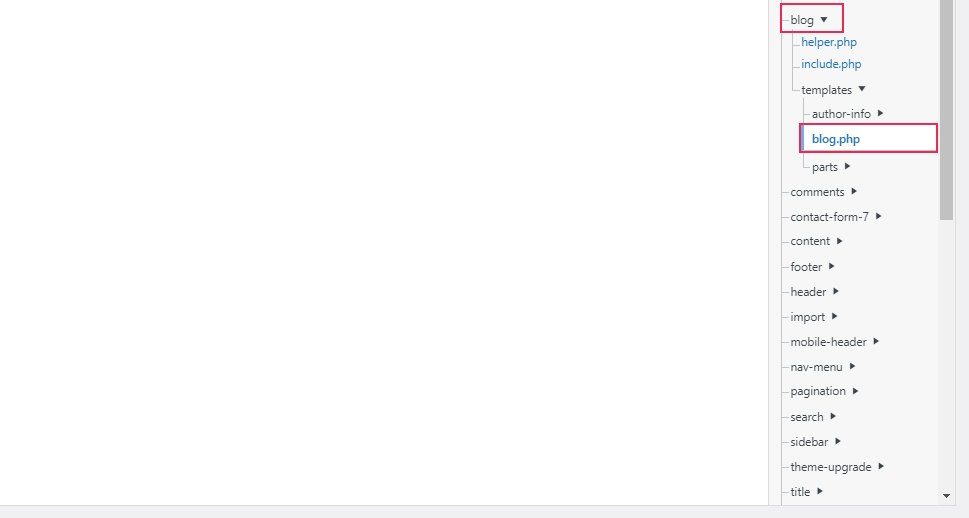
We’ve used our own free Qi Theme for our example, so we’ve inserted our code into the blog.php template file. Of course, you should feel free to add your own code wherever you like.
Enter the following code:
<h2 class="weather"><?php the_field('weather'); ?></h2>
This will display the metadata from our “weather” custom meta box as a H2 heading on our page. Of course, you should replace the name we’ve added within quotes with your own custom field name and adjust the HTML to suit your needs.
The code you’ve inserted into your theme file will display the data you insert in your custom meta field on all pages that use the specific page template you decided to edit.
Hit the Update File button once you’re done and go ahead to see what your metadata looks like displayed on your page/post.
Conclusion
No matter if you need to insert a simple line of text or add more advanced metadata, custom meta boxes are a great way to make the most out of your edit screen while making it appear as intuitive and user-friendly as possible. We recommend using the Advanced Custom Fields plugin to create and add custom meta fields to any of your edit screens. This plugin comes with a comprehensive set of options that will allow you to customize the look of your custom meta boxes in all sorts of ways. Make sure to follow our instructions carefully to learn how to customize your custom meta boxes in full detail and display your metadata on your WordPress site with ease.
