The Easiest Way to Add Custom Code to WordPress

WordPress has a well-earned reputation as a very user-friendly and customizable content management system. If you don’t mind researching for the right kind of plugin or investing in a premium WordPress theme, this CMS will let you do incredible things.
WordPress is the tinkerer’s dream. If you’re at all interested in customizing your website, learning how to add custom code to WordPress should be on your to-do list. In this article, we’ll show you:

You’ll often read how plugins are the best options to extend the functions of your WordPress website or change the way it looks and behaves. And it’s true — plugins top the list of things that make WordPress so great, thanks to their variety and ease of use.
In some cases, you won’t be able to find a WordPress plugin that does the exact thing you want it to do. Or you might only be able to find a premium plugin, a real bummer if you’re trying to build a website on a shoestring budget. Even the best WordPress page builders will have blind spots you’ll have to fix by entering some custom code.
And let’s not forget how easy it is to start dabbling with code. There are many resources to get you started. Even the articles you’ll find online will often teach you how to make simple tweaks by adding just a line or two of code to your website. The question shouldn’t be why you would want to add custom code to WordPress. It should be, why wouldn’t you?
There are a couple of reasons why adding custom code to your WordPress website might be not so much a bad idea, as much as a potential source of trouble for you and your website. It’s this way because of the file where you’ll most often add the code – functions.php.
Let’s forget for a second that making mistakes when editing this file can bring your website down, and it surely can. To ensure that the changes you make stick around even after you’ve updated your WordPress theme, you’ll need first to create a child theme and edit its functions.php file. That’s a hassle many would like to do without.
But even if you go through the trouble of creating a child theme so that you can use it to add custom code to your WordPress website, that won’t be the end of your problems. Some code snippets tend to be short. Others tend to be long. The more comfortable you get with coding, the more you’ll delve into things like adding custom JavaScript or custom CSS. Soon enough, you’ll end up with a file that’s difficult to navigate.

An easy way to get around most of the issues of adding code manually to WordPress would be to use a plugin for it. Code Snippets is a popular WordPress plugin with over 300,000 active installations that lets you easily add and manage code.
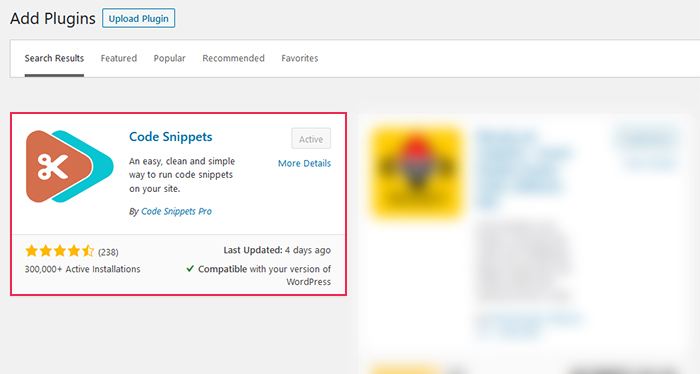
To get the plugin, go to your website’s backend and navigate to Plugins > Add New. There, search for Code Snippets, and install and activate the plugin.
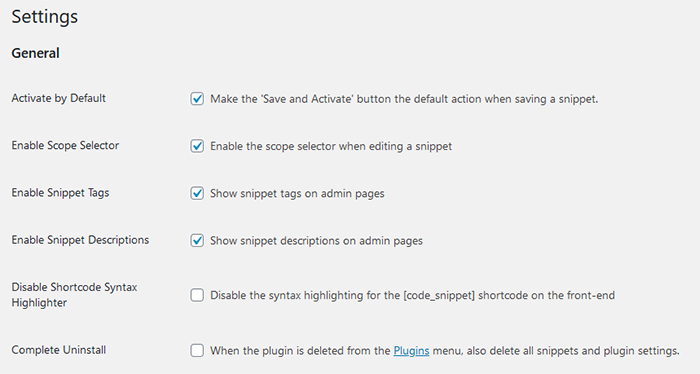
When installed and activated, the plugin will create a new submenu in your dashboard called “Snippets.” There, you’ll be able to find all the functionalities of the plugin. If you want to check the plugin’s options first, you’ll find it split into General, Description Editor, and Code Editor sections.
In the General section, you’ll be able to toggle whether you want to automatically activate the snippet when you save it, and enable things like snippet descriptions, tags, the scope selector. You’ll also have the choice to disable the shortcode syntax highlighter and set a complete uninstall.
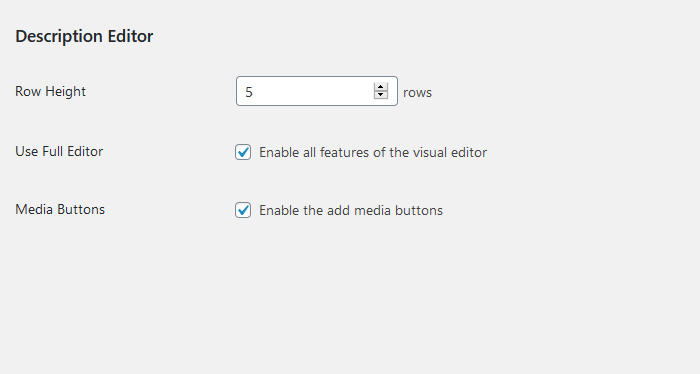
Under the Description Editor options, you’ll be able to select the row height of the description, as well as choose whether you want to use the full editor and enable media buttons.
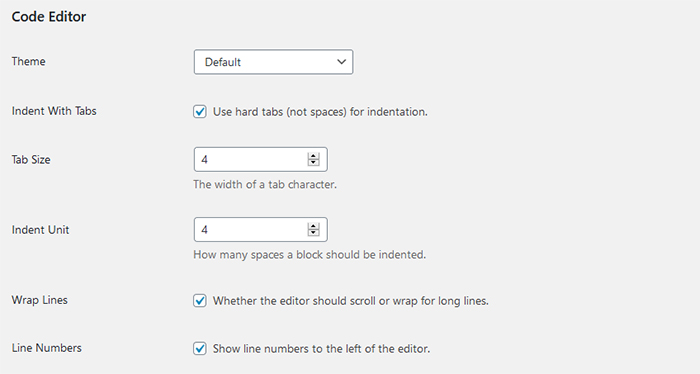
The Code Editor options will allow you to pick the theme you want the editor to appear in, enable the use of hard tabs for indents, and set a tab size and ident unit. You’ll also have the possibility to toggle on wrap lines, line numbers, auto-close brackets, and highlighting of selection matches.
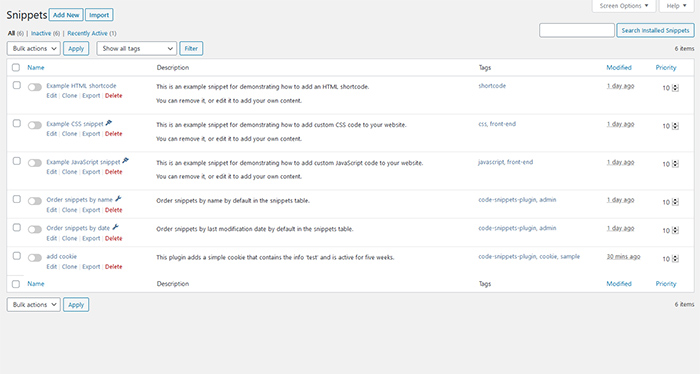
The All Snippets window will list all your snippets, together with their descriptions, tags, date modified, and priority. In this window, you’ll be able to toggle the snippets on and off. Before you even add your first snippet, it will come in handy because it has a couple of examples of code you could be using.
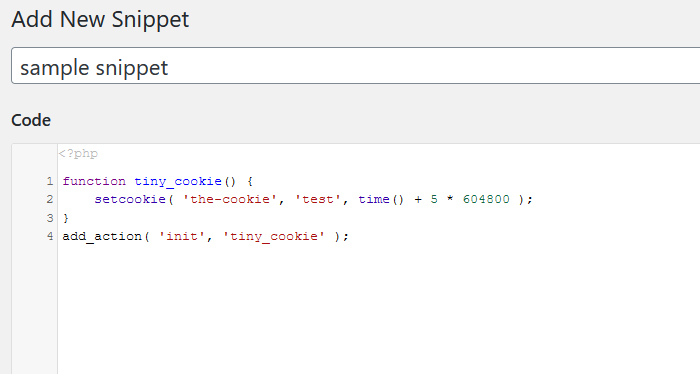
The Add New window is where the real fun happens. First, you’ll be able to give your snippet a name before entering the code and choosing where you want the snippet to run. You’ll also be able to set the priority for the snippet.
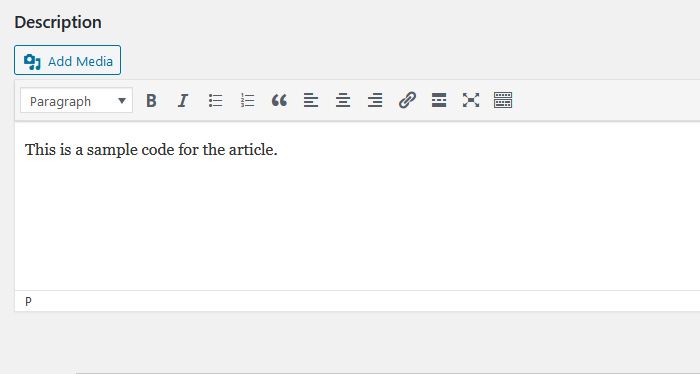
Next, you’ll be able to add the description. You’ll have the option to insert media into it and edit the description in the visual as well as the text editor. Finally, you’ll be able to set the tags for your code snippet.
After you’ve created the snippet, you save it and activate it, or save it. Either way, if you haven’t made any errors in the code, you’ll be free to navigate to the All Snippets window and see your new snippet.
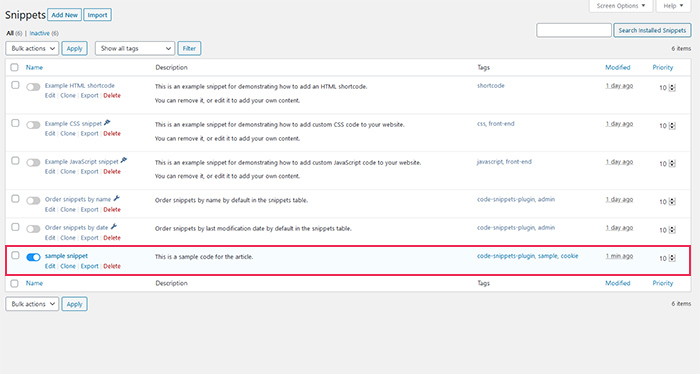
And that’s it! Once you see the snippet toggled, you’ve successfully added it and turned it on. If you want to download the snippet as a .php file or export it as a .json file, you can click the Edit button under your snippet and scroll to the bottom of the page to find the appropriate options.
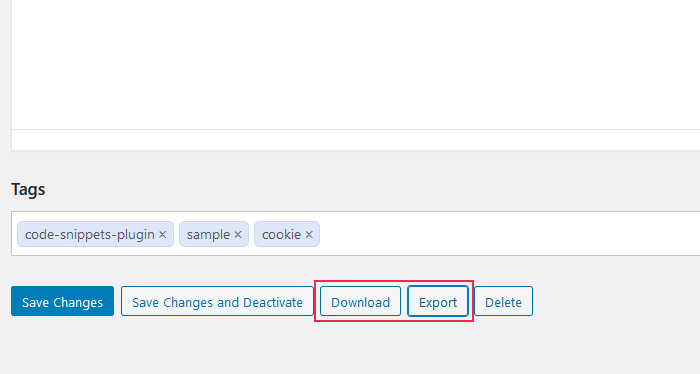
The plugin also enables you to import snippets in .xml or .json files from the Import option in the Snippets submenu. It makes it easy to move snippets around from one website to another.
Conclusion
The ability to add code to your WordPress website can help you fine-tune your website with everything from sweeping changes to small tweaks. But besides knowing how to code and being reasonably sure your contributions won’t break the site, you could also do with a simple way to add and manage your snippets. And that’s the exact thing the plugin was built to do.


