How to Add Amazon Ads to WordPress

There are certain perks to being the biggest online retailer in the world, beyond the obvious ones accrued by the owner and occasional richest person in the world. If your business is Amazon, with its stature, customer base, and a world full of sellers who want access to the platform, one of the perks that come out of it is that people are more than interested to display ads for the retailer on their website.
Amazon Native Shopping Ads is one of the foremost digital advertising networks and a great alternative to AdSense. Amazon Ads are only one of the ways to monetize your website using Amazon – we’ve already written about creating Amazon affiliate stores – and they’re relatively easy to implement and use.
That’s what we’ll talk about in this article. We’ll cover:

For you as a publisher, working with Amazon Native Ads has a couple of significant upsides. As we’ve mentioned before, Amazon is the world’s biggest online retailer, which means that it has customers who are ready to make a purchase. At the very least, its brand recognition will help the ads on your website seem more legit.
They might also look familiar to the people looking at them. Amazon is good at retargeting, which might be one of the uses for the ad space you allow on your website or app. Is this the time the viewer finally cracks and goes to Amazon using an ad on your website and makes the purchase? Who knows, but these situations surely don’t happen with advertisers who don’t retarget.
Amazon Native Ads are also flexible enough to give you some leeway as to what types of ads you want to display on your website. There are three types of Amazon Native Ads:
-
Recommendation Ads – types of ads that are relevant to the content of the page or post where you place them, as well as the visitors.
-
Search Ads – to get the most out of Amazon’s search feature, display ads using keywords you or your visitors selected.
-
Custom Ads – you get full control over which ads appear on your website.
You should know that Amazon Native Ads are responsive, so you don’t have to worry about how they look on different screen sizes. You can also place them in different positions on your pages, usually either after the text or somewhere between two paragraphs.
Before you’re able to add Amazon Native Ads to your WordPress website, you’ll first need to have an Amazon Associates account. Head on over to the Amazon Associates page and create a profile. Keep in mind that you’ll need to have at least one asset – a website or an app – that allows ad placement. You’ll need to wait until Amazon determines your asset meets its criteria – largely regarding content quality, originality, and posting frequency – before you’re admitted into the program.
Once that’s been dealt with, you are free to create your first ad. If you want to create a recommendation ad, for example, you’ll need to configure it – choose the placement, the categories of products that match your content the best. You’ll also be able to do neat things such as add keywords as a fallback option in case there are no recommendation ads based on your category of choice. You might also decide to show interest-based ads.
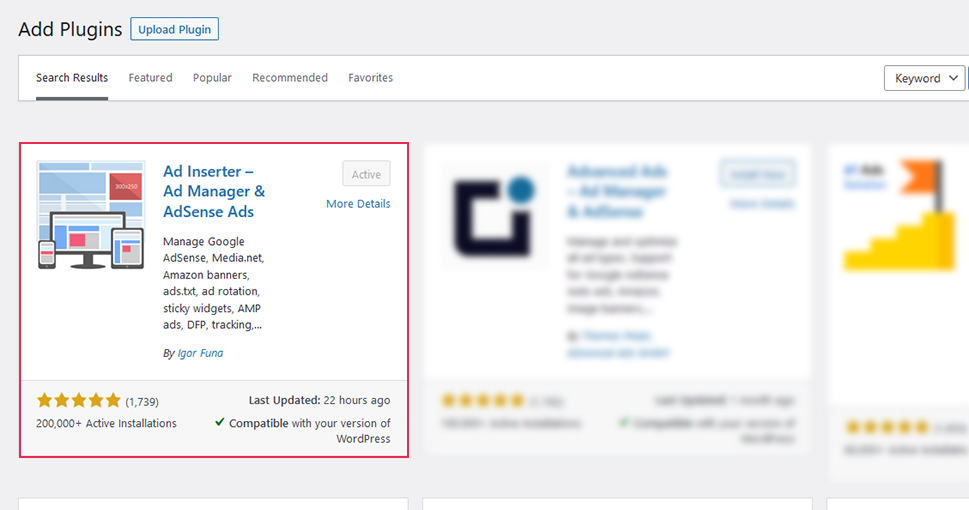
Either way, after you’ve created the ad, you’ll get the code for it. Your next step would be to go to your WordPress website, navigate to Plugins > Add New, and search for the Ad Inserter plugin.

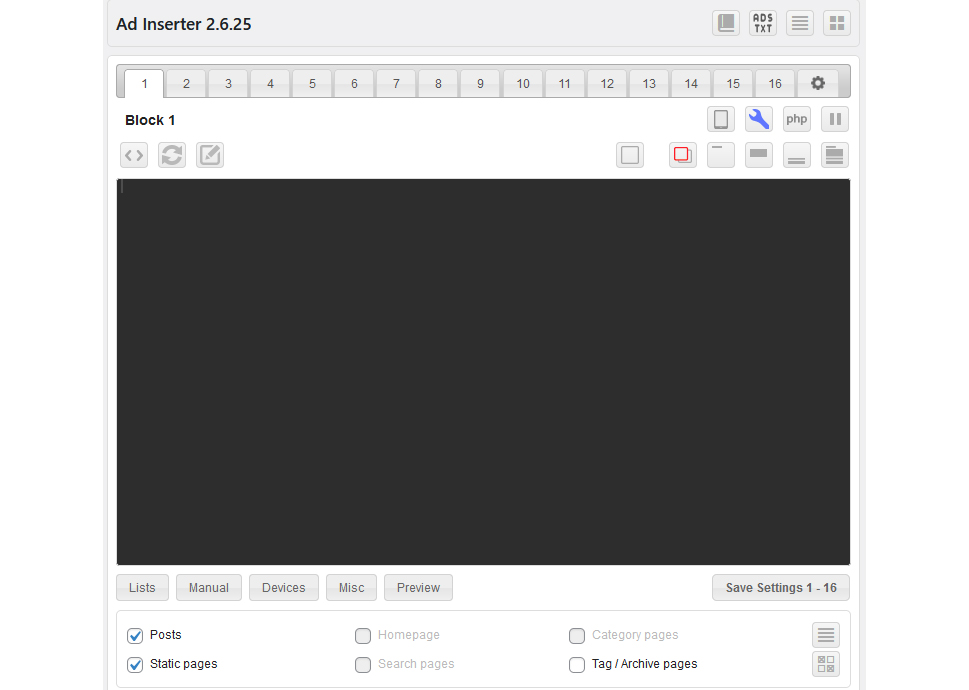
After installing and activating the plugin, you can set it up and create your first block for an ad. Navigate to Settings > Ad Inserter, and there you’ll see the windows where you can add code to different blocks, choose their placement depending on the type of page you want to place the code, and how you want the ad displayed.

We’ve already covered the plugin and what it can do in our article on ad management, and you’re more than welcome to check it out if you need ideas on how to use it best. The plugin has lots of interesting options, but the gist of it is that you can simply choose where and how you want to display the Amazon Native ad, and you can easily enter its code.

Now that the hard part is behind us, let’s see if we can find some best practices for using Amazon Native Ads on your WordPress website. An ad is an ad, you might say, but even that means that things like placement might affect its prominence, which would in turn affect its effectiveness.
The number one tip for success with using Amazon Native Ads is to make sure that the products you advertise on the website match the theme of the surrounding content. If it’s the content that attracts people to visit the website and ultimately view the ad, it only makes sense that the ad should have something to do with that content.
Amazon would also advise including recommended ads at the end of every post throughout your whole website. Because you can do this fairly easily, without having to add code to each page individually, this is a time-effective way to increase impressions and potentially boost your earnings.
Speaking of placing ads at the end of the page, you should know that this isn’t the only place where your ads could – or should – go. Placing ads near the end of the page – just before the content is over – is a good strategy for product-oriented pages. If you’re creating more long-form content, you might consider placing some ads in the body of the text. Be careful, though, and remember to add tracking IDs for each ad so that you can track performance and adjust accordingly.
Let’s Wrap It Up!
For publishers, Amazon Native Ads can be one of the better ways to earn some money from their website. If this sounds good to you, remember that you’ll first need to pass Amazon’s criteria for quality, and then spend some time thinking about product categories, fallbacks, and the type of content you’re creating for your website. Also, don’t forget to get familiar with the plugin you’ll use to inject the ad code into your pages. Master the plugin and the ads and then turn on those tracking IDs – and you’ll be all set.


